
Have you ever noticed how dry your garage can get during winter? You might not be able to see it, but those air drafts can seriously impact your energy bills.
A noisy and poorly-insulated garage door can be a real nuisance, and the cold air coming in through it will not only make your garage uncomfortable to be in but can also cause damage to the items stored inside. Luckily, making your garage door airtight doesn’t have to take long or cost much!

In this blog post, we’ll walk through all the steps necessary how to make garage door airtight. With some basic tools and materials like weather stripping and insulation tape, you’ll soon be enjoying an airtight door just waiting for new projects or repairs. Let’s dive right into it!
Summary: Making a garage door airtight is an important step in energy-efficient home improvement. Weatherstripping, foam tape and caulk can all be used to help create an airtight seal around the edges of the door. Additionally, trim and sweep systems provide additional seals that prevent drafts from entering through the bottom of the door. These simple steps can help increase the efficiency of your home and reduce indoor air loss.
15 Easy Steps on How to Make Garage Door Airtight
Making your garage door airtight is crucial for energy efficiency, temperature control, and preventing drafts and moisture from entering your garage. An airtight garage door helps to maintain a comfortable environment and can even reduce heating and cooling costs. In this guide, we will walk you through the steps to make your garage door airtight.
Step 1: Inspect the Garage Door
Start by inspecting your garage door for any existing gaps, cracks, or areas where air can easily pass through. Carefully examine the edges, joints, and seams of the door to identify potential problem areas.
Step 2: Measure and Seal Gaps
Measure the size and width of the gaps you identified in step 1. Purchase weatherstripping materials suitable for your garage door. There are various types of weatherstripping available, such as adhesive-backed rubber or vinyl strips, door sweeps, or bottom seals.
Step 3: Apply Weatherstripping to the Bottom of the Door
Begin by sealing the bottom of the garage door, as this is often a major source of air leakage. Attach a bottom seal or door sweep to the bottom edge of the door. Measure and cut the weatherstripping to the appropriate length, ensuring it covers the entire width of the door. Secure it in place according to the manufacturer’s instructions.
Step 4: Install Weatherstripping on the Sides and Top
Continue by installing weatherstripping along the sides and top of the garage door. Cut the weatherstripping to the correct length and attach it to the vertical edges and the header of the door. Make sure the weatherstripping forms a tight seal when the door is closed, but allows for smooth operation when opening and closing.
Step 5: Seal Cracks and Gaps
Inspect the door for any cracks or gaps that are too large for weatherstripping alone. Use a sealant or caulk appropriate for the material of your garage door, such as silicone caulk for metal or wood doors. Apply the sealant to the cracks and gaps, filling them completely. Smooth the sealant with a putty knife or your finger for a neat finish.
Step 6: Install Insulation Panels
If your garage door lacks insulation or if you want to further improve its energy efficiency, consider installing insulation panels. These panels can be made of foam board insulation, reflective insulation, or other insulating materials. Measure the dimensions of each panel and cut them to fit the size of each section of the door. Attach the panels to the door using adhesive or fasteners, following the manufacturer’s instructions.
Step 7: Inspect and Seal Windows
If your garage door has windows, check them for air leaks. Inspect the window frames and seals, and apply weatherstripping or caulk to seal any gaps. Consider adding window film or using insulating window inserts to further improve the energy efficiency of the windows.
Step 8: Check and Adjust the Garage Door Seal
Inspect the garage door seal at the bottom, known as the astragal or threshold seal. Ensure it is in good condition and provides a tight seal when the door is closed. If necessary, replace the seal to prevent air leakage.
Step 9: Maintain and Monitor
Regularly inspect the weatherstripping, insulation panels, and seals on your garage door to ensure they are in good condition. Replace any worn or damaged components promptly. Additionally, monitor for any signs of air leakage or drafts, and take immediate action to address them.
Step 10: Consider Professional Assistance
If you are unsure about the best methods to make your garage door airtight or if you encounter complex issues, it may be beneficial to seek professional assistance. Garage door professionals have the knowledge and expertise to recommend suitable weatherstripping materials and insulation options, as well as to ensure that the installation is done correctly.
Step 11: Insulate the Garage
To further improve the airtightness of your garage, consider insulating the walls and ceiling. Insulation helps regulate temperature, reduce drafts, and increase energy efficiency. Depending on the construction of your garage, you can choose from various insulation materials, such as fiberglass batts, foam board insulation, or spray foam insulation. Follow the manufacturer’s instructions and local building codes when installing insulation.
Step 12: Seal Electrical Outlets and Pipes
Inspect the walls of your garage for any electrical outlets, pipes, or other openings that may allow air to enter. Use foam gaskets or caulk to seal around outlets and gaps around pipes. Ensure a tight seal to prevent air leakage.
Step 13: Maintain Proper Ventilation
While the goal is to make your garage door airtight, it’s essential to maintain proper ventilation to prevent moisture buildup and allow for proper air circulation. Consider installing vents or exhaust fans to remove excess moisture and improve air quality. Ensure that the ventilation system does not compromise the airtightness of the garage door.
Step 14: Test for Airtightness
Once you have completed the steps to make your garage door airtight, it’s important to test its effectiveness. Close the garage door and carefully inspect the edges, weatherstripping, and seals for any visible gaps or signs of air leakage. You can also conduct a simple test by shining a flashlight around the door at night and checking for any light leaks. If you detect any issues, make the necessary adjustments or repairs to improve the airtightness.
Step 15: Regular Maintenance and Upkeep
To ensure the continued effectiveness of your airtight garage door, perform regular maintenance and inspections. Check the weatherstripping for wear and tear, and replace it as needed. Inspect the insulation panels, seals, and windows for any signs of damage or deterioration. Keep the garage door clean and free of debris to maintain its functionality and seal.
By following these steps and taking the necessary measures, you can make your garage door airtight. This will improve energy efficiency, temperature control, and overall comfort in your garage space. A properly sealed garage door not only prevents drafts and moisture but also helps to reduce energy costs. Regular maintenance and monitoring will ensure that your garage door remains airtight and performs optimally for years to come.
5 Additional Tips and Tricks
- Invest in high-quality weather stripping.
- Seal any gaps or cracks around the edges of your garage door to prevent air leakage.
- Consider adding an additional layer of insulation to your garage door to improve its airtightness further.
- Install a garage door screen or cover that can be easily removed when it is not needed to help prevent the entry of dust and other airborne particles into your garage space.
- If you notice that your garage door tends to be particularly drafty during certain times of the year, consider installing a heating and ventilation system in your garage to help keep it warm and comfortable all year round.
With these tips and tricks, you can protect your garage from unwanted drafts and improve its energy efficiency at the same time!
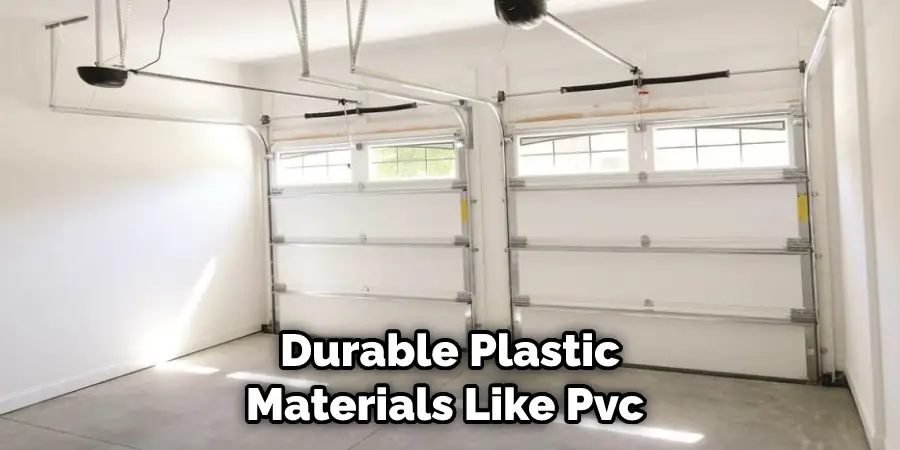
What Material Would You Use for an Airtight Door?
There are a variety of different materials that could be used to create an airtight door for your garage. Some options might include weather-resistant metals such as aluminum or steel, durable plastic materials like PVC or vinyl, or high-quality composites and woods such as fiberglass or cedar.
Ultimately, the best material for your garage door will depend on your specific needs and preferences and how much you are willing to invest in quality and durability. To choose the best option for your particular situation, consider talking to a professional contractor or retailer about their recommendations and advice based on your budget and other factors.
With the right material, you can feel confident that your garage door will stay airtight and well-insulated.
Conclusion
Making your garage door airtight is a great way to keep the elements out and your energy bills down.
If you want to make your garage door airtight, the most important thing is to choose the right materials. You should also take care to seal any gaps or cracks and install weather stripping around the door. By following these steps, you can keep your garage warm in the winter and cool in the summer, saving money on energy bills.
Hopefully, the article on how to make garage door airtight has been helpful and informative.
Whether you are looking to do the work yourself or hire a professional contractor, remember to take your time and be diligent about maintaining your garage door over time. With the right care and attention, you can ensure that your garage remains airtight and energy-efficient for years to come!
I am Rick. I grew up helping my dad with his handyman service. I learned a lot from him about how to fix things, and also about how to work hard and take care of business. These days, I’m still into fixing things- only now, I’m doing it for a living.
I’m always looking for new ways to help people grow and develop. That’s why I have created this blog to share all my experience and knowledge so
that I can help people who are interested in DIY repair.