
Peg boards are versatile, wall-mounted boards featuring evenly spaced holes designed to hold pegs or hooks, making them an excellent solution for organizing various items. Commonly found in workshops for tool storage, peg boards are also popular in crafting areas, kitchens, and offices for keeping supplies neat and accessible.
Learning how to make a peg board offers numerous benefits, including the ability to customize the size, style, and layout to fit your specific needs. Building your own peg board is not only cost-effective but also allows you to create a personalized organization system tailored to your space. This article provides a comprehensive, step-by-step guide to constructing a functional and visually appealing peg board from scratch, helping you maximize storage while adding a touch of creativity to your home or workspace.
Choosing the Right Materials
Selecting the right materials is essential for building a durable, functional, and visually appealing peg board. By choosing high-quality components that suit your needs, you can ensure the peg board will withstand daily wear and tear while complementing your overall space.
Types of Boards
- Plywood (1/4” or 1/2”) – This is a strong and versatile option, available in most hardware stores. Plywood can be cut to different sizes and easily customized to match your desired style.
- MDF (Medium-Density Fiberboard) – Known for its smooth surface, MDF is an excellent choice for a polished finish. It is easy to paint or decorate, making it ideal if aesthetics are a top priority.
- Hardboard Pegboard (pre-drilled) – The simplest and most straightforward option, hardboard pegboard comes pre-drilled and ready to use, saving time and effort during the setup process.
Back Support and Frame
To mount your peg board securely, you’ll need a sturdy frame. Use 1”x2” wood strips or furring strips to create a supportive backing to ensure the board is properly elevated for peg hook functionality.
Mounting Hardware
Essential hardware includes screws, wall anchors, washers, and spacers. If the peg board isn’t framed, spacers will help maintain the necessary distance between the board and the wall for easy hook installation.
Accessories
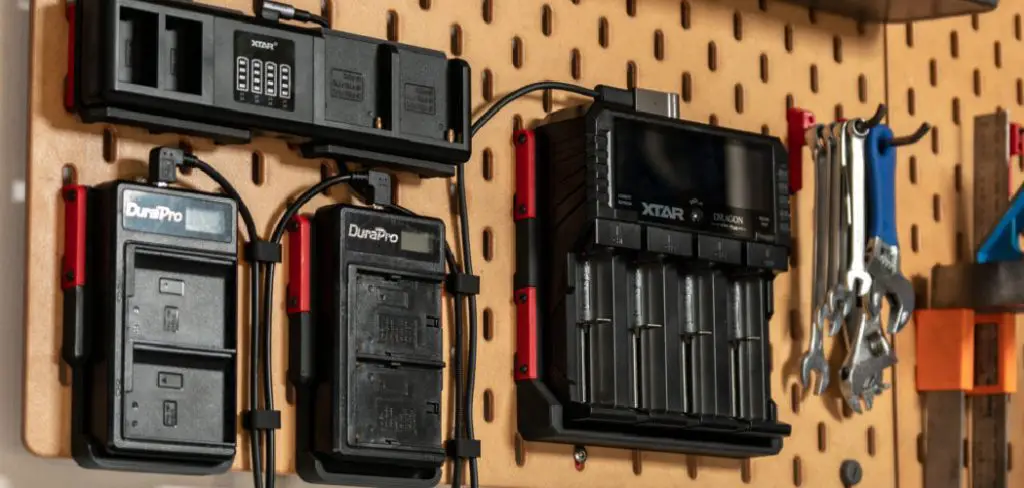
Choose compatible peg hooks, baskets, and organizers based on your peg board’s hole spacing, commonly either 1/4” or 1/8”. Plan your layout and consider the wall space and intended items to maximize both storage and practicality.
Tools and Supplies Needed
Essential Tools
To ensure a successful peg board installation, gather the following essential tools:
- Power drill and bits – Necessary for mounting the board and/or drilling holes if customizations are needed.
- Saw – Use a circular, table, or handsaw to accurately cut the board and frame to the desired dimensions.
- Measuring tape, pencil, and level – These are indispensable for accurate measurements, marking placement, and ensuring that the board is mounted straight.
- Sandpaper or sander – Smooth the edges of the board and frame to provide a clean finish and avoid splinters.
Optional Tools
For additional customization and a more professional finish, consider the following optional tools:
- Paint and brushes/rollers or spray paint – Use these to customize the color of your peg board, creating a look that matches your space.
- Stud finder – Helps locate secure spots on the wall for mounting, ensuring stability and safety.
- Clamps – Useful for holding the frame in place during assembly for precise and secure construction.

Supplies
Finally, gather these supplies to complete the project:
- Wood glue – A must for framing the board, adding structural integrity.
- Paint primer – Especially helpful for MDF or plywood boards if you plan on painting to achieve a durable and smooth finish.
Planning the Layout and Sizing
Measuring the Wall Area
Start by measuring the wall area where the pegboard will be installed. Determine the available space and decide on the ideal size of the pegboard based on your needs. Take into account the clearance required for tools, baskets, or other accessories that will hang from the board. Ensure that the selected size accommodates both your storage needs and any limitations posed by the wall, such as electrical outlets or light switches.
Peg Hole Spacing (if Drilling Your Own)
If you’re creating your own pegboard, standard spacing requires peg holes to be 1 inch apart in a grid pattern. Use a ruler or a pre-made template to mark hole placement with precision. This ensures consistent alignment and functionality when adding pegs or other hardware. Accurate spacing is key to preventing tools or accessories from shifting.
Framing Considerations
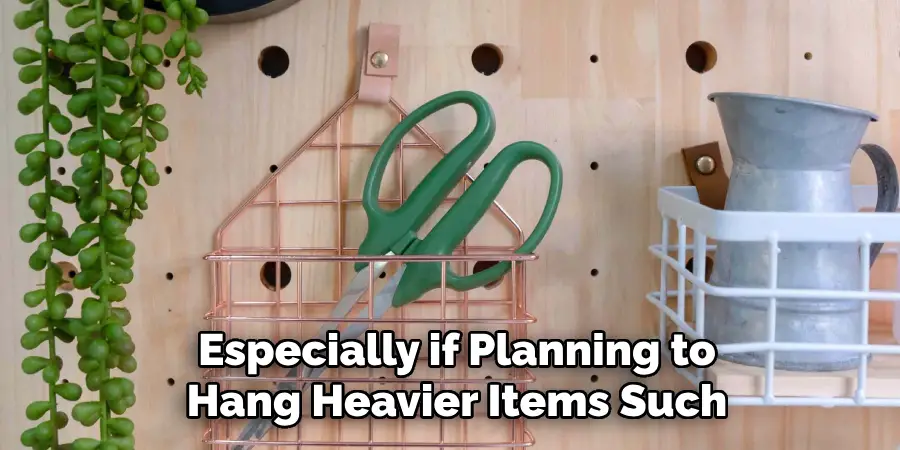
Attach 1”x2” boards to the back of the pegboard to provide proper clearance for the pegs. These spacers create a gap between the wall and the board, allowing the legs to be fully inserted. Secure these boards firmly to ensure structural support, especially if planning to hang heavier items such as power tools.
How to Make a Peg Board: Cutting and Prepping the Board
Cutting the Pegboard to Size
Use a circular saw or table saw to cut the pegboard to your desired dimensions. Before starting, double-check your measurements to ensure accuracy. Always wear proper safety gear, including goggles and gloves, and follow manufacturer guidelines for the safe operation of the tools. Make clean, straight cuts to ensure a polished finish and optimal functionality of the board.
Drilling Holes (If Not Using a Pre-Drilled Board)
If you are working with a plain board that lacks pre-drilled holes, use a drill press or power drill fitted with an appropriate bit size. Carefully measure and mark the hole placements to maintain uniform spacing, ensuring both functionality and a professional appearance. Drill slowly and steadily to prevent splintering around the holes.
Sanding the Edges
After cutting and drilling, sand down the edges of the pegboard and the surfaces around the holes. This step helps smooth out any rough edges or splinters, ensuring the board is safe to handle and use. Use fine-grit sandpaper for a smooth finish, and make sure to clean off any dust or debris before moving on to painting or mounting the board.
Painting and Finishing Touches
Priming the Board (for plywood or MDF)
To ensure a smooth paint application and long-lasting finish, start by applying a coat of primer to the pegboard. Primer helps the paint adhere better and prevents any imperfections in plywood or MDF from showing through. Choose a primer suited for the type of material you’re working with, and apply it evenly using a brush or roller.
Painting
Once the primer has dried completely, it’s time to apply the paint. Opt for durable latex or acrylic paint, as these provide excellent color and protection for the pegboard. Consider selecting a shade that complements your space or matches the existing décor. For a touch of creativity, you can use stencils or freehand designs to add unique patterns or accents to the board. Apply at least two coats of paint for full coverage, allowing each coat to dry thoroughly before adding the next.
Sealing (Optional)
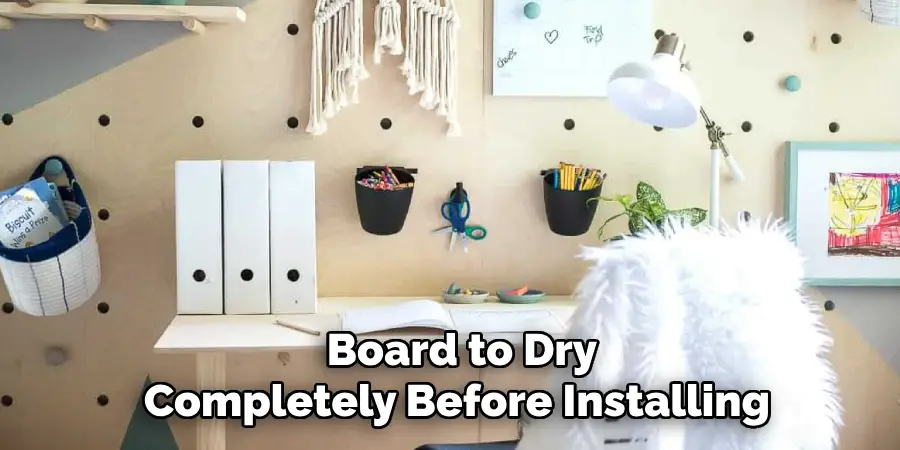
If the pegboard will be installed in a humid environment, such as a garage or kitchen, adding a clear protective sealant is a good idea. A clear coat of polyurethane or water-resistant varnish will protect the board from moisture and wear, extending its lifespan. Once you’ve completed painting and sealing, allow the board to dry completely before installing.
Mounting the Pegboard
Properly mounting your pegboard ensures it is secure, functional, and ready for use. Below are two common mounting methods and additional tips to help you achieve a safe and effective installation.
Using a Wood Frame for Mounting
To mount the pegboard with a wood frame, attach 1”x2” wood strips to the wall. Begin by locating the wall studs using a stud finder, and secure the strips into the studs with screws. Position the strips vertically or horizontally, depending on your preference, to create a supportive backing structure. Once the frame is in place, mount the pegboard onto the wood strips, ensuring it is level. Use screws to attach the pegboard to the frame securely.
Direct Mounting with Spacers
For direct mounting, spacers are used to create clearance between the pegboard and the wall, allowing hooks to be inserted properly. Attach spacers to the back of the pegboard at regular intervals. Then, position the board against the wall, aligning it with the studs, and secure it with screws. If studs are not available, use drywall anchors to provide additional support.
Safety Tips
Always use a level to ensure the pegboard is mounted straight and does not tilt. Check that all screws are tightly secured and that the board feels firm against the wall to avoid accidents.
Alternative Mounting Options
Consider using French cleats or hanging brackets if you prefer a removable or temporary setup. These options allow for easy removal and flexibility in rearranging your workspace.
Organizing and Using the Pegboard
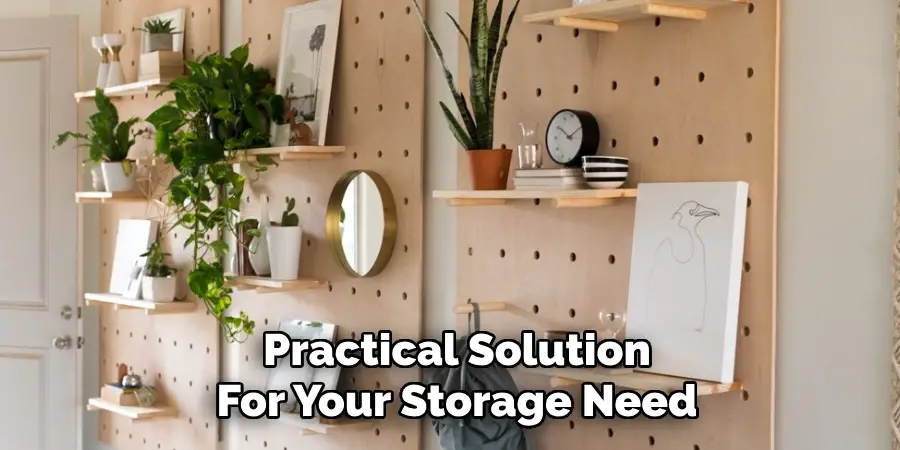
Arrange tools, kitchenware, or supplies based on how frequently they are used, placing commonly accessed items within arm’s reach. Customize your storage with peg hooks, bins, and magnetic holders to maximize space and functionality. Periodically reorganize the pegboard as your needs evolve and adapt to any workflow changes. For added efficiency, consider labeling different sections or incorporating a color-coded system to quickly identify and locate specific items. This approach ensures that your pegboard remains a dynamic, organized, and practical solution for your storage needs.
Conclusion
Learning how to make a peg board is a simple, cost-effective way to enhance storage and organization in any space. This versatile project allows you to customize the size, appearance, and functionality to suit your specific needs. Start small if you’re new to pegboards and gradually expand as your storage requirements evolve.
Remember, experimenting with different layouts and accessories can help you create the most efficient setup for your tools or supplies. With minimal effort and creativity, a pegboard can transform your workspace into a tidy and productive environment while adapting to your changing needs.
I am Rick. I grew up helping my dad with his handyman service. I learned a lot from him about how to fix things, and also about how to work hard and take care of business. These days, I’m still into fixing things- only now, I’m doing it for a living.
I’m always looking for new ways to help people grow and develop. That’s why I have created this blog to share all my experience and knowledge so
that I can help people who are interested in DIY repair.