Are you looking for an easy and efficient way to protect your concrete surfaces? If so, look no further! Concrete coatings are the perfect solution to enhancing and preserving any existing area. This relatively low-cost treatment offers a variety of benefits such as improved durability, chemical protection, water resistance, and increased aesthetic appeal.
In this blog post on how to apply concrete coating we will discuss how applying a coating can extend the life of outdoor patios or walkways – without breaking the bank!
Benefits of Concrete Coating
Enhanced Durability
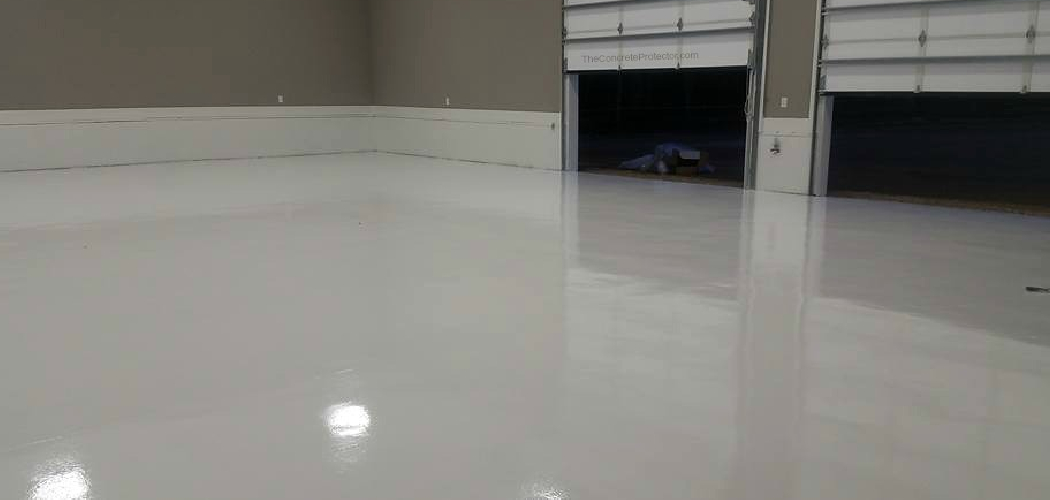
With its durable and long-lasting properties, concrete coating offers excellent protection against wear and tear. This makes it a great option for high-traffic areas like garages, driveways, and walkways.
Chemical Protection
Concrete is prone to damage from chemicals such as oil or gasoline spills. A coated surface offers superior resistance to these damaging substances, making it a great choice for areas where spills are common.
Water Resistance
Concrete coatings also prevent water from seeping into the surface, which can cause cracking and other forms of damage. This is especially beneficial in colder climates where water can freeze and expand, causing serious structural issues.
Aesthetic Appeal
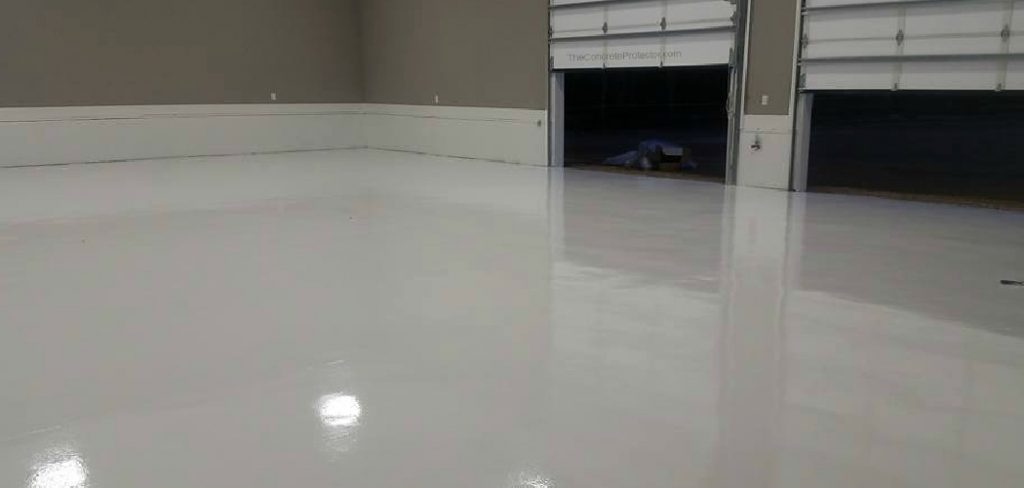
Not only do concrete coatings offer practical benefits, but they also come in a variety of colors and finishes to enhance the overall look of your space. Whether you prefer a glossy or matte finish, there is a coating option to suit your style.
10 Simple Step-by-step Guidelines on How to Apply Concrete Coating
Step 1: Gather Materials
Make sure you have all the necessary materials before starting the application process. This includes:
- Concrete Coating Product
- Cleaning Supplies (Pressure Washer or Scrub Brush)
- Protective Gear (Gloves, Goggles, Etc.)
- Tools for Application (Roller, Paintbrush, Etc.)
Step 2: Prepare the Surface
Before applying the coating, it is crucial to thoroughly clean and prep the surface. Remove any dirt, oil, or other debris using a pressure washer or cleaning solution.
It is also important to repair any cracks or imperfections in the concrete surface before proceeding. You want a smooth and clean canvas for the coating to adhere to.
Step 3: Protect Surrounding Areas
To avoid any damage to adjacent surfaces, use plastic sheeting or painter’s tape to cover them. If you are applying the coating indoors, make sure the area is well-ventilated. This will also help with the drying process. But, if you are working outdoors, make sure to choose a day with mild weather for the best results.
Step 4: Mix the Coating
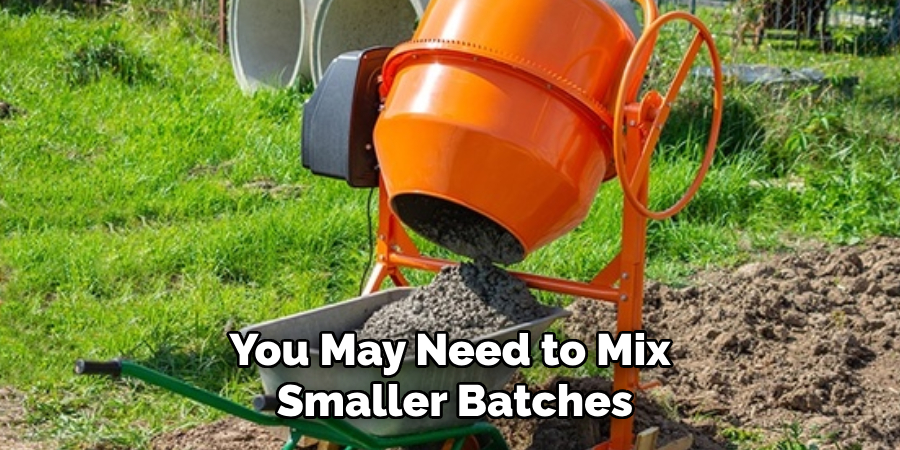
Follow the manufacturer’s instructions to properly mix the coating product. This may involve adding a catalyst or mixing different components together. Make sure to mix well until the product is completely blended.
It is also recommended to apply the coating within the timeframe specified by the manufacturer. You may need to mix smaller batches if you are working with a large area.
Step 5: Apply Primer (Optional)
If your concrete is particularly porous or has never been coated before, it is recommended to apply a primer before the coating. This will help the coating adhere better and provide a more even finish.
Simply use a roller or paintbrush to apply the primer evenly across the surface and let it dry completely before moving on to the next step. It usually takes about 24 hours for the primer to dry.
Step 6: Start Applying the Coating
Using a roller or paintbrush, start applying the coating in one corner of the surface. Work in small sections and make sure to apply the coating evenly. You may need a second coat for optimal coverage, so make sure to follow the manufacturer’s instructions regarding drying time between coats.
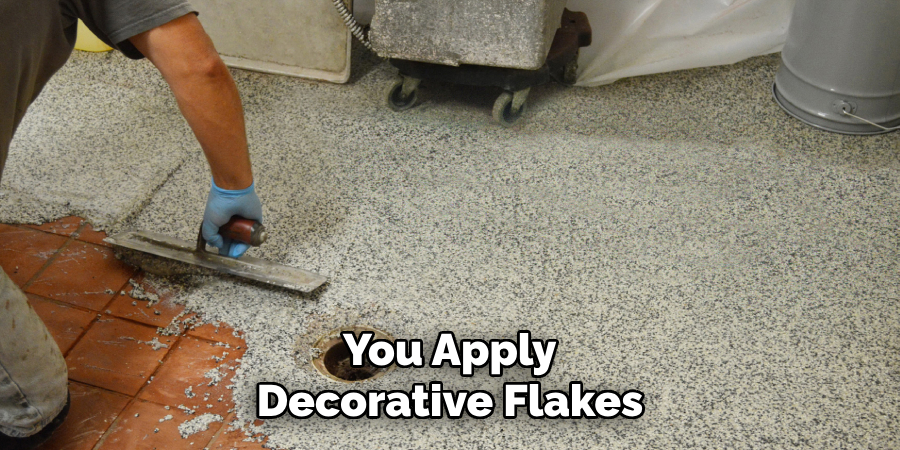
Step 7: Add Decorative Flakes (Optional)
Some coatings come with decorative flakes that can be sprinkled onto the wet surface for added texture and visual interest. If you choose to use these flakes, make sure to apply them evenly and let the coating dry completely before moving on to the next step. But, if you prefer a smooth finish, skip this step.
Step 8: Optional Second Coat
If you are looking for added durability or a stronger color, you can apply a second coat of coating. Make sure to follow proper drying time guidelines before applying the second coat. It is also important to work in small sections and maintain an even application.
You may also choose to add decorative flakes on top of the second coat if desired.
Step 9: Finishing Touches
Once the final coat is dry, remove any plastic sheeting or tape and clean up any excess coating from surrounding surfaces. If you apply decorative flakes, make sure to sweep or vacuum the surface to remove any loosened flakes. Make sure to clean your tools and any spills promptly to prevent the coating from hardening.
Otherwise, it may be difficult to remove. Otherwise, it may be difficult to remove.
Step 10: Let it Cure
Finally, it is crucial to let the coating cure for the recommended time before using the surface. This usually takes about 24 hours but may vary depending on the product and weather conditions. Make sure to avoid any traffic or heavy objects on the surface during this time. You want the coating to fully dry and bond with the concrete for maximum durability.
Following these step-by-step guidelines on how to apply concrete coating will ensure a successful concrete coating application and help extend the life of your outdoor surfaces.
So, whether you are looking for added protection, water resistance, or aesthetic appeal, consider adding a concrete coating to your next home improvement project! Just remember to always read and follow the manufacturer’s instructions for best results. Happy coating!
Additional Tips

- Always wear protective gear when applying concrete coating, such as gloves and a mask.
- Make sure to properly clean and prep the surface before applying the coating for better adhesion.
- Consider adding a UV protectant topcoat to your concrete coating if it will be exposed to direct sunlight for extended periods of time.
- Use caution when applying decorative flakes, as they can create a slippery surface if not applied evenly.
- If you experience any issues or have questions, reach out to the manufacturer for assistance. They may also offer additional tips and recommendations for optimal results.
- Properly dispose of any leftover coating materials according to local regulations.
- Regularly clean and maintain your coated surfaces to extend the lifespan of the coating. This may include periodic reapplication or touch-ups if needed.
- Consider testing a small area first before coating the entire surface to ensure desired results and compatibility with existing materials. This is especially important when using multiple products or brands together.
- If you are unsure about any steps or techniques, do not hesitate to seek professional guidance to ensure a successful application. Your safety and the quality of the coating should be top priorities.
Frequently Asked Questions
Q: How Long Does Concrete Coating Last?
A: The longevity of concrete coating depends on various factors such as the quality of the product used, weather conditions, and maintenance. On average, a good quality concrete coating can last up to 5-10 years with proper care.
Q: Can I Apply Concrete Coating Myself or Do I Need Professional Help?
A: It is possible to apply the concrete coating yourself, but it may be a challenging and time-consuming task. It is recommended to seek professional help for larger areas or if you do not have experience with DIY projects.
Q: Is Concrete Coating Slippery?
A: Some concrete coatings can be slippery when wet, especially if they have a glossy finish. It is important to consider this when choosing a coating for areas that may become wet, such as pool decks or driveways. There are slip-resistant additives available that can be mixed in with the coating to provide better traction.
Q: Can I Apply Concrete Coating Over Existing Coating?
A: It is possible to apply a new concrete coating over an existing one, but it is important to properly prep and clean the surface before doing so. If there are any cracks or imperfections in the existing coating, it is recommended to repair them first for a smoother and more durable finish.
Always read and follow the manufacturer’s instructions for best results when reapplying concrete coating. Overall, it is important to maintain and properly care for your concrete coating to ensure its longevity and effectiveness. With the right tools, materials, and knowledge, you can successfully apply a concrete coating to enhance your outdoor surfaces. Have fun and enjoy your newly coated concrete!
Conclusion
To sum up, on how to apply concrete coating, applying a concrete coating to your patio, driveway, walkway or other outdoor area is an easy way to spruce up your space. If you follow the steps outlined above, you’ll have years of enjoyment ahead of you!
You can begin by cleaning and priming the surface before applying the concrete coating. When doing this yourself, make sure to wear protective gear and use caution when handling tools and materials.
Then be sure to carefully read and follow instructions on all products you use. Lastly, keep in mind that proper preparation will result in a better-looking finished product that will last longer. So don’t be afraid–give your outdoor area life and luster with a DIY concrete coating application today! Start refreshing your space now!
I am Rick. I grew up helping my dad with his handyman service. I learned a lot from him about how to fix things, and also about how to work hard and take care of business. These days, I’m still into fixing things- only now, I’m doing it for a living.
I’m always looking for new ways to help people grow and develop. That’s why I have created this blog to share all my experience and knowledge so
that I can help people who are interested in DIY repair.