Proper alignment of garage door sensors is essential for ensuring the safe and efficient operation of your garage door. These sensors are a critical safety feature, designed to prevent the door from closing when an obstruction is detected. If the sensors are misaligned, your garage door may malfunction, posing potential safety risks. This guide will provide you with simple steps of how to line up garage door sensors, helping to maintain the functionality and safety of your system.

Importance of Sensor Alignment
Aligning your garage door sensors correctly is crucial for maintaining a safe environment and ensuring seamless operation. Misaligned sensors can result in the garage door failing to close properly, which not only causes inconvenience but may also compromise the security of your home. Furthermore, sensors are a vital safety mechanism designed to protect children, pets, or objects from being accidentally harmed by a closing garage door. Regularly checking and aligning the sensors can prevent unexpected malfunctions and extend the lifespan of your garage door system. Prioritizing sensor alignment is an essential step in keeping your garage door reliable and secure.
Signs Your Garage Door Sensors Are Misaligned
Detecting misaligned garage door sensors early can save you from potential damage or safety risks. One common sign is the garage door reversing unexpectedly or failing to close entirely. This usually occurs because the sensors are unable to establish a proper connection. Another indicator is a blinking or steady warning light on one or both of the sensors, signaling an alignment issue. Additionally, if you notice that the garage door operates inconsistently or requires multiple attempts to close, it could point to misalignment. Be attentive to these signs, as addressing them promptly can ensure the smooth and safe operation of your garage door system.
10 Methods How to Line up Garage Door Sensors
1. Understand the Purpose and Placement of Garage Door Sensors
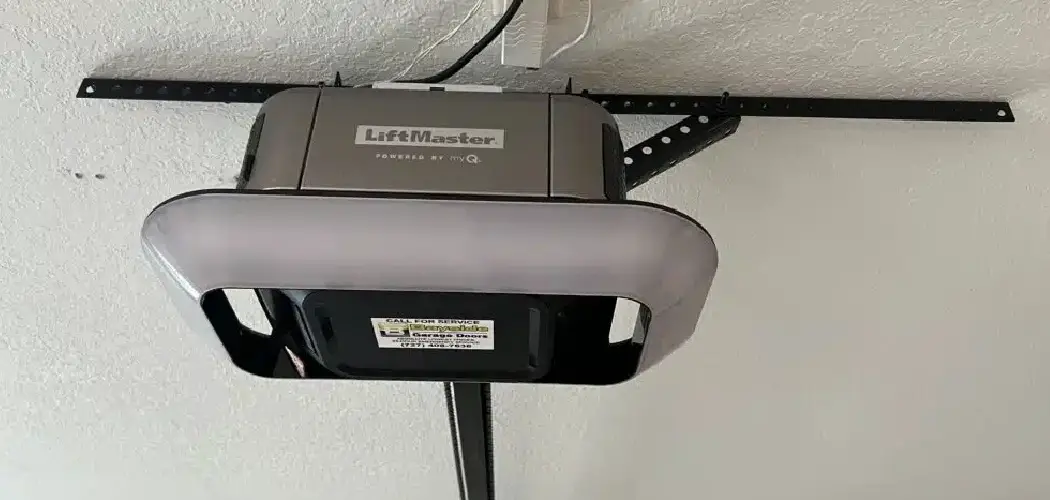
Garage door sensors, also known as photo-eye sensors, play a vital safety role by preventing the garage door from closing when an object or person is in its path. These sensors are mounted on each side of the garage door, typically 4 to 6 inches from the floor, and must face each other directly to function properly. Misalignment or obstruction between them interrupts the invisible infrared beam, causing the door to reverse. Before attempting any adjustments, familiarize yourself with your sensor model and ensure the power to the garage door opener is off to avoid accidental activation.
2. Inspect the Sensor Housings for Physical Damage
Before aligning the sensors, it is essential to examine their physical condition. Bent brackets, loose screws, or cracked housings can all contribute to misalignment. Gently wiggle each sensor and bracket to ensure they’re securely fastened and that nothing is loose or broken. A misaligned bracket may cause the sensor to point away from its partner, breaking the signal. If necessary, straighten bent brackets with pliers or replace damaged components entirely to ensure both sensors can maintain a stable and fixed direction toward one another.
3. Clean the Sensor Lenses
Dirt, spider webs, and debris can interfere with the infrared beam. Use a soft cloth or microfiber towel dampened with water to gently wipe each lens. Avoid using harsh cleaners, which may damage the plastic or leave residue. Cleaning should be done with care to prevent scratching the lenses, which could scatter the beam and cause signal disruption even if the sensors appear properly aligned. A clear lens allows for optimal signal transmission, which is essential for proper functioning of the system.
4. Loosen the Mounting Brackets for Adjustment
Most garage door sensor brackets are attached with either wing nuts or small screws, allowing for easy vertical and horizontal movement. Loosen these fasteners just enough to permit slight movement of the sensor without completely detaching it. This flexibility will allow you to gently swivel the sensors until they are directly facing each other. Take care not to over-loosen or unmount the bracket entirely, as this could cause alignment to worsen or make the process more cumbersome.
5. Use a String or Laser Level to Ensure Proper Alignment
For accurate sensor alignment, a string or laser level is an invaluable tool. Tie a string between the two brackets at sensor height and adjust both sensors so their lenses sit directly behind the string. If using a laser level, point it from one sensor directly to the other and adjust until the beam strikes the center of the receiving sensor. This method ensures a perfectly straight line, which helps maintain the infrared beam between the two sensors. Once aligned, retighten the mounting hardware carefully to hold the sensors in place without shifting them.
6. Check for the Indicator Light Signal
Most garage door sensors include indicator lights that reflect the status of the infrared connection. Usually, a green or red light will glow steadily when the sensors are aligned and powered. If the light is blinking or off, it typically indicates misalignment or obstruction. Adjust the sensors incrementally, watching for the steady light to return. These lights are crucial feedback indicators during the alignment process and should be used to fine-tune the position of each sensor until proper function is confirmed.
7. Secure the Sensor Wires to Prevent Movement
Loose or dangling wires can be accidentally pulled or vibrated out of position, causing the sensors to shift. Once alignment is achieved, use cable clips, zip ties, or small brackets to secure the wires along the wall or track. This prevents tension on the wire from affecting the sensor’s angle over time. Keeping the wiring neat and stable is a preventative measure that supports long-term alignment and minimizes the risk of disconnections or movement due to daily garage door operations.
8. Perform a Functional Test of the Garage Door System
After alignment, plug the opener back in and test the garage door. Close the door using the wall button or remote while ensuring nothing is in the sensor’s path. If the door closes smoothly and doesn’t reverse unexpectedly, the sensors are likely working properly. Then, interrupt the beam by placing an object (like a cardboard box) between the sensors and attempt to close the door again. The door should stop or reverse, indicating the sensors are responding correctly to obstructions and are properly aligned.
9. Address Sunlight or Reflective Interference
Direct sunlight or reflective surfaces can interfere with infrared sensors, especially during certain times of day. If your garage faces intense sun or has shiny floors or walls, these external factors may cause false signals or alignment issues. Try shielding the sensors from glare using small covers, installing shade structures, or repositioning any reflective surfaces nearby. Understanding how your environment affects the sensors can help maintain their efficiency and prevent issues even if alignment is mechanically correct.
10. Establish a Regular Maintenance Routine
Sensor alignment isn’t a one-time task—it requires periodic attention to ensure ongoing functionality. Make it a habit to check the sensor alignment every few months, especially after storms, vehicle bumps, or garage renovations. Inspect the brackets, clean the lenses, confirm wire stability, and test the door for proper sensor response. Preventive maintenance helps avoid costly repairs and ensures the safety feature continues protecting your home and family from accidents related to garage door movement.
Maintenance and Upkeep
Regular maintenance is key to preserving the performance and longevity of your garage door system. Start by routinely inspecting the moving parts, such as the rollers, hinges, and tracks, for signs of wear or damage. Lubricate these components with a silicone-based lubricant to reduce friction and ensure smooth operation. Additionally, check the torsion springs for tension and balance, as imbalances can strain the motor and lead to premature failure. Keep the tracks free of debris and dirt to prevent misalignment issues. Lastly, test the auto-reverse mechanisms and safety sensors monthly to ensure they function correctly. These simple practices can save you from costly repairs and enhance the overall safety of your garage door system.
Troubleshooting Common Issues
Even with regular maintenance, garage doors can sometimes encounter problems. Here are some common issues and how to troubleshoot them:
- Garage Door Won’t Open or Close
Check if the power source is connected and ensure the motor unit is receiving electricity. Inspect the remote batteries and replace them if needed. If the problem persists, examine the door’s alignment and look for any obstructions along the tracks.
- Unusual Noises During Operation
Squeaking or grinding noises often indicate a need for lubrication. Apply a silicone-based lubricant to the rollers, hinges, and tracks. If the noise continues, inspect the rollers and bearings for wear and replace if necessary.
- Door Reverses Before Closing Completely
This could be due to misaligned sensors or an obstruction on the tracks. Clean the sensors and ensure they are properly aligned. Adjust the force settings on the opener if the problem remains unresolved.
- Slow or Uneven Movement
Check the torsion springs and cables for wear or damage. Uneven tension can cause jerky or slow door movement. This repair typically requires a professional, as working with springs can be dangerous.
- Remote Control Malfunctions
Ensure the remote has fresh batteries and is within range of the opener. Reprogram the remote to sync with the garage door system if necessary.
By identifying and addressing these issues promptly, you can avoid further complications and keep your garage door functioning smoothly.
Conclusion
Regular maintenance of your garage door system not only extends its lifespan but also ensures the safety and reliability of its operation. By dedicating a small amount of time to routine inspections and upkeep, you can avoid inconvenient breakdowns and expensive repairs. Now that you know how to line up garage door sensors, try it yourself today and feel good about completing such a big DIY job!
I am Rick. I grew up helping my dad with his handyman service. I learned a lot from him about how to fix things, and also about how to work hard and take care of business. These days, I’m still into fixing things- only now, I’m doing it for a living.
I’m always looking for new ways to help people grow and develop. That’s why I have created this blog to share all my experience and knowledge so
that I can help people who are interested in DIY repair.