Are you planning to make home improvements to your garage? One overlooked task is something that may surprise you: adjusting the level of the garage floor slope. There are several reasons why it’s important for a level garage floor, including improved safety and curbing potential water damage.
In this blog post, we’ll explain why the sloped condition of a garage floor needs addressing and offer professional advice on how to level garage floor slope quickly and correctly. Read on to learn more about leveling an existing or new concrete slop in your own garage!
Summary: The process of leveling a garage floor slope can be done in ten steps. The first step is to use a level to find the high spot and mark it with a chalk line. Next, any obstacles in the way should be removed before chipping away at the high spot. After debris from chipping is vacuumed up, it’s important to repeat these steps until the floor is level.
Can You Use Self-Leveling Concrete on a Slope?
Self-leveling concrete is an ideal solution for leveling out a garage floor. It can be used on any type of floor, including a sloping one. However, it is important to understand that the self-leveling compound must have sufficient depth in order to effectively fill the gaps and level out the slope.
In most cases, this means the self-leveling compound must be between 1 and 2 inches thick. If you are working with a floor that has a more pronounced slope, it may be necessary to use multiple layers of self-leveling concrete.
When applying the self-leveling compound on a sloping garage floor, it is important to work in sections and ensure the self-leveling compound does not dry before it has been fully spread and leveled.
If drying occurs prematurely, it can create dips or unevenness in the finished product. It is also important to use an appropriate trowel for the job and make sure that you are working the self-leveling concrete into all of the cracks, crevices, and uneven areas.
In addition to using self-leveling concrete when working on a sloping garage floor, you may also need to use additional materials such as mesh or fiberglass for reinforcement. These materials can help increase the strength of the finished product and ensure it is able to withstand traffic, weather conditions, and other external pressures.
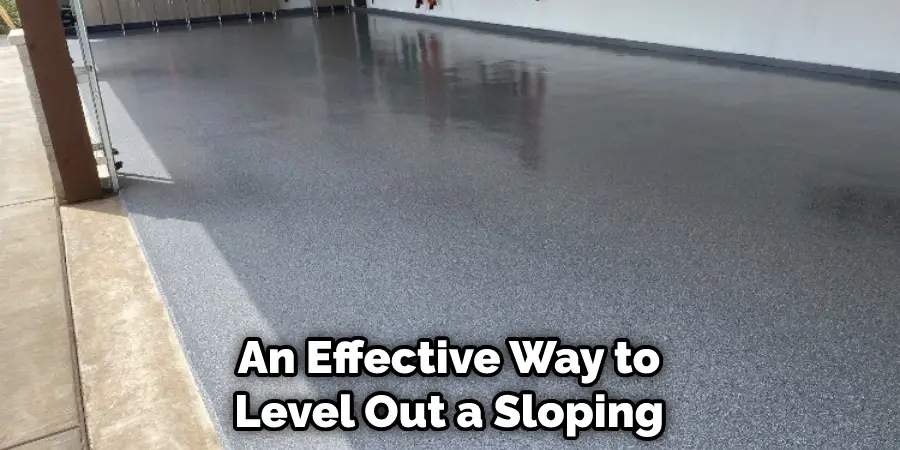
Overall, self-leveling concrete is an effective way to level out a sloping garage floor and can help create a smooth surface for parking or other activities. By following the proper instructions and using the right materials, you can ensure that your final product has optimal strength and stability.
10 Methods on How to Level Garage Floor Slope
1. Use a Level to Find the High Spot
Use a level to determine where the high spot is on your garage floor. This is the spot that needs to be lowered in order to create a slope. Make sure to use a long level for accuracy. If you can’t find a high spot, you may need to add more self-leveling compounds. However, if you have a high spot, you’ll need to start cutting and removing material.
2. Mark the High Spot with a Chalk Line
Once you have found the high spot, use a chalk line to mark it. This will help you to know where to start when you begin leveling the floor. Make sure that you mark the spot clearly with a chalk line so that you can see it from all angles. Additionally, mark the area around the high spot where you can begin to pour the concrete.
3. Remove Any Obstacles from the Area
Before you begin working on the floor, remove any obstacles that may be in your way. This includes things like rugs, boxes, and other items that could get in the way of your work. Move these items to a safe place where they won’t be in the way. This will make it easier for you to level the floor.
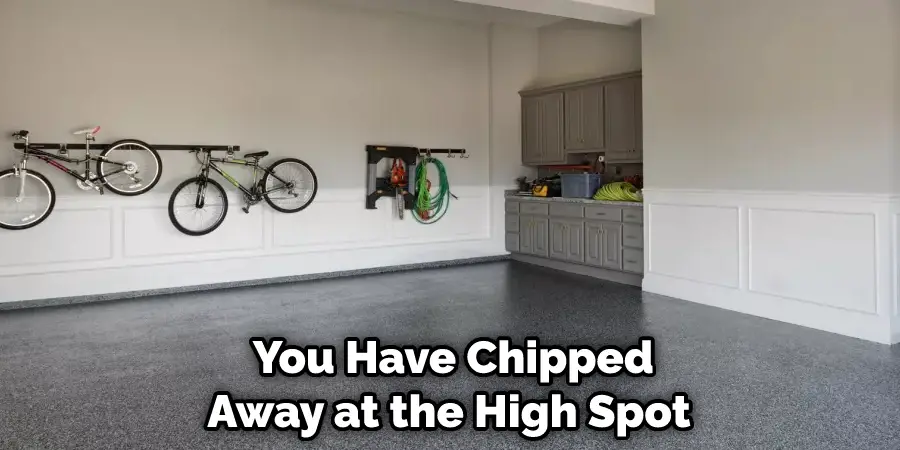
4. Begin Chipping Away at the High Spot
Using a chisel and hammer, begin chipping away at the high spot until it is lowered to the desired level. Be sure to wear safety goggles while doing this to protect your eyes from flying debris. Use the hammer to chip at the high spot in a controlled manner, gradually working towards the desired level. Be careful not to chip away too much material, as this can be difficult to fix.
5. Vacuum up the Debris
After you have chipped away at the high spot, vacuum up all of the debris that has been created. This will help to keep your work area clean and tidy. It will also help to prevent any leftover pieces of concrete from getting in the way of your leveling efforts.
Be sure to use a wet/dry vacuum for this task. This will help to ensure that all of the pieces are picked up and removed from the area. If you do not have a wet/dry vacuum, use a large shop vac to pick up the debris.
6. Repeat Steps Until the Floor Is Level
It may take several passes to get it completely level, so be patient and take your time. It is important to be precise since having a floor that is slightly off-level can lead to major problems as time goes on, such as water pooling and cracking of the concrete.
Once you are satisfied with the level of the floor, move on to cleaning up your workspace and applying a sealant or other protective coating to the floor. This step is essential if you want the garage floor to last for many years. A sealant will extend the life of the concrete and protect it from water seepage, dirt, and debris.
7. Apply a Self-Leveling Compound
Once the floor is level, apply a self-leveling compound to help smooth out any imperfections. Follow the manufacturer’s instructions for the best results. Use a trowel to spread the compound over the floor, and make sure it is evenly distributed. Allow the compound to dry before continuing.
8. Allow the Self-Leveling Compound to Dry
After you have applied the self-leveling compound, allow it to dry completely before moving on to the next step. This usually takes about 24 hours. The self-leveling compound will dry completely when it is hard to the touch, and no indentation is left when a finger is pressed on it.
Once the self-leveling compound has completely dried, you can continue on to the next step. You may need to use a trowel or a scraper to smooth out any remaining lumps or bumps in the compound. Carefully scrape away any excess material. Finally, clean up any dust and debris from the surface of the garage floor.
9. Apply an Epoxy Coating
Once the self-leveling compound has dried, apply an epoxy coating to help protect your garage floor from stains and other damage. Follow the manufacturer’s instructions for the best results.
When applying the epoxy, be sure to work in sections and not coat the entire floor at once. This will help ensure the epoxy is applied evenly and smoothly. To apply the epoxy, use a roller with a long handle to spread it over the floor.

Once the epoxy has been applied, allow it to dry completely for the specified amount of time before walking on it or parking vehicles in the garage. This will create a durable, long-lasting finish that will help keep your garage floor looking its best for years to come.
10. Allow the Epoxy Coating to Dry and Cure
Finally, allow the epoxy coating to dry and cure completely before using your garage again. This usually takes about 72 hours. During this time, be sure to keep the garage well-ventilated and not expose it to any moisture or water. Once the epoxy is completely dry and cured, you’re good to go with your newly leveled garage floor. Enjoy!
By following these simple steps, you can easily level your garage floor and protect it from damage. Remember to take your time and be patient when leveling the floor, as this will ensure that the job is done right. And don’t forget to apply a sealant or epoxy coating once you’ve finished leveling the concrete—this will help keep your garage looking its best
Things to Consider When Leveling Garage Floor
1. Assess Existing Slope:
Check the existing slope of your garage floor to plan your leveling project. Use a long level, like a 4-foot or 8-foot carpenter’s level, to measure the difference in elevation between two points on the floor. Make sure to check for any high spots that may need additional attention.
2. Check for Standing Water:
If your garage floor has an existing slope, there may be standing water at the low point in the garage. If so, you’ll need to determine why water is gathering and address it before leveling the floor. Otherwise, any new slope won’t last long.
3. Choose the Right Materials:
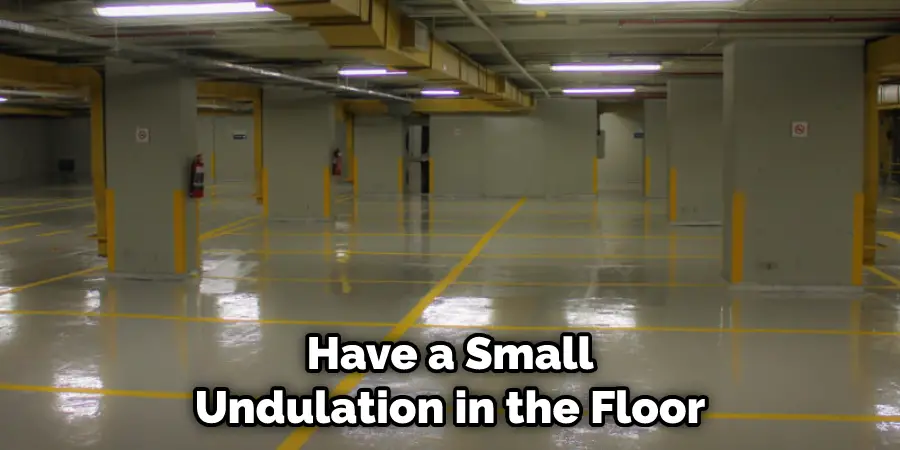
Choose the appropriate material for leveling your garage floor. If you have a small undulation in the floor, leveling the compound may be enough to even it out. For larger depressions or slopes, adding concrete and grinding it to level may be the best solution.
Conclusion
If your garage floor slopes towards the door, water can pool near the base of the door and seep into your home. You can level your garage floor by pouring self-leveling concrete or installing a new drainage system.
If you want to level your garage floor on your own, make sure to follow these tips on how to level garage floor slope!
I am Rick. I grew up helping my dad with his handyman service. I learned a lot from him about how to fix things, and also about how to work hard and take care of business. These days, I’m still into fixing things- only now, I’m doing it for a living.
I’m always looking for new ways to help people grow and develop. That’s why I have created this blog to share all my experience and knowledge so
that I can help people who are interested in DIY repair.