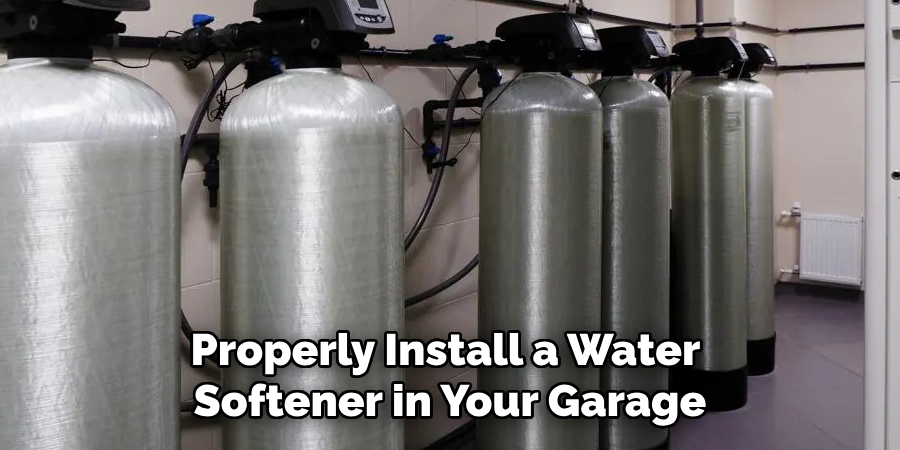
There are several reasons why you may want to install a water softener in your garage. For starters, installing a water softener can help improve the overall quality of your household’s water supply. Hard water contains excessive amounts of minerals such as calcium and magnesium, which can cause limescale buildup on your pipes and fixtures, leading to clogs and reduced efficiency over time.
The main advantage of installing a water softener in your garage is the convenience and ease of access. Having it installed in your garage allows for more space in your home, as well as easy accessibility during installation and maintenance. Another major advantage is that certain types of water softeners require an electrical outlet, which can be easily found in most garages. In this blog post, You will learn in detail how to install water softener in garage.
Step by Step Processes for How to Install Water Softener in Garage
Step 1: Inspect Your Garage
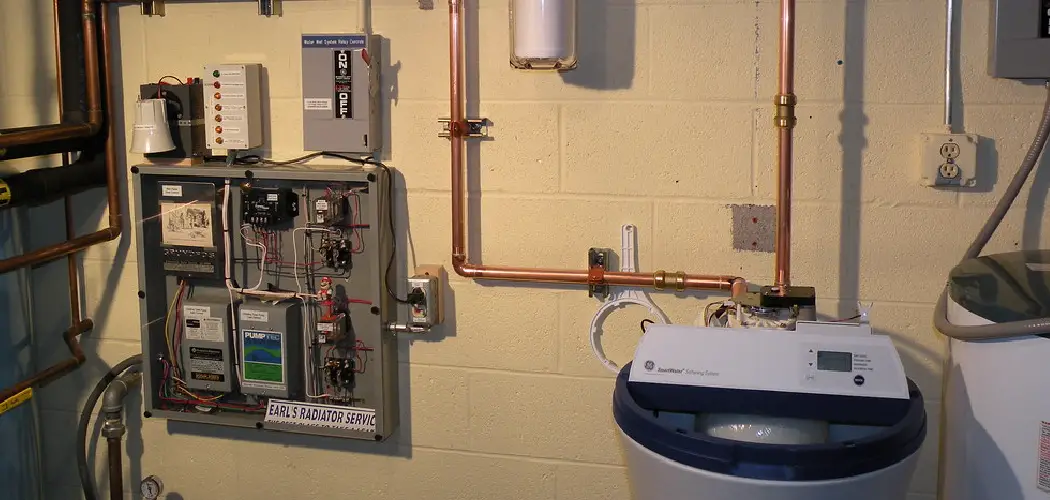
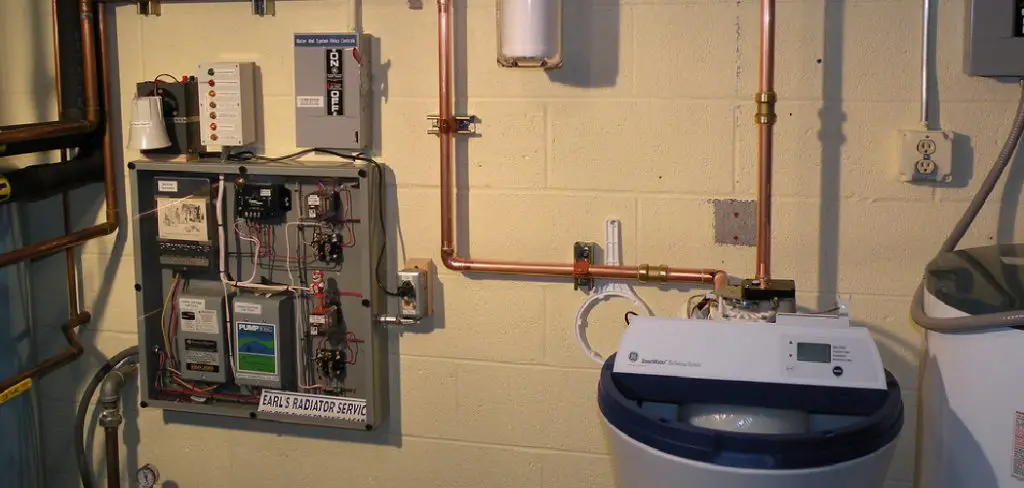
Before installing a water softener in your garage, it’s important to inspect the space and determine where the best location for your water softener will be. Look for an area near your main water supply line where you can easily access both hot and cold pipes.
Step 2: Gather Your Materials
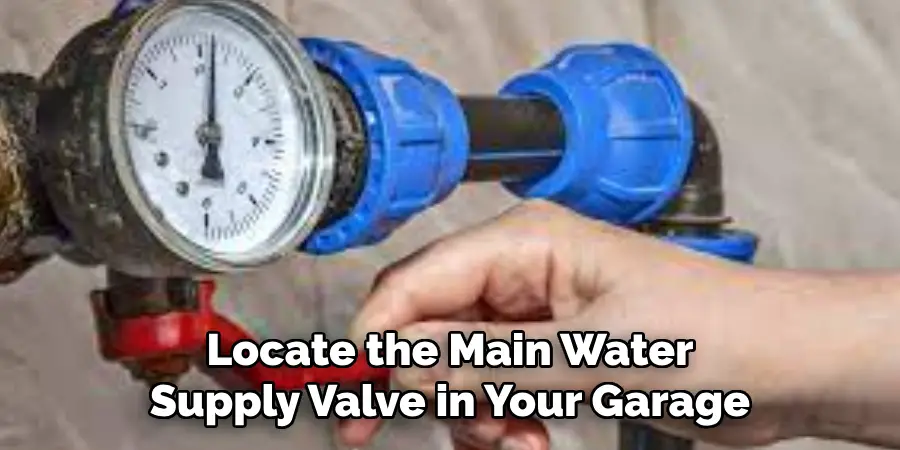
Before starting the installation, make sure you have all the necessary materials on hand. This includes your water softener unit, necessary tools (such as a saw and pipe cutter), PVC pipes, fittings, and connectors. Locate the main water supply valve in your garage and shut it off before starting any work. Make sure to also turn off the power supply to your water heater if it is located in the garage.
Step 3: Drain Your Plumbing System
Once the water supply is shut off, drain your plumbing system by opening all faucets and flushing all toilets in your home. This will prevent any excess water from leaking out while you work on your installation. Using a saw or pipe cutter, carefully cut into your main water supply line. Make sure to follow the manufacturer’s instructions for where and how to cut.
Step 4: Install Bypass Valves
Next, install bypass valves on both sides of your water softener unit. This will allow you to easily isolate the unit for maintenance and repairs in the future. Using PVC pipes, fittings, and connectors, connect your water softener unit to the main water supply line. Make sure all connections are secure and leak-free.
Step 5: Add Salt and Water
Fill your water softener unit with salt and add enough water to cover the salt. This will allow it to dissolve properly for use. Once everything is connected and filled, turn your water supply back on. Check for any leaks and make sure the system is working properly.
Finally, program your water softener unit according to the manufacturer’s instructions. This will ensure it is operating at its optimal settings for softening your home’s water.
Precautions for How to Install Water Softener in Garage
- This includes gloves, safety goggles, and a mask. As you may be working with chemicals and sharp objects, it is important to protect yourself from any possible accidents.
- Before beginning the installation process, make sure to turn off the main water supply to your garage. This will prevent any unexpected water flow or leaks during the installation.
- Make sure to read and understand the instructions provided in the manual for your specific water softener model. This will ensure that you install it correctly and avoid any potential hazards.
- In case of any accidents, make sure to have a first aid kit easily accessible. It is always better to be prepared for any emergencies.
- Make sure to use the right tools for the job. Using incorrect or damaged tools can not only cause harm to you but also lead to improper installation of the water softener.
- During the installation process, it is important to keep children and pets away from the garage. This will prevent them from getting hurt or interfering with the installation.
- If your water softener requires the use of chemicals, make sure to follow the safety guidelines provided. This includes wearing protective gear and storing the chemicals in a secure place away from children and pets.

By following these safety tips and precautions, you can ensure a smooth and safe installation of your water softener in the garage. Remember to always prioritize your safety and take necessary precautions to avoid any accidents or injuries.
How Do You Determine Where to Place the Water Softener in the Garage?
One of the key steps in installing a water softener in your garage is determining the location where it will be placed. This step is crucial because it affects the overall effectiveness and efficiency of your system.
To start off, you need to consider two important factors – access to plumbing lines and space availability. The ideal location for a water softener would be near the main intake line or where the water enters your home. This allows for easier access to plumbing lines and reduces the risk of damage or leaks.
In addition, you need to make sure that there is enough space in the garage to accommodate the water softener and have room for maintenance and repairs. Keep in mind that a typical water softener system can range from 2-3 feet in height and 1-2 feet in width, so plan accordingly. Once you have determined the location for your water softener, it’s time to gather the necessary tools to get started with the installation process.
How Do You Connect the Water Softener to the Existing Plumbing?
To properly install a water softener in your garage, you will need to gather the necessary tools and supplies. Some of the key items you will need include a wrench, pliers, tubing cutter, Teflon tape, compression fittings, and a drain hose. It is also recommended to have a power drill on hand for any drilling that may be required.
Next, you will need to determine the best location for your water softener in the garage. Factors to consider include access to plumbing and electricity, space availability, and ease of maintenance. It is also important to ensure that the area is well-ventilated to prevent any potential mold growth.
Once you have determined the installation location, it’s time to decide which type of water softener is best for your home. Some popular options include salt-based, salt-free, and dual tank water softeners.
Consider factors such as budget, water hardness level, and space availability when making your decision. Now that you have all the supplies and know where to place your water softener, it’s time to connect it to the existing plumbing. This process will involve cutting into the main water line and connecting the softener with compression fittings.
How Do You Program and Maintain the Water Softener?
Once the water softener is installed, you will need to program it according to your household’s specific needs. This includes setting the timer for regeneration and adjusting the hardness level based on your water test results. Regular maintenance is also crucial in ensuring your water softener continues to function properly.
This includes regularly adding salt (if using a salt-based system), cleaning out any resin buildup, and checking for any leaks or malfunctions. It is recommended to schedule a professional maintenance check every few years as well.
How Do You Know if Your Water Softener is Working Correctly?
When installing a water softener in your garage, it is important to take safety measures to ensure that the installation process goes smoothly and safely. This includes wearing gloves and eye protection when handling any chemicals or tools, turning off the main water supply before making any connections, and following all manufacturer instructions carefully.
Proper disposal of your old water softener is also an important consideration. Most water softeners contain chemicals and materials that should not be disposed of in regular household trash.
Check with your local waste management facility for guidelines on how to properly dispose of your old water softener. To ensure your new water softener is functioning correctly, pay attention to any changes in the quality of your water. If you notice a decrease in soap suds or an increase in scale buildup, it may be a sign that your water softener is not working properly.

You can also test your water hardness periodically to ensure it falls within the desired range. If you suspect any issues with your system, it is best to contact a professional for assistance.
Conclusion
In conclusion, learning how to install a water softener in your garage can provide many benefits for your home and family. From protecting your appliances and plumbing to providing softer skin and hair, having a water softener is definitely worth the investment.
As discussed, the installation process may seem daunting at first, but with proper guidance and preparation, it can be done easily and efficiently. Remember to select the right location in your garage, gather all necessary tools and materials, and follow the manufacturer’s instructions carefully.
And don’t forget to regularly maintain and check your water softener to ensure its optimal performance. I hope this article has been beneficial for learning how to install water softener in garage. Make Sure the precautionary measures are followed chronologically.
I am Rick. I grew up helping my dad with his handyman service. I learned a lot from him about how to fix things, and also about how to work hard and take care of business. These days, I’m still into fixing things- only now, I’m doing it for a living.
I’m always looking for new ways to help people grow and develop. That’s why I have created this blog to share all my experience and knowledge so
that I can help people who are interested in DIY repair.