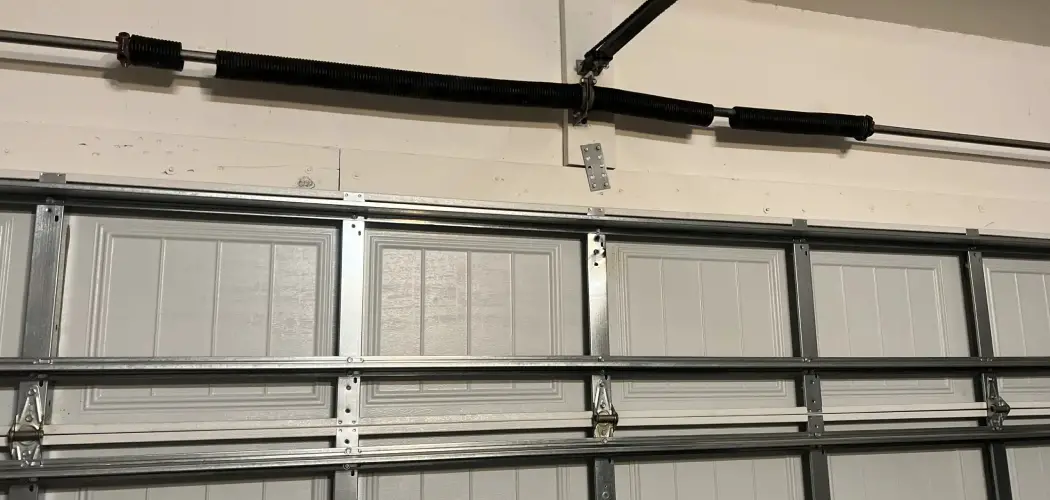
If you’ve been noticing fluctuating temperatures in your garage, poor energy efficiency, or even excessive noise from outside, it might be time to insulate your garage door opener. Learning how to install insulation in garage door opener is not only practical but also beneficial for saving energy, maintaining a comfortable indoor environment, and even extending the lifespan of your garage equipment. The good news? This project is beginner-friendly and doesn’t require advanced tools or expertise.

Before starting, gather all the necessary materials such as insulating foam panels, a utility knife, measuring tape, adhesive, and safety gloves. Begin by measuring each section of your garage door to ensure precise cuts for the foam panels. Once measured, use the utility knife to cut the panels to fit snugly into the door’s recesses. Apply adhesive to the back of each panel, secure them in place, and press firmly to ensure proper adhesion. Make sure to cover all sections evenly to optimize insulation. Finally, inspect your work to ensure there are no gaps or loose panels that could reduce effectiveness.
This guide walks you through each step of the process to help you achieve professional results without hiring a contractor. Keep reading for a detailed explanation, and start turning your garage into a more insulated, energy-efficient space today!
Why Installing Insulation Is Important for Garage Door Openers
Your garage isn’t just a storage space—it’s part of your home. A garage door is one of the largest entryways to any house, often making it a source of heat loss, drafts, and even noise. Insulating your garage door opener can help with the following:
Energy Efficiency – Insulating your opener reduces heat transfer, which keeps your home warmer in winter and cooler in summer. This lessens the load on your heating and cooling systems.
Soundproofing – An insulated garage can minimize the sound of outdoor traffic or noisy garage door operations.
Temperature Consistency – This helps protect everything stored in your garage, including tools and vehicles, from temperature extremes.
Durability Improvement – Insulation reduces strain on your garage door mechanisms, increasing their lifespan.
By understanding the value of insulation, you can appreciate how it improves comfort, saves money, and protects the environment.
7 Step-by-Step Guide on How to Install Insulation in Garage Door Opener
Proper insulation doesn’t just involve sticking foam panels onto the door. Follow these steps to ensure an effective and thorough installation.
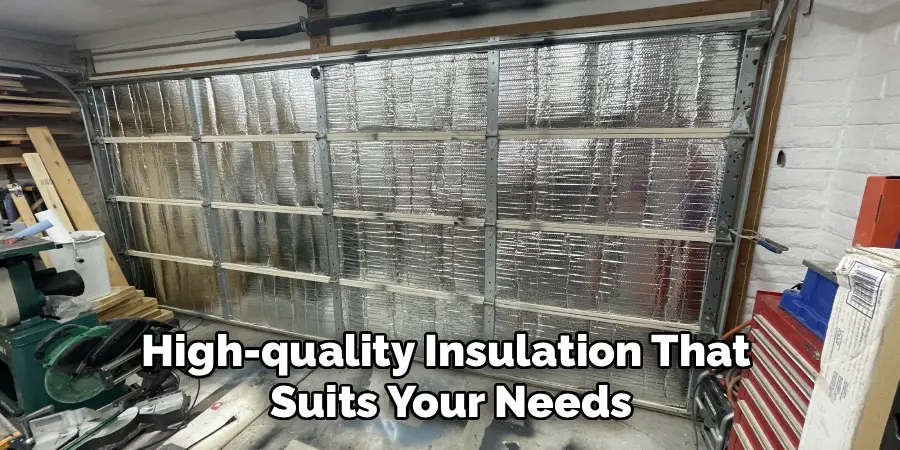
Step 1: Choose the Right Insulation Materials
Before beginning, select high-quality insulation that suits your needs. Garage door openers typically work well with two main types of insulation materials—rigid foam panels (like polystyrene) and reflective foil insulation. Both provide strength, durability, and efficient thermal properties.
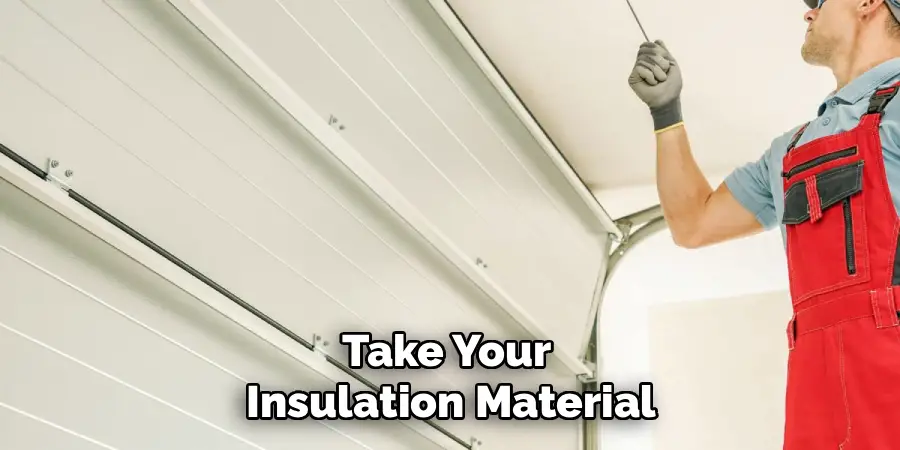
Choose insulation based on your climate and preference. Foam panels tend to provide excellent thermal resistance, while reflective foil excels in reflecting radiant heat. Ensure the material thickness fits into the recessed panels of your garage door. Proper preparation here streamlines the entire installation process and eliminates the hassle later. Additionally, you’ll need mounting tape, a measuring tape, a straight edge, and a utility knife for cutting the insulation.
Step 2: Clean the Garage Door Surface
For the insulation to adhere properly, you need a clean surface. Begin by wiping down the inside of your garage door with a damp cloth or sponge and an all-purpose cleaner. Remove dust, grease, or debris that might interfere with adhesive tape or glue.
A clean door ensures perfect contact between the insulation and the surface, which creates a snug fit. Don’t rush this step, as leftover debris can compromise the long-term effectiveness of your insulation. This small effort enhances adhesion and prevents any sagging or gaps later.
Step 3: Measure Each Panel
Every garage door is unique, and so are its panels. Using a measuring tape, measure the recessed sections of your garage door—both the width and height. Write down the measurements for accuracy. Then, use these measurements as a guide when cutting your insulation material.
Accurate measuring prevents errors that could lead to uneven fitting. Carefully record each panel’s size to eliminate air gaps, ensuring maximum thermal insulation for your garage door opener. Improper panel fitting can reduce efficiency, so double-check your dimensions.
Step 4: Cut the Insulation Sheets to Fit
Take your insulation material and lay it on a flat, stable surface. Use the measurements from step three and mark the sections on the insulation material. Utilize a straight edge or ruler for clean, even lines. Then, use a sharp utility knife to make precise cuts.
Properly cut sections will fit neatly into your garage door panels without the need for trimming or excessive force. Be mindful to cut slightly larger than your dimensions for a snug fit. Rushing this step can result in poorly installed panels, reducing the overall efficiency of the insulation.
Step 5: Apply Adhesive Tape or Clips
Now it’s time to secure your insulation. Depending on your chosen material, either use double-sided adhesive tape or mounting clips. Adhesive tape is ideal for foil sheets, while clips work best with foam insulation. Ensure the securing mechanism is evenly distributed across the insulation.
This critical step ensures that your panels stay firm and steady even during temperature fluctuations or door movements. Poorly secured insulation can come loose over time, so invest in quality tape or clips.
Step 6: Attach the Insulation Panels
With your adhesive or clips in place, press the insulation panels into the recessed garage door sections. Start at the top and work your way down, ensuring even application with no air pockets. Use your hands or a smooth object to flatten the surface gently, securing a tight seal.
Proper positioning prevents temperature leaks and drafts. Insulation must fit flush against the door frame to create a seamless barrier. Any gaps or uneven areas should be corrected immediately to maintain the system’s efficiency.
Step 7: Install a Weather Seal
While the insulation improves thermal efficiency, the edges of your garage door may still leak air. Installing a weather seal around the perimeter of the door adds a final layer of protection. Measure, cut, and attach weather-stripping for a professional finish.

Sealing the edges complements your insulation efforts by eliminating weak points. This not only enhances energy efficiency but also protects against water and pests. Regularly inspect and maintain these seals for continued performance over time.
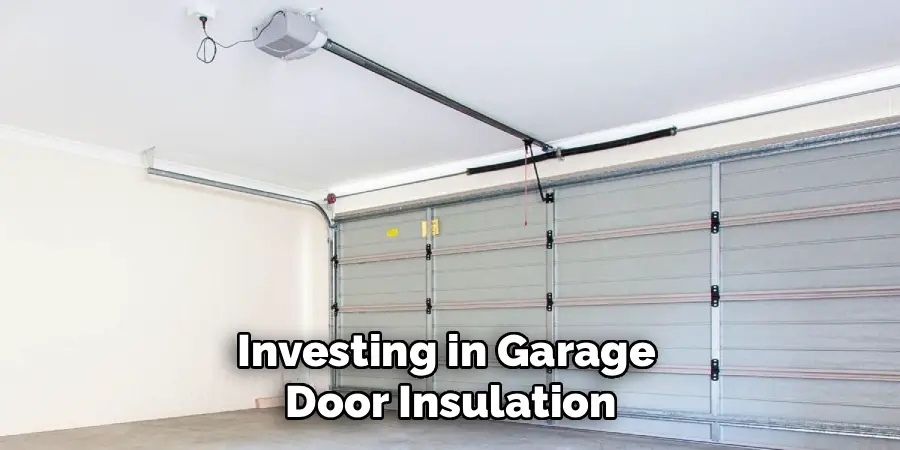
Cost-Benefit Analysis
Investing in garage door insulation and weather sealing provides tangible cost savings and practical benefits in the long term. The upfront cost of materials such as insulation panels, adhesive, and weather stripping typically ranges from $100 to $300, depending on the size of your garage and the products chosen. If you hire a professional, labor costs can add an additional $150 to $500. Despite these initial expenses, the energy savings can be significant. Insulating a garage door helps reduce heat loss in the winter and keeps the space cooler in the summer, leading to reduced heating and cooling costs, which may save homeowners $100 to $200 annually in energy bills.
Beyond financial savings, additional benefits include enhanced comfort, protection of stored items from temperature fluctuations, and reduced noise infiltration. Furthermore, a well-insulated and sealed garage can increase the overall value and appeal of a home. While the initial cost might seem steep to some, the long-term energy savings, improved durability, and overall utility make this a worthwhile investment for most homeowners.
Frequently Asked Questions
What tools do I need to install insulation in a garage door opener?
For this project, you’ll need basic tools commonly found in most homes. These include a utility knife for cutting the insulation, a measuring tape for precise measurements, adhesive tape or mounting clips for securing the insulation, and a straight edge for aligning cuts. If weather-stripping is involved, you may also need scissors and a screwdriver.
How long does it take to insulate a garage door opener?
On average, this project takes between 2 to 4 hours, depending on the size of your garage door and your experience level. Beginners may take closer to 4 hours, while seasoned DIYers can often complete the task in just 2. This makes it a perfect weekend project!
What type of insulation is best for garage door openers?
Rigid foam panels, such as polystyrene or polyurethane, are the go-to choice for most garage systems due to their excellent thermal properties and durability. For warmer climates, reflective foil insulation also offers significant benefits by reflecting radiant heat. The best choice depends on your specific needs and local climate.
Will insulating my garage door opener reduce noise?
Yes! Adding insulation to your garage door opener can significantly reduce noise levels. By dampening the sounds that echo within the garage, as well as blocking noise from outside, you’ll notice a quieter interior space. This is especially beneficial for homes with attached garages.
Can I remove insulation later if needed?
Yes, insulation is relatively easy to remove if needed. Foam panels or reflective sheets can be carefully pulled out by loosening any tape or clips. While the process is simple, keep in mind that some styles of adhesive may leave residue that needs cleaning.
Conclusion
Insulating your garage door opener is an impactful way to improve your home’s energy efficiency, maintain temperature consistency, reduce noise, and prolong the life of your garage equipment. By following this guide on how to install insulation in garage door opener, you now have the tools and knowledge to complete the project like a pro.
If you encounter any challenges during the insulation process, remember to consult the manufacturer’s instructions or seek professional assistance. Properly installed insulation will not only enhance the functionality of your garage but also contribute to a more comfortable and energy-efficient home environment. Taking the time to complete this upgrade will offer long-term benefits that make the effort truly worthwhile.
Take the time to measure, cut, and apply the materials carefully, and you’ll transform your garage into a more comfortable and efficient space. Start today and see the immediate benefits insulation can bring!
I am Rick. I grew up helping my dad with his handyman service. I learned a lot from him about how to fix things, and also about how to work hard and take care of business. These days, I’m still into fixing things- only now, I’m doing it for a living.
I’m always looking for new ways to help people grow and develop. That’s why I have created this blog to share all my experience and knowledge so
that I can help people who are interested in DIY repair.