Installing a garage door track is a crucial step in setting up a functional and reliable garage door system. A properly installed track ensures that the garage door operates smoothly and safely, minimizing the risk of damage or accidents.

Whether you’re replacing an old track or installing a new one, this guide will provide you with step-by-step instructions on how to install garage door track to help you complete the process efficiently and effectively. Before you begin, make sure you have the necessary tools and materials on hand to ensure a seamless installation experience.
Tools and Materials Needed
Before starting the installation of the garage door track, gather the following tools and materials to ensure the process is smooth and efficient:
Measuring Tape:
For accurate measurements of the track and door alignment. This will ensure the track is installed at the correct height and angle to work properly with your garage door.
Level:
To make sure the track is installed evenly and straight. This will prevent any issues with the operation of the garage door in the future.
Power Drill:
For drilling holes into the wall or ceiling for mounting brackets and screws. Make sure to use a drill bit that is appropriate for the surface you are drilling into.
Screwdriver:
To tighten screws and bolts during installation.
Pencil or Marker:
To mark areas for drilling and placement of hardware on the walls or ceiling.
Safety Glasses:
To protect your eyes from any debris or dust while working.
Ladder:
To reach higher areas for installation, if necessary.
9 Simple Steps on How to Install Garage Door Track
Step 1: Measure and Mark
Start by measuring the width and height of your garage door opening to ensure the track will fit properly. Use a tape measure to take accurate measurements. Next, use a pencil or marker to mark the placement of the track on the walls and ceiling.
Ensure the marks are level and aligned correctly on both sides of the door opening to avoid uneven installation. Double-check your markings before proceeding to the next step.
Step 2: Install Brackets
Attach the mounting brackets to the marked positions on the walls and ceiling. Use a power drill to securely fasten the brackets with appropriate screws or anchors, ensuring they are firmly fixed to support the weight of the track.
Make sure the brackets are aligned with your markings and are level on both sides. This step is crucial for a stable and balanced installation, so double-check your work before moving forward.
Step 3: Attach End Bearing Plates
Secure the end bearing plates to both ends of the mounting brackets. These plates are critical as they hold the track in position and ensure smooth operation. Align each plate carefully with the ends of the brackets and use screws to fasten them securely.
Ensure the plates are tightly fixed but avoid overtightening, which could damage the components. Once installed, double-check that the plates are evenly aligned and stable, as this will impact the overall functionality of the track system.
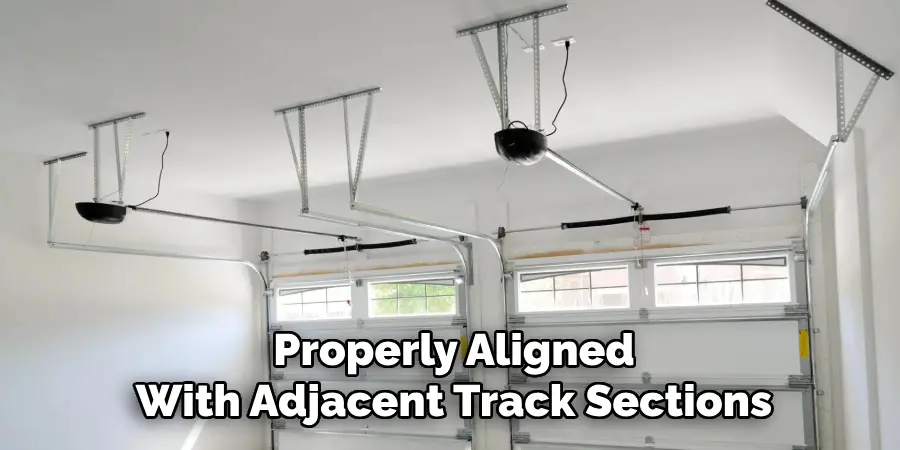
Step 4: Install Track Sections
Begin by aligning the track sections with the mounted brackets. Ensure the ends of each track section fit seamlessly into the end bearing plates and are properly aligned with adjacent track sections. Secure the tracks to the brackets using the provided screws or fasteners. Tighten each connection firmly to prevent movement, but be cautious not to overtighten and risk damaging the track.
Once all track sections are installed, inspect the entire length to confirm that the alignment is straight and smooth, as this is essential for optimal operation of the system.
Step 5: Install Rollers and Hinges
Begin by attaching the hinges to the door sections according to the manufacturer’s instructions. Ensure that the hinges are positioned correctly to allow smooth movement between the sections. Once the hinges are secured, install the rollers into the designated holes on each section of the door.
The rollers should fit snugly but rotate freely to ensure proper operation. Once inserted, guide the rollers carefully into the tracks, ensuring that each one aligns correctly and moves smoothly along the track system. Double-check all connections to confirm that the hinges and rollers are securely fastened and properly installed, as this will prevent operational issues later.
Step 6: Hang Door Panels
With the rollers installed and aligned in the tracks, begin hanging the door panels. Start with the bottom panel and carefully lift it into position, ensuring that it is level and securely seated within the tracks. Once the bottom panel is in place, proceed to stack each subsequent panel on top, aligning the edges and securing them with bolts or screws as needed.
Ensure that the hinges between panels are properly connected to allow smooth movement and structural integrity. After all panels are installed, check the alignment of the entire door system and make adjustments if necessary to ensure seamless operation.
Step 7: Install Torsion Springs
Begin by positioning the torsion spring assembly on the mounting bracket above the garage door. Carefully slide the springs onto the torsion tube, ensuring that they are installed in the correct orientation, as indicated by the manufacturer’s guidelines. Secure the springs by tightening them to the stationary center bracket using bolts or screws. Once mounted, attach the cable drums to each end of the torsion tube and wind the cables evenly onto the drums.
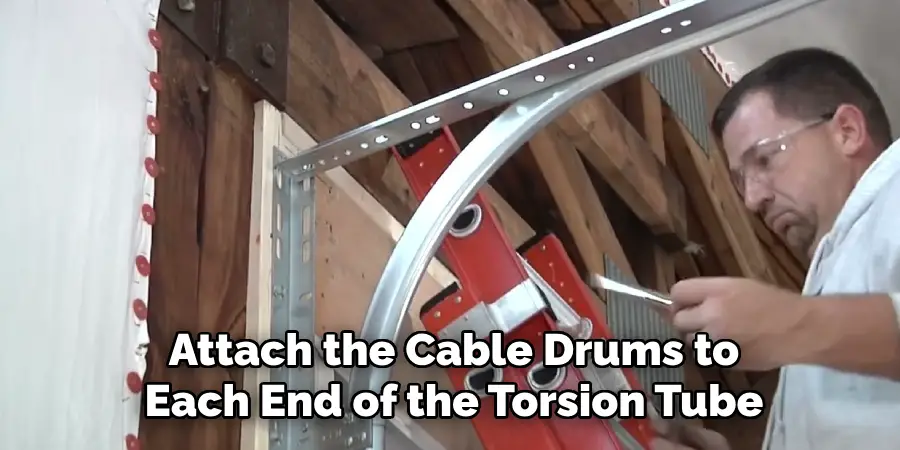
Follow the manufacturer’s recommendations regarding the number of turns required to properly tension the springs. Use a sturdy winding bar to adjust the tension, ensuring that it is neither too loose nor too tight. Always handle the torsion springs with extreme caution to prevent injury, and double-check all connections before testing the door’s operation.
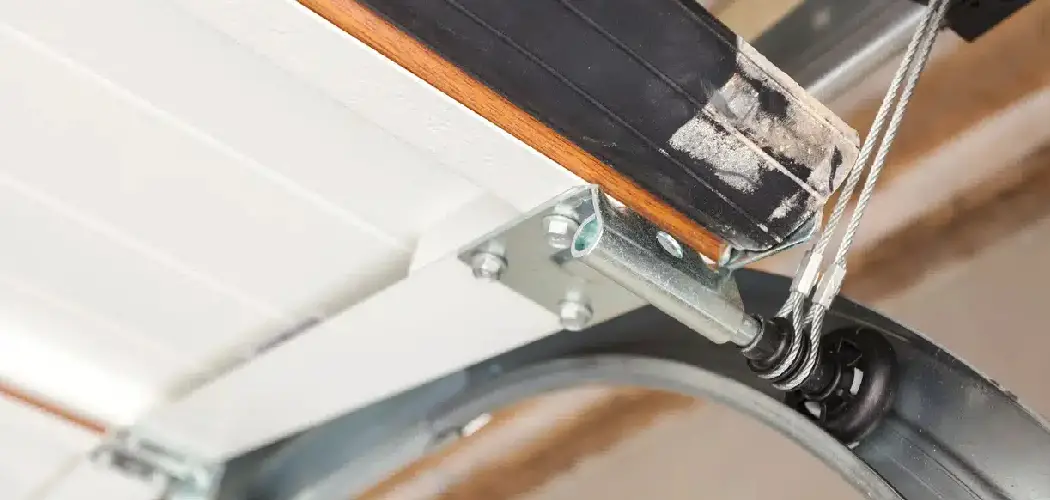
Step 8: Attach Cables and Pulleys
Securely attach the lifting cables to the bottom brackets on either side of the garage door. Ensure the cables are properly aligned and free from twists or tangles. Next, guide the cables through the pulleys located near the top of the vertical tracks. Confirm that the pulleys are functioning smoothly and that the cables are placed within the correct grooves.
Properly routed cables are essential for balanced and safe door operation. Once the cables are in place, inspect the entire assembly for consistency, verifying that both sides are evenly tensioned before proceeding to the next step.
Step 9: Test Opening and Closing
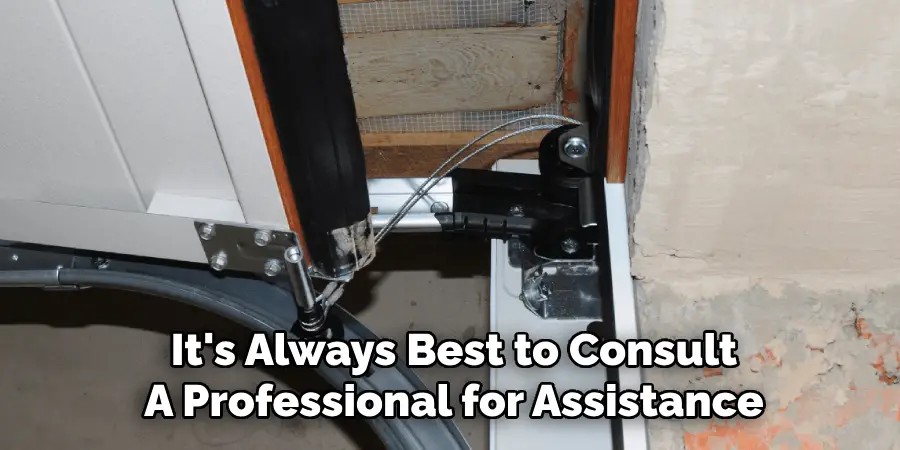
Before fully using your garage door, test it out by opening and closing it a few times. Make sure the door moves smoothly along the track and check for any unusual noises or issues. If everything looks good, you’re ready to start using your newly installed garage door!
Following these steps on how to install garage door track will ensure that your garage door operates smoothly and safely. However, if you encounter any issues during the installation process or while using your garage door, it’s always best to consult a professional for assistance.
Additional Tips and Considerations

- Be sure to follow all safety precautions when installing a garage door, including wearing protective gear and having an assistant if needed.
- If you encounter any problems during installation, consult the manufacturer’s instructions or contact a professional for assistance.
- Regular maintenance and inspections are important for keeping your garage door functioning properly. Check for loose hardware, lubricate moving parts, and keep the tracks clean.
- Upgrading to a new garage door with better insulation can help improve energy efficiency and protect your belongings from extreme temperatures.
- Consider installing a garage door opener for added convenience and safety. Make sure to follow the manufacturer’s instructions for installation and operation.
Frequently Asked Questions
Q: How Often Should I Perform Maintenance on My Garage Door?
A: It is recommended to perform maintenance on your garage door at least once a year. However, if you notice any issues or unusual noises, it may be necessary to do so more frequently. Regular maintenance can prevent major problems and extend the lifespan of your garage door.
Q: How Can I Increase the Lifespan of My Garage Door?
A: Some tips for extending the lifespan of your garage door include performing regular maintenance, keeping it clean and lubricated, avoiding hitting or bumping it with vehicles or objects, and addressing any issues promptly before they become more serious.
Q: What Should I Do If My Garage Door is Not Opening or Closing Properly?
A: First, check if there are any obstructions blocking the sensors or tracks. If everything appears to be clear, try manually opening and closing the door to see if it’s a problem with the motor. If you’re still having issues, it’s best to call a professional garage door repair company to diagnose and fix the problem. Trying to fix it yourself could lead to further damage or injury if you’re not familiar with garage door mechanics. Remember, regular maintenance can also help prevent these types of problems from occurring in the first place. So, make sure to schedule annual tune-ups and address any minor issues before they become bigger problems.
Conclusion
In conclusion, taking care of your garage door through regular maintenance and timely repairs is essential for its longevity and safe operation. By addressing problems early and seeking professional assistance when needed, you can avoid costly repairs and ensure your garage door functions reliably for years to come.
A well-maintained garage door not only adds convenience but also enhances the safety and security of your home. Thanks for reading this article on how to install garage door track.
I am Rick. I grew up helping my dad with his handyman service. I learned a lot from him about how to fix things, and also about how to work hard and take care of business. These days, I’m still into fixing things- only now, I’m doing it for a living.
I’m always looking for new ways to help people grow and develop. That’s why I have created this blog to share all my experience and knowledge so
that I can help people who are interested in DIY repair.