Installing garage door hinges is a straightforward process that can help ensure your garage door operates smoothly and securely. Whether you are replacing old hinges or installing new ones, having the right tools and understanding the steps involved is essential.
This guide on how to install garage door hinges will walk you through the basics of installing garage door hinges, so you can complete the task with confidence and ease.
Why Install Garage Door Hinges?
Garage door hinges play a crucial role in the overall functioning of your garage door. They connect the individual sections of the garage door together, allowing it to open and close smoothly.
Additionally, they help distribute weight evenly across the entire length of the door, preventing any excessive stress on certain areas. This makes them an important component for maintaining the structural integrity and longevity of your garage door.
What You Will Need
Before you begin installing your new garage door hinges, make sure you have all the necessary tools and materials handy. These will include:
New Garage Door Hinges:
Make sure to purchase hinges that are specifically designed for your type and size of garage door. Different hinges have different weight capacities, so it’s important to choose the right ones for your door.
Screwdriver or Power Drill:
You will need a screwdriver or power drill with the appropriate bits to remove any old hinges and install the new ones.
Measuring Tape:
This will be used to ensure accurate placement of the hinges on the door.
Safety Glasses:
Always wear safety glasses when handling tools and materials.
Work Gloves:
Work gloves are recommended to protect your hands during installation.
8 Step-by-Step Guidelines on How to Install Garage Door Hinges
Step 1: Remove Old Hinges
Begin by ensuring the garage door is in a fully closed position to prevent any movement during the process. Put on your safety glasses and work gloves for protection. Using your screwdriver or power drill, carefully remove the screws securing the old hinges to the door. Be sure to keep the screws in a safe place if they are still in good condition and can be reused.

Gently detach the old hinge from the door and inspect the area for any damage or debris. Clean the surface thoroughly to prepare it for the installation of the new hinge.
Step 2: Clean and Prep
With the old hinge removed, take this opportunity to carefully inspect the door and frame for any irregularities. Use a clean cloth or mild cleaner to remove any dust, grease, or residue from the surface. Ensure the area is completely smooth and free of debris, as this will allow the new hinge to sit flush against the surface.
If there are any cracks or damage to the wood, fill them using wood filler and allow it to dry completely before sanding it smooth. A clean and well-prepped surface is essential for the secure installation of the new hinge.
Step 3: Measure for Placement
Using a measuring tape, determine the exact position where the new hinge will be installed. Carefully measure and mark the locations for the hinge screws on both the door and the frame.
Ensure these marks are evenly spaced and align perfectly to guarantee a secure and balanced fit. Double-check your measurements to avoid any misalignment that could affect the door’s functionality. Accuracy during this step is crucial to achieving a proper installation.
Step 4: Mark and Pre-Drill Holes
With the hinge placement marked, use a pencil or marking tool to clearly trace the screw hole positions on both the door and the frame. These markings will act as guides for drilling. Next, select a drill bit that is slightly smaller than the screws being used, as this will ensure a snug and secure fit.
Carefully pre-drill the holes at the marked points, maintaining steady pressure and alignment to avoid damaging the surface. Pre-drilling helps prevent the wood from splitting and makes it easier to install the screws later.
Step 5: Install New Hinges
Position the new hinges on the door and the frame, aligning them with the pre-drilled holes. Secure the hinges in place by driving screws into the holes, starting with the top hinge and working your way down to ensure proper alignment.
Use a screwdriver or drill for this step, taking care not to overtighten the screws, as this could strip the holes or damage the hinge. Once all screws are in place, test the hinge movement to confirm it is secure and operates smoothly. Make any necessary adjustments to ensure a proper fit.
Step 6: Reattach the Door
Carefully lift the door and position it so that the hinges align with those installed on the frame. Start by securing the top hinge pin, ensuring it slides smoothly into place. Repeat this process for the middle and bottom hinges, if applicable.
Once all hinge pins are in place, gently open and close the door a few times to check for smooth movement and proper alignment. If the door does not swing or close correctly, make minor adjustments to the hinges or screws as needed to ensure a secure and functional reattachment.

Step 7: Test and Adjust
After ensuring the door is securely reattached, conduct a final test of its functionality. Open and close the door several times, paying close attention to how it moves within the frame. Check for any signs of sticking, misalignment, or uneven spacing around the edges.
If you notice any issues, carefully tighten or loosen the hinge screws as necessary to create proper alignment. Additionally, inspect the latch mechanism to confirm it aligns correctly with the strike plate. Repeat the testing process until the door operates smoothly and closes securely.
Step 8: Add Finishing Touches
To finish off your door hinge replacement project, add any finishing touches such as painting over the screw heads or adding decorative caps to cover them. This will give your door a polished look and hide any visible hardware.
Following these steps on how to install garage door hinges will not only ensure that your door operates smoothly, but it will also increase its overall lifespan. Regularly checking and maintaining your garage door hinges can prevent any potential issues from arising and save you time and money in the long run.
Additional Tips for Garage Door Hinge Replacement
Choose the Right Hinges
Make sure to purchase hinges that match the specifications of your garage door. Check the size, material, and weight capacity to ensure compatibility.
Keep Safety in Mind
Always disconnect the garage door opener and ensure the door is in a stable position before beginning any work. This will prevent accidental movement while you’re handling the hinges.
Organize Your Tools and Hardware
Lay out your tools and any replacement hardware beforehand to avoid interruptions during the installation process. Common tools include screwdrivers, wrenches, and a power drill.
Use Proper Lubrication
Once the hinges are installed, apply a lubricant to all moving parts to reduce wear and noise. Silicone-based lubricants are typically recommended for garage doors.

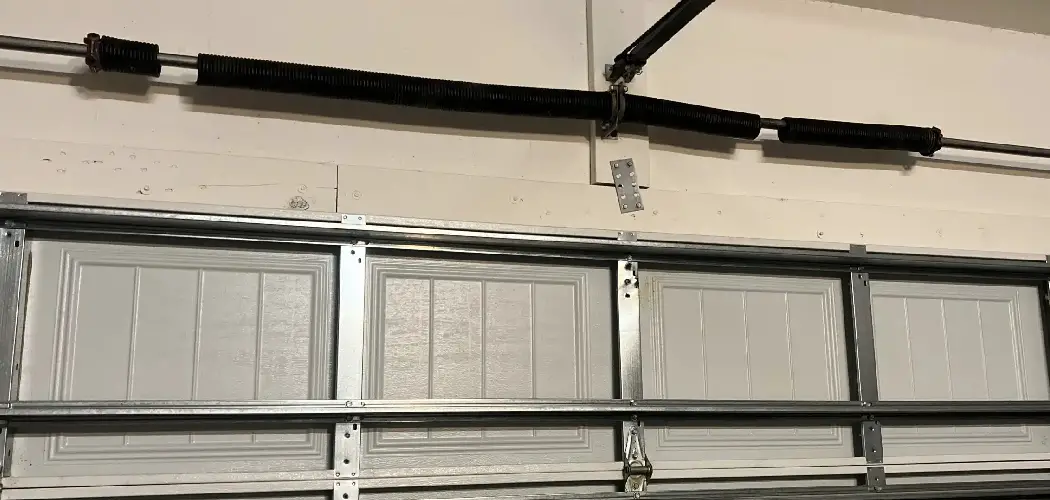
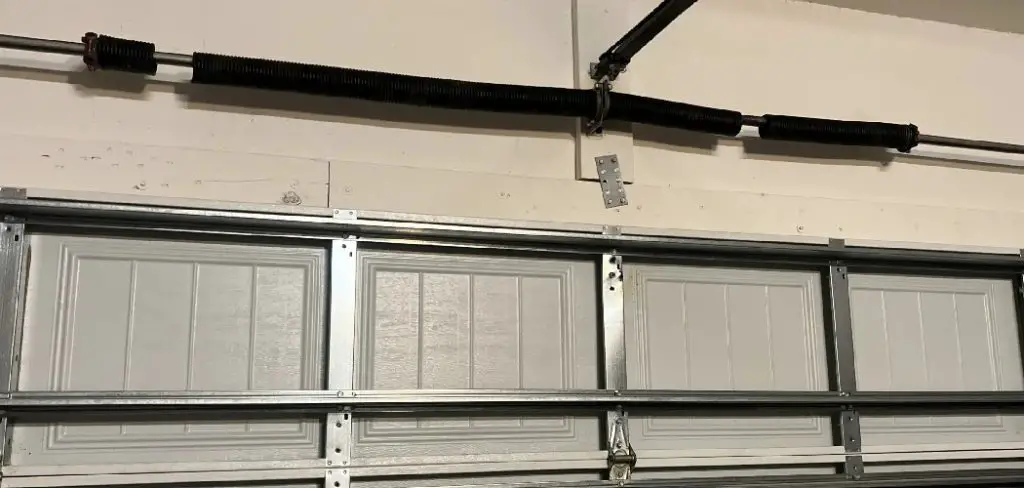
Inspect the Entire Door System
While replacing the hinges, take the opportunity to inspect other components of the garage door, such as rollers, tracks, and springs. Early detection of wear and tear can help you address issues before they become costly repairs.
By following these tips, you can ensure a smooth and efficient hinge replacement process, keeping your garage door in optimal condition for years to come.
Frequently Asked Questions
Q: Can I Replace the Hinges on My Garage Door Myself?
A: Yes, you can. However, it is recommended to have professional help if you are not experienced in handling garage doors and their components.
Q: How Often Should I Replace the Hinges on My Garage Door?
A: It is recommended to inspect your hinges annually for wear and tear, and replace them every 5-10 years depending on usage and weather conditions.
Q: Is It Necessary to Replace All the Hinges at Once?
A: It is not necessary to replace all the hinges at once unless they are all showing signs of wear and tear. You can also choose to gradually replace them over time as needed.
Q: What Type of Hinges Are Best for Garage Doors?
A: The type of hinges that are best for your garage door will depend on its size and weight. It is important to consult with a professional or refer to the manufacturer’s recommendations to determine the appropriate hinge type for your specific door. Generally, heavy-duty steel or reinforced hinges are recommended for larger and heavier doors, while lighter-duty hinges can suffice for smaller doors. Additionally, it is important to ensure that the hinges are properly lubricated and maintained to prolong their lifespan.

Conclusion
Selecting the right hinges for your garage door is essential to ensuring its functionality, durability, and safety. By taking into account factors such as the door’s size, weight, and the manufacturer’s guidelines on how to install garage door hinges, you can make an informed decision that suits your specific needs.
Regular maintenance, including lubrication and inspections, will further enhance the performance and longevity of the hinges. Investing in the proper hardware and upkeep will not only protect your garage door but also provide peace of mind for years to come.
I am Rick. I grew up helping my dad with his handyman service. I learned a lot from him about how to fix things, and also about how to work hard and take care of business. These days, I’m still into fixing things- only now, I’m doing it for a living.
I’m always looking for new ways to help people grow and develop. That’s why I have created this blog to share all my experience and knowledge so
that I can help people who are interested in DIY repair.