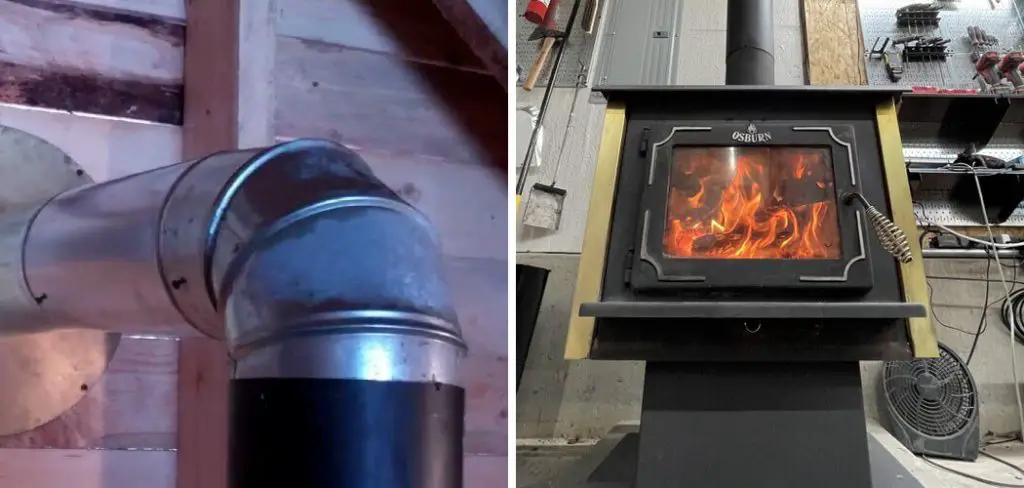
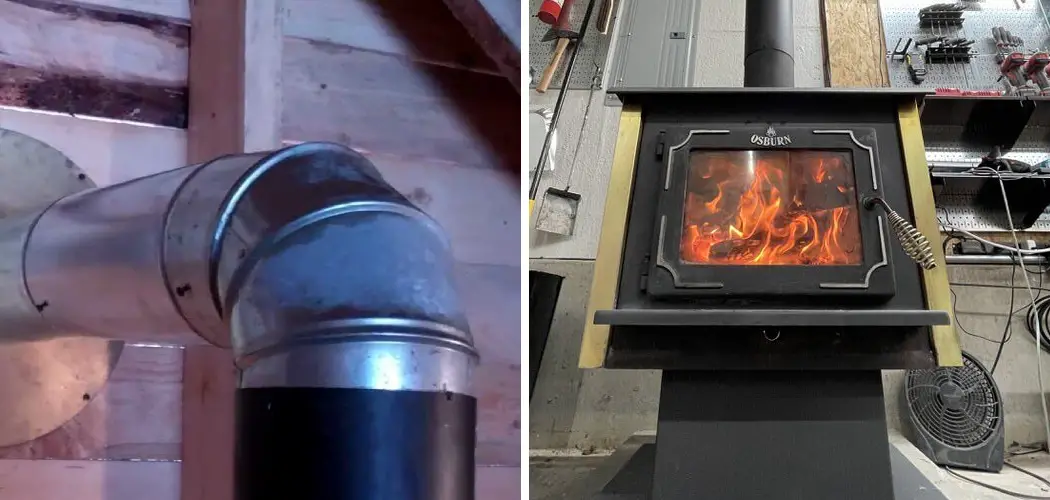
Installing a wood burner in a garage can be an excellent way to create a cozy and warm environment, especially during the colder months.

This guide will provide you with all the essential steps for how to install a wood burner in a garage, allowing you to transform your garage into a comfortable workspace or relaxation area.
Whether you’re looking to enhance your garage’s functionality or simply enjoy the ambiance of a wood fire, understanding the installation process is crucial for both efficiency and safety. Let’s delve into the steps required to successfully complete this project.
Understanding Wood Burners
A wood burner, also known as a wood stove, is a heating appliance that burns wood fuel to generate heat. These stoves are designed to be highly efficient, providing an effective heating source while producing minimal emissions. Wood burners come in various styles and sizes, catering to different heating needs and space constraints.
Before installing a wood burner in your garage, it’s essential to understand the various features, such as the type of fuel used, the stove’s efficiency rating, and the necessary ventilation requirements. Additionally, knowing the differences between traditional wood stoves and modern, EPA-certified models can help you select the most suitable option for your space, ensuring both comfort and compliance with safety regulations.
Planning the Installation

Before proceeding with the installation of your wood burner, careful planning is essential to ensure a safe and efficient setup. Start by selecting an appropriate location within your garage that allows for adequate airflow and follows clearance guidelines, typically recommended to be at least 36 inches away from combustible materials. Next, assess the size of the wood burner in relation to your garage space; ensure that it is capable of generating sufficient heat without overwhelming the area.
Additionally, check local building codes and regulations regarding wood stove installations, as these may dictate specific requirements for flue height, chimney construction, and clearances. It’s also wise to consider the stove’s proximity to any windows or doors to minimize the risk of smoke or fumes entering the workspace.
Finally, create a detailed plan that outlines the necessary materials, including the wood burner, flue pipe, chimney, and any insulation or protective barriers needed to comply with safety standards. Proper planning will set the foundation for a successful installation, enhancing both comfort and safety in your garage.
10 Methods How to Install a Wood Burner in a Garage
1. Check Local Building Codes and Regulations

Before beginning the installation process, it’s crucial to familiarize yourself with local building codes and regulations regarding wood burners. Different areas have varying requirements for clearances, venting, and installation practices. Contact your local building authority or fire marshal to obtain the necessary permits and guidelines. Compliance with these regulations ensures a safe installation and avoids potential legal issues.
2. Select the Right Wood Burner
Choosing the appropriate wood burner for your garage involves considering factors such as the size of the space, the type of burner, and efficiency. Options include traditional wood stoves, pellet stoves, and modern high-efficiency wood heaters. Assess the heating requirements of your garage and select a burner with adequate capacity to ensure effective and consistent heating. Additionally, consider the burner’s design and how it fits within your garage’s layout and aesthetic.
3. Plan the Installation Location
The installation location for your wood burner should be carefully planned to ensure safety and efficiency. The burner should be placed on a non-combustible surface, away from flammable materials and walls. Consider the layout of your garage and the burner’s proximity to windows, doors, and ventilation. Allow sufficient clearance around the burner to comply with safety regulations and facilitate easy access for maintenance and operation.
4. Prepare the Installation Site

Once you’ve selected the location, prepare the site for installation. This involves installing a suitable hearth or base for the wood burner, which should be made from non-combustible materials such as tile, stone, or metal. The hearth should extend beyond the burner to protect the surrounding area from heat and potential sparks. Ensure that the floor and walls are clean and level, providing a stable foundation for the burner.
5. Install the Chimney or Flue System
Proper venting is essential for a safe and efficient wood burner installation. Install a chimney or flue system to direct smoke and gases outside. The chimney should be made of high-quality, heat-resistant materials and meet local building codes. Follow the manufacturer’s instructions for assembling and installing the chimney components, ensuring that it extends above the roofline and is properly sealed to prevent leaks.
6. Connect the Wood Burner to the Chimney
Connect the wood burner to the chimney or flue system using a stovepipe or connector. This component should be made of durable, heat-resistant metal and be securely attached to both the burner and the chimney. Use high-temperature sealant or gaskets to ensure a tight seal and prevent leaks. Proper connection is crucial for effective venting and to avoid hazardous buildup of creosote or other byproducts.
7. Install a Fresh Air Intake

To ensure efficient combustion and prevent backdrafts, install a fresh air intake system. This system supplies the wood burner with a constant flow of fresh air, improving combustion and reducing the risk of carbon monoxide buildup. The intake should be installed according to the manufacturer’s specifications and should be located in an area where it is free from obstructions and contaminants.
8. Conduct a Safety Check
Before using the wood burner, perform a thorough safety check. Inspect all connections, seals, and the chimney system for any signs of leaks or damage. Ensure that the burner is properly positioned and that there are no flammable materials within the clearance zones. Test the operation of the burner and the venting system to ensure that they are functioning correctly and that there are no issues with smoke or gas emissions.
9. Educate Yourself on Operation and Maintenance
Familiarize yourself with the operation and maintenance requirements of your wood burner. Read the manufacturer’s instructions and guidelines for operating the burner safely and efficiently.
Regular maintenance includes cleaning the chimney, checking for creosote buildup, and inspecting the burner for any signs of wear or damage. Proper maintenance ensures the longevity and efficiency of your wood burner and helps prevent potential safety hazards.
10. Monitor and Adjust as Needed
After installation, monitor the performance of your wood burner and make any necessary adjustments. Pay attention to the heat output, fuel consumption, and overall efficiency.
Adjust the air intake and burner settings as needed to optimize performance and comfort. Regular monitoring helps ensure that your wood burner operates effectively and provides consistent warmth to your garage.
Things to Consider When Installing a Wood Burner in a Garage
When planning the installation of a wood burner in your garage, there are several crucial factors to keep in mind.
- Size and Layout of the Garage: Assess the dimensions of your garage to ensure that the selected wood burner is appropriate for the space. A unit that is too large may generate excessive heat, leading to discomfort, while a unit that is too small may not provide adequate warmth.
- Ventilation Needs: Proper ventilation is essential for safe operation. Ensure that your garage can accommodate airflow requirements, which may include a combination of fresh air intakes and exhaust systems to prevent smoke buildup and maintain air quality.
- Local Climate: Consider the climate in your area, as this will influence the type and size of wood burner needed. Colder climates may necessitate a more powerful unit, while milder regions may require less heating capacity.
- Fuel Availability and Type: Think about the type of fuel that will be used (e.g., split wood, pellets) and its availability. Choose a wood burner that is compatible with your preferred fuel source to ensure convenience and efficiency.
Common Mistakes to Avoid
When installing a wood burner in your garage, there are several common pitfalls to be wary of to ensure a safe and efficient setup:
- Neglecting Local Regulations: Failing to check and comply with local building codes and regulations can lead to safety hazards and potential fines. Always verify what requirements need to be met before starting the installation.
- Improper Sizing: Choosing a wood burner that is either too large or too small for the garage can result in ineffective heating. It’s crucial to accurately assess the garage’s size and select a unit accordingly to ensure optimal performance.
- Ignoring Ventilation Needs: A well-ventilated space is essential for the safe operation of a wood burner. Some homeowners overlook the need for adequate airflow, which can lead to smoke buildup and poor air quality.
- Inadequate Installation of the Flue System: A poorly installed chimney or flue can result in smoke return or dangerous gas build-up. Ensure that the flue system is correctly installed and maintained to allow proper ventilation.
Conclusion
Installing a wood burner in your garage can provide a cost-effective and efficient heating solution, enhancing comfort during colder months. However, it is essential to follow proper installation protocols and safety guidelines to ensure optimal performance and prevent potential hazards.
By considering factors such as garage size, ventilation needs, and local regulations, you can create a safe and cozy environment. Thanks for reading, and we hope this has given you some inspiration on how to install a wood burner in a garage!
I am Rick. I grew up helping my dad with his handyman service. I learned a lot from him about how to fix things, and also about how to work hard and take care of business. These days, I’m still into fixing things- only now, I’m doing it for a living.
I’m always looking for new ways to help people grow and develop. That’s why I have created this blog to share all my experience and knowledge so
that I can help people who are interested in DIY repair.

