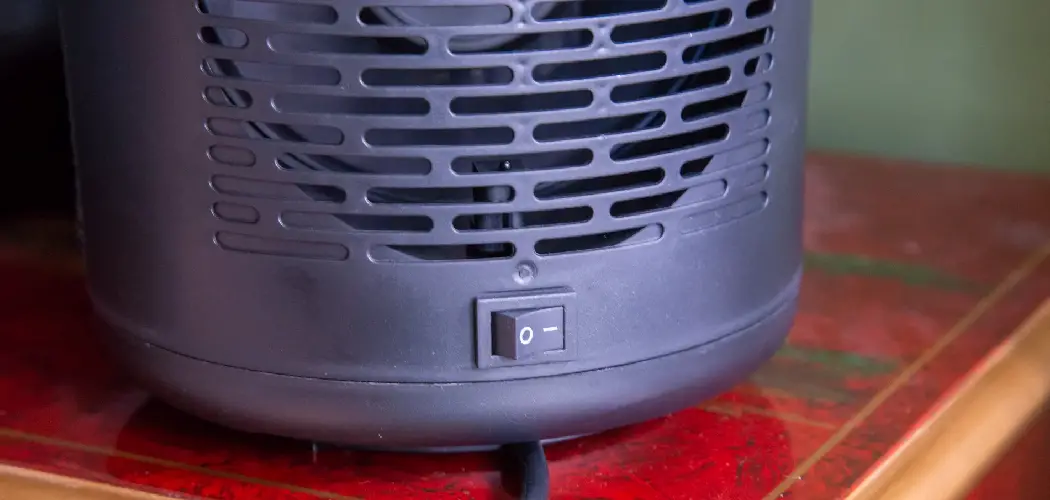
Are you wanting to be able to take advantage of the potential benefits of a garage heater during colder months? With a properly installed and maintained garage heater, you can enjoy the comfort and convenience of an extended living space all year round.
Installing a garage heater is not as difficult or intimidating as it may seem – it’s actually quite simple with just some basic home improvement tools and knowledge! In this article, we will explain the steps of how to install a garage heater!
Why May You Want to Install a Garage Heater?
1 . To Increase Comfort
Installing a garage heater can help increase the comfort in your garage. During winter months, it can be challenging to work on projects or store items in an unheated garage due to the extreme cold temperatures. Having a heater installed will provide warmth and make your time spent in the garage more enjoyable.
2 . To Protect Your Items
Extreme cold temperatures can be damaging to certain items that are stored in the garage. For example, if you have a motorcycle or car battery, the cold temperatures can cause it to freeze and potentially damage it. By having a garage heater, you can protect your items and prolong their lifespan.
3 . To Reduce Moisture
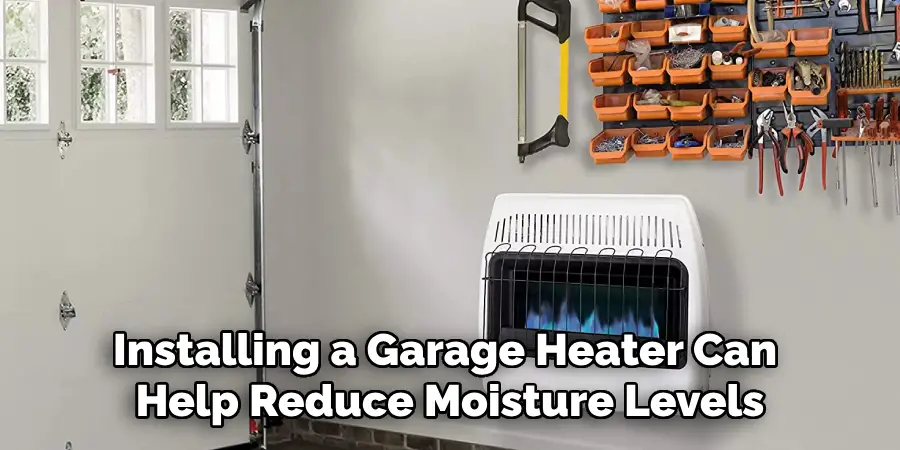
Unheated garages are prone to moisture buildup, especially during the winter months. This can cause damage to your belongings, such as rust on metal tools or mold on wooden furniture. Installing a garage heater can help reduce moisture levels and prevent any potential damage.
4 . To Increase Home Value
If you’re planning on selling your home in the future, having a garage heater installed can increase its value. A heated garage is an attractive feature for potential buyers, especially in areas with harsh winters. It can also make your home stand out from other listings on the market.
5 . To Use Your Garage as a Workshop
Having a heated garage allows you to use it as a workshop year-round. This is especially beneficial for those who enjoy DIY projects or have hobbies that require working in the garage. With a garage heater, you can work comfortably in your space without having to worry about the cold temperatures.
How to Install a Garage Heater in 6 Easy Steps
Step 1: Ensure You Have All the Necessary Tools and Materials
Before beginning the installation process, it is important to ensure that you have all the necessary tools and materials. This will save you a lot of time and hassle during the installation process.
Some of the essential tools you will need include a drill, screwdriver, level, tape measure, and adjustable wrench. Additionally, make sure you have the appropriate type and amount of insulation, wiring, and ductwork for your specific heater.
Step 2: Choose the Right Location
Choosing the right location for your garage heater is crucial for ensuring its effectiveness. The best location will depend on the size and layout of your garage. Generally, a corner wall or ceiling mount near an electrical outlet is ideal.
Make sure to also consider any potential obstructions or hazards, such as shelving units or flammable materials.
Step 3: Install the Vent
Proper ventilation is essential for safely and effectively operating your garage heater. Begin by cutting a hole in the wall or ceiling where you plan to install the vent. Then, attach the vent hood to the outside of the hole using screws and seal any gaps with caulk.
Next, attach the vent pipe to the hood and secure it in place using screws or metal tape.
Step 4: Mount the Heater
Once your vent is properly installed, it’s time to mount the heater itself. Follow the manufacturer’s instructions for assembling and mounting the unit. Typically, this involves attaching brackets to the back of the heater and securing them to the wall or ceiling using screws. Use a level to ensure that the heater is installed straight.
Step 5: Connect the Wiring
Before connecting any wiring, make sure to turn off the power to your garage at the main circuit breaker. Then, connect the wiring from your electrical panel to the heater according to your manufacturer’s instructions.
It’s always a good idea to have a professional electrician assist with this step if you are not confident in your wiring abilities.

Step 6: Test and Adjust
After completing the installation, it’s important to test the heater before using it regularly. Turn on the power at your circuit breaker and adjust the thermostat according to your preferences. Also, make sure that warm air is being properly distributed through your garage. If adjustments are needed, refer to the manufacturer’s instructions for troubleshooting tips.
Some Extra Tips to Install a Garage Heater
1 . Do Not Ignore the Manufacturer’s Instructions
Installing a garage heater may seem like an easy task, but it is always important to follow the instructions provided by the manufacturer. Every heater model has its own specifications and requirements for installation, so make sure to read and understand them before starting the process. Ignoring these instructions can lead to incorrect installation and potential safety hazards.
2 . Choose the Right Location for the Heater
When installing a garage heater, it is crucial to choose the right location. The heater should be placed in an area with good air circulation and away from any flammable materials. It should also be at least 18 inches above the ground to prevent any potential hazards.
3 . Ensure Proper Ventilation
Proper ventilation is key when installing a garage heater. It is important to have a way for the toxic fumes produced by the heater to escape, as they can be harmful if trapped inside the garage. This can be achieved by installing vents or using windows or doors in the garage.
4 . Have Proper Electrical Connections
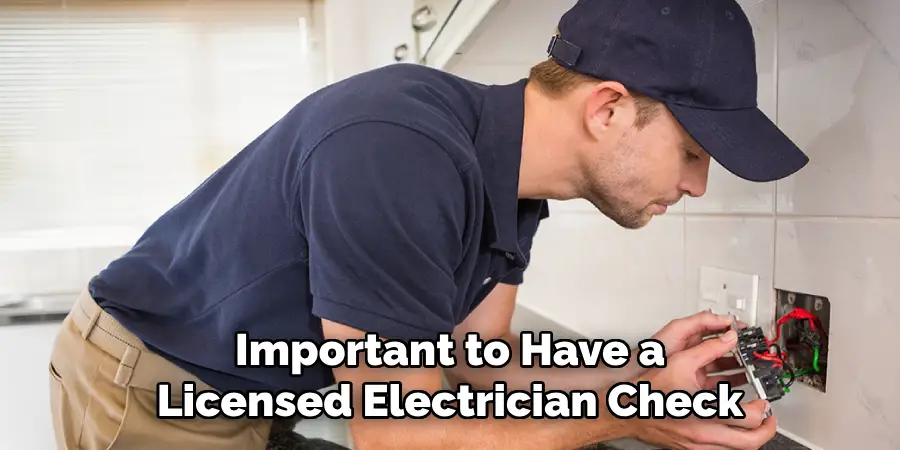
Before installing a garage heater, make sure to check your electrical connections. The heater should be connected to a dedicated circuit with the appropriate voltage and amperage. It is also important to have a licensed electrician check and approve the electrical connections before use.
5 . Use Quality Materials
To ensure safe and efficient operation, it is crucial to use high-quality materials during installation. This includes using proper wiring, screws, and other hardware recommended by the manufacturer. Using low-quality materials can lead to malfunctions and potential safety hazards.
6 . Consider Professional Installation
While it is possible to install a garage heater on your own, it may be best to consider professional installation. This is especially true for larger or more complex heaters. A professional installer will have the necessary expertise and tools to ensure proper installation and safety.
Frequently Asked Questions
What Precautions Should I Take Before Installing a Garage Heater?
Before installing a garage heater, it is important to take several precautions to ensure safety and efficiency. These include: It is essential to check with your local authorities for any specific regulations or permits that may be necessary for installing a garage heater.
Make sure there is enough space and proper ventilation for the heater to operate effectively. Additionally, make sure any flammable materials are kept at a safe distance from the heating unit.
Do I Need to Hire a Professional to Install My Garage Heater?
While it is recommended to hire a professional for complex installations, some garage heaters can be installed by homeowners with basic technical knowledge.
It is important to carefully read and follow the manufacturer’s instructions for installation. If you are unsure about the installation process, it is best to seek professional help to ensure proper and safe installation.
What Type of Power Source Do I Need for a Garage Heater?
The type of power source needed for a garage heater will depend on the specific model you choose. Some garage heaters require a 120-volt outlet, while others may need a 240-volt outlet. It is important to check the power requirements of your chosen heater before purchasing or installing it.
How Do I Know What Size Garage Heater I Need?
The size of the garage heater you need will depend on several factors, including the size of your garage and its insulation. As a general rule, you will need approximately 10 watts of heating power for every square foot of garage space. It is also important to consider the climate in your area and the intended use of your garage when determining the size of your heater.
What Are Some Common Types of Garage Heaters?
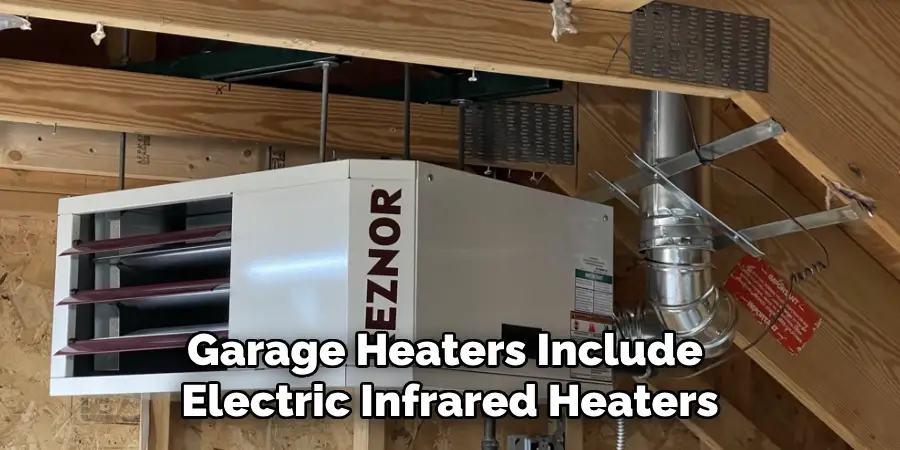
Some common types of garage heaters include electric infrared heaters, gas/propane-forced air heaters, and electric fan-forced heaters. Each type has its own advantages and disadvantages, so it is important to research and choose the best option for your specific needs.
Conclusion
To summarize, we’ve outlined how to install a garage heater and provided safety tips to take into consideration when doing so. All in all, installing a garage heater can be achieved with the proper safety measures taken into consideration. Although it might seem like a daunting task to undertake, it’s actually easier than you think.
With the right guidance and effort, both rookie and experienced DIYers will be able to have their own operational garage heater in no time! Taking this major step towards home improvements can really add value and warmth to your space – why wait? Start planning your project today and become the proud owner of a new functional garage heater.
I am Rick. I grew up helping my dad with his handyman service. I learned a lot from him about how to fix things, and also about how to work hard and take care of business. These days, I’m still into fixing things- only now, I’m doing it for a living.
I’m always looking for new ways to help people grow and develop. That’s why I have created this blog to share all my experience and knowledge so
that I can help people who are interested in DIY repair.

