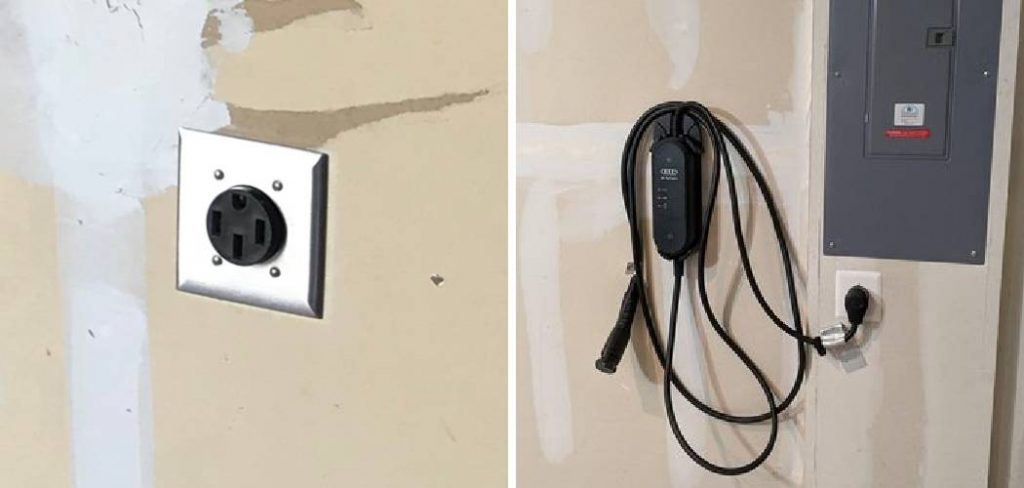
Are you planning to install a 240v outlet in your garage? This type of outlet is perfect for powering heavy-duty appliances such as electric vehicles, air compressors, and welders.
How to install 240v outlet in garage can significantly enhance its functionality, allowing you to power heavy-duty equipment such as welders, air compressors, and electric vehicle chargers.
This project not only supports various projects and hobbies but also increases the versatility of your workspace. While working with electricity can seem daunting, with the right tools, materials, and safety precautions, homeowners can successfully complete this installation.
This guide will walk you through the necessary steps to install a 240v outlet in your garage, ensuring you do so safely and efficiently. Let’s get started!
What Will You Need?
Before you begin the installation process, make sure you have all the necessary tools and materials. These include:
- Voltage tester
- Wire strippers
- Screwdrivers (flathead and Phillips)
- Utility knife
- Wire nuts
- 10 gauge wire
- 30 amp double pole breaker
- Breaker panel box
- Outlet box with cover
- Drill with drill bits
You can begin the installation process once you have gathered all the required items.
10 Easy Steps on How to Install 240v Outlet in Garage:
Step 1: Turn off Power to Garage
The first and most crucial step before commencing any electrical work is to ensure your safety by turning off the power to the garage. Locate your home’s main electrical panel, typically found in the basement, utility room, or closet.
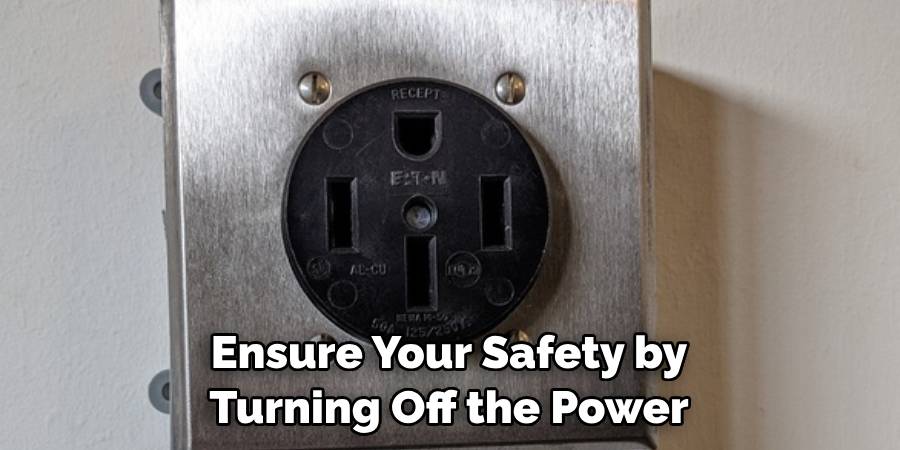
Once you see it, identify the breaker that controls the power supply to your garage—this is often labeled accordingly. Before switching it off, it’s prudent to double-check the status with a voltage tester, ensuring that the power is indeed cut to the circuit you’ll be working on.
After confirming that the breaker is off, label it to prevent accidental reactivation during the installation process. This precaution will help minimize the risk of electrical shocks and make your workspace safe, allowing you to proceed confidently.
Step 2: Measure and Plan Outlet Location
Next, determine the ideal location for your 240v outlet. Consider where you’ll be using heavy-duty appliances and factor in the convenience of accessibility. Generally, installing the outlet at least 18 inches above the floor is advisable to reduce the risk of water damage and ensure visibility.
Once you’ve chosen the location, use a stud finder to avoid hitting any studs or wiring behind the drywall. Mark the position for the outlet box with a pencil, and ensure there’s enough clearance from any other electrical components or fixtures. Proper planning at this stage will provide a neat installation and allow for effective use of the outlet in your garage.
Step 3: Install the Outlet Box
Now that you have determined the location for your outlet, it’s time to install the outlet box. Begin by cutting a hole in the drywall where you marked the outlet position. Use your utility knife to make clean cuts around the outline. Once the hole is made, insert the outlet box into the opening and ensure it is flush with the wall surface.
If you’re using a plastic box, secure it using the built-in clamps or screws according to the manufacturer’s instructions. For metal boxes, you may need to use screws to fasten it to the wall studs. Ensure the box is stable and properly aligned, providing a solid foundation for your 240v outlet installation.
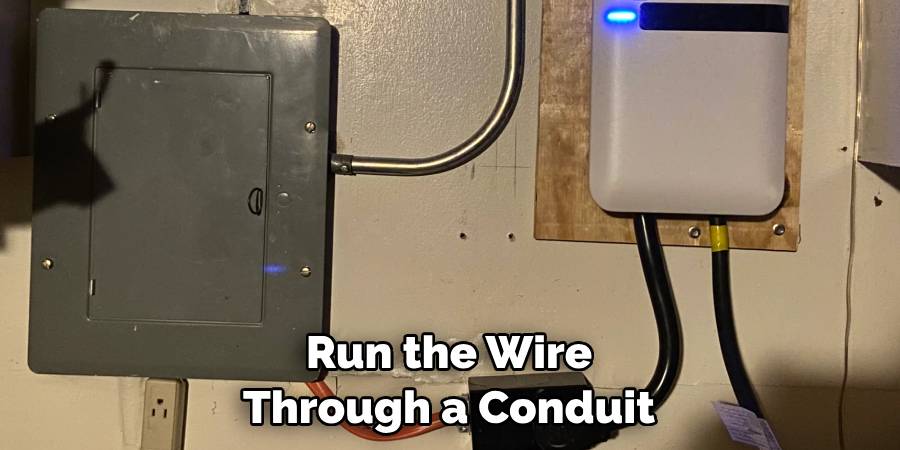
Step 4: Run the Wiring
Once the outlet box is securely installed, it’s time to run the wiring for your 240v outlet. Begin by measuring the distance from your breaker panel to the outlet box. Cut a length of 10 gauge wire, ensuring that you have an extra foot or two for flexibility.
Make sure to run the wire through a conduit for added protection, especially where it may be exposed or could be subject to damage. When routing the wire, avoid sharp edges and ensure it follows a safe path to the breaker panel.
After running the wire, feed it into the outlet box, leaving enough slack to work with comfortably. This step is crucial for ensuring that your wiring is safe and effective for high-powered appliances.
Step 5: Connect the Wires to the Outlet
With the wiring run to the outlet box, it’s time to connect the wires to the 240v outlet itself. Start by stripping about ¾ inch of insulation from the ends of the wires using your wire strippers. You should have three wires: two hot wires (usually black and red) and one ground wire (green or bare copper).
Connect the two hot wires to the outlet’s brass terminals, ensuring they are securely tightened. The ground wire should be connected to the green terminal. Make sure that all connections are firm, as loose connections can cause overheating and pose a safety risk.
Once all wires are correctly connected, gently push the wires back into the outlet box and secure the outlet to the box using the screws provided with it. This step is essential for a secure installation and to ensure the safe operation of your new 240v outlet.
Step 6: Install the Breaker
Now that the outlet is wired and secured, you must install the 30 amp double pole breaker in your breaker panel. Begin by removing the panel cover and taking care of maintaining safety precautions. Identify an open slot in the panel where you will place the new breaker.
Firmly connect the two hot wires from your ten gauge wire to the two terminals of the breaker—make sure they are securely fastened. Afterward, snap the breaker into place within the panel. Ensure it sits firmly in the slot and the connections are secure before replacing the panel cover.
Step 7: Connect Ground Wire to the Panel
Next, you’ll need to connect your ground wire to the appropriate ground terminal or bus bar in the breaker panel. This connection helps ensure safety by providing a path for any fault current, which can prevent electrical shocks or fires.
Strip a small length of insulation from the end of the ground wire, attach it to the grounding terminal, and tighten it down securely. Again, ensure that all connections are firm and secure before proceeding.
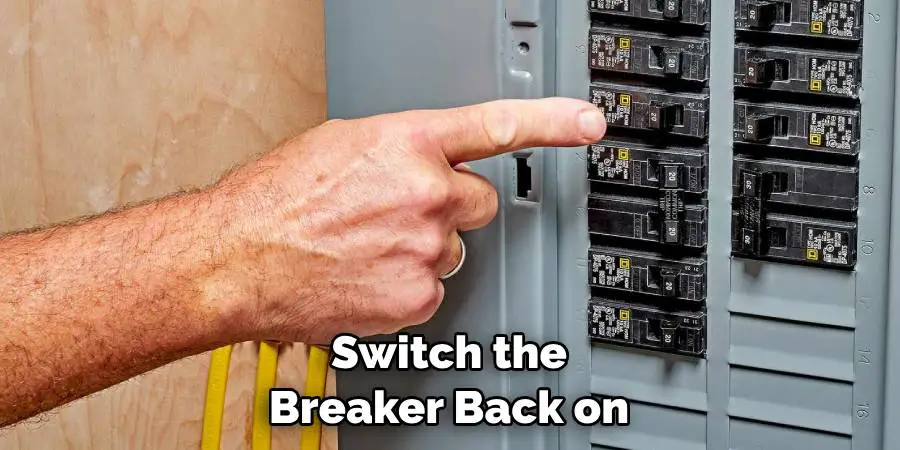
Step 8: Turn the Power Back On
With the breaker installed and all connections secured, it’s time to restore power to your garage. Go back to your main electrical panel and switch the breaker back on. Be cautious and ready to address any issues that may arise. Using the voltage tester, confirm that power is supplied to the new 240v outlet. If there are no problems and the tester indicates power, you can move on to the next step.
Step 9: Test the Outlet
Before using the outlet for your heavy-duty equipment, it must be tested to ensure everything is working correctly. Plug in a device compatible with 240v outlets, such as an air compressor or welder. Ensure that the device operates smoothly without any flickering or interruptions. If everything functions as expected, the installation is successful.
Step 10: Final Check and Cleanup
Once the outlet has been tested and is operational, conduct a final check of all connections, ensuring they are secure and that there are no exposed wires. Replace any covers or plates needed, and tidy up your workspace. Properly dispose of any leftover materials or debris from the installation process. Congratulations! You have successfully installed a 240v outlet in your garage, enhancing its functionality for all your heavy-duty needs.
You can safely install a 240v outlet in your garage by following these steps and taking precautions. Remember to always work with caution around electricity and follow all safety guidelines.
5 Additional Tips and Tricks
- Consult Local Codes: Before starting your installation, check local building codes and regulations regarding electrical work. This will ensure that your installation meets the necessary standards and can help avoid legal issues.
- Use Quality Materials: Invest in high-quality wiring, outlets, and breakers, as this will enhance the safety and reliability of your installation. Low-quality materials can lead to risks such as overheating and electrical failure.
- Label Your Breaker: After installing the new breaker, clearly label it in your breaker panel. This will help anyone who may work on your electrical system in the future easily identify the circuit connected to the 240v outlet.
- Consider GFCI Protection: If your garage is prone to moisture, consider installing a Ground Fault Circuit Interrupter (GFCI) breaker or outlet for added safety. This will help protect against electrical shock in wet conditions.
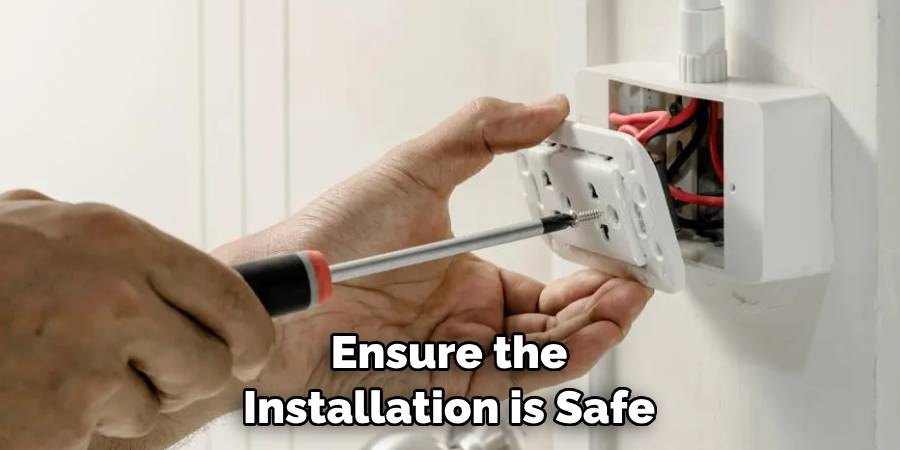
- Hire a Professional: If you are unsure about any aspect of the installation process, feel free to hire a licensed electrician. They can ensure the installation is safe, code-compliant, and properly functioning, providing peace of mind.
Conclusion
In summary, how to install 240v outlet in garage is a straightforward process when approached methodically and with an emphasis on safety.
By following the outlined steps—from running the wire to testing the outlet—you can create a reliable power source for heavy-duty equipment that enhances the functionality of your workspace. Always consult local regulations and consider using high-quality materials to ensure a safe installation. If at any point you feel uncertain, don’t hesitate to seek assistance from a qualified electrician.
With the proper precautions and knowledge, you can confidently complete your installation and enjoy the convenience of a 240v outlet in your garage.
I am Rick. I grew up helping my dad with his handyman service. I learned a lot from him about how to fix things, and also about how to work hard and take care of business. These days, I’m still into fixing things- only now, I’m doing it for a living.
I’m always looking for new ways to help people grow and develop. That’s why I have created this blog to share all my experience and knowledge so
that I can help people who are interested in DIY repair.