Are you tired of stepping into a freezing garage every morning during the winter? Could you use your garage as an extended living space during the colder months? If so, then this guide is for you.
How to heat a garage in the winter is essential for maintaining a comfortable and functional space, whether you use it for parking vehicles, storage, or as a workshop.
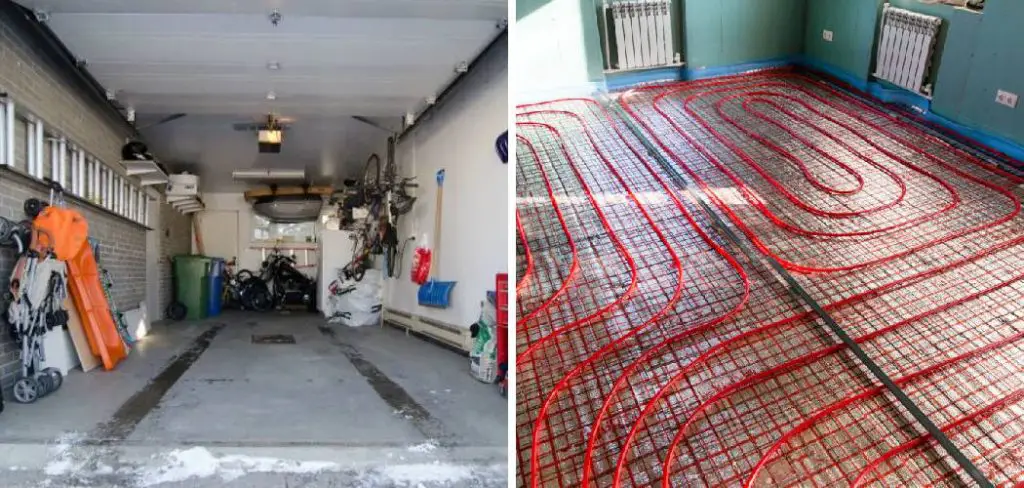
Cold temperatures can lead to numerous issues, including frozen pipes, difficulty starting vehicles, and damage to tools and equipment. This guide will explore various heating options, from portable space heaters to more permanent solutions like insulation and radiant heating systems.
By understanding the best methods and selecting the right approach, you can ensure your garage remains warm and welcoming throughout the chilly season.
What Will You Need?
Before diving into the various heating options for your garage, gathering the necessary supplies and tools is essential. Depending on the method you choose, you may need items such as:
- Space heaters
- Insulation materials (e.g., foam boards, fiberglass)
- Weatherstripping
- Caulking gun and sealant
- Radiant heating system components (e.g., tubing, boiler)
- Electrical wiring and outlets (for electric heating methods)
- Tools (e.g., drill, screwdriver)
- Personal protective equipment (PPE) like gloves and safety goggles.
It’s also crucial to have a plan for powering or connecting your chosen heating method.
10 Easy Steps on How to Heat a Garage in the Winter
Step 1: Assess Your Garage Insulation
Before implementing any heating solutions, evaluating your garage’s insulation is vital. Proper insulation will help maintain heat and reduce energy costs. Check for gaps and drafts around doors, windows, and wall seams. Look for existing insulation in the walls and ceiling, and determine if additional insulation is needed to improve overall efficiency.
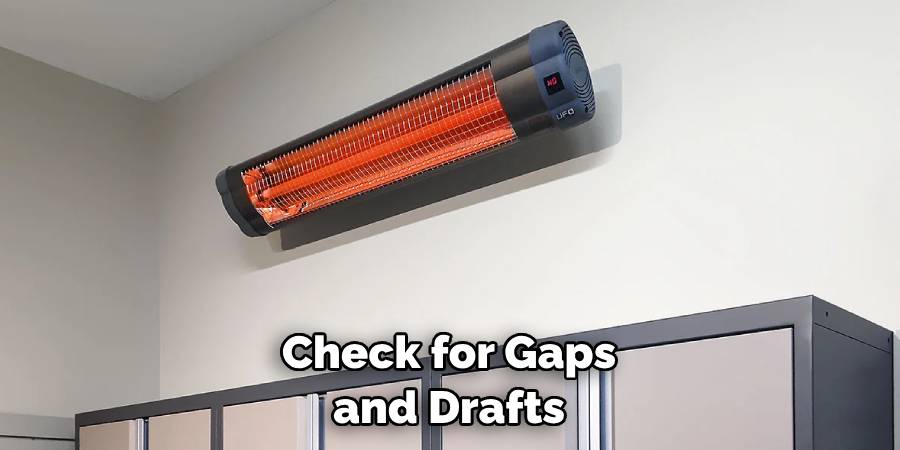
If necessary, install foam boards or fiberglass insulation to help keep the warm air in and the cold air out. This foundational step is critical for maximizing the effectiveness of any heating method you choose.
Step 2: Seal Any Drafts
With the insulation assessed, the next step is to seal any drafts in your garage. Check all entry points, including doors and windows, for gaps allowing cold air to seep in. Weatherstripping around the doors and windows creates a tight seal, ensuring that warm air stays contained within the garage.
Additionally, consider applying caulk to any cracks or openings in the walls or foundation. By properly sealing these areas, you’ll significantly enhance the overall efficiency of your heating system, making it easier to maintain a warm environment.
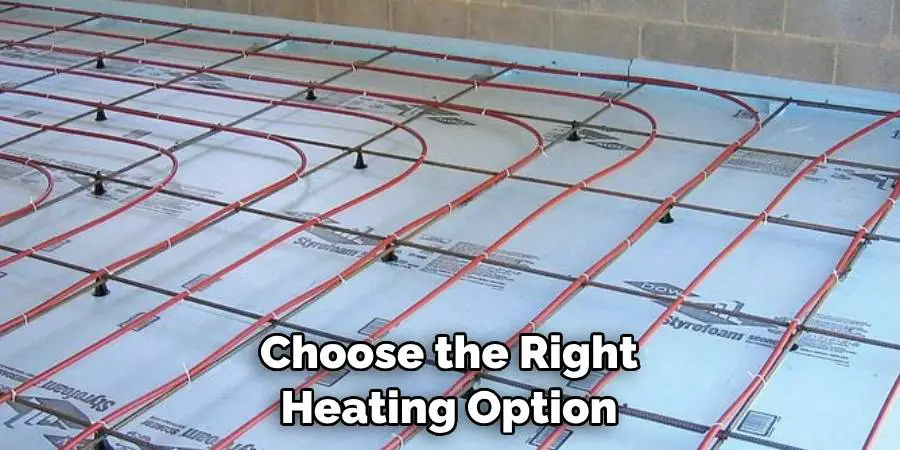
Step 3: Choose the Right Heating Option
Now that you have assessed your garage insulation and sealed drafts, it’s time to select the most suitable heating option for your garage’s specific needs. There are several types of heaters to consider:
- Electric Space Heaters: These are portable and easy to use, making them a great temporary solution. They can quickly raise the temperature in smaller garages.
- Gas Heaters: If you can access natural gas, a gas heater can provide significant heat for larger spaces but requires proper ventilation.
- Radiant Floor Heating: This more permanent solution involves installing heating elements underneath the concrete floor, providing consistent warmth throughout the garage.
- Infrared Heaters: Ideal for immediate heating, infrared heaters warm objects directly rather than the air, making them efficient for garage spaces.
When choosing a heating option, consider the size of your garage, how often you will use the space, and your budget for initial costs and ongoing energy consumption.
Step 4: Install the Heating System
Once you have chosen the right heating option for your garage, it’s time to install it. If you opted for a portable electric space heater, simply position it according to the manufacturer’s guidelines, ensuring it has ample clearance from flammable materials. Gas heaters often require professional installation, and all safety protocols and local building codes must be followed.
If you’ve chosen radiant floor heating, this will involve more complex work, including laying heating elements beneath the flooring and ensuring proper connections.
Be sure to carefully read and follow the installation instructions provided with your heating system to ensure optimal performance and safety. Once installed, check all connections and ensure the system is functioning correctly before relying on it to keep your garage warm.
Step 5: Test the Heating System
After installation, testing your heating system to ensure it operates as intended is crucial. Turn on the heater and let it run for a while, monitoring the temperature in the garage. Use a thermometer to check if the space reaches your desired comfort level.
Pay attention to any unusual noises or signs of malfunction, which may indicate a need for adjustments or repairs. If you installed a gas heater, check for any gas leaks by applying soapy water to the connections; bubbles will form if there’s a leak.
Step 6: Monitor Energy Usage
Once your heating system is operational, monitoring energy usage is essential. Many heating options will affect your energy bills, so tracking your consumption can help you understand costs and efficiency.
Consider using a smart meter or an energy monitor to get real-time feedback on usage. This information can assist you in making adjustments to your heating routine, ensuring that you maintain warmth while being mindful of energy consumption.
Step 7: Maintain Your Heating System
Regular maintenance of your heating system is essential to ensure long-term efficiency and safety. For electric heaters, regularly clean dust and debris from the units to prevent overheating.
Have gas heaters professionally serviced at least once a year to check for gas leaks, proper ventilation, and any required repairs. If you have installed radiant floor heating, ensure that all connections are intact and functioning correctly. Consistent maintenance will prolong the life of your heating system and maintain consistent performance.
Step 8: Consider Supplemental Heating Options
If you find that your primary heating method isn’t sufficient for your garage size or intended use, consider supplementary heat sources.
Options such as electric heated blankets, heat lamps, or small space heaters can provide additional warmth when needed without requiring extensive changes to your setup. These supplemental options can be beneficial during very cold spells or for short-term projects where you require extra warmth.

Step 9: Use Your Garage Effectively
Once your garage is heated, think about how to use the space effectively to maintain warmth. Try to limit the number of times you open the garage door, as this allows cold air in and warmed air out.
If possible, use your garage as a working space that minimizes exposure to the outside elements. Organizing tools and equipment can also help create a more functional environment, making it easier to keep it heated.
Step 10: Prepare for the Next Winter
As winter comes to a close, it’s wise to prepare for the next cold season. Take the time to inspect and maintain your heating system, checking for wear and tear.
Store away any portable heaters properly to avoid damage and keep an eye on insulating materials to ensure they remain effective. Planning ahead can save you time and money when the colder months return, ensuring your garage remains a warm and productive space year after year.
By following these steps, you can effectively heat your garage and create a functional space for any project or activity.
5 Things You Should Avoid
- Ignoring Proper Ventilation: While heating your garage is essential, neglecting ventilation can lead to dangerous situations, especially with gas heaters. Always ensure there’s adequate airflow to prevent the buildup of harmful gases.
- Overloading Electrical Circuits: If using electric heaters, avoid plugging multiple high-wattage devices into the same outlet. This can overload circuits and increase the risk of fires. Ensure your electrical system can handle the load by consulting a professional if needed.
- Using Unsafe Heating Methods: Avoid using unapproved heating methods, such as cooking appliances or open flames, which can pose serious safety risks. Stick to designated heating systems that comply with safety standards.
- Failing to Insulate Properly: Before heating your garage, ensure it is well-insulated. Skipping this step can result in significant heat loss, making your efforts and energy use far less effective.
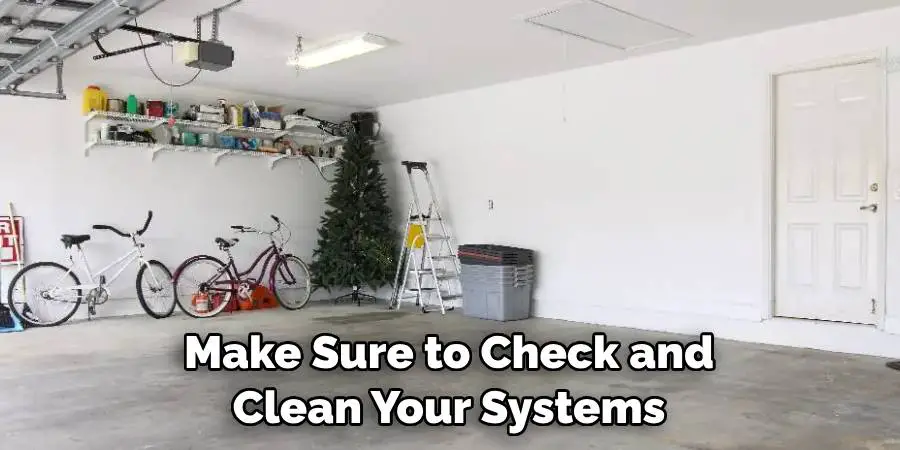
- Neglecting Maintenance: Don’t overlook regular maintenance of your heating system. Failing to service your heaters can lead to inefficiencies and potential hazards over time. Make sure to check and clean your systems as recommended to ensure safe operation.
Conclusion
How to heat a garage in the winter is not only about creating a comfortable workspace; it’s also about safeguarding your tools, equipment, and vehicles from harsh conditions.
By following the outlined steps—from selecting the right heating system to maintaining it regularly—you can ensure that your garage remains a warm and practical space for all your projects. Remember to consider energy efficiency to manage costs effectively, and be proactive in your maintenance efforts to prolong the life of your heating system.
With thoughtful planning and execution, your garage can transform into a welcoming environment, regardless of the weather outside, enabling you to work and enjoy the space year-round.
I am Rick. I grew up helping my dad with his handyman service. I learned a lot from him about how to fix things, and also about how to work hard and take care of business. These days, I’m still into fixing things- only now, I’m doing it for a living.
I’m always looking for new ways to help people grow and develop. That’s why I have created this blog to share all my experience and knowledge so
that I can help people who are interested in DIY repair.