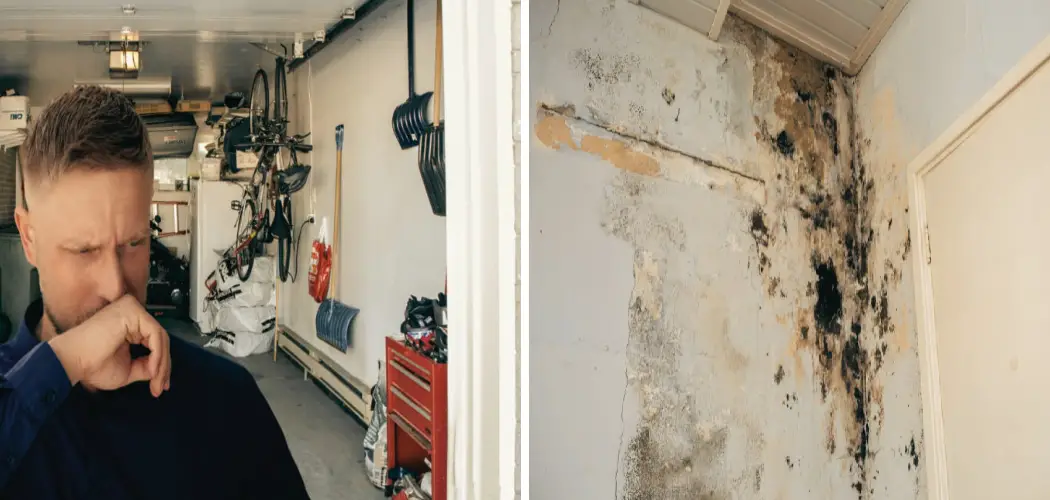
A musty smell in your garage can be both unpleasant and a sign of underlying issues such as excess moisture, poor ventilation, or mold growth. Tackling this problem not only improves the overall odor but also helps protect your belongings and maintain a healthier space.

Thankfully, with a few practical steps and preventative measures, you can eliminate the odor and keep your garage fresh and clean. In this article on how to get musty smell out of garage, we will discuss some effective methods to tackle this issue.
Why Does Your Garage Smell Musty?
Before we dive into the solutions, it’s important to understand why your garage may have a musty smell. The most common reasons are poor ventilation and excess moisture, which can lead to mold growth. Garages are often prone to these issues because they are closed-off spaces with limited airflow and can also be affected by outside elements such as rain or snow.
Another factor could be the items stored in your garage. Old furniture, cardboard boxes, and other porous materials can absorb moisture and contribute to the musty odor. Furthermore, if you use your garage for activities like gardening or woodworking, the remnants of soil, plants, and wood shavings can also add to the smell.
Needed Materials
To combat the musty odor in your garage, you will need some materials to help freshen and deodorize the space. Here are some suggested items that can be easily found at home or purchased from a store:
Baking Soda:
This household staple is great for absorbing odors. Place an open box of baking soda in your garage or sprinkle it on the floor and let it sit for a few hours before sweeping it up.
Vinegar:
Another versatile household item, vinegar is known for its natural deodorizing properties. Mix equal parts vinegar and water in a spray bottle and use it to clean surfaces in your garage.
Charcoal:
Charcoal works as a natural air purifier and can help absorb odors in your garage. Keep some charcoal briquettes in an open container or bag in your garage to help absorb any unpleasant smells.
Activated Carbon:
Activated carbon is another great option for absorbing odors. You can find activated carbon filters at most home improvement stores, or you can make your own by placing activated carbon pellets in a mesh bag. Hang the bag in your garage to help eliminate odors.
Baking Soda:
Baking soda is another household staple that has natural deodorizing properties. Sprinkle baking soda on the floor of your garage and let it sit for a few hours before sweeping or vacuuming it up. You can also mix baking soda with water to create a paste and use it to scrub surfaces in your garage.

10 Step-by-step Guidelines on How to Get Musty Smell Out of Garage
Step 1: Identify the Source of the Musty Smell
Begin by thoroughly inspecting your garage to pinpoint the source of the musty odor. Look for areas with signs of mold, mildew, or water damage, as these are common culprits.
Check corners, walls, and ceilings for damp spots or discoloration, and don’t forget to examine storage boxes, tools, or other items that may have become damp or moldy. Identifying the source is crucial for effectively eliminating the smell and preventing its return.
Step 2: Remove the Source of Moisture
Once you have identified the source of the musty smell, it’s important to remove any excess moisture or water. This could involve fixing a leaky roof or plumbing issue, clearing out clutter that may be blocking ventilation, or using a dehumidifier to reduce humidity levels.
Removing the source of moisture is crucial for preventing mold and mildew from growing and spreading in your garage.
Step 3: Clean and Disinfect
Next, thoroughly clean and disinfect all surfaces in your garage. Use a mixture of equal parts water and white vinegar to wipe down walls, floors, shelves, and other areas where mold or mildew may be present. You can also use a commercial mold and mildew cleaner, but be sure to follow the instructions carefully.
Additionally, make sure to clean any items in your garage that may have come into contact with mold or mildew. This includes tools, equipment, and storage containers. Use a disinfectant spray or wipe to thoroughly clean these items before returning them to the garage.
Step 4: Repair and Replace
After cleaning and disinfecting, it’s important to address any areas or items in your garage that may need repair or replacement. Look for any signs of water damage on walls, floors, and ceilings. If you notice any cracks or leaks, fix them immediately to prevent further moisture from entering.
Inspect your garage door for any damage or wear and tear. This includes the springs, rollers, hinges, and tracks. If you notice any issues, it’s best to call a professional for repairs or replacement.
Also, check your shelves and storage units for signs of wear or damage. Replace any broken shelves or repair any damaged ones to ensure they can properly support your items.
Step 5: Organize
Once everything in your garage is clean and in good working condition, it’s time to organize! Sort through all of your items and divide them into categories such as tools, sports equipment, holiday decorations, etc. Then, decide on a designated spot for each category within your garage.
Invest in storage solutions such as bins, shelves, and hooks to help keep everything in its designated spot. Utilize wall space by installing pegboards or hanging tool racks to store smaller items.

Label your bins and shelves to make it easier to find things when needed. You can also consider using color-coded labels for each category.
Step 6: Implement a Maintenance Routine
Now that your garage is clean and organized, it’s important to maintain it regularly. Set aside some time every few months to declutter and reorganize if necessary. Keep an eye out for any signs of wear or damage on your shelves and storage units, and replace or repair them as needed.
Sweep or vacuum the floors regularly to keep them free of dust and debris. Make sure to wipe down any surfaces that accumulate dirt or grime, such as workbenches or tool cabinets.
It’s also a good idea to review your garage storage system periodically and make adjustments as needed. As your needs change, you may need to rearrange items or add new storage solutions. By implementing a maintenance routine, you can ensure that your organized garage stays clutter-free and functional for the long term.
Step 7: Utilize Wall Space
In addition to shelves and bins, don’t forget about utilizing wall space in your garage. Installing hooks, pegboards, and racks on the walls can provide additional storage options for items like bikes, tools, and sports equipment.
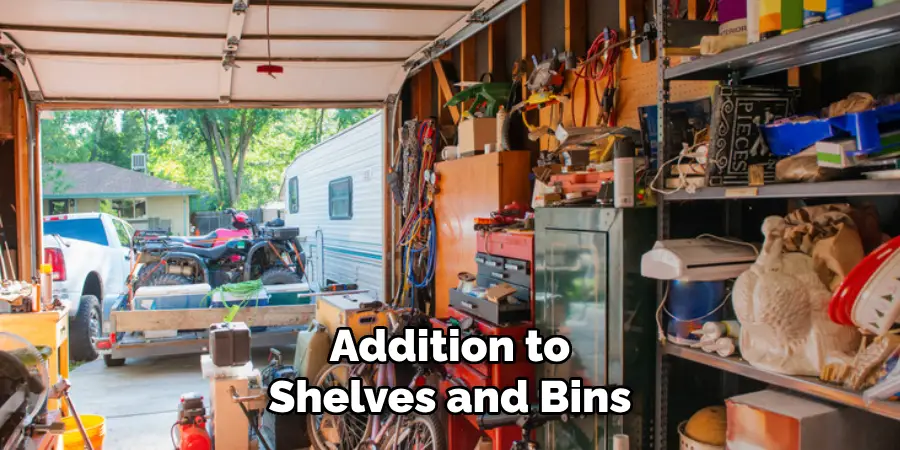
This not only frees up floor space but also makes it easier to access these items when needed.
Step 8: Label Everything
To maintain an organized garage, it’s crucial to label everything. This will not only help you quickly find what you need but also make it easier to put things back in their designated spot. You can use labels on shelves, bins, and even hooks for a more streamlined storage system.
You can also color-code items or use specific fonts to make it easier to differentiate between categories. For example, you can use blue labels for outdoor equipment and green labels for gardening tools.
Step 9: Consider a Workbench or Tool Organizer
If you use your garage as a workspace or have a lot of tools, consider adding a workbench or tool organizer to your organization plan. This can provide a designated area for projects and make it easier to find and access specific tools.
There are many different options for workbenches and tool organizers, from DIY projects to store-bought solutions. Consider your needs and budget when choosing the right option for you.
Having a designated workspace can also help keep your garage organized in the long run, as it encourages you to put tools back in their designated spots after use.
Step 10: Regularly Declutter and Reorganize
Organizing your garage is an ongoing process, not a one-time task. It’s important to regularly declutter and reorganize your space to prevent it from becoming cluttered again.
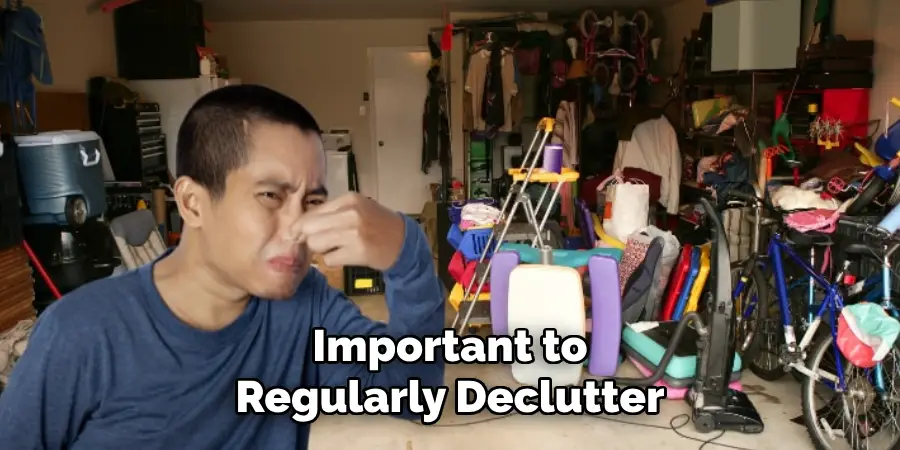
Consider setting a schedule for decluttering and reorganizing, such as once every three months or once a year. This will help keep your garage in good shape and make the task less daunting. During these regular cleanouts, consider donating or disposing of items that you no longer need or use. This will not only free up space in your garage but also benefit someone else who may find use for those items.
Following steps on how to get musty smell out of garage may also help keep your garage smelling fresh and clean.
Frequently Asked Questions
Q1: How Can I Maximize Storage Space in My Garage?
A: You can maximize storage space in your garage by utilizing vertical and ceiling space, using shelves and cabinets, and decluttering regularly. You can also invest in storage solutions like wall hooks, pegboards, and overhead racks.
Q2: How Often Should I Declutter My Garage?
A: It is recommended to declutter your garage at least once a year. This will help prevent clutter from piling up and keep your garage organized and functional. However, if you notice excessive clutter or have limited space, it might be helpful to declutter more frequently.
Q3: What Can I Do with Items That I No Longer Need or Use?
A: Instead of throwing away items that you no longer need or use, consider donating them to charity or selling them online. This not only frees up space in your garage but also benefits others who may need those items. You can also recycle or repurpose certain items, such as old electronics or furniture, to make them useful again. Alternatively, you can have a garage sale to get rid of unwanted items and make some extra cash. Remember to properly dispose of any hazardous materials according to local regulations. It is important to be environmentally conscious when decluttering your garage.

Conclusion
Decluttering your garage can seem overwhelming at first, but with a clear plan and a focus on organization, it becomes a manageable and rewarding task. By donating, recycling, or selling items, you not only create a more functional and spacious area but also contribute positively to your community and the environment.
Taking the time to properly sort through and dispose of materials ensures a cleaner, safer, and more efficient garage space that can serve your needs for years to come. Thanks for reading this article on how to get musty smell out of garage.
I am Rick. I grew up helping my dad with his handyman service. I learned a lot from him about how to fix things, and also about how to work hard and take care of business. These days, I’m still into fixing things- only now, I’m doing it for a living.
I’m always looking for new ways to help people grow and develop. That’s why I have created this blog to share all my experience and knowledge so
that I can help people who are interested in DIY repair.