Framing a garage wall is an essential step in creating a sturdy and functional space, whether you’re looking to enhance storage capabilities, establish a workshop, or simply improve the overall aesthetics of your garage.

This process involves careful planning and execution to ensure that the wall is not only structurally sound but also aligns with your specific requirements. In this guide, we will walk you through the necessary materials, tools, and step-by-step instructions on how to frame a garage wall, ensuring that you achieve a professional finish.
Importance of Proper Framing
Proper framing is crucial in garage construction as it provides the necessary support and stability for the structure.
When done correctly, framing ensures that walls can withstand various forces, such as wind, snow, and the weight of shelves or equipment mounted on them. Additionally, well-framed walls facilitate the integration of insulation and electrical systems, enhancing energy efficiency and safety.
Incorrect framing can lead to structural issues, including sagging walls or even collapse, which can compromise not only the integrity of the garage itself but also the safety of any items stored within. Ultimately, investing time and effort into proper framing results in a more durable, functional, and aesthetically pleasing garage.
10 Methods How to Frame a Garage Wall
1. Plan and Measure the Layout

Before you begin framing your garage wall, careful planning and precise measurement are essential. Start by assessing the dimensions of the garage space where the wall will be constructed. Measure the length, height, and width of the area to determine the exact size of the wall frame you need to build. Consider the placement of doors, windows, and any electrical outlets or utilities that will be incorporated into the wall.
Sketch a detailed plan that includes these elements, ensuring that the layout accommodates all necessary features without compromising structural integrity. Accurate measurements and a clear blueprint will prevent costly mistakes and ensure that the framing process proceeds smoothly.
2. Gather All Necessary Materials and Tools
Once you’ve completed the planning phase, gather all the materials and tools you’ll need for framing. Essential materials include 2×4 or 2×6 lumber for the studs, plates, and headers, as well as nails or screws, and sheathing for the wall’s exterior. You may also need metal connectors, insulation, and a moisture barrier depending on your climate and local building codes.
Tools required for the job typically include a tape measure, circular saw, hammer, level, framing square, and a nail gun or screw gun. Having all your materials and tools on hand before you start will help keep the project on track, minimize delays, and ensure that you can focus on the task at hand without unnecessary interruptions.
3. Prepare the Garage Floor

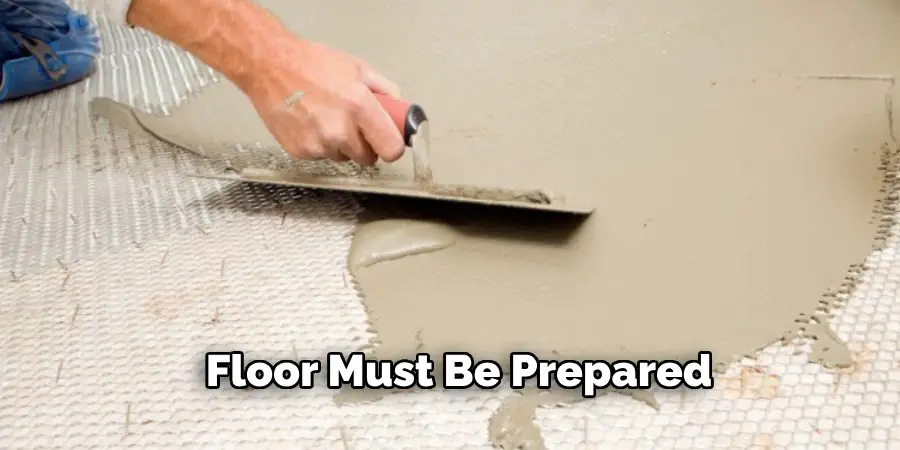
Before installing the wall frame, the garage floor must be prepared to provide a level, stable foundation. Start by sweeping the floor to remove debris and dirt that could interfere with the framing process.
If the floor is uneven or cracked, consider patching or leveling it with concrete or a suitable floor leveling compound. A level floor ensures that the wall frame will be straight and properly aligned, preventing future structural issues. In cases where moisture could be a concern, especially if the garage is not climate-controlled, it might be wise to lay down a moisture barrier to protect the wooden frame from potential water damage.
4. Cut the Lumber to Size
With the floor prepared, it’s time to cut the lumber to the sizes needed for the wall frame. Begin by cutting the top and bottom plates to the desired length of the wall. These plates will serve as the horizontal support for the vertical studs. Next, measure and cut the studs to the height of the wall, making sure each stud is identical in length to maintain evenness across the frame.
If your design includes windows or doors, also cut the necessary headers and cripples to frame these openings. Accuracy in cutting is critical—misaligned or incorrectly sized pieces can lead to gaps or misfits that compromise the wall’s strength and alignment.
5. Assemble the Wall Frame

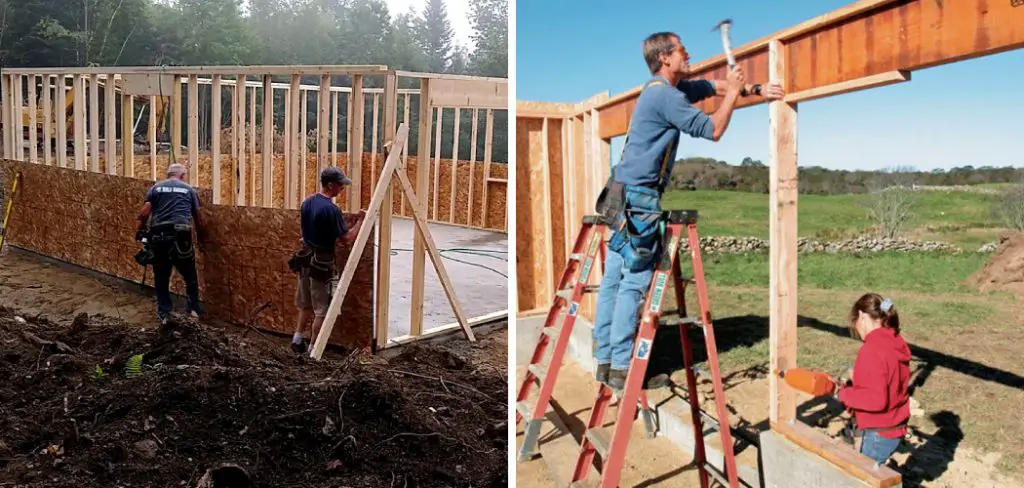
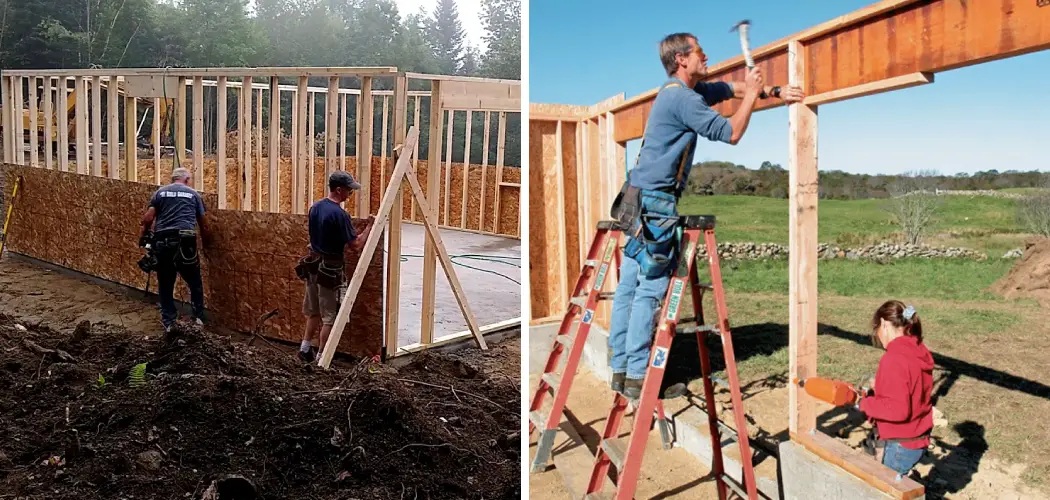
Once all the pieces are cut, you can begin assembling the wall frame. Lay the top and bottom plates on a flat surface and arrange the studs between them at regular intervals, typically 16 or 24 inches on center, depending on your local building code. Start at one end and work your way to the other, securing each stud to the plates with nails or screws.
Use a framing square to ensure that each connection is perfectly perpendicular. If your wall design includes openings for doors or windows, install the headers and any necessary supports as you go. This process requires patience and precision—rushing can lead to mistakes that are difficult to correct later.
6. Square the Wall Frame
Squaring the wall frame is a crucial step to ensure that the wall is perfectly aligned and structurally sound. Once the frame is assembled, measure the diagonals from corner to corner. If the measurements are identical, the frame is square. If not, gently tap the corners with a hammer to adjust the frame until the diagonal measurements match.
It’s important to square the frame before attaching it to the floor or ceiling, as an out-of-square frame will cause significant issues during the installation of drywall, doors, and windows. Take your time during this step to achieve a perfect square, as it will pay off in the quality and durability of the finished wall.
7. Attach the Frame to the Floor and Ceiling

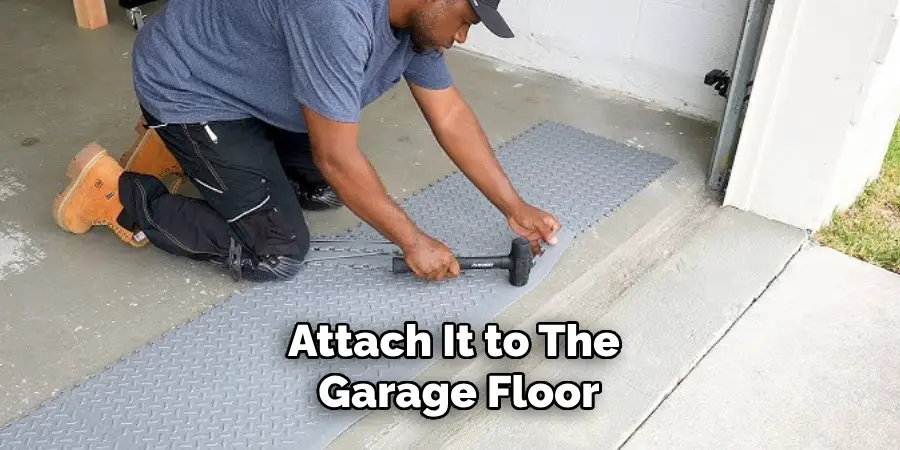
With the frame assembled and squared, the next step is to attach it to the garage floor and ceiling. Begin by positioning the frame in its intended location, using a level to ensure it is perfectly vertical.
Once positioned correctly, use a nail gun or screws to fasten the bottom plate to the garage floor. It’s important to ensure that the bottom plate is securely anchored, especially if the garage is in a seismic zone where building codes might require additional reinforcement. After securing the bottom plate, attach the top plate to the ceiling joists, again checking for level and plumb alignment. Properly securing the frame is vital for the wall’s stability and longevity.
8. Install Bracing and Sheathing
To enhance the structural integrity of the wall, install diagonal bracing between the studs, particularly if your garage is located in an area prone to high winds or seismic activity. This bracing helps to prevent the wall from racking or twisting under pressure. After bracing, install the sheathing on the exterior side of the wall.
Sheathing, typically made of plywood or OSB (Oriented Strand Board), provides a surface for attaching the exterior finish and adds rigidity to the wall structure. Secure the sheathing with nails or screws, ensuring that the edges are properly aligned with the frame and that all seams are tight. Properly installed sheathing is essential for protecting the wall from external elements and providing a solid base for insulation and drywall.
9. Insulate the Wall
Insulating the wall is crucial, especially if the garage will be heated or cooled, or if the wall separates a living space from the garage. Depending on your climate and local building codes, you may choose between different types of insulation, such as fiberglass batts, foam board, or spray foam.
Place the insulation between the studs, ensuring it fits snugly without gaps. If using fiberglass batts, be careful not to compress the insulation, as this reduces its effectiveness. Proper insulation will improve the energy efficiency of your garage, keeping it warmer in the winter and cooler in the summer, and also helps with soundproofing.
10. Finish with Drywall or Paneling
The final step in framing your garage wall is to cover it with drywall or another type of interior paneling. Start by cutting the drywall sheets to fit the wall, then screw them into the studs using drywall screws. Be sure to stagger the joints of the drywall sheets to add strength to the wall.
Once the drywall is in place, tape and mud the seams, and then sand them smooth for a seamless finish. Alternatively, if you prefer a different look, you can install plywood or other paneling materials instead of drywall. Once the wall covering is complete, you can paint or finish the surface as desired, completing the transformation of your garage.
Conclusion
Building a sturdy and well-insulated garage wall is an essential step in enhancing the functionality and comfort of your garage space. By following the outlined steps—from carefully measuring and cutting your lumber to properly insulating and finishing the wall—you can ensure that your garage not only meets structural requirements but also provides energy efficiency and aesthetic appeal. Remember, attention to detail at each stage will contribute to the overall quality and durability of your project. Thanks for reading, and we hope this has given you some inspiration on how to frame a garage wall!
I am Rick. I grew up helping my dad with his handyman service. I learned a lot from him about how to fix things, and also about how to work hard and take care of business. These days, I’m still into fixing things- only now, I’m doing it for a living.
I’m always looking for new ways to help people grow and develop. That’s why I have created this blog to share all my experience and knowledge so
that I can help people who are interested in DIY repair.

