
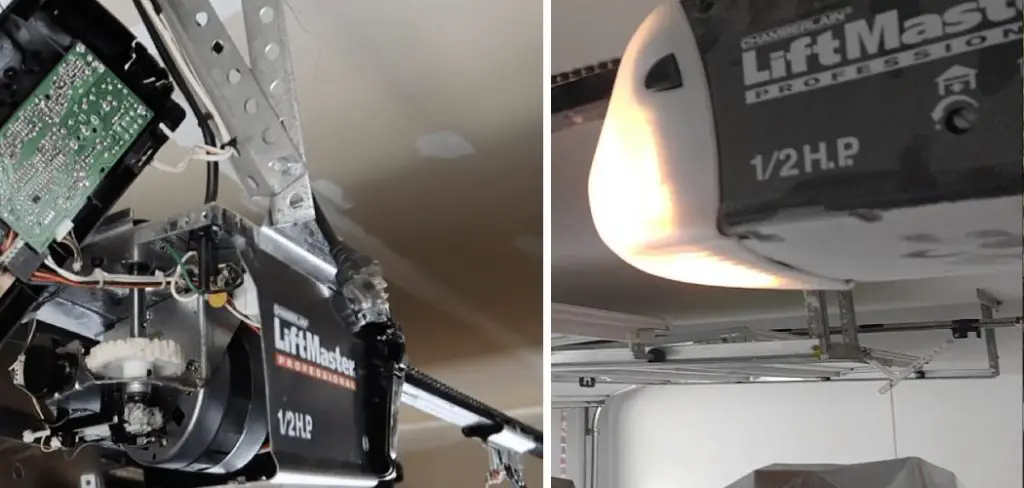
Are you tired of seeing Liftmaster Error Code 1-5 on your garage door opener? This error code indicates an issue with the safety sensors, which detect obstructions in the path of the garage door.
Liftmaster error code 1-5 indicates a signal issue between the garage door opener and its safety sensors. This error can prevent your garage door from operating correctly, causing inconvenience and frustration. Fortunately, resolving this issue typically involves a few straightforward steps.
In this guide on how to fix liftmaster error code 1-5, we will walk you through the diagnostic process, helping you identify the root cause and implement effective solutions to get your Liftmaster garage door opener back in working order. Whether it’s a simple adjustment or a more involved repair, we’ve got you covered to ensure a hassle-free fix.
What Will You Need?
Before we dive into the steps to fix Liftmaster error codes 1-5, make sure you have the following tools and materials ready:
- A ladder
- A clean cloth or rag
- Windex or rubbing alcohol
- A level (optional)
- Safety sensors for replacement (if necessary)
10 Easy Steps on How to Fix Liftmaster Error Code 1-5
Step 1: Check for Obstructions
The first thing you should do when facing Liftmaster error code 1-5 is to check for any obstructions in your garage door’s path. These could be anything from leaves and debris to objects accidentally placed in the way. Clear out any obstructions and try operating your garage door again. If the error persists, move on to the next step.
Step 2: Clean the Safety Sensors
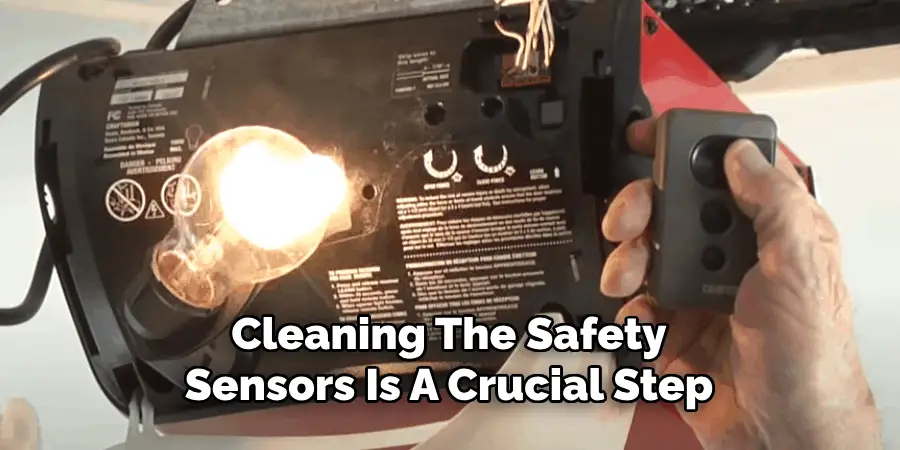
Cleaning the safety sensors is a crucial step in resolving Liftmaster error codes 1-5. Over time, dirt, dust, and spider webs can accumulate on the sensor lenses, obstructing their ability to send and receive signals properly. To clean the safety sensors, use the cloth or rag you prepared earlier, along with Windex or rubbing alcohol.
Gently wipe each sensor, ensuring the sender and receiver lenses are free from any grime. Avoid using abrasive materials that could scratch the surface of the sensors. After cleaning, double-check to ensure the sensors are securely mounted and aligned facing each other. Once you’ve completed this step, attempt to operate your garage door again. If the error continues, proceed to the next step to investigate the issue further.
Step 3: Check the Alignment of the Sensors
If cleaning the safety sensors did not resolve Liftmaster error code 1-5, the next step is to check their alignment. Misaligned sensors can prevent them from communicating effectively. Start by visually inspecting the sender and receiver sensors to ensure they face each other directly. You can use a level to verify that they are positioned evenly and at the same height. If one of the sensors appears tilted or dislodged, carefully adjust it back into the correct position. Once you have aligned the sensors correctly, test the garage door opener again to see if the error has been resolved.
Step 4: Inspect the Wiring
If the alignment of the safety sensors is correct but Liftmaster error code 1-5 persists, the next step is to inspect the wiring connected to the sensors. Look for any visible signs of damage, such as frayed wires, loose connections, or corrosion.
Ensure that all connections are secure and that there are no breaks in the wire insulation. If you discover any damaged wiring, it may need to be repaired or replaced. After addressing any wiring issues, test the garage door opener to see if the error code has been cleared. If the problem continues, move on to the next step for further troubleshooting.
Step 5: Test the Sensors
After inspecting the wiring, it’s essential to test the safety sensors to ensure they are functioning correctly. To do this, first, disconnect the power supply to your garage door opener for safety. Then, reconnect the sensors, ensuring they are wired correctly and securely.
Once everything is in place, restore power to the garage door opener. Most Liftmaster models will have a diagnostic feature that allows you to check the sensors’ functionality. Close the garage door and trigger the sensors by placing an object in the door’s path. If the door reverses as it should, your sensors are working correctly. If the error code 1-5 persists, proceed to the next step for further assistance.
Step 6: Reset the Garage Door Opener
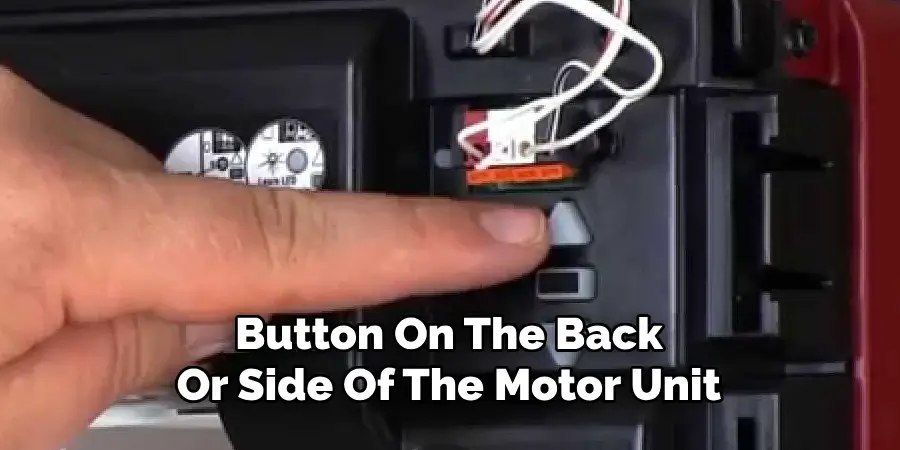
If you’ve completed the previous steps and Liftmaster error code 1-5 still shows, resetting the garage door opener may help resolve the issue. To reset the opener, locate the “Learn” button on the back or side of the motor unit, typically near the antenna wire. Press and hold the “Learn” button until the indicator light turns off, then release it. This will clear any previous error codes and reset the system. After the reset, try operating your garage door once more. If the error code reappears, continue to the next step for additional troubleshooting.
Step 7: Replace Safety Sensors
If Liftmaster error code 1-5 remains after resetting the garage door opener, consider replacing the safety sensors. First, ensure you have the correct replacement sensors that are compatible with your Liftmaster model. Disconnect the power to the garage door opener for safety before proceeding. Remove the existing sensors by unscrewing them from their mounts and disconnecting the wiring.
Install the new sensors by connecting the wires appropriately and securing them in place. Make sure they are correctly aligned and facing each other. Once installed, restore power to the system and test the garage door opener to see if the issue has been resolved. If the error code has cleared, you’re all set; otherwise, proceed to the next step for further assistance.
Step 8: Check the Main Unit
If replacing the safety sensors has not fixed Liftmaster error code 1-5, the issue might lie within the leading garage door opener unit. Inspect the motor unit for any signs of wear or damage, such as cracks or unusual sounds, when operating.
Additionally, ensure that the unit is correctly mounted and that no obstructions are around it. Sometimes, the internal components may fail and require attention. If you suspect an issue with the motor unit, it may be advisable to consult a professional technician for an in-depth diagnosis.
Step 9: Consult the User Manual
If none of the previous steps have resolved the Liftmaster error codes 1-5, refer to the user manual that came with your garage door opener. The manual may contain troubleshooting tips specific to your model and detailed information about common error codes. Understanding the features and potential issues documented in the manual can provide further insight into resolving the error or may point you to additional steps not covered here.
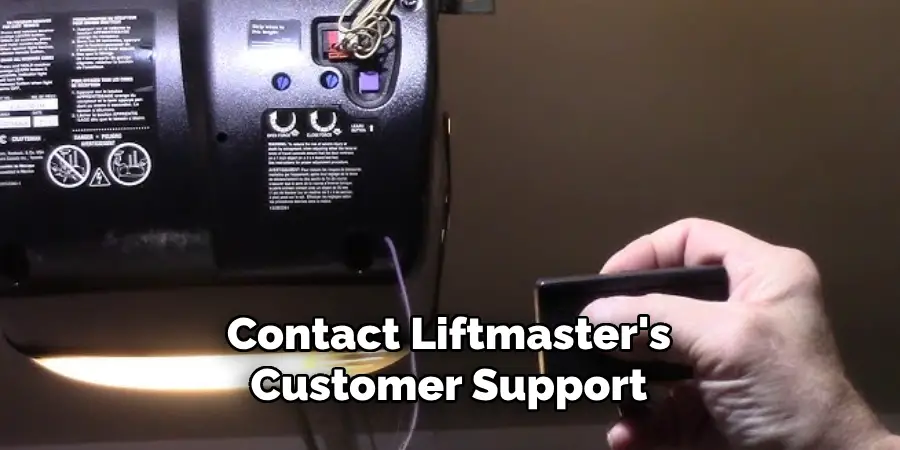
Step 10: Contact Customer Support
When all else fails, it’s time to contact Liftmaster’s customer support for assistance. Be prepared to provide detailed information regarding the error code and the steps you have already taken to resolve the issue. Their customer service team can offer specific troubleshooting advice tailored to your situation or recommend the next steps, including potential repairs or replacements.
By following these ten steps, you can resolve Liftmaster error codes 1-5 and get your garage door opener back in working condition.
5 Things You Should Avoid
- Ignoring Unusual Noises: If you notice any strange noises from the garage door opener while troubleshooting, do not overlook them. These sounds can indicate mechanical issues that may require professional attention.
- Using Substituted Parts: Avoid using non-compatible parts or low-quality replacements for sensors and wiring. Always choose original or manufacturer-approved components, as using incorrect parts can lead to further complications.
- Rushing Through Steps: Take your time when performing each troubleshooting step. Skipping or rushing can lead to missed issues and prolong the problem. Ensure that each component is thoroughly checked before moving on to the next step.
- Neglecting Safety Precautions: Always prioritize safety when working with electrical devices. Avoid working on the garage door opener without disconnecting the power and use appropriate tools to prevent accidents.
- Failing to Document Changes: Track the changes and repairs made during the troubleshooting process. Noting what you have already attempted can help you and support technicians determine the best next steps when seeking further assistance.
What are the Causes of Liftmaster Error Code 1-5?
Liftmaster error codes 1-5 can be caused by a variety of factors, including:
- Misaligned safety sensors
- Damaged or faulty wiring
- Malfunctioning safety sensors
- Internal issues with the garage door opener unit
- User error or incorrect installation
Identifying the cause of the error code is essential to effectively troubleshoot and resolve the issue. By following the steps outlined above, you can eliminate potential causes and narrow down the root source of Liftmaster error codes 1-5.
Conclusion
In summary, how to fix liftmaster error code 1-5 requires a systematic approach to troubleshooting.
Start with basic checks to ensure safety sensors are properly aligned and functioning. If issues persist, progress through steps like resetting the garage door opener, replacing faulty sensors, and inspecting the central unit for damage. Always consult the user manual for model-specific guidance and contact customer support.
By methodically eliminating potential causes, you can effectively resolve the error and restore your garage door opener to optimal working conditions. Prioritizing safety and taking your time will ensure the most efficient and effective troubleshooting process.
You can also check it out Troubleshoot Garage Door Sensors
I am Rick. I grew up helping my dad with his handyman service. I learned a lot from him about how to fix things, and also about how to work hard and take care of business. These days, I’m still into fixing things- only now, I’m doing it for a living.
I’m always looking for new ways to help people grow and develop. That’s why I have created this blog to share all my experience and knowledge so
that I can help people who are interested in DIY repair.