Accidentally backing into a garage door is a common scenario that many homeowners face, often leading to dents, misalignments, or even more significant damage. Addressing this damage promptly is crucial for restoring the door’s appearance and ensuring safety and functionality.
Ignoring issues can result in further complications, such as impaired operation or increased repair costs. In this article, we will explore how to fix garage door after backing into it, guiding you through the essential steps involved in the repair process.
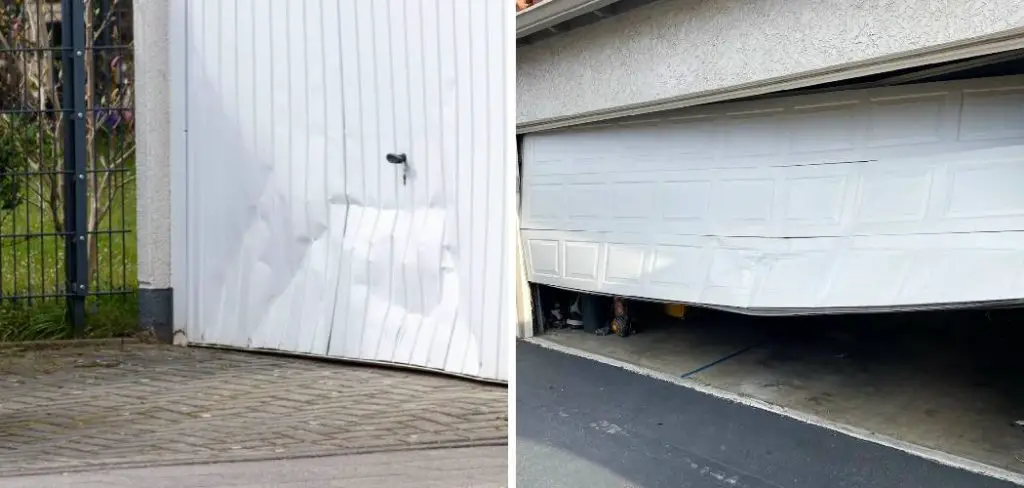
This includes assessing the damage, determining if you can handle the repairs yourself, and knowing when to seek professional assistance for more complex issues. By following these guidelines, you’ll be equipped to tackle the problem effectively and restore your garage door to its optimal state.
Assessing the Damage
Visual Inspection of the Garage Door
Begin the assessment by performing a thorough visual inspection of the garage door. Look closely for any noticeable dents or cracks that have developed as a result of the impact. Pay special attention to the panels for any signs of deformation, ensuring the overall aesthetic condition of the door is noted.
Additionally, examine the tracks for misalignment or bending that could impede the door’s normal operation. It is essential to check the hardware, including hinges and rollers, as damage to these components can affect the door’s functionality.
Document any areas of concern, as this information will guide your repair efforts and determine whether you need to consult a professional for severe issues.
Operational Check
Next, an operational check will be conducted to evaluate how the garage door functions after the impact. Begin by manually opening and closing the door to observe its movement. Take note of any resistance or difficulty while operating the door, as this may indicate underlying issues with the tracks or alignment.
Look for uneven movement, where sections of the door may not rise or fall synchronously, suggesting structural damage. Additionally, listen for any unusual sounds, such as grinding or squeaking, which could point to damaged hardware components or misalignment in the tracks.
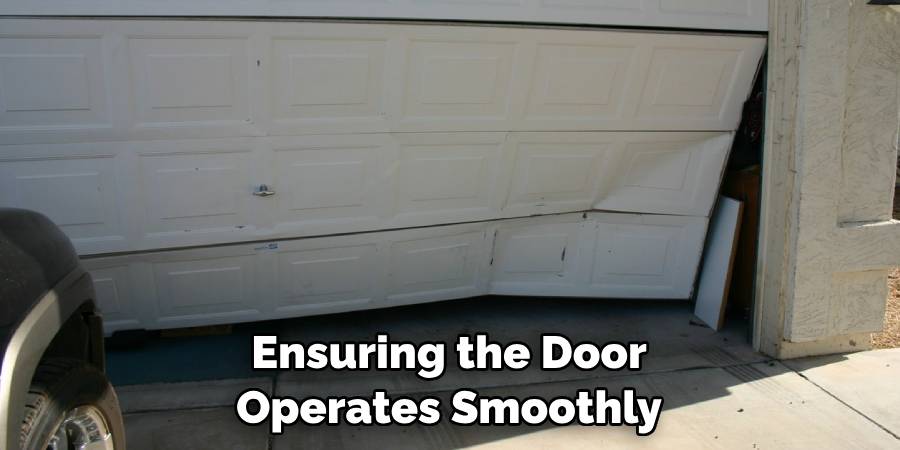
If any of these issues arise, document them carefully, as they will inform the next steps in the repair process. Ensuring the door operates smoothly is crucial to maintaining its safety and functionality.
Safety Precautions Before Repairs
Before starting any repairs on your garage door, it’s crucial to take necessary safety precautions to protect yourself and prevent further damage.
Disconnect the Garage Door Opener
Begin by safely disconnecting the garage door opener to prevent accidental operation during repairs. Locate the emergency release cord, usually a red handle, and pull it down to disengage the door from the opener.
This step is vital, as it eliminates the risk of the door moving unexpectedly while you work. Always ensure the garage door is in a down position and secure to avoid any unintentional opening.
Ensure Structural Safety
Next, assess the garage door’s structural integrity. If you notice any severe damage or instability or if the door appears to be leaning or sagging, addressing these concerns before proceeding with repairs is essential.
Attempting to work on a compromised door can lead to personal injury or exacerbate the damage. If the door seems unsafe, do not hesitate to contact a professional for assistance to ensure your safety and the proper handling of repairs.
How to Fix Garage Door After Backing Into It: Repairing Dents in the Garage Door Panels
Pounding Out Minor Dents
You can use a rubber mallet or a hammer with a wood block to address minor dents in your garage door panels. First, locate the dented area inside the door, ensuring you can access it safely.
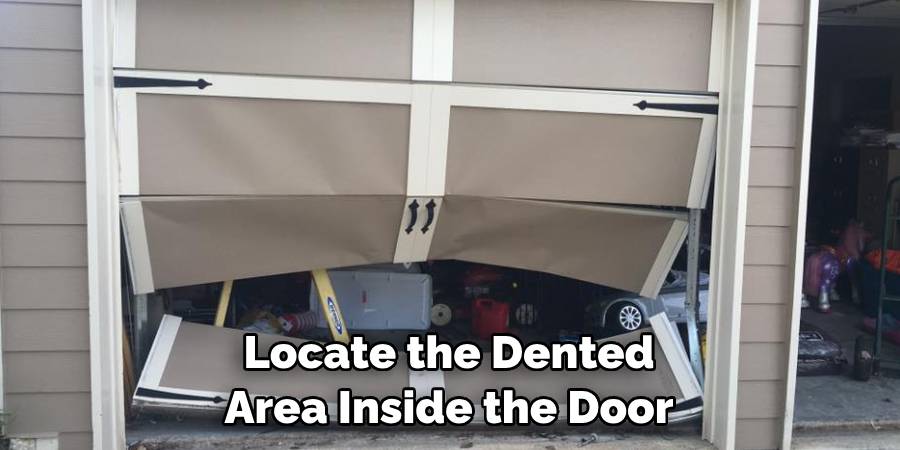
Place the wood block against the dent to distribute the impact evenly and protect the panel’s surface. Using the rubber mallet or hammer, gently pound the wood block, working from the edges of the dent towards the center to gradually push the dent outwards. It’s crucial to apply light and controlled force to avoid creating further damage to the panel.
Periodically check the progress by observing the exterior of the door and adjusting your technique as necessary. Once the dent is less noticeable or completely removed, ensure the panel is back in its original alignment before moving on to any additional repairs.
Using the Heat and Cold Method for Larger Dents
The heat and cold method can be effective for more significant dents that resist traditional pounding. Start by using a hairdryer to heat the dented area for about 30 seconds to one minute, making sure not to overheat the surface, as this can damage the paint or finish.
The heat expands the metal, making it more malleable. After heating, quickly apply compressed air or ice to the area, which causes the metal to contract and can pop the dent back into place. Ensure you wear protective gloves during this process, particularly when handling ice or compressed air, to prevent any injuries.
This method is most effective on steel or metal doors and is appropriate for superficial dents without cracked paint. If the dent does not pop out after these attempts, reassess the situation and consider more comprehensive repair options or professional assistance.
Replacing or Repairing Damaged Panels
Deciding Whether to Repair or Replace Panels
When determining whether a damaged panel can be repaired or needs to be replaced, consider the extent of the damage first. Minor dents or scratches may be eligible for repair, while cracks or severe structural damage often warrant a full panel replacement.
Additionally, assess the age of the garage door; older models might have limited availability for replacement parts. If you can’t find matching panels or if repair costs are high, opting for a replacement may be the best route.
Replacing a Damaged Panel
To replace a damaged panel, detach it from the garage door. Start by removing the screws or fasteners holding the panel in place, then carefully pull it away from the door. Position the new panel, ensuring it matches the existing ones in size and style.
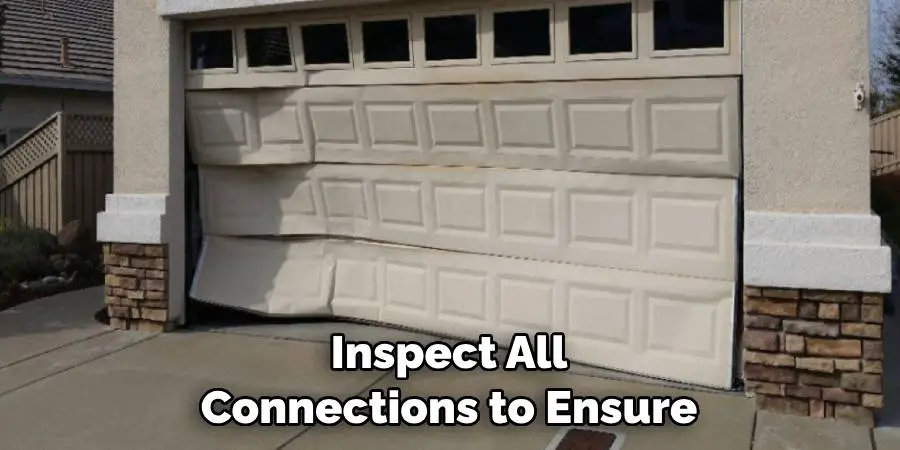
Once aligned, secure the new panel with screws or fasteners, just as you removed the damaged one. Lastly, inspect all connections to ensure the panel is securely installed and that the door operates correctly.
Fixing Garage Door Hardware and Components
Inspecting Hinges, Rollers, and Springs
After assessing the door panels, it’s essential to inspect the garage door’s hardware, including hinges, rollers, and springs. Look for any signs of damage, such as bent hinges, worn rollers, or rusted springs, as these issues can significantly impede the door’s operation.
Damaged components may cause the door to become misaligned or operate abruptly, leading to further safety hazards. Addressing these problems promptly will ensure the door functions smoothly and extends its lifespan.
Replacing Damaged Hardware
If you identify any damaged hardware components, such as bent hinges or broken rollers, it’s crucial to replace them. Start by removing the damaged parts carefully, ensuring you take note of how they are secured. When selecting replacement parts, choose hardware that matches your garage door model.
Once you have the new components, install them securely, making sure all fasteners are tight to maintain stability. Regularly checking and replacing hardware can help prevent future issues and improve overall door performance.
Reconnecting and Testing the Garage Door
Reconnecting the Garage Door Opener
After completing all necessary repairs, it’s time to reconnect the garage door opener. Begin by ensuring the opener is aligned correctly with the door; check the mounting brackets and cables for any adjustments. Reinsert the emergency release cord, allowing the opener to re-engage with the door.
Once connected, plug in the opener and power it on. Test the operation by using the remote or wall switch to confirm that the opener activates smoothly and effectively raises and lowers the door.
Testing the Door’s Operation
Once the garage door opener is reconnected, thoroughly test the door’s operation. Open and close the door multiple times, observing its movement for any irregularities.
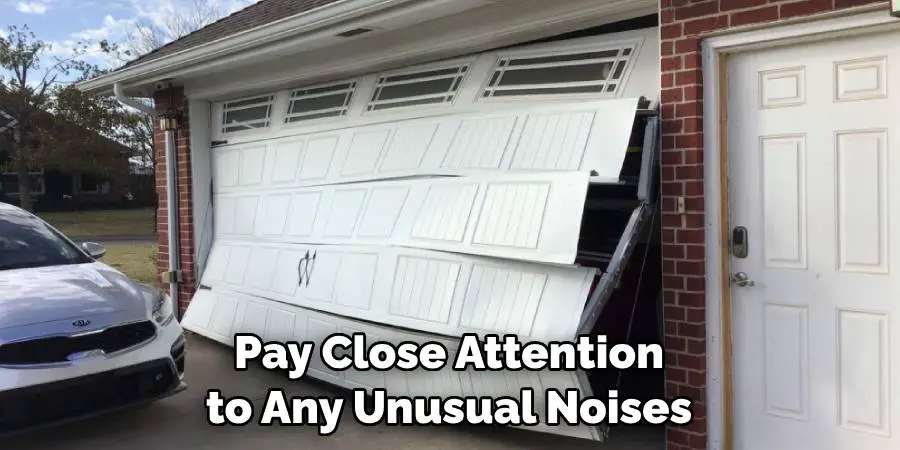
Ensure that the door travels evenly along its tracks and stops at the fully open and closed positions without hesitation. Pay close attention to any unusual noises or signs of strain, such as grinding or jerking motions. If you notice any issues during the tests, it may indicate that further adjustments or repairs are necessary.
Conclusion
In summary, understanding how to fix garage door after backing into it involves several key steps. Begin by assessing the extent of the damage, focusing on any dents, scratches, or structural issues. Then, proceed with repairs using methods tailored to the damage—pounding out small dents, employing the heat and cold method for larger ones, and addressing any damaged panels or hardware.
After completing the repairs, reconnect the garage door opener and thoroughly test the door’s operation to ensure it functions correctly.
Throughout this process, prioritizing safety is essential, from wearing protective gear to ensuring the area is clear of hazards. For more complex issues, do not hesitate to seek professional assistance. Remember, while accidents happen, knowing how to fix a garage door after backing into it is a manageable task with the right approach, allowing you to restore your door to its full functionality and peace of mind.
I am Rick. I grew up helping my dad with his handyman service. I learned a lot from him about how to fix things, and also about how to work hard and take care of business. These days, I’m still into fixing things- only now, I’m doing it for a living.
I’m always looking for new ways to help people grow and develop. That’s why I have created this blog to share all my experience and knowledge so
that I can help people who are interested in DIY repair.
