
Cracks in garage doors are a common issue faced by homeowners, often resulting from wear and tear, extreme weather conditions, or accidental impacts. Such damage not only diminishes the aesthetic appeal of your property but can also compromise the security of your garage. Promptly addressing these cracks is crucial to preventing further deterioration and ensuring your garage door remains functional and secure.

This article will guide you on how to fix cracked garage door, covering key steps such as assessing the severity of the damage, selecting the right repair method, and reinforcing the door for long-term durability. By following these outlined procedures, you can restore your garage door’s appearance and performance effectively.
Assessing the Severity of the Crack
Visual Inspection of the Crack
To effectively assess the severity of a crack in your garage door, start with a thorough visual inspection. Carefully examine the size, location, and depth of the crack. Small surface cracks, often no more than a few millimeters in width, may only require straightforward repairs like filling and painting. However, deeper cracks or those located near hinges or support areas could signify more severe damage, potentially affecting the door’s structural integrity.
Pay attention to any unusual changes in the door’s surface or alignment, and take note of any areas that seem to bow or warp. If the crack is accompanied by other signs of deterioration, like rust in metal doors or rot in wooden doors, it may indicate the need for more extensive repairs or replacement parts. Documenting the crack’s characteristics will help you determine the appropriate course of action for repair.
Impact on Garage Door Functionality
Cracks in a garage door can significantly impact its functionality. A compromised door may lose strength, leading to potential misalignment when opening and closing, which can cause further damage over time. Additionally, cracks can create openings that allow water, pests, and debris to infiltrate your garage, resulting in moisture-related issues or unwanted infestations. This not only jeopardizes the physical condition of the door but also threatens the integrity of items stored within the garage.

Identifying operational issues stemming from cracks is crucial; this may include unusual noises when the door operates, difficulty in smooth movement, or improper sealing against the elements. Addressing these issues promptly ensures that you maintain the functionality and security of your garage door, preventing further complications that may arise from neglecting necessary repairs.
Safety Precautions Before Repairs
Before beginning any repairs on a cracked garage door, it is crucial to take safety precautions to protect yourself and prevent further damage.
Disconnect the Garage Door Opener
Start by safely disconnecting the garage door opener. This can typically be done by pulling the emergency release cord, which is usually a red cord hanging from the garage door mechanism. Ensure that the door is fully closed before disconnecting the opener to prevent accidental operation. This step is vital to avoid the door moving unexpectedly during repairs, which could lead to injury or additional damage.
Ensure Structural Safety
Next, assess the garage door’s structural safety. If the crack appears to compromise the door’s structural integrity, it may be essential to consult a professional before proceeding with repairs. A weakened door can be hazardous, leading to collapse or malfunction during use. Ensuring that the door is stable and secure will protect you while working on it and ensure effective and safe repairs can be conducted.
How to Fix Cracked Garage Door: Repairing Cracks in Metal Garage Doors
Cleaning and Preparing the Surface
Before initiating any repairs on a cracked metal garage door, cleaning the affected area thoroughly is essential. Begin by applying a degreaser or a mild detergent mixed with water to the cracked section. Use a scrub brush or cloth to gently scrub away dirt, grease, and rust, removing all debris that could hinder the adhesion of the repair materials. Once cleaned, rinse the area with clean water and dry it thoroughly with a clean towel.
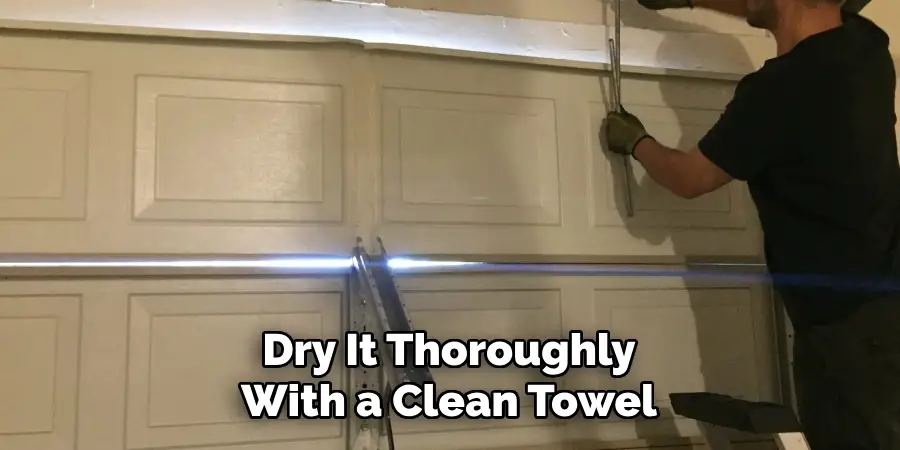
It’s crucial to ensure that the surface is completely dry before proceeding, as moisture can interfere with the auto body filler’s ability to bond effectively. Additionally, check for any sharp edges or metal splinters around the crack and file them down to prevent injury and ensure a smooth application of filler later on.
Filling the Crack with Auto Body Filler
After preparing the surface, the next step is to fill the crack using auto body filler, which is ideal for this type of repair. Begin by mixing the filler according to the manufacturer’s instructions, usually combining the filler with a hardener to activate it. Applying the mixed filler to the crack using a putty knife ensures that it penetrates deeply and fills the gap completely.
Work the filler into the crack with even pressure, smoothing it over the surface to achieve a level finish that matches the surrounding area. It’s essential to overfill slightly, as the filler can shrink as it cures. Allow the filler to dry completely according to the manufacturer’s recommendations, usually several hours, before moving on to the next phase of the repair.
Sanding and Painting the Repaired Area
Once the filler has fully cured, it’s time to sand the repaired area to create a smooth and even surface. Use fine-grit sandpaper to sand down the filled crack carefully, blending it with the surrounding metal. Make sure to sand lightly so you don’t remove too much filler and compromise the repair. After achieving a smooth finish, wipe the area with a clean cloth to remove any dust from the sanding.
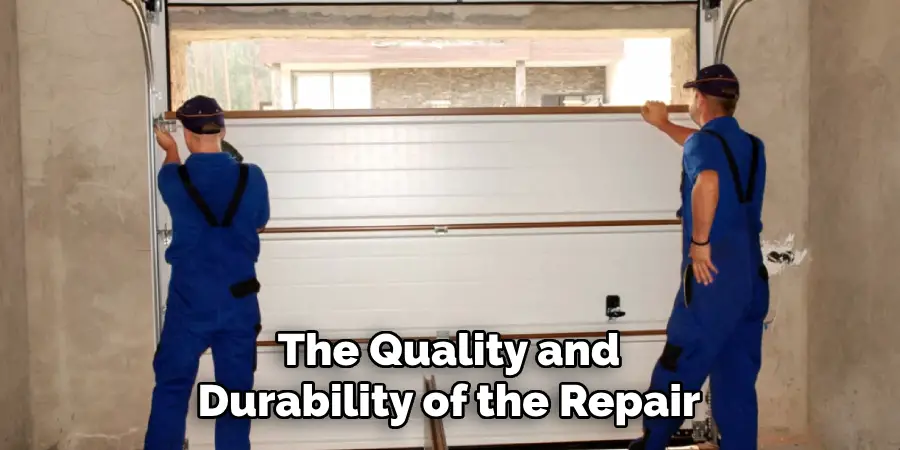
The next critical step is to prime the repaired area to prevent rust and ensure paint adhesion. Select a suitable metal primer, apply it evenly over the repaired section, and allow it to dry fully. Finally, paint the area with a metal paint that matches the rest of the door, applying multiple coats if necessary for uniformity. This restores the door’s appearance and protects the repair from the elements, ensuring durability.
How to Fix Cracked Garage Door: Repairing Cracks in Wooden Garage Doors
Cleaning and Preparing the Surface
Before initiating repairs on a cracked wooden garage door, it is vital to thoroughly clean the affected area. Begin by using a suitable wood cleaner or a mild detergent mixed with water. Apply this solution to the cracked section, gently scrubbing with a soft cloth or sponge to remove dirt, debris, and any loose paint. This step ensures that the surface is adequately prepared for repair materials to adhere effectively.
After cleaning, rinse the area with clean water to remove any residue from the cleaner, and then dry it completely with a towel. The wood must be entirely dry before proceeding with repairs, as moisture can impede the bonding process of fillers or epoxies, potentially compromising the quality and durability of the repair.
Filling the Crack with a Wood Filler or Epoxy
Once the surface is clean and dry, it’s time to address the crack using wood filler or epoxy. The choice of material depends on the size and depth of the damage: for smaller cracks, a wood filler is appropriate, while larger or deeper cracks may necessitate the use of epoxy for stronger bonding. Using a putty knife, scoop out an appropriate amount of the selected filler and press it into the crack, ensuring it penetrates deeply and fills the gap entirely.
It is essential to smooth the filled area to match the surrounding surface, applying even pressure to achieve a level finish. After applying the filler, allow it to cure according to the manufacturer’s instructions, which typically involves leaving it undisturbed for several hours or as specified on the product label.
Sanding, Staining, and Sealing the Repaired Area
After the filler or epoxy has fully cured, the next step is to sand the repaired area to achieve a smooth, even finish. Use fine-grit sandpaper to carefully sand the filled crack, being mindful not to remove too much material and compromise the repair. Once the surface is smooth, wipe away any dust using a clean cloth.
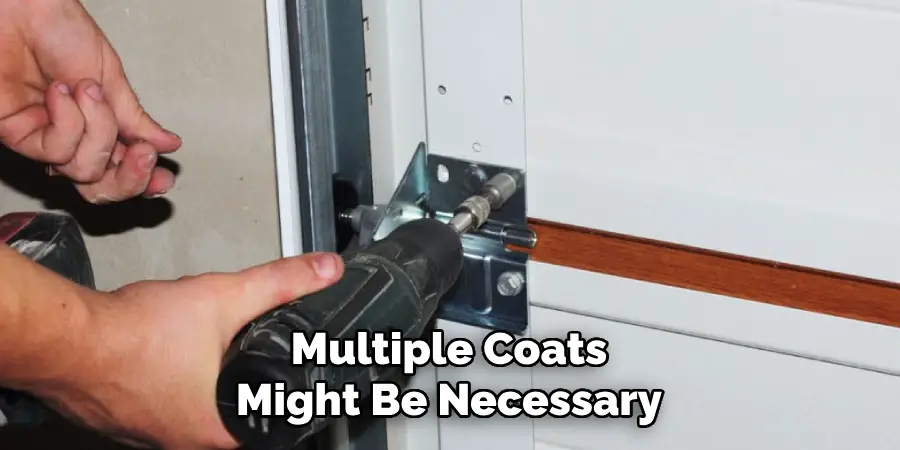
To restore the aesthetic of the garage door, apply wood stain or paint that matches the original color of the door. Depending on the product used, multiple coats might be necessary to achieve the desired color depth. Finally, seal the repaired area with a weather-resistant sealant to protect against moisture, UV rays, and other environmental factors. This additional protective layer ensures the longevity of the repair, safeguarding the wooden garage door from future damage and maintaining its appearance over time.
Reinforcing the Garage Door for Long-Term Durability
Adding a Metal Brace for Support
Consider installing a metal brace or reinforcement bar across the cracked area to provide additional support and enhance the durability of the repaired garage door. Begin by measuring the length of the crack and cutting the brace to fit snugly. Position the brace over the crack and securely fasten it in place using screws or bolts, ensuring that it is tightly anchored to the door. This reinforcement will help distribute stress and prevent the crack from worsening over time.
Inspecting the Door for Other Weaknesses
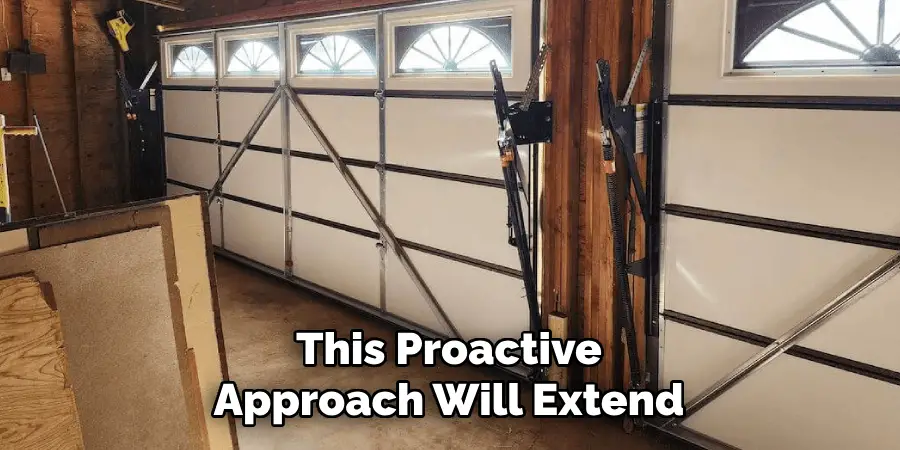
After reinforcing the cracked area, it’s essential to inspect the rest of the garage door for any signs of weakness. Look for potential stress points, such as warped wood, loose panels, or any early indications of cracking. Address these vulnerabilities by applying additional reinforcement, whether through bracing or using more wood filler or epoxy, to fortify the door against future damage. This proactive approach will extend the lifespan of your garage door and maintain its structural integrity.
Preventative Maintenance Tips
Regular Inspection and Repair
Routine inspection of your garage door is crucial for maintaining its integrity and functionality. Regularly check for signs of cracks, warping, or other forms of damage, and promptly address any issues you discover to prevent them from worsening. Additionally, maintaining the door’s surface is essential; consider repainting or resealing it every few years to protect it from the elements and preserve its appearance. A little attention can go a long way in extending the lifespan of your garage door.
Protecting the Door from Environmental Factors
Applying a weather-resistant coating is highly recommended to safeguard your garage door from harsh weather conditions. This protective layer can prevent moisture penetration, reducing the risk of cracking and deterioration. Furthermore, consider installing a garage door seal at the bottom to block out water, debris, and pests. These preventative measures enhance the door’s durability and help maintain its aesthetic appeal over time, ensuring it remains a functional and attractive part of your home.
Conclusion
In summary, knowing how to fix cracked garage door involves several key steps: First, assess the damage to determine the extent of the cracks. Next, thoroughly prepare the surface before applying wood filler or epoxy to fill the cracks. After the filler has cured, sand the area for a smooth finish and apply stain or paint to match the door’s original color. Reinforce the repair with a metal brace and inspect the door for any additional weaknesses to ensure long-term durability.
As you undertake these repairs, take your time to execute each step carefully and thoroughly, as this will enhance the effectiveness of your work. Remember, repairing a cracked garage door improves its appearance and restores its functionality, extending its lifespan and maintaining the security of your garage. Embrace this DIY challenge with confidence—the effort will pay off in the end!
I am Rick. I grew up helping my dad with his handyman service. I learned a lot from him about how to fix things, and also about how to work hard and take care of business. These days, I’m still into fixing things- only now, I’m doing it for a living.
I’m always looking for new ways to help people grow and develop. That’s why I have created this blog to share all my experience and knowledge so
that I can help people who are interested in DIY repair.