
There are several reasons why you might want to learn how to finish OSB (oriented strand board) walls. First and foremost, it can be a great way to save money on your renovation or building project. Instead of hiring a professional contractor, learning the skills yourself can save you a significant amount of money in labor costs.
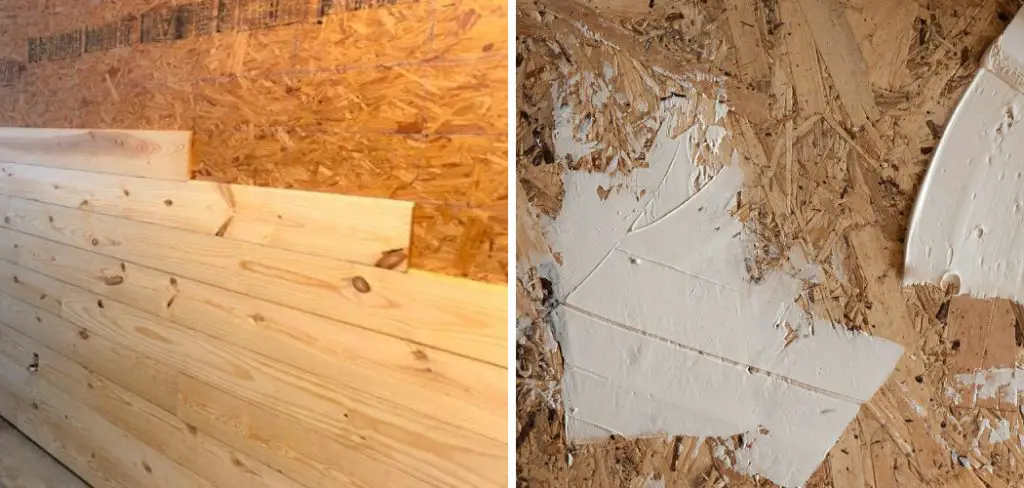
The main advantage of knowing to finish OSB walls is that it allows for a more customized and polished look in your home. Unlike traditional drywall, OSB (oriented strand board) walls have a unique texture and can add character to any room. In this blog post, You will learn in detail how to finish osb walls.
Inspecting and Repairing Any Damage or Imperfections
One of the most important tasks of home maintenance is inspecting and repairing any damage or imperfections in your home. These issues not only affect the aesthetic appeal of your home, but they can also lead to more serious problems if left unaddressed. Here are tips for inspecting and repairing any damage or imperfections in your home:
1. Look for Gaps and Cracks
The first thing you should do is look for any gaps or cracks in the walls, floors, and ceilings of your home. These can be caused by settling, moisture damage, or structural issues. Use a flashlight to thoroughly inspect these areas and make note of any areas that need to be repaired.
2. Check for Water Damage
Water damage is a common issue that can cause significant damage if left untreated. Check for signs of water damage such as discolored walls or ceilings, musty odors, and soft spots in the floor. If you find any of these issues, it’s important to address them immediately.
3. Maintain Your Roof
Your roof is one of the most important components of your home and should be regularly inspected and maintained. Look for missing or damaged shingles, moss or algae growth, and any areas where water may be able to enter your home. If you notice any issues, contact a professional roofer to repair them.
4. Inspect Your Gutters
Clogged or damaged gutters can lead to water damage and other issues in your home. Clean out your gutters at least twice a year and make sure they are securely attached to the roof. If you notice any damage, repair or replace them as soon as possible.
5. Check Your Foundation
Your home’s foundation is what keeps it standing strong, so it’s crucial to inspect it for any cracks or damage. Look for signs of uneven settling, water intrusion, and damage from pests. If you notice any issues, contact a professional to assess and repair the damage.
6. Repair Any Structural Damage
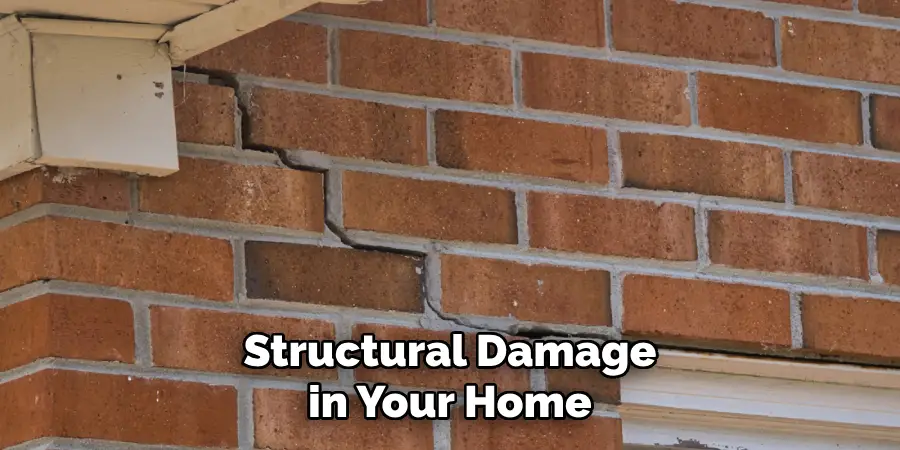
If you notice any structural damage in your home such as sagging floors or walls, it’s important to have them repaired immediately. These issues can compromise the safety and stability of your home and should be addressed by a professional contractor.
7. Maintain Your Home’s Exterior
The exterior of your home is constantly exposed to the elements and can become damaged over time. Inspect the siding, paint, and windows for any signs of wear or damage. Repair or replace as needed to keep your home looking its best.
By regularly inspecting and repairing any damage or imperfections in your home, you can maintain its value and ensure the safety and comfort of your family. Don’t wait for issues to become bigger problems, address them as soon as possible to save time and money in the long run.
Step-by-step Instructions for How to Finish Osb Walls
Step 1: Inspect the Walls
Before starting to finish Osb walls, it is important to inspect them for any damage or imperfections. Look for any cracks, holes, or uneven areas that need to be repaired before proceeding with the finishing process.
Step 2: Gather Your Materials
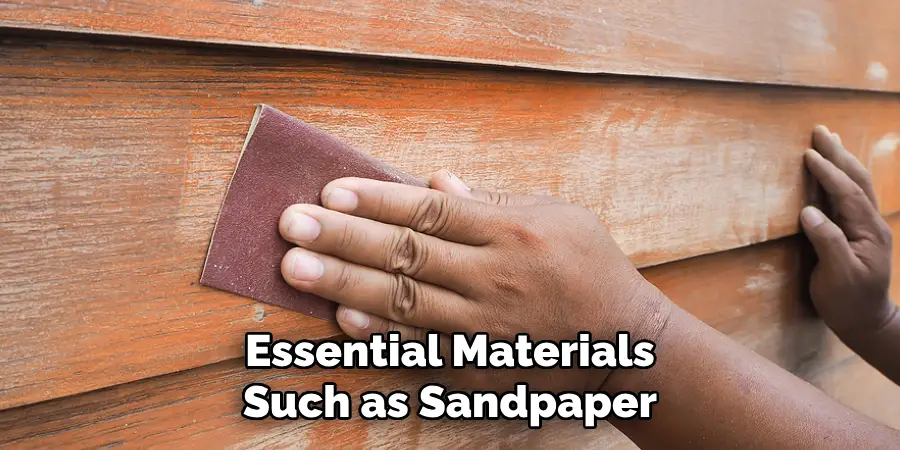
To finish Osb walls, you will need a few essential materials such as sandpaper, primer, paint, and a paintbrush or roller. Make sure you have all the necessary materials before starting the process to avoid any interruptions. Using sandpaper, gently sand down any rough areas on the Osb walls. This will help create a smooth surface for painting and ensure that the primer adheres properly.
Step 3: Clean the Walls
After sanding, use a damp cloth to wipe down the walls and remove any dust or debris. This step is crucial as it will ensure that the primer and paint adhere properly to the Osb walls.
Using a paintbrush or roller, apply a coat of primer to the Osb walls. Priming helps seal the wood and creates a smooth surface for the paint to adhere to. Make sure to cover all areas evenly and allow the primer to dry completely.
Step 4: Fill in Any Holes or Cracks
If you noticed any holes or cracks during the inspection, now is the time to fill them in with wood filler. Once filled, use sandpaper to smooth out the area and remove any excess filler.
Once the primer is dry, you can start painting your Osb walls. Using a paintbrush or roller, apply the first coat of paint in a smooth and even manner. Let it dry completely before applying a second coat.
Step 5: Sand Down Any Imperfections
After the first coat of paint has dried, use sandpaper to gently sand down any imperfections you may have missed. This step will help create a smooth and even surface for the final coat of paint. Using the same technique as before, apply the final coat of paint to your Osb walls. Make sure to cover all areas evenly and allow it to dry completely.
Step 6: Add Finishing Touches
Once the final coat of paint is dry, you can add any finishing touches such as trim or molding to complete the look of your Osb walls. Make sure to let everything dry before using or moving furniture back into the room.
By following these simple steps, you can easily finish Osb walls and give your room a fresh new look. Remember to take your time and pay attention to details for the best results. With proper preparation and patience, your Osb walls will look professionally finished in no time.
Safety Tips for How to Finish Osb Walls
- Wear protective gear such as safety glasses, gloves and a dust mask when sanding or cutting OSB to prevent exposure to harmful particles.
- Make sure the area is well ventilated by opening windows or using fans to avoid breathing in excessive dust.
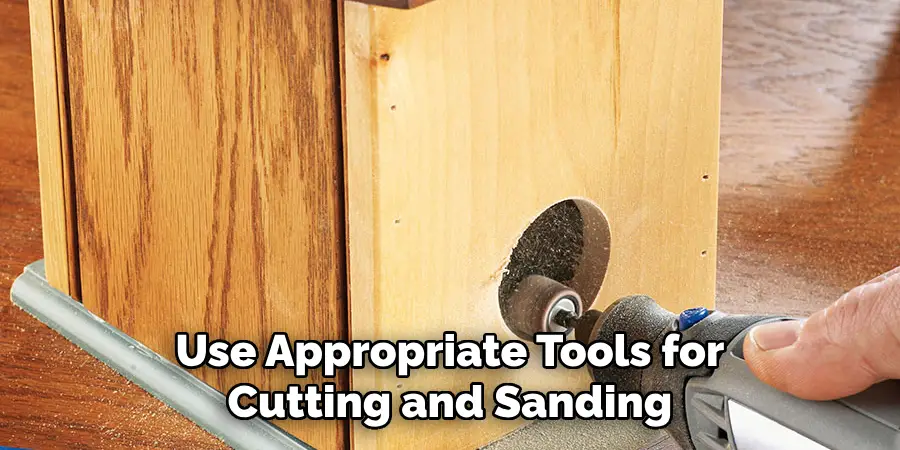
- Use appropriate tools for cutting and sanding such as a circular saw with a fine-toothed blade and an orbital sander with a low grit sandpaper.
- When cutting OSB, always cut on the rough side to avoid splintering or chipping the edges.
- Avoid stacking or storing OSB panels near heat sources such as heaters or direct sunlight, as this can cause the panels to warp and become unstable.
- Use proper lifting techniques when handling OSB panels to avoid strain or injury. Consider using a dolly or a team lift method for larger panels.
- Always read and follow the manufacturer’s instructions and safety precautions when using adhesives or other finishing products.
By following these safety tips, you can ensure a safe and successful project when finishing OSB walls. Remember to also wear appropriate clothing, keep a fire extinguisher nearby, and have a first aid kit on hand in case of any accidents. Safety should always be the top priority when working with any type of building material.
DIY Solutions for Cost-effective Results
- Utilize Reusable Materials: Instead of buying new materials, consider repurposing items you already have at home. For example, old t-shirts can be turned into cleaning rags or cloth bags.
- Shop at Thrift Stores: Thrift stores offer a wide variety of used items at affordable prices. You can find everything from clothes and furniture to kitchenware and electronics. By shopping at thrift stores, not only will you save money but also reduce waste by giving new life to pre-loved items.
- Make Your Own Cleaning Products: Most store-bought cleaning products contain harsh chemicals that can be harmful to both the environment and your health. Instead of buying them, try making your own using natural ingredients like vinegar, baking soda, and essential oils. There are many DIY recipes available online that are easy to make and will save you money in the long run.
- Use Energy-efficient Appliances: Older appliances tend to use more energy, leading to higher utility bills. Consider investing in energy-efficient models that have a lower impact on the environment and can save you money over time.
- Grow Your Own Food: Growing your own fruits, vegetables, and herbs is not only cost-effective but also a great way to reduce your carbon footprint. You don’t need a large garden to start – even small spaces like balconies or windowsills can be used for growing plants.
- Reduce Water Usage: Conserving water not only helps the environment but also saves you money on your water bill. Simple changes like fixing leaks, using low-flow showerheads and toilets, and collecting rainwater for gardening purposes can make a big impact.
- Practice Minimalism: The less you buy, the less waste is produced. Consider adopting a minimalist lifestyle by only purchasing items that you truly need and will use frequently. This not only saves you money but also reduces your consumption and impact on the environment.
These DIY solutions not only help save money, but they also promote a more sustainable way of living. By using reusable materials and making conscious choices, you can reduce waste and minimize your impact on the environment.
Maintaining and Refreshing Osb Wall Finishes
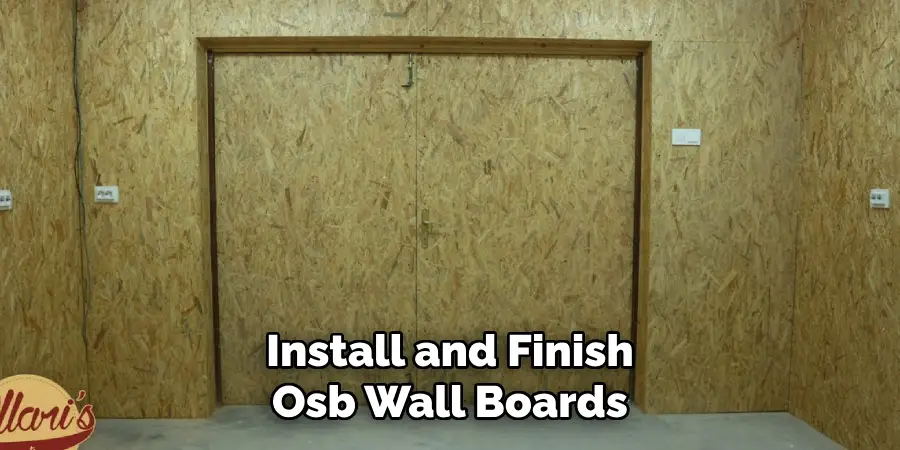
In the previous sections, we have discussed how to properly install and finish OSB wall boards. However, it is important to note that maintaining and refreshing OSB wall finishes is equally crucial in preserving its appearance and integrity.
1. Regular Cleaning
One of the easiest ways to maintain an OSB wall finish is through regular cleaning. This includes removing dust and dirt with a soft cloth or vacuuming with a brush attachment. For tougher stains, a mild soap and water solution can be used to gently scrub the surface. It is important to avoid using harsh chemicals or abrasive cleaners as they can damage the board’s surface.
2. Preventing Moisture Damage
OSB wall finishes are prone to moisture damage, especially in areas such as bathrooms and kitchens. It is important to regularly check for any signs of water leakage or moisture build-up and address them immediately. This can include fixing pipes, repairing leaks, or installing proper ventilation systems.
3. Repairing Damages
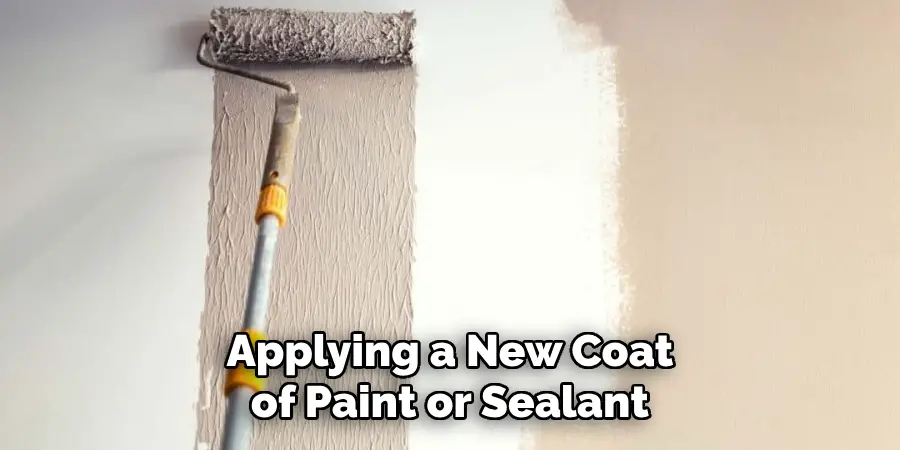
Despite our best efforts, damages may still occur on OSB wall finishes. Small scratches and dents can be easily repaired by sanding the affected area and applying a new coat of paint or sealant. For larger damages, it may be necessary to replace the affected section of the board.
4. Repainting or Refinishing
Over time, OSB wall finishes can become dull and lose their original appearance. In such cases, repainting or refinishing can help refresh the look of the walls. It is important to properly prepare the surface by sanding and cleaning before applying a new coat of paint or sealant. It is also recommended to use a high-quality primer to ensure better adhesion.
5. Regular Inspections
In addition to regular cleaning, it is important to conduct regular inspections of OSB wall finishes. This can help identify any potential issues early on and prevent further damages. Areas that are prone to moisture exposure or high traffic should be inspected more frequently.
Regular cleaning, preventing moisture damage, repairing damages, repainting or refinishing, and conducting regular inspections are all key factors in properly maintaining these types of wall finishes. By following these tips, you can ensure that your OSB wall finishes stay in good condition for many years to come.
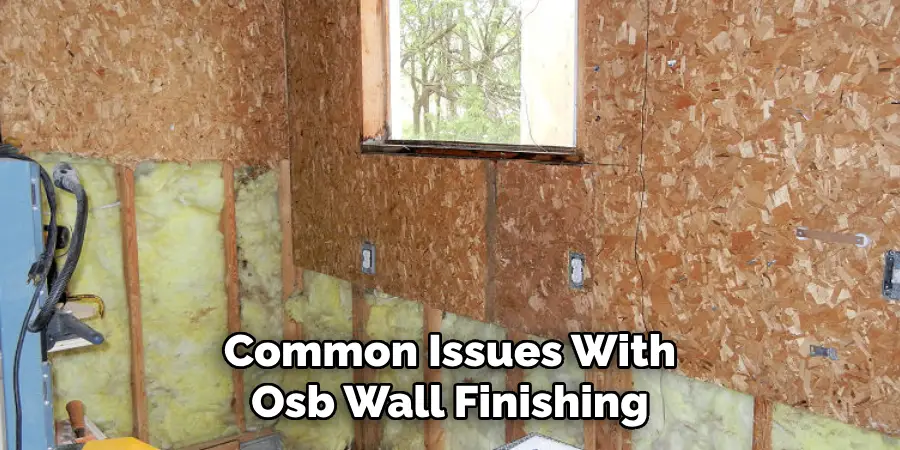
Troubleshooting Common OSB Wall Finishing Issues
OSB (oriented strand board) is a popular choice for wall finishing due to its affordability and durability. However, like any building material, there can be issues that arise during the installation process. In this guide, we will go over some of the common problems that may occur when finishing OSB walls and how to troubleshoot them.
1. Swelling or Buckling
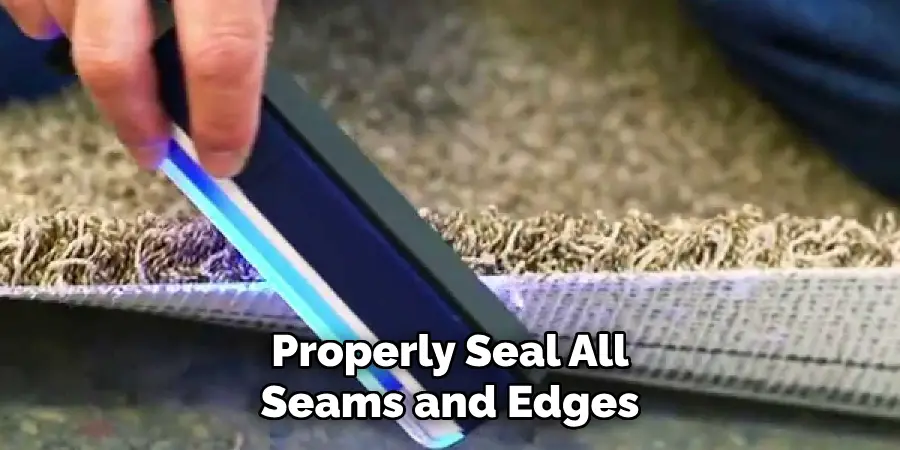
One of the most common issues with OSB wall finishing is swelling or buckling of the boards. This can happen when moisture gets trapped between the boards and causes them to expand.
To prevent this, make sure to properly seal all seams and edges with a waterproof barrier before applying any finishes. If swelling or buckling has already occurred, you may need to replace the affected boards and properly seal them before continuing with the finishing process.
2. Warping
Warping can also occur when there is uneven moisture exposure on the OSB boards. To avoid this issue, make sure to store the boards in a dry and flat position before installation. Properly sealing and painting the boards can also help prevent warping.
3. Discoloration
Discoloration is a common issue with OSB walls, especially when using dark-colored finishes. This can be caused by the tannins present in the wood fibers of the OSB boards reacting with certain finishes. To avoid this, it is recommended to use light-colored finishes or primers specifically designed for OSB.
4. Rough Surface
Sometimes, the finished surface of an OSB wall can be rough and uneven. This is usually due to improper sanding or not using a high-grit sandpaper before applying finishes. To troubleshoot this issue, try sanding the surface with a higher grit sandpaper and then reapplying the finish.
5. Nail Pops
Nail pops occur when the nails used to secure the OSB boards start to protrude from the surface. This is usually caused by the expansion and contraction of the boards due to changes in humidity. To fix this issue, carefully hammer in any popped nails and then fill in the holes with wood filler before sanding down the surface.
6. Joint Separation
Improper installation or not using enough adhesive can lead to joint separation between OSB boards, resulting in gaps and uneven surfaces. To fix this issue, make sure to properly secure each board with enough adhesive during installation. If joint separation has already occurred, you may need to apply wood filler before sanding and finishing the surface.
7. Mold and Mildew
If OSB boards are installed in a damp or humid environment, mold and mildew can grow on the surface. To prevent this issue, make sure to properly seal all edges and seams with a waterproof barrier before finishing. If mold and mildew have already formed, you will need to thoroughly clean the surface with a mixture of bleach and water before applying any finishes.
By understanding and troubleshooting these common issues with OSB wall finishing, you can ensure a smooth and successful installation. Remember to properly seal all edges and seams, store boards in a dry environment, and use high-quality finishes for the best results.
Conclusion
In conclusion, finishing OSB walls is a simple and cost-effective way to improve the appearance and durability of your walls. By following the steps outlined above, you can achieve a professional-looking finish that will last for years to come.
However, it’s important to keep in mind that proper preparation and attention to detail are crucial in obtaining good results. Take your time when sanding and filling any imperfections, and make sure to use high-quality paint or sealant for a long-lasting finish.
Additionally, regularly maintaining your finished OSB walls will help to preserve their appearance and durability. Touch up any scuffs or marks as soon as possible and consider adding an extra coat of sealant every few years. I hope reading this post has helped you learn how to finish osb walls. Make sure the safety precautions are carried out in the order listed.
I am Rick. I grew up helping my dad with his handyman service. I learned a lot from him about how to fix things, and also about how to work hard and take care of business. These days, I’m still into fixing things- only now, I’m doing it for a living.
I’m always looking for new ways to help people grow and develop. That’s why I have created this blog to share all my experience and knowledge so
that I can help people who are interested in DIY repair.