Are you looking for the best way to lay a concrete garage floor that looks great and stands up to wear and tear? You’ve come to the right place! Laying a new concrete garage floor is an exciting project – it not only expands your living space but can add value to your home.
Doing it yourself lets you customize your color and overall design, while still giving you results that are long-lasting and durable. Read on for our top tips on how to finish a concrete garage floor all by yourself!
Needed Materials
Given below is a list of materials that you will need to complete this project:
- Concrete Mix
- Shovel
- Wheelbarrow or Tub for Mixing Concrete
- Bullfloat or Darby (Long-handled Concrete Finishing Tool)
- Trowel
- Edger (for the Outside Edges of Your Slab)
- Jointing Tool (to Create Control Joints in Your Slab)
- Broom
- Resin-based Concrete Sealer
- Protective Gear Including Gloves, Safety Glasses, and a Dust Mask
11 Step-by-Step Guidelines on How to Finish a Concrete Garage Floor
Step 1: Preparation is Key
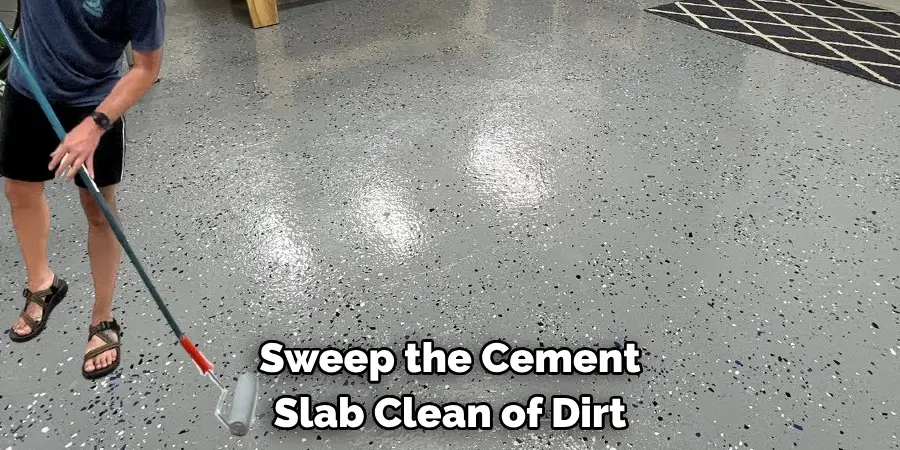
Before starting your project, preparation is key. Make sure you have all the necessary materials and tools at hand. Begin by clearing out your garage entirely and removing any existing flooring or debris. Sweep the cement slab clean of dirt and debris. It’s important to note that the cement needs to be completely clean before you start. You can also use a pressure washer to remove any stubborn stains.
Step 2: Layout and Framing
Use wood stakes, string, and a measuring tape to mark out the area where you want your concrete floor. Dig out any dirt or grass, so that the floor can be level with the existing concrete. Install temporary wooden frames around the perimeter of the area to contain the concrete. It’s important to remember that the frame must be level. But before that, it’s important to compact the soil and level it.
Step 3: Mixing Concrete
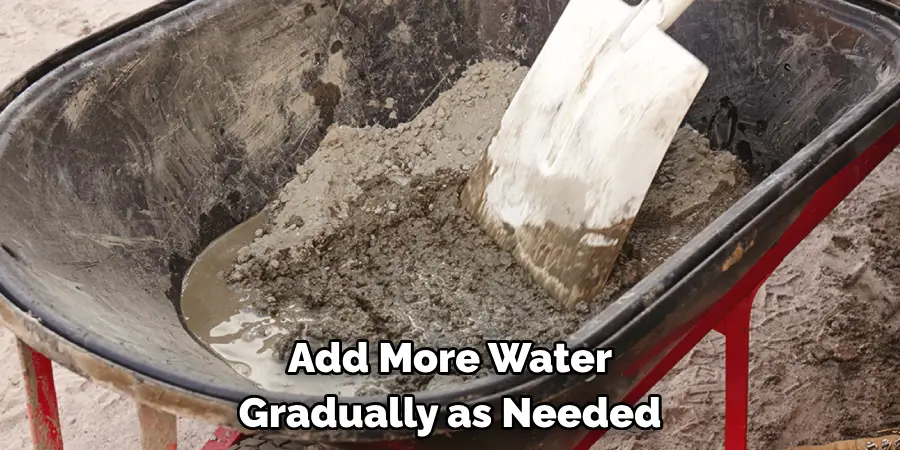
Follow the instructions on your concrete mix bag and mix in a wheelbarrow or tub according to the manufacturer’s recommendations. Make sure it’s well mixed and avoid adding too much water (this weakens the strength of the concrete). Add more water gradually as needed. You can use a shovel to mix the concrete. It’s important to remember that the consistency of the concrete is key – it should be neither too dry nor too wet.
Step 4: Pouring the Concrete
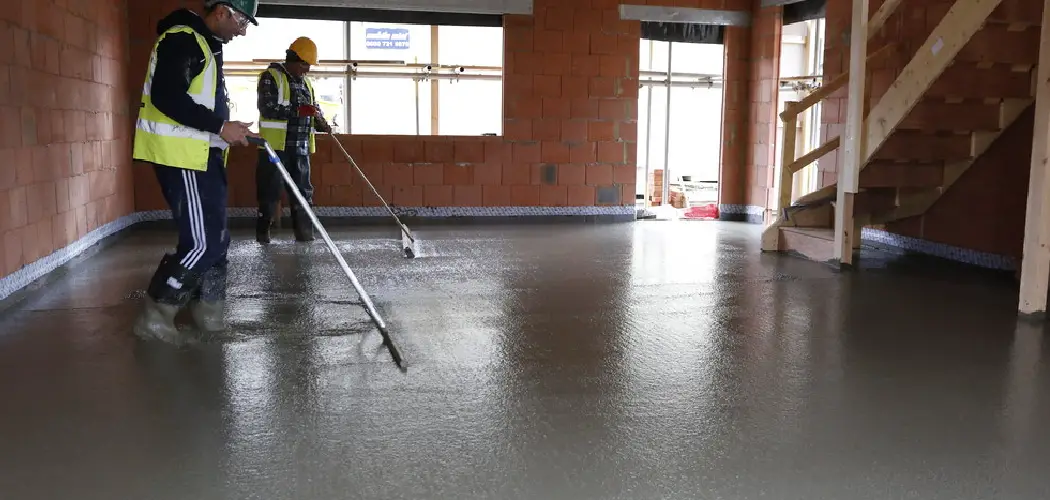
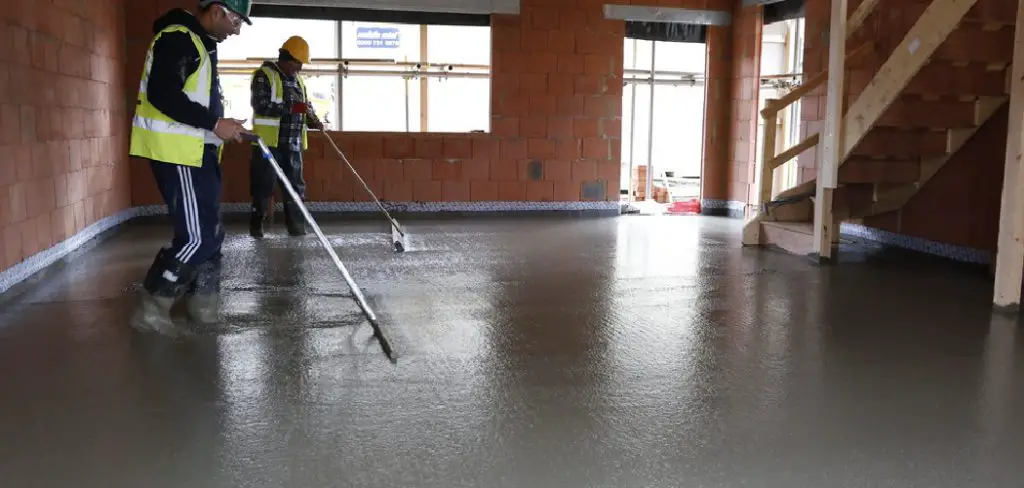
Pour the concrete mix into your frame, starting at one corner and working your way towards the opposite side. Spread it evenly using a rake or shovel and level with the bullfloat. Make sure that the corners of your frame are filled too. You can use a screed to help you level the concrete. It’s important to do this step quickly before the concrete begins to set.
Step 5: Bull floating
A bull float is a long-handled concrete finishing tool used to smooth and level the surface of the concrete. Use a bull float to smooth out any ridges or bumps on the surface of the concrete. Move it back and forth in a sawing motion across the surface until it is completely flat. Although you can use a darby, bullfloats are easier to use.
Step 6: Edging
Use an edger to create rounded edges along the perimeter of your slab. This edge will help prevent chipping and breakage along the outside of your slab. Run the edger along the inside edges as well to create a neat finish. But remember, if you want a straight edge instead of a rounded one, use the flat side of the trowel. You can also use a margin trowel to smooth out any rough spots.
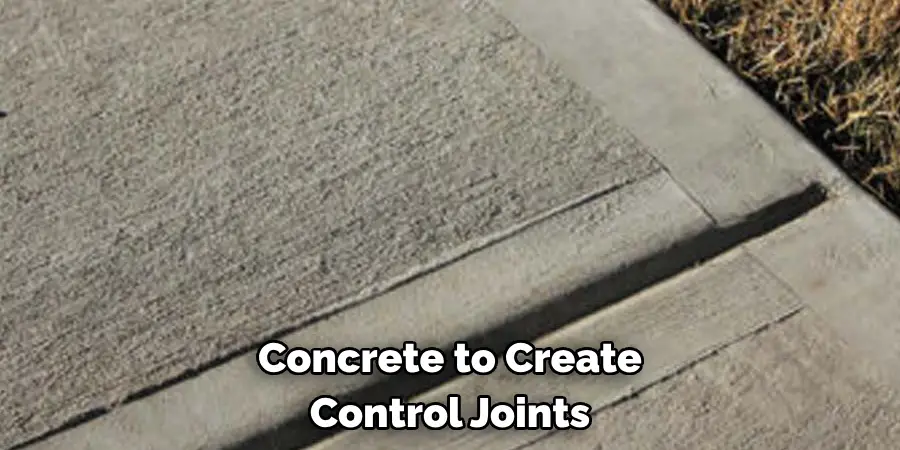
Step 7: Jointing
Cut lines in the concrete to create control joints using a jointing tool. These joints allow the concrete to expand and contract without cracking during changes in temperature. Cutting these joints while the concrete is still wet will give you clean, straight lines. It’s also important to remember that the spacing between control joints should be no more than twice the thickness of your slab.
Step 8: Texturing
To prevent slipping, you’ll need to texture the surface of your concrete while it’s still wet. You can use a broom or brush for this step. Run a broom across the surface in a light sweeping motion, creating textured lines. This also helps to give your concrete a finished look. But remember, don’t overdo it or you’ll end up with deep grooves. It’s also important to brush the edges and corners for a uniform look.
Step 9: Curing
Allow your concrete to sit and cure for at least 24 hours before walking on it. This will give it enough time to become solid enough to walk on but still retain some moisture. It’s important not to let it dry out completely as this can weaken the concrete. You can cover the concrete with plastic to slow down the drying process.
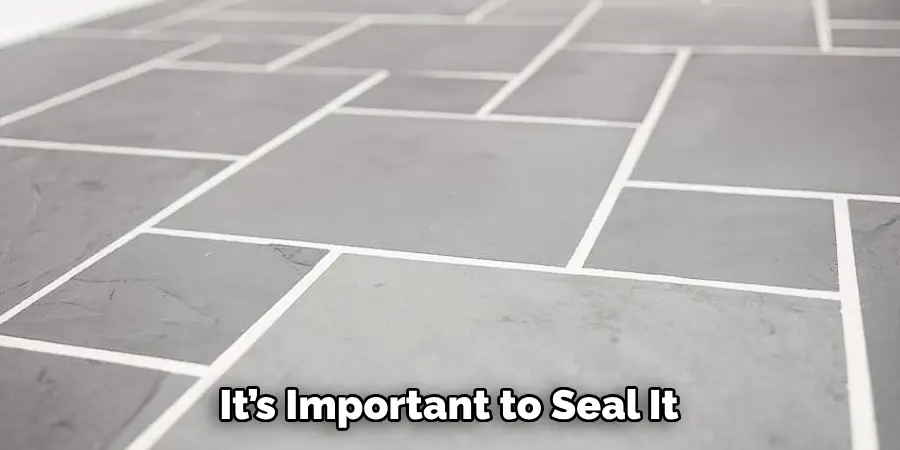
Step 10: Sealing
Once the concrete is completely dry, it’s important to seal it. A resin-based concrete sealer is a great option as it helps protect the surface from stains and other damage. Use a garden sprayer or roller to apply the sealer evenly across the surface. Make sure to follow the manufacturer’s instructions for drying times and reapplying. Otherwise, the sealer may not bond properly.
Step 11: Final Touches
After the sealer has dried, you can add any final touches you desire. You can add a decorative finish by using a concrete stain or paint. Give your floor at least two days to dry before moving furniture back in and using it as usual. It’s also important to regularly clean and maintain your concrete floor to keep it looking fresh and new.
Following these 11 steps on how to finish a concrete garage floor will help you achieve a beautiful and durable concrete garage floor. With the right materials, tools, and techniques, you can easily finish this project on your own. But remember to take proper safety precautions and follow the instructions carefully for best results. Now go ahead and enjoy your newly finished concrete garage floor!
Additional Tips
- Remember to Wear Protective Gear, Including Gloves, Safety Glasses, and a Dust Mask When Working With Concrete. This Will Protect You From Any Potential Hazards.
- If Your Concrete Slab is Not in Good Condition or Has Cracks and Uneven Areas, Consider Hiring a Professional to Repair It Before Attempting to Finish It.
- Properly Compacting the Soil and Leveling It Before Pouring the Concrete Will Ensure a Stable and Level Surface for Your Garage Floor.
- It’s Important to Plan and Measure Carefully Before Starting the Project to Avoid Any Mistakes or Rework.
- When Cutting Control Joints, Make Sure to Cut All the Way Through the Concrete for a Clean Line.
- Adding a Non-slip Additive to the Sealer Can Further Enhance Safety on Your Garage Floor. Look for Products Specifically Designed for Use on Concrete Floors.
- Regularly Cleaning and Maintaining Your Concrete Garage Floor Will Help Extend Its Lifespan and Keep It Looking New. Sweep or Vacuum Regularly to Remove Any Debris, and Mop With a Mild Detergent as Needed. Avoid Using Harsh Chemicals That Can Damage the Sealer.
- If You Notice Any Cracks or Damage on the Surface of Your Garage Floor, Repair Them as Soon as Possible to Avoid Further Damage.
- Consider Adding a Garage Floor Coating for Added Durability and Protection Against Stains, Oils, and Chemicals. These Coatings Also Come in Various Colors and Finishes to Customize the Look of Your Garage Floor.
Frequently Asked Questions
Q1. Can I Add Color to My Concrete Garage Floor?
Most definitely! There are many options for coloring your concrete garage floor, including acid stains, water-based stains, and even integrally colored concrete. These methods can give your garage floor an added pop of color and a unique look.
Q2. How Long Will It Take for My Concrete Garage Floor to Fully Cure?
The curing time for concrete floors varies depending on factors such as weather conditions, humidity, and the type of concrete used. On average, it takes about 28 days for concrete to fully cure. However, you can walk on your finished garage floor after 24 hours.
Q3. Do I Need Professional Help to Finish My Concrete Garage Floor?
While hiring professionals can ensure a flawless finish, you can also successfully finish your concrete garage floor on your own by following these steps and taking proper safety precautions. It may take more time and effort, but the end result can be just as satisfying.
Q4. How Do I Maintain My Concrete Garage Floor?
Regularly cleaning your concrete garage floor with mild detergent and water is essential to maintain its appearance. Make sure to avoid harsh chemicals and heavy-duty cleaning tools that can damage the surface. You can also periodically reseal your floor to protect it from stains and other damage. So, with proper maintenance, your concrete garage floor can last for years to come.
Conclusion
All in all on how to finish a concrete garage floor, finishing a concrete garage floor is an important part of maintaining the integrity of any space. Concrete floors are a long-term investment, and if it’s completed properly now, it could last for decades with little maintenance or repair. Taking the time to ensure your concrete floor is properly finished will help protect your space from spills and other damage that can occur over time.
So be sure to do your research, understand the various types of finishes available, and choose the best one for your needs. With the right preparation and technique, you can have a new concrete garage floor in no time!
I am Rick. I grew up helping my dad with his handyman service. I learned a lot from him about how to fix things, and also about how to work hard and take care of business. These days, I’m still into fixing things- only now, I’m doing it for a living.
I’m always looking for new ways to help people grow and develop. That’s why I have created this blog to share all my experience and knowledge so
that I can help people who are interested in DIY repair.