The Homelink garage door opener system is a convenient feature found in many vehicles, allowing you to easily control your garage door, gate, or other compatible devices without needing a separate remote. However, there are times when you may need to erase the existing programming, such as when you move to a new home or need to pair the system with a different device. This guide will walk you through the simple steps of how to erase homelink garage door opener, ensuring it’s ready for reprogramming.
What is Homelink Garage Door Opener?
Homelink is a wireless control system that comes integrated into many modern vehicles, designed to streamline the operation of garage doors, gates, and other compatible devices. By using this system, drivers can activate these devices with the push of a button located within their vehicle, eliminating the need for separate remotes. Homelink is known for its reliability, ease of use, and ability to connect with most garage door openers and home automation systems. It enhances convenience and security, allowing homeowners to quickly access their property while reducing clutter from multiple remotes.
What You Need Before Erasing Homelink
Before erasing the Homelink system in your vehicle, there are a few things you will need to ensure a smooth process. First, consult your vehicle’s owner manual for specific instructions related to your car model, as procedures may vary. You should also park your vehicle in a safe, well-lit location with easy access to your garage door opener or other programmed devices. Make sure you know how to reprogram the system later if needed, and have any required remotes or access codes on hand. Finally, ensure your vehicle is turned on (but not running) and that the Homelink buttons are easily accessible. Preparing these items in advance will save time and help avoid any issues during the erasing process.
10 Methods How to Erase Homelink Garage Door Opener
1. Use the Standard Homelink Button Reset Procedure
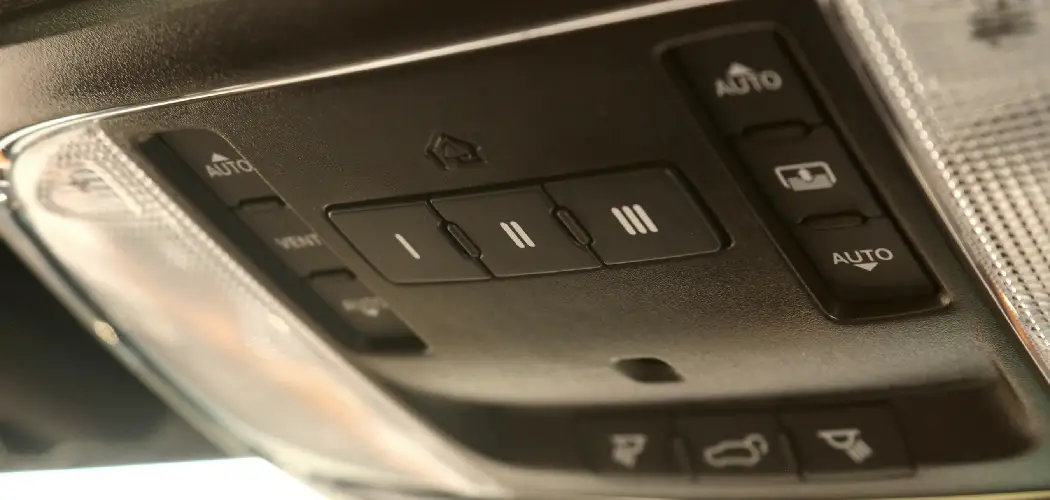
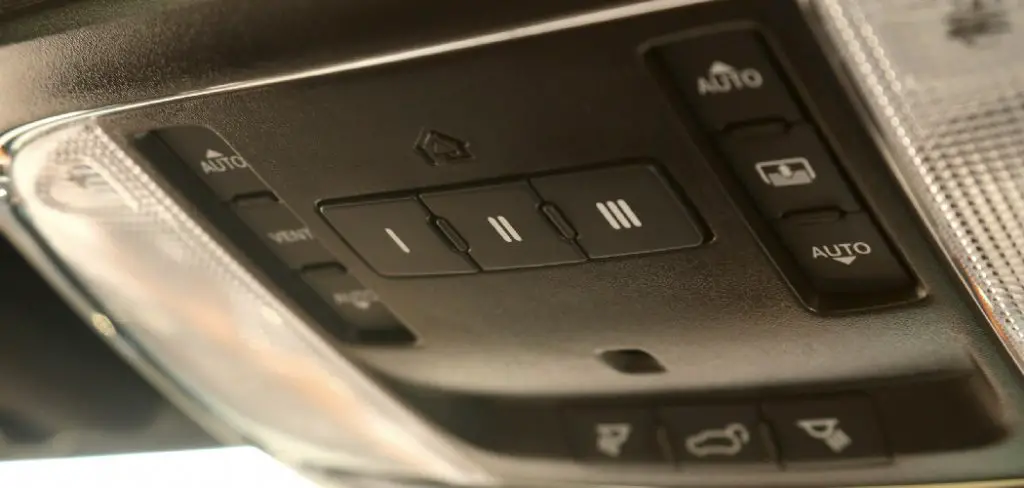
The most common and straightforward method of erasing a Homelink garage door opener involves holding down two buttons simultaneously. Begin by turning on your vehicle’s ignition so that the Homelink system is powered. Next, press and hold the two outer Homelink buttons at the same time. Keep them pressed until the indicator light begins to flash rapidly, which typically takes about 20 to 30 seconds.
Once the rapid blinking starts, release the buttons. This process clears all previously stored codes from the Homelink system, essentially resetting it to factory settings. It is important to note that this method erases every programmed opener, so you will need to reprogram the ones you still wish to use afterward.
2. Erase a Single Button Instead of All Codes
Sometimes, you may not want to clear all of the stored codes from your Homelink system but only erase one button to make room for a new garage door or gate opener. To do this, press and hold the specific button you wish to clear along with the main Homelink training button, often located nearby. Continue pressing until the light on the Homelink panel changes from steady to rapid blinking. This indicates that the memory assigned to that particular button has been erased. This selective clearing option is useful when you want to add a new device without reprogramming all of your openers.
3. Erase Using the Vehicle’s Ignition Cycle Method
Some vehicles integrate Homelink systems differently, requiring you to use the ignition cycle method. Start by turning the ignition key to the “on” position without starting the engine. Then press and hold the two outer Homelink buttons simultaneously until the indicator light blinks rapidly, which usually takes about 20 seconds. Once the light flashes, release the buttons. Turn off the ignition and then restart the vehicle to confirm that the memory has been erased. This method ensures that the Homelink memory clears completely, as some systems only allow erasure when powered directly by the ignition cycle.
4. Use the Built-In Display Menu in Modern Vehicles
Many modern vehicles equipped with advanced infotainment systems allow you to erase Homelink codes through the display screen. Navigate to the settings or vehicle information menu and look for the Homelink section.
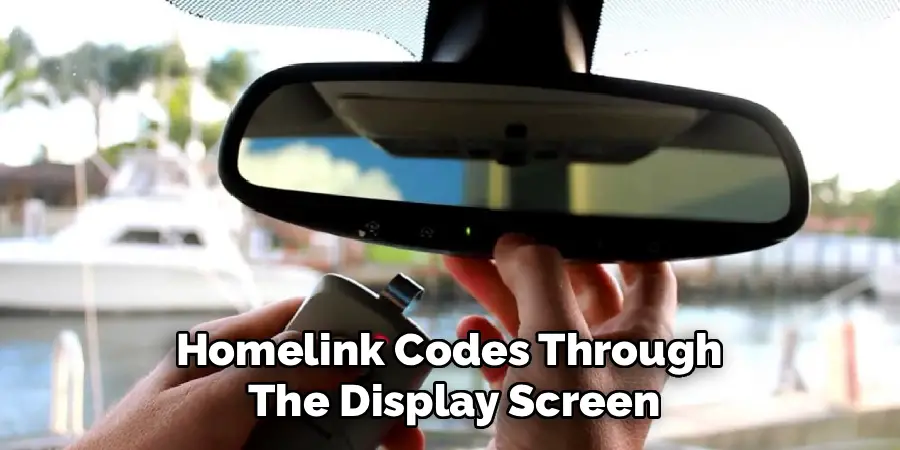
Once accessed, you will find an option such as “Erase,” “Reset,” or “Clear All Codes.” Select the appropriate choice, and confirm the action when prompted. The system will usually display a confirmation message once the process is complete. This method is simple and does not require pressing multiple buttons physically, making it especially convenient for vehicles with digital integration.
5. Disconnect the Vehicle’s Battery Temporarily
Another effective way to erase Homelink memory is to disconnect the car’s battery for a few minutes. Start by turning off the ignition and safely removing the key. Then, use a wrench to disconnect the negative terminal of the car battery. Leave it disconnected for at least five to ten minutes before reconnecting it. This action resets many of the electronic systems in the vehicle, including Homelink memory. However, be aware that disconnecting the battery may also reset your clock, radio presets, and other stored data. Therefore, this method should be used only if you do not mind reconfiguring other vehicle settings afterward.
6. Erase Through the Garage Door Opener’s Control Panel
Some garage door openers store Homelink codes directly in their motor unit, meaning that you must erase the stored data from the opener itself. To do this, locate the control panel or “Learn” button on your garage door opener, usually found on the motor housing mounted to the ceiling. Press and hold the “Learn” or “Smart” button for about 10 to 15 seconds until the indicator light turns off. This action clears all remote controls and Homelink pairings from the opener’s memory. Afterward, you will need to reprogram the opener with the remotes or Homelink system you still plan to use.
7. Combine the Homelink and Garage Opener Erase Method
For maximum assurance, you can erase both the Homelink system in your vehicle and the memory stored in the garage door opener itself. Start by clearing the Homelink memory using the standard two-button method inside the car. Once that is complete, proceed to the garage door opener’s motor unit and press and hold the “Learn” button until the indicator light goes out.
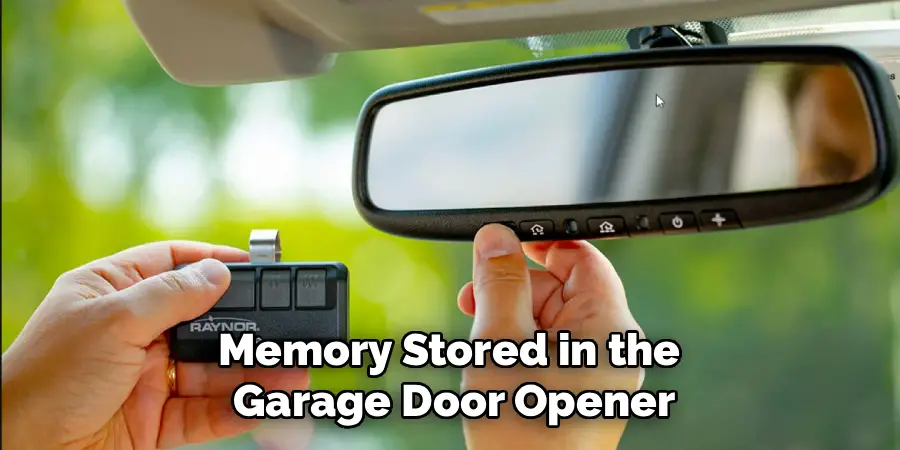
By erasing both sides of the connection, you guarantee that no old codes remain stored in either device. This method is particularly useful when moving into a new home or selling a vehicle to ensure security and prevent unauthorized access.
8. Reset Using Manufacturer-Specific Procedures
Different car manufacturers sometimes have unique procedures for resetting Homelink systems. For example, certain luxury brands such as BMW, Mercedes, and Audi may require pressing the Homelink button in a specific sequence or using the vehicle’s onboard display. Refer to your owner’s manual for the brand-specific reset method, as these vehicles may integrate Homelink in ways that differ from standard models. Following the correct procedure ensures that the system erases completely without causing errors or malfunction. This method is particularly important if you drive a newer or high-end vehicle where Homelink is deeply tied into the car’s electronic system.
9. Perform a Rolling Code Reset for Security Systems
Many modern garage door openers use rolling code technology for enhanced security. If your garage door opener has this feature, it is essential to perform a rolling code reset when erasing Homelink. Begin by clearing the Homelink memory inside the vehicle. Then, press and hold the “Learn” button on the garage door opener until the indicator light blinks or turns off. This ensures that all previously paired devices, including Homelink, are erased from the rolling code system. Once cleared, you can reprogram Homelink with a fresh rolling code pairing, giving you peace of mind that old codes cannot be reused by anyone else.
10. Verify Erasure Through Testing
After using any of the above methods, it is crucial to test and confirm that the Homelink system has indeed been erased. Park your vehicle near the garage and press one of the Homelink buttons that was previously programmed. If the garage door does not respond, the erasure was successful.
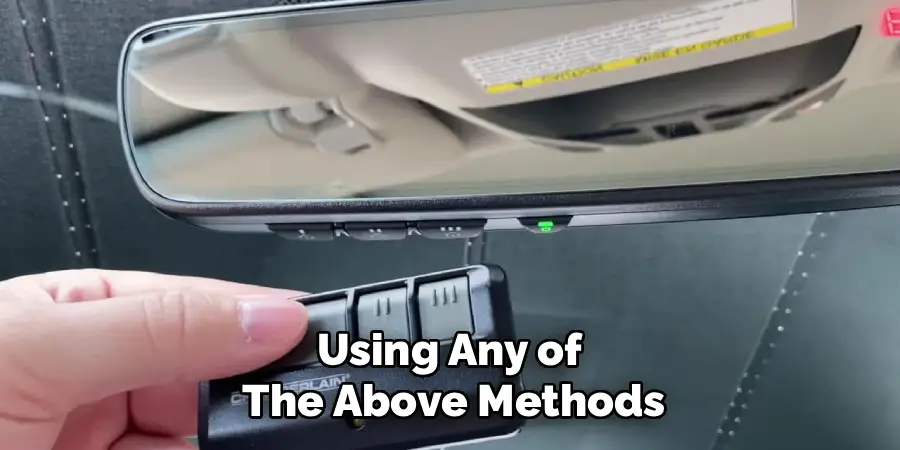
If it still opens or closes the door, repeat the clearing process or attempt a different method. Verification is an important final step because it ensures that no stored codes remain active, which could otherwise compromise security. Testing after erasure guarantees that the system is ready for reprogramming or secure usage.
Conclusion
Erasing a Homelink garage door opener can be done in various ways, from simple button combinations to more advanced resets involving the garage door opener motor itself. By following these ten methods—ranging from standard resets, selective erasures, ignition cycle procedures, infotainment menu resets, battery disconnections, and rolling code resets—you can ensure that all unwanted codes are fully cleared. Follow these simple instructions outlined in this blog post about how to erase homelink garage door opener, and you’ll be able to get the job done with ease.
I am Rick. I grew up helping my dad with his handyman service. I learned a lot from him about how to fix things, and also about how to work hard and take care of business. These days, I’m still into fixing things- only now, I’m doing it for a living.
I’m always looking for new ways to help people grow and develop. That’s why I have created this blog to share all my experience and knowledge so
that I can help people who are interested in DIY repair.