Winter can be harsh on your garage floor. Salt and slush can quickly damage the surface, making cleaning difficult. This blog post will show you how to clean garage floor after winter and restore its original condition. We will also provide tips on how to protect it from future damage. Keep reading for more information!
Summary: After a long winter season, your garage floor may have accumulated dirt, road salt, and other debris. The good news is that cleaning your garage floor after winter is not difficult. Start by sweeping the floor thoroughly and using a scraper to remove any stubborn debris. Use a pressure washer or a mixture of warm water and vinegar to deep clean the floor.
What Causes Winter Damage to Garage Floors?
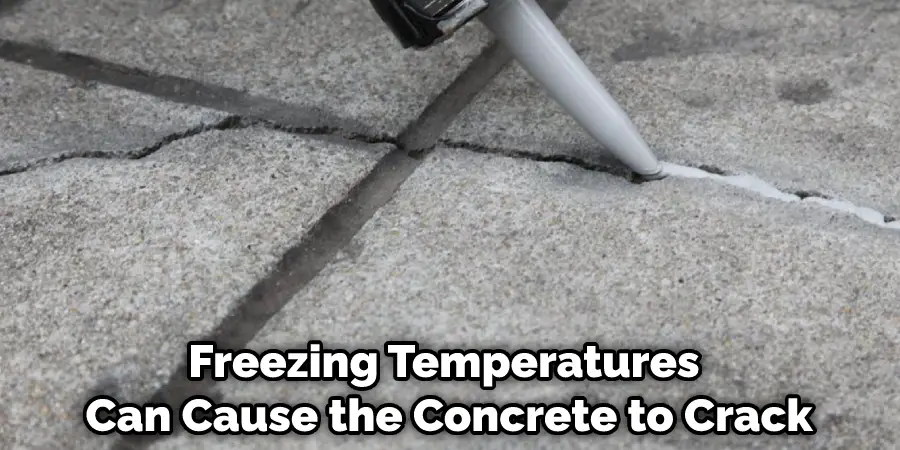
Several factors can contribute to winter damage on your garage floor. First, the freezing temperatures can cause the concrete to crack and flake. This is especially true if there is any moisture on the surface. Second, salt and other de-icing chemicals can eat away at the concrete, causing it to deteriorate. Also, heavy snowfall can stress the floor, causing it to crack or break.
Another reason why garage floors are susceptible to winter damage is that they are often used as storage space for heavy equipment or vehicles. This can put undue stress on the floor, leading to cracks and other problems.
Additionally, improper drainage can also lead to winter damage. Water collecting on the floor will eventually seep into the concrete and cause it to expand and crack. The other main cause of winter damage to garage floors is simply lack of maintenance. Lastly, if your garage floor is not properly sealed, it will be more susceptible to winter damage.
Why it’s Important to Clean Garage Floor After Winter?
It is important to clean your garage floor after winter for several reasons. First, if there are any cracks or damage, it is important to repair them as soon as possible. This will prevent the problem from getting worse and cost you more money in repairs. Second, if there is salt or other de-icing chemicals on the floor, it is important to remove them.
These chemicals can eat away at the concrete and cause further damage. Third, if the floor is stained, it is important to clean it as soon as possible. Stains can be difficult to remove if they are allowed to be set.
Additionally, if you do not clean your garage floor after winter, it will be more difficult to keep it clean in the future. Another reason why it is important to clean your garage floor after winter is because it will make it look better. A clean floor will make your garage look more inviting and inviting.
Finally, cleaning your garage floor after winter will help to prolong its life. So, cleaning your garage floor after winter is important for all of these reasons!
Step by Step Guide on How to Clean Garage Floor After Winter
Step 1: Remove Loose Debris
Start by removing any loose debris from the garage floor. Sweep the floor with a broom or use a leaf blower to remove leaves, dirt, and other debris that may have accumulated during the winter months. Be thorough in this process, as a clean surface will make the following steps more effective.
Step 2: Identify Stains and Problem Areas
After removing loose debris, inspect the garage floor for stains and problem areas that may require extra attention. Common stains include oil, grease, and salt residue from winter road treatments. Make a mental note of these areas so that you can give them extra attention during the cleaning process.
Step 3: Prepare a Cleaning Solution
Prepare a cleaning solution suitable for the type of garage floor you have, whether it’s concrete, epoxy, or another material. For concrete floors, a mixture of warm water and a mild detergent or degreaser is usually sufficient. For epoxy or other sealed floors, follow the manufacturer’s recommendations for cleaning solutions.
Step 4: Pre-treat Stains
Before cleaning the entire garage floor, pre-treat any stains or problem areas you identified in Step 2. Apply a suitable stain remover or degreaser to the affected area, following the product instructions. Allow the product to sit for the recommended amount of time to break down the stain.
Step 5: Scrub the Stains
After allowing the stain remover or degreaser to sit, use a stiff-bristle brush or scrubbing pad to scrub the stains vigorously. This will help to break up and remove the stain from the garage floor. Repeat this process as necessary until the stain is significantly diminished or removed entirely.
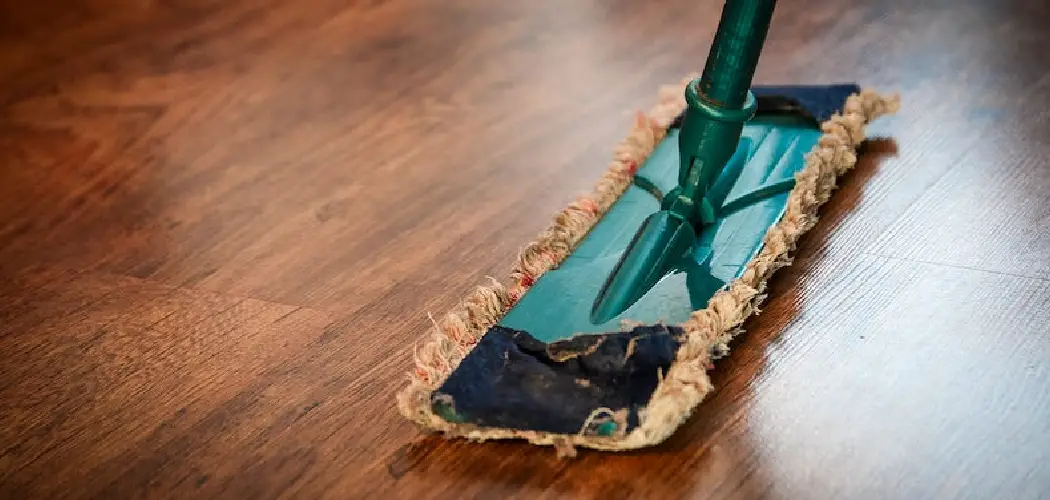
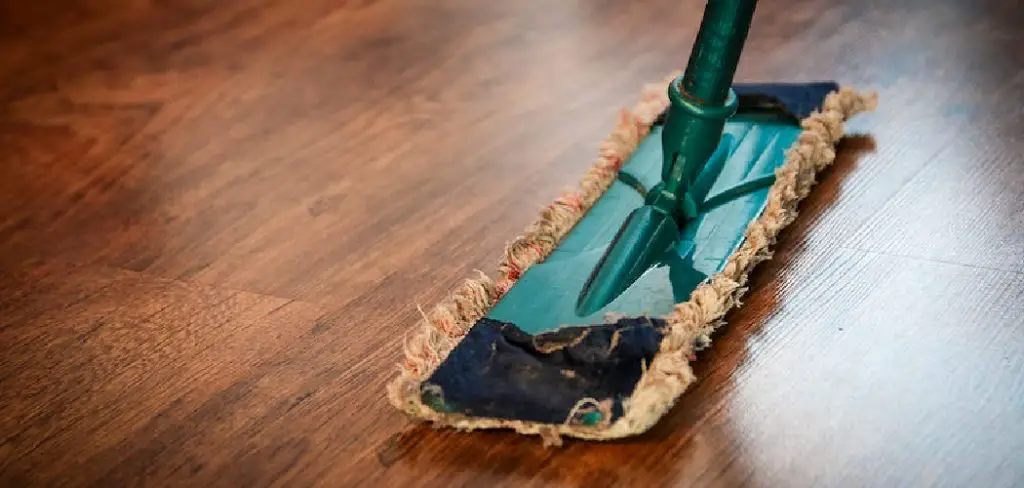
Step 6: Clean the Entire Garage Floor
With the stains pre-treated, proceed to clean the entire garage floor. Using a mop or long-handled scrub brush, apply the cleaning solution to the floor, working in small sections. Be sure to scrub the floor thoroughly to remove dirt, grime, and any remaining residue from the winter months.
Step 7: Rinse the Floor
After scrubbing the garage floor, rinse away the cleaning solution and any remaining debris using a garden hose or a power washer on a low setting. Be cautious when using a power washer on epoxy or other sealed floors, as high pressure can damage the surface. Ensure that all the cleaning solution and loosened dirt are thoroughly rinsed away.
Step 8: Remove Excess Water and Dry the Floor
Once the garage floor is rinsed, use a squeegee, mop, or large towel to remove excess water from the floor. Removing as much water as possible will help the floor to dry more quickly and prevent any remaining dirt from settling back onto the surface.
Step 9: Allow the Floor to Dry
Allow the garage floor to air dry completely before returning any vehicles or items to the space. Depending on the temperature and humidity, this may take several hours or even overnight. Ensure the floor is completely dry to prevent slipping hazards and potential damage to the floor surface.
Step 10: Address Cracks and Damage
After the garage floor is clean and dry, inspect it for any cracks or damage that may have occurred during the winter months. If you find any issues, address them using appropriate repair products, such as concrete patch or epoxy filler. Following the product instructions and ensuring a proper repair will help to maintain the integrity of your garage floor.
Step 11: Apply a Protective Coating (Optional)
If your garage floor is unsealed concrete, consider applying a protective coating, such as a concrete sealer or epoxy coating, to help protect the surface from future stains and damage. Follow the manufacturer’s instructions for proper application, and allow the coating to cure fully before using the garage.
Step 12: Return Items to the Garage
With the garage floor clean, dry, and repaired, it’s time to return any vehicles, tools, equipment, and stored items to the space. Be sure to organize and store items in a manner that keeps the garage tidy and functional. Consider installing shelving, cabinets, or pegboards to maximize storage and maintain the cleanliness of the garage floor.
Step 13: Implement a Regular Cleaning Routine
To keep your garage floor in good condition and minimize the need for intensive cleaning after each winter, implement a regular cleaning routine throughout the year. Sweep or blow away loose debris regularly and promptly address any spills or stains that occur. Additionally, consider performing a thorough cleaning of the garage floor at least once or twice a year.
Step 14: Winterize Your Garage
To minimize the impact of winter on your garage floor, take steps to winterize the space before the cold weather arrives. This may include sealing any gaps or cracks in the walls, doors, or windows to reduce drafts, adding insulation, or installing weatherstripping. Also, consider placing mats or absorbent materials under vehicles or in high-traffic areas to capture snow, ice, and salt before it can damage the floor.
Step 15: Use a Dehumidifier or Ventilation (Optional)
If your garage tends to be damp or humid, consider using a dehumidifier or improving the ventilation in the space. This can help to reduce moisture levels and prevent issues such as mold, mildew, and damage to the garage floor and stored items.
By following these steps, you can effectively clean your garage floor after the winter months, removing dirt, stains, and residue that can mar the surface and potentially cause damage. Regular maintenance and proactive measures, such as winterizing the garage and implementing a cleaning routine, can help to protect your garage floor and keep it looking its best year-round.
Additional Tips and Warnings on How to Clean Garage Floor After Winter
Tips:
1. Be sure to sweep or vacuum up any loose debris before starting the cleaning process.
2. If using a power washer, start from the top and work your way down.
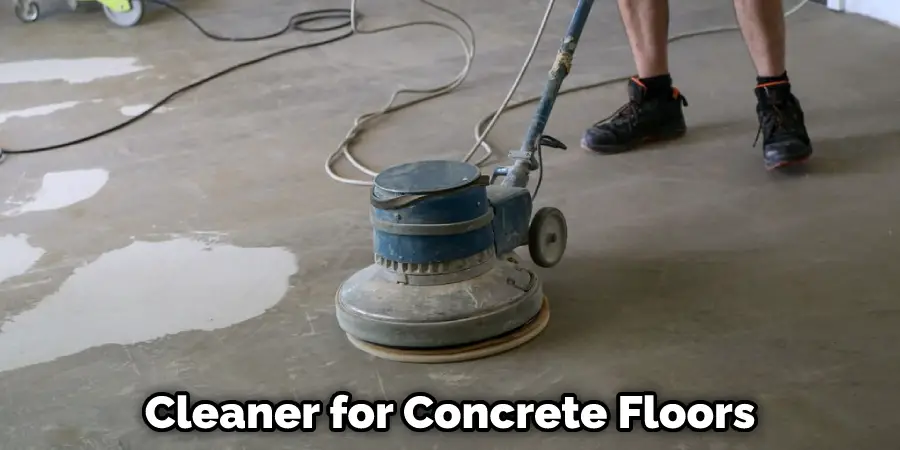
3. Use a cleaner specifically designed for concrete floors.
4. Rinse the floor well after cleaning and allow it to dry completely before applying a sealer or paint.
Warnings:
1. Do not use a power washer on cracks or joints in the concrete, as this could cause further damage.
2. Do not use harsh chemicals or cleaners on the floor, as this could damage the concrete.
3. Do not allow cleaners or chemicals to come into contact with plants or grass, as this could harm them.
4. Always follow the manufacturer’s instructions when using any cleaners or chemicals.
Conclusion
So there you have it! Everything you need to know about how to clean garage floor after winter. By following the steps above, you can have a clean and damage-free garage floor that is ready for spring. Be sure to sweep and mop regularly to keep your floor looking its best. Thanks for reading!
You Can Check It Out To How to Pressure Wash Garage Floor Without Getting Walls Wet
I am Rick. I grew up helping my dad with his handyman service. I learned a lot from him about how to fix things, and also about how to work hard and take care of business. These days, I’m still into fixing things- only now, I’m doing it for a living.
I’m always looking for new ways to help people grow and develop. That’s why I have created this blog to share all my experience and knowledge so
that I can help people who are interested in DIY repair.