
Are you tired of your garage door failing to open? Do you dread going outside each time and manually opening the stubborn door? Don’t despair; there is a solution! Cleaning the sensors on your automatic garage door can bring it back to life.

In this blog post, we’ll show you exactly how to clean garage door sensors – no tools necessary! With a few simple steps, you’ll be able to get rid of dirt, grime, and debris that are causing the sensors not to function properly. If you’re ready to get your garage doors working again then let’s get started!
Why Do You Need to Clean Your Garage Door Sensors?
The sensors on your garage door are an essential part of its operation. They work by detecting any obstructions in the path of the door and preventing it from closing on them, keeping you and your family safe. However, over time, these sensors can become coated with dirt, dust, pollen, and other debris that interfere with their ability to function correctly.
Step-by-step Guidelines on How to Clean Garage Door Sensors
Step 1: Check the Sensors
Before you start cleaning your garage door sensors, it’s essential to check them for any damages. Look for any cracks, wires that are frayed or disconnected, or any signs of wear and tear. If you notice anything damaged, contact a professional for assistance. It’s unsafe to attempt to clean or fix damaged sensors on your own.
Step 2: Turn Off Power
To ensure your safety, disconnect the power supply to your garage door opener. You can usually do this by unplugging it or turning off the circuit breaker. Turning off the power will prevent any accidents from occurring while you’re cleaning the sensors. This will also prevent the door from accidentally closing on you while you’re working.
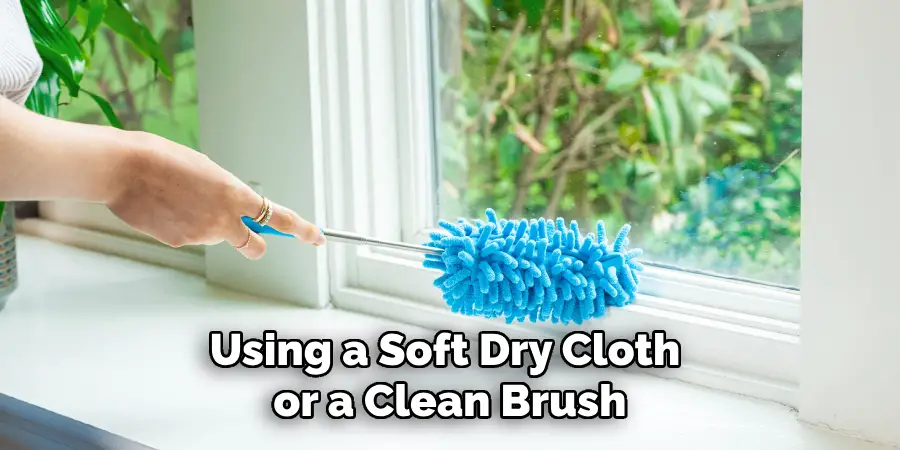
Step 3: Remove Debris
Using a soft, dry cloth or a clean brush, gently remove any visible debris from the sensors. Be careful not to press too hard or use any cleaning solutions at this stage as you may damage the sensors further. If there is excessive dirt or grime that can’t be removed with just a cloth or brush, use canned air to blow it away.
Step 4: Wipe Sensors with a Clean Cloth
Take a clean cloth and dampen it with water or rubbing alcohol. Gently wipe the sensors to remove any remaining dirt, dust, or grime. Be sure not to saturate the sensors with liquid as this can cause damage. Make sure to dry the sensors thoroughly with a clean, dry cloth. While cleaning, be gentle to avoid damaging the sensors.
Step 5: Check Alignment
Once the sensors are clean and dry, check their alignment. They should be facing each other directly and have a clear line of sight. If they are misaligned, adjust them accordingly until they are facing each other perfectly. You can use a level to ensure they are correctly aligned. Checking alignment is essential as misaligned sensors can also cause your garage door not to function properly.
Step 6: Turn the Power Back On and Test the Door
After completing all the above steps, turn the power back on and test your garage door. If everything was done correctly, it should now open and close without any issues. If you notice that the door still won’t close, try repeating the cleaning process or contact a professional for assistance. Make sure to regularly clean your garage door sensors to prevent any future malfunctions.
Following these simple steps can help keep your garage door sensors clean and functioning correctly. By doing so, you’ll save yourself the hassle and inconvenience of a malfunctioning garage door. Remember to always prioritize safety when cleaning or inspecting any part of your garage door system. We hope this guide was helpful, happy cleaning!
Additional Tips and Tricks to Clean Garage Door Sensors
1. When cleaning the sensors, make sure to remove any debris or dirt that may have accumulated around and on the sensor. This can interfere with the sensor’s ability to detect objects and cause it to malfunction.

2. If your garage door sensors are not working properly even after cleaning them, try adjusting their position. Oftentimes, the sensors may become misaligned due to accidental nudges or bumps, resulting in a malfunction. Use a level to ensure that the sensors are aligned properly.
3. Check for any loose or damaged wires connected to the sensors. If you find any, be sure to fix them immediately as they can affect the performance of the sensors.
4. In colder climates, ice and snow build-up on the sensors can also cause them to malfunction. Make sure to regularly remove any ice or snow from the sensors, and consider getting a heater or cover for the sensors if you live in an area with extremely cold weather.
5. If your garage door sensors are still not working after trying all of these tips, it may be time to call a professional. They will have the necessary tools and expertise to properly diagnose and fix any issues with your garage door sensors.
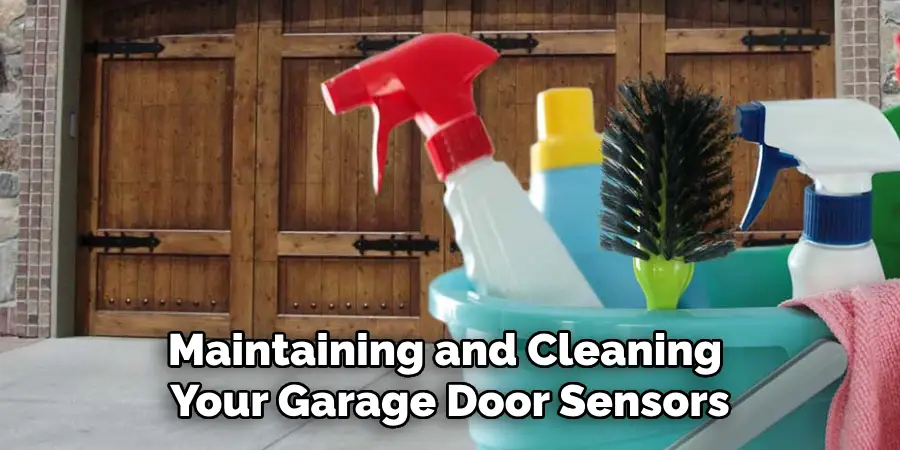
6. Regularly maintaining and cleaning your garage door sensors can help prevent malfunctions and extend their lifespan. Make it a part of your household maintenance routine to check and clean the sensors at least once every few months.
7. Lastly, always refer to the manufacturer’s manual for specific instructions on how to clean your particular model of garage door sensor. This will ensure that you are following the correct procedure and using the appropriate cleaning products for your sensors. So, make sure to keep the manual handy for future reference.
Following these tips and tricks can help keep your garage door sensors in top working condition, ensuring the safety and convenience of your garage door. Remember, it’s important to regularly clean and maintain your garage door sensors just like any other household appliance to ensure their proper functioning. Happy cleaning!
Precaution Needs to Be Followed for Cleaning Garage Door Sensor:
1. First, always remember to turn off the power of your garage door opener before starting any cleaning process. This precaution will prevent any unfortunate accidents from happening.
2. Wear gloves and safety goggles when dealing with chemicals. Some cleaners contain toxic chemicals that may be harmful if it comes into contact with your skin or eyes.
3. Keep children and pets away from the area while you are cleaning the sensors. This will ensure their safety as well.
4. Always follow the instructions provided by the manufacturer for cleaning and maintaining your garage door sensors.
5. Do not use any abrasive materials or scrubbers when cleaning the sensors, as this may damage them.

6. Be careful not to spray any water directly onto the sensor. Moisture can cause damage to electronic components and may render the sensor useless.
7. If you are using a cleaning solution, make sure to read the label and apply it as directed. Some solutions may require diluting with water before use.
8. Use a soft, lint-free cloth to wipe away any dirt or debris on the sensors. You can also use compressed air to blow away any hard-to-reach dust particles.
Following these precautions will ensure that you safely and effectively clean your garage door sensors without causing any damage to them. It is important to regularly clean and maintain your sensors to keep them functioning properly, as dirty or misaligned sensors can cause malfunctions in your garage door system.
Frequently Asked Questions
Why Do Garage Door Sensors Get Dirty?
Garage door sensors are typically mounted near the ground, making them vulnerable to dirt, dust, and debris. They can also become dirty from moisture or condensation buildup. Additionally, if your garage is located in an area with high levels of pollution or pollen, the sensors may collect these particles and obstruct their function.
How Do I Know if My Garage Door Sensors Are Dirty?
If your garage door sensors are dirty, you may notice that your garage door is not closing or opening properly. Another indication of dirty garage door sensors is if the safety feature is being triggered unnecessarily, causing the door to reverse direction when there is no obstruction present.
How Often Should I Clean My Garage Door Sensors?
It is recommended to clean your garage door sensors at least once every six months to ensure proper functioning. However, if you notice any obstructions on the sensors or if they are not working correctly, it is essential to clean them immediately.
How Do I Clean My Garage Door Sensors?
To clean your garage door sensors, first, turn off the power supply to your garage door opener. Then, use a soft, lint-free cloth and mild cleaning solution to gently wipe the sensors. Be sure to remove any debris or buildup on the sensors. Once cleaned, allow them to dry completely before turning the power supply back on.
Conclusion
All in all, knowing how to clean garage door sensors is crucial for maintaining the safety and functionality of your garage door. By regularly cleaning your sensors, you can prevent malfunctions and ensure the smooth operation of your garage door. Remember to always follow safety precautions and consult a professional if you have any doubts or concerns about cleaning your garage door sensors.
I am Rick. I grew up helping my dad with his handyman service. I learned a lot from him about how to fix things, and also about how to work hard and take care of business. These days, I’m still into fixing things- only now, I’m doing it for a living.
I’m always looking for new ways to help people grow and develop. That’s why I have created this blog to share all my experience and knowledge so
that I can help people who are interested in DIY repair.