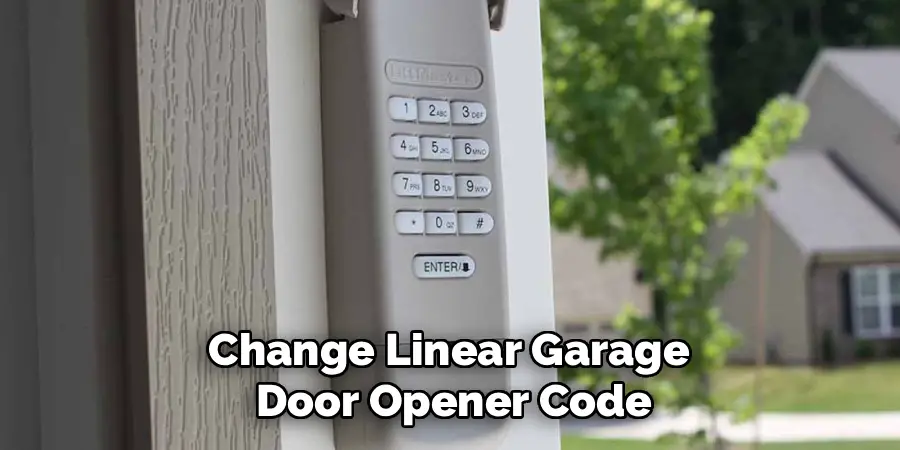
If you own a Linear garage door opener, maintaining its security is one of the most important steps in protecting your home. Changing the opener code regularly not only ensures your access is secure but also keeps unwanted entry at bay. Whether you’re a first-time user or simply looking for a refresher, this process is straightforward.

Before you begin, ensure you have access to the garage door opener motor unit and your remote control. Start by locating the “Learn” or “Smart” button on the motor unit. This button is typically found near the antenna wire or under a light cover. Press and hold the button for a few seconds until the indicator light turns on or starts blinking. Release the button, then press the desired button on your remote control. The motor unit’s light should flash or click, signaling that the new code has been successfully programmed. Make sure to test the remote to ensure the code change was effective.
This guide will walk you through how to change the linear garage door opener code, breaking it down into manageable steps even a beginner can follow. With just a few tools and patience, you’ll have a new code set in no time.
Why Changing the Garage Door Opener Code is Important
Garage door openers have evolved to include basic and advanced technology, yet they are often overlooked in home security planning. Each Linear garage door opener comes preprogrammed with a factory-assigned code. If you don’t reset this code, you run the risk of leaving your home vulnerable to anyone who might share—or guess—your code.
Additionally, over time, situations like lending the code to neighbors, contractors, or other temporary visitors mean it could get out into the wrong hands. Updating your code reduces this risk significantly. Therefore, understanding how to change Linear garage door opener code is an essential skill for every homeowner seeking peace of mind.
There are a few different methods for changing your Linear garage door opener code, depending on the specific model you have. One method involves using the control panel located on the ceiling or wall near your garage door opener unit. This method typically involves pressing and holding a combination of buttons to access the code change function. Consult your user manual for specific instructions for your model.
Another method involves using a remote control transmitter, which may come with your Linear garage door opener or can be purchased separately. This method also varies slightly depending on the model, but generally requires accessing a programming mode through a series of button presses on both the remote and control panel.
It is important to note that before attempting to change your Linear
9 Step-by-Step Guide on How to Change Linear Garage Door Opener Code
Changing the code on a Linear garage door opener is simple if approached systematically. Below, we outline the process in clear steps so you can follow along easily.
Step 1: Locate the Garage Door Opener’s Learn Button
Begin by identifying the Learn button or Smart button on your Linear garage door opener. This button is usually located on the back or side of the device mounted on the ceiling. It’s often next to the area where the antenna wire extends.
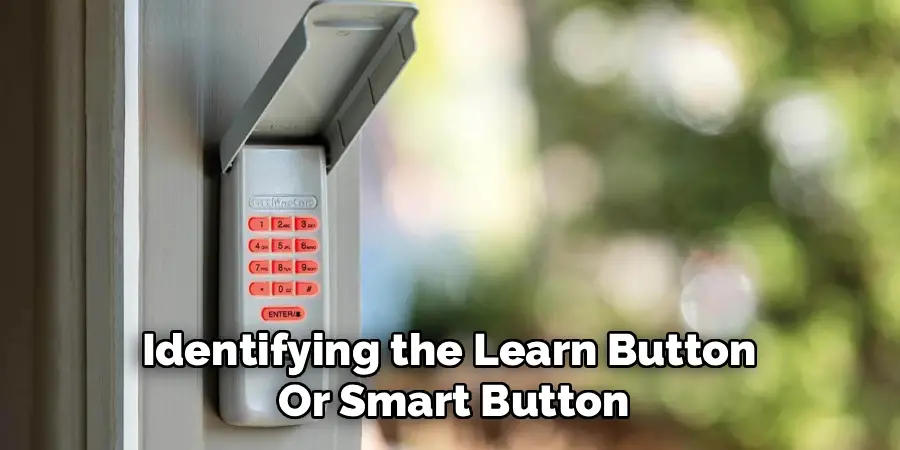
Pressing this button allows the system to enter programming mode. Depending on your model, the Learn button may be brightly colored or recessed. Refer to your manual if you can’t find it.
Step 2: Clear the Existing Code
Before programming a new code, it’s important to erase any previous codes. To do this, press and hold the Learn button for about 6 to 10 seconds. You may notice an indicator light turning off or blinking to signal that the old code has been successfully deleted.
Clearing the code ensures no one can access your garage using older remote controls previously synced with the system.
Step 3: Prepare the Remote Control
With the Learn button still active, grab the compatible remote control you want to program. Ensure the remote’s batteries are fresh for uninterrupted signal strength. Understanding how to change Linear garage door opener code largely depends on syncing the remote correctly to the system.
Step 4: Program the New Code
Press the Learn button again briefly to enable the system’s programming mode. Within 30 seconds of activating this mode, press the button on your remote control that you want to associate with the garage door opener.
The garage door opener will acknowledge the programming by flashing its indicator light or making a clicking sound. Release the remote button and give the opener a moment to register the new code.
Step 5: Test the New Code
Once programmed, test the setup to confirm that the new code works. Stand a few feet away, press the button on the remote, and observe if the garage door responds. If successful, you’ve reprogrammed the code effectively.
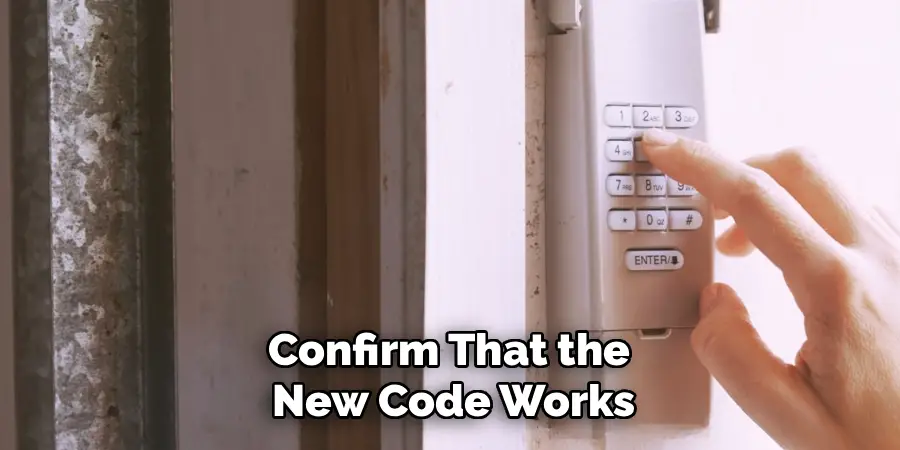
Testing ensures that there were no errors during the programming process. If the garage door opener doesn’t respond, try the programming steps again.
Step 6: Secure Any Multi-Device Connections
If you’re managing multiple remote controls or keypads, repeat the same process for each device. Ensure all access points share the same code for operational consistency across your setup. This step often minimizes confusion over mismatched devices.
For example, if you use a wall-mounted keypad, sync it immediately after programming a remote control to streamline the process.
Step 7: Recheck the Garage Door Limit and Safety Features
Changing the code might occasionally reset or interfere with limits, particularly if you’ve recently made hardware adjustments. Inspect the garage door’s closing limits and safety reversal systems to prevent potential accidents.
Step 8: Keep a Record of the New Code
For simplicity, document the new code securely. Avoid writing it down in visible locations that unauthorized individuals could find. If possible, save it digitally in a secure, password-protected notes app.
Maintaining a record ensures you won’t forget the new code, saving you from having to repeat the entire process in the immediate future.
Step 9: Regular Maintenance
Finally, mark your calendar to periodically repeat this process. Regular maintenance and updates, like replacing remote batteries and inspecting manual overrides, ensure your system always performs at its peak.
By now, you should feel confident in tackling how to change linear garage door opener code on your own.
Troubleshooting Tips
If you encounter any issues while changing your linear garage door opener code, here are some troubleshooting tips to help you resolve them:
Check the Power Supply
Ensure the garage door opener has a stable power connection. A disrupted power supply can interfere with the programming process.
Re-read the Manual
Double-check the manufacturer’s instructions for your specific model. Small variations between models can cause confusion.
Inspect the Keypad and Remote
Make sure your keypad and remote are functioning properly. Replace the batteries if they are weak or dead, as this can prevent successful programming.
Clear Previous Codes
If the new code doesn’t work, reset the opener and erase all stored codes. Then, reprogram the new code from scratch.
Verify Code Entry
Ensure that the new code you have entered is within the acceptable length and follows any requirements set by your opener (e.g., number of digits).
Test Signal Range
If the garage door isn’t responding, move closer to the opener and try again. Interference or obstructions might affect the signal.
If problems persist despite these steps, contact the manufacturer’s customer support or consult a professional technician to ensure your system is working as intended. Patience and attention to detail are key to successfully solving most issues.
Frequently Asked Questions
1. How often should I change my Linear garage door opener code?
You should aim to change your garage door opener code at least once every six months. However, it’s especially important to change it anytime you suspect it’s been shared, compromised, or forgotten. Regular updates protect against unauthorized usage.
2. Can I reset my Linear opener without professional help?
Yes, resetting a Linear garage door opener is typically a straightforward DIY process. By following the steps outlined above, you can complete the task without hiring a professional. However, always consult the manual specific to your model for any unique requirements.
3. What if my garage door opener won’t respond after changing the code?
If your Linear opener fails to respond, double-check the battery life of the remote control and inspect the Learn button’s status. The system may still be in programming mode, requiring you to repeat the process. Ensure no physical obstructions block the remote’s signal.
4. Is changing the code the same as replacing the remote?
No, changing the code ensures existing remotes are updated and secured, while replacing a remote involves syncing a new device with the opener. The methods overlap in using the Learn button but involve slightly different steps tailored to the task.
5. Can I program multiple remotes with the same code?
Yes, Linear garage door openers allow multiple remotes to be programmed with the same code. Programming multiple devices ensures seamless access for all users while maintaining system-wide security.
Conclusion
Changing the code on your Linear garage door opener is a proactive step toward enhancing home security. With a simple process involving programming and syncing, you can keep your garage safe from unauthorized access.
It’s also important to periodically test your garage door opener’s functionality after updating the code. This ensures that all synced remotes work properly and that the new code has been successfully implemented. Regular maintenance and updates not only enhance security but also extend the lifespan of your garage door system.
By following the steps in this guide, you’ve learned how to change linear garage door opener code like an expert. Take a moment to test your setup, and enjoy greater peace of mind knowing your new code is uniquely yours. Whether it’s your first update or part of routine maintenance, securing your garage has never been easier.
I am Rick. I grew up helping my dad with his handyman service. I learned a lot from him about how to fix things, and also about how to work hard and take care of business. These days, I’m still into fixing things- only now, I’m doing it for a living.
I’m always looking for new ways to help people grow and develop. That’s why I have created this blog to share all my experience and knowledge so
that I can help people who are interested in DIY repair.