
Have you ever found yourself locked out of your garage, desperately needing to get in but realizing you’ve lost or forgotten the code? I know the feeling of frustration all too well.
A few months ago, my code-operated garage door stopped working and I had no idea how to reset it without knowing the old passcode. It seemed like I would be stranded outside indefinitely. However, after some research, I discovered there was a way how to change garage door code without old code liftmaster.
In this post on how to troubleshoot garage door opener, I’ll share the steps I took with my Liftmaster garage door opener to reset the code without needing the old one. My hope is that if you ever find yourself in a similar situation, you’ll know the solution and won’t have to resort to breaking in or calling an expensive repair person. Let’s dive into how it’s done.
What You’ll Need
- A Ladder (if Your Garage Door Opener is Mounted High Up)
- A Paperclip or a Thin Piece of Wire
- A New Four-Digit Code of Your Choosing
- Your Garage Door Remote (If You Have One)
10 Simple Step-by-step Guidelines on How to Change Garage Door Code Without Old Code Liftmaster
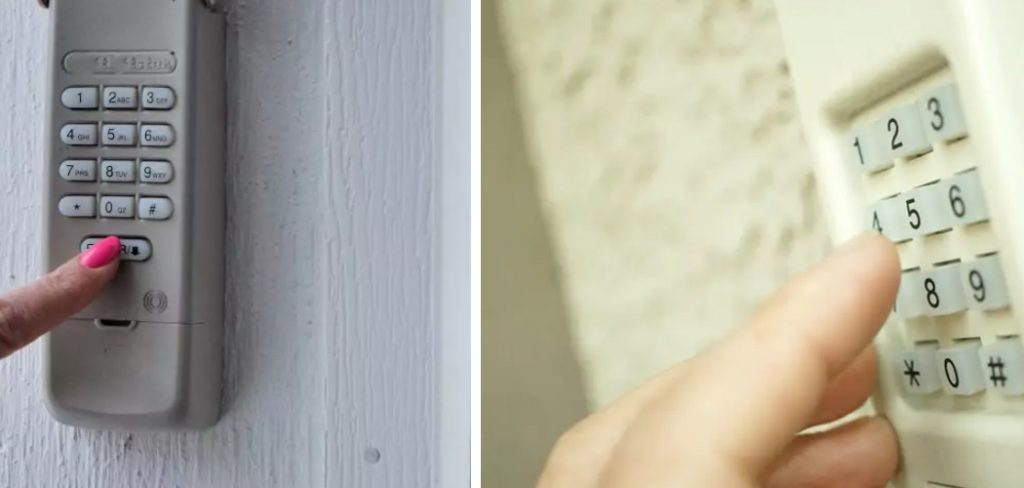
Step 1: Locate the ‘Learn’ Button
The first thing you’ll need to do is locate the ‘Learn’ button on your garage door opener. This button may be located on the back or side of the opener, depending on your model. Once you find it, press and release the button. It should be lit up or blinking. You’ll have 30 seconds to complete the next steps.
Step 2: Climb up Your Ladder
If your garage door opener is mounted high up, you’ll need to use a ladder to reach it. Make sure the ladder is sturdy and secure before climbing up. But if your opener is mounted at a lower level, you can skip this step. It’s important to always practice safety precautions when using a ladder.
This step is meant to help you reach the opener, not replace common sense. If you’re unsure about using a ladder, please seek help from a professional. Otherwise, let’s move on to step three.
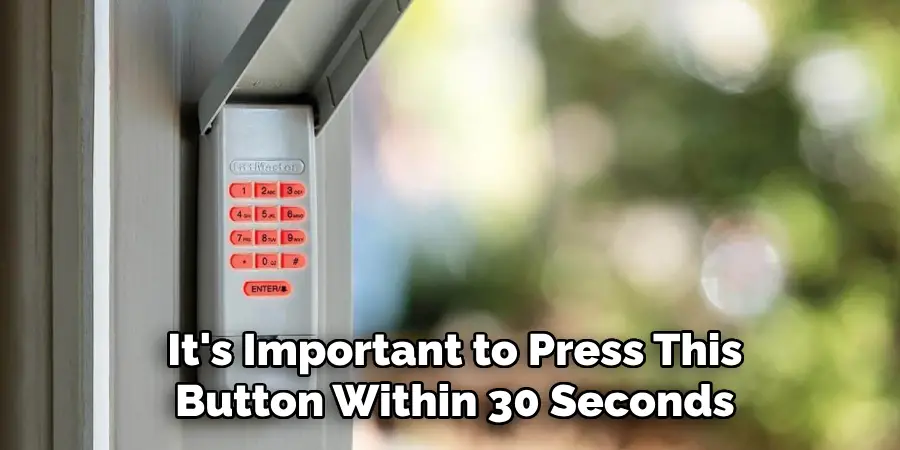
Step 3: Identify the Program Button
On your garage door opener unit, there should be a small button labeled ‘Program’ or ‘Prog’. This is usually located next to the ‘Learn’ button. It may also have a light next to it. It’s important to press this button within 30 seconds of pressing the ‘Learn’ button. But don’t press it just yet. You’ll need to do one more thing before pressing ‘Program’.
However, make sure you’re close enough to the opener to reach the ‘Program’ button with your paperclip or wire.
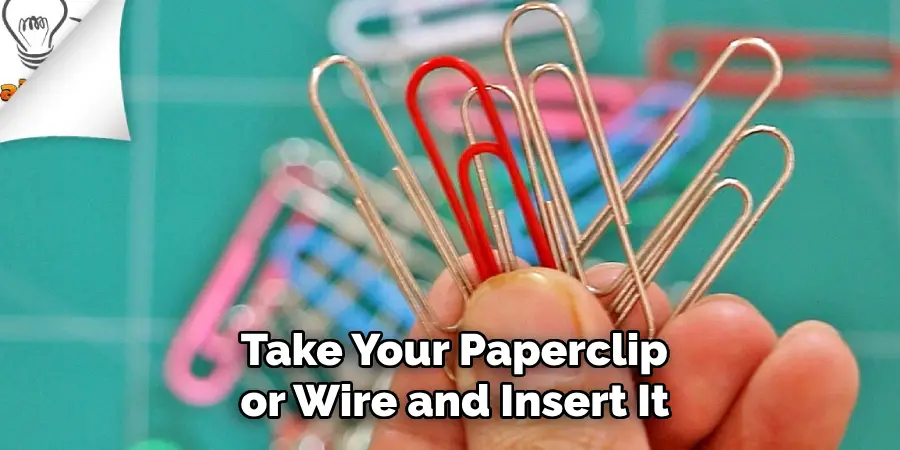
Step 4: Grab Your Paperclip or Wire
Before you press the ‘Program’ button, grab your paperclip or wire. You’ll need this to trigger the program mode for the opener. It’s important to use a thin piece of wire or a paperclip because it needs to fit into the small hole in the opener. It’s also important to use a clean and straight piece of metal.
This step may vary slightly depending on your model of garage door opener. But in general, the process is similar.
Step 5: Insert the Wire into the Hole
Next, take your paperclip or wire and insert it into the small hole next to the ‘Program’ button. This hole is typically located on the back or side of the opener. Once inserted, you should feel some resistance.
That means you have successfully triggered the program mode for the opener. Although, if you don’t feel any resistance, try angling the wire or paperclip slightly. It should only take a few tries to get it right.
Step 6: Press the ‘Program’ Button
Now that you have triggered the program mode, press and release the ‘Program’ button on your opener unit. This may cause a beep or light up the light next to it. If so, you are ready for the next step.
But if nothing happens, try pressing the ‘Program’ button again or re-inserting the wire into the hole. This step may require a bit of trial and error, but don’t give up.
But if you still can’t get it to work, it may be helpful to consult your opener’s manual or contact a professional.
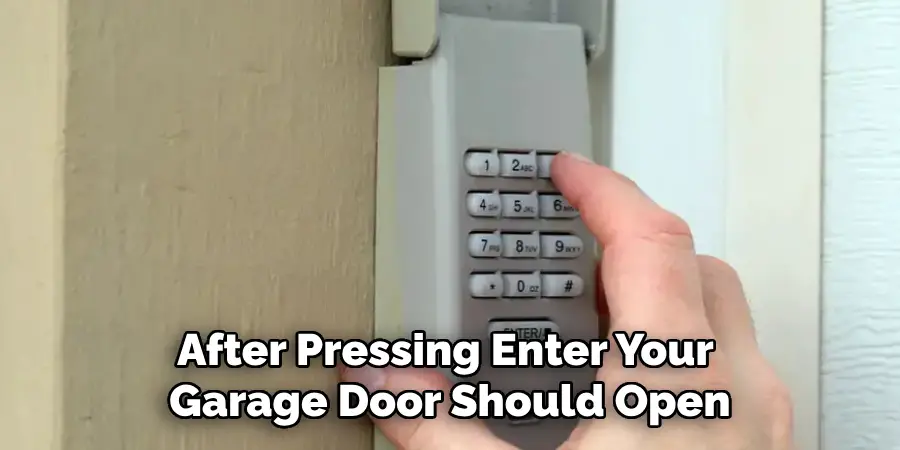
Step 7: Enter Your New Code
Once the ‘Program’ button has been pressed, you’ll need to enter your new four-digit code on the keypad mounted outside your garage. Make sure it’s a code that you can easily remember in case you forget it in the future. Once you’ve entered the code, press the ‘Enter’ button.
But don’t press it if you’ve made a mistake, as this may cause an error and you’ll have to start over. This is why it’s important to choose a code you can easily remember.
Step 8: Test Your New Code
After pressing ‘Enter’, your garage door should open or close depending on the current position. If it doesn’t, try entering your code again and make sure all the buttons are pressed correctly. You can also try resetting the code by repeating this process.
If you encounter any issues, refer to your owner’s manual or contact Liftmaster customer support for assistance. You can also check out our post on how to troubleshoot garage door openers for more tips. It’s always best to seek professional help if you’re unsure.
Step 9: Release the Program Mode
Once you’ve successfully entered and tested your new code, it’s time to release the program mode from your garage door opener unit. To do this, press and release the ‘Learn’ button again.
This should turn off the light or stop the blinking, indicating that the program mode has been released. It’s important to do this step to avoid any accidental re-programming in the future. But if you do need to change the code again, simply repeat these steps.
Step 10: Enjoy Your New Code
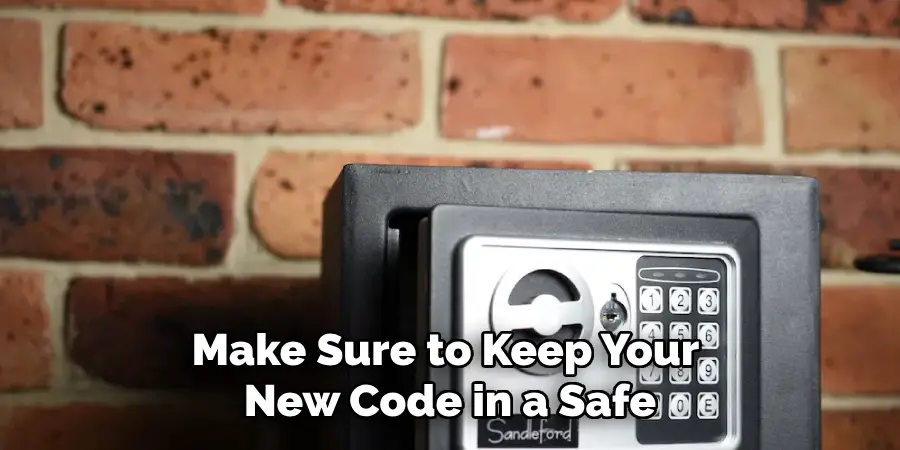
Congratulations, you have now successfully changed your garage door code without needing the old one. Make sure to keep your new code in a safe place and share it with anyone who may need access to your garage. And remember, if you ever forget your code again, just follow these steps to reset it. Happy troubleshooting!
Following these simple steps on how to troubleshoot garage door opener, you can easily change your garage door code without the need for the old one. This method works for most Liftmaster garage door openers, but if you encounter any issues or have a different model, refer to your owner’s manual or contact customer support for assistance.
It’s important to keep your passcode secure and not share it with anyone you don’t trust. Regularly changing your code is also a good security measure to prevent any unauthorized access to your garage. Stay safe and happy troubleshooting!
How Much Could It Cost?
The cost of changing your garage door code without the old one can vary depending on the type of opener and any additional tools or help you may need. If you choose to do it yourself, it can be done for little to no cost. However, if you hire a professional, expect to pay anywhere from $50-$100 for their services.
Keep in mind that hiring a professional may also come with the added benefit of ensuring the safety and efficiency of your garage door opener. As always, it’s important to weigh the pros and cons and choose the option that best fits your needs and budget. So don’t let not having the old code stop you from changing your garage door code and keeping your home safe and secure.
Frequently Asked Questions
Q: What is the Purpose of Changing My Garage Door Code?
A: Changing your garage door code helps ensure the security of your home and prevents unauthorized access to your garage. You should change your code periodically to keep it secure.
Q: Can I Change My Garage Door Code Without the Old One?
A: Yes, you can follow these steps on how to change the garage door code without the old code Liftmaster to reset your passcode. Keep in mind that this method may not work for all models, so refer to your owner’s manual or contact customer support for assistance.
Q: How Often Should I Change My Garage Door Code?
A: It’s recommended to change your garage door code at least once every year or whenever you feel like it’s necessary for security reasons. It’s also a good idea to change your code if you suspect that someone else may have access to it.
Q: What Do I Do If I Forget My Garage Door Code?
A: Don’t panic! Just follow these steps again to reset your garage door code and choose a new one. Make sure to keep your new code in a safe place and avoid sharing it with anyone you don’t trust. If you continue to have trouble, refer to your owner’s manual or contact customer support for assistance.
Conclusion
To wrap up, changing a garage door code without the old code is a challenging process that can be done with the help of an expert. If you would like to move beyond reading this blog post and actually gain access to your Liftmaster garage door, it is important for you to have patience, a willing attitude toward learning new techniques, and the courage to call an experienced locksmith if needed.
Remember that understanding the steps on how to troubleshoot garage door opener associated with changing out a garage door code without the original will give you peace of mind and prevent future frustration when you find yourself locked out in need of a custom combination. Don’t hesitate – get started and regain access to your home today!
I am Rick. I grew up helping my dad with his handyman service. I learned a lot from him about how to fix things, and also about how to work hard and take care of business. These days, I’m still into fixing things- only now, I’m doing it for a living.
I’m always looking for new ways to help people grow and develop. That’s why I have created this blog to share all my experience and knowledge so
that I can help people who are interested in DIY repair.