Your garage door is more than just a convenient entry point for your vehicle; it is often the primary threshold to your home. Securing it is just as important as locking your front door. There are many reasons why you might need to update the access credentials for your automatic opener.

Perhaps you have just moved into a new property and want to ensure previous owners cannot gain access. Maybe you lost a remote, or you simply want to refresh your security protocols for peace of mind. Whatever the reason, the process is not as technical or daunting as it may seem. Merlin garage door openers are designed with user-friendly features that allow homeowners to manage their own security settings without needing to call a professional technician.
This guide is crafted to empower you with the knowledge to perform this essential maintenance task yourself. We will walk you through a clear, beginner-friendly process on how to change code on merlin garage door opener units, ensuring your home remains a safe and secure sanctuary for you and your family.
Why Should You Change the Code on Your Merlin Garage Door Opener?
Changing the code on your Merlin garage door opener is an essential step to maintaining the security and safety of your home. Over time, codes can be compromised through incidents like lost or stolen remote controls, accidental code sharing, or even outdated security settings.
Regularly updating your code ensures that only trusted individuals have access to your garage, reducing the risk of unauthorized entry. Additionally, this simple process provides peace of mind, knowing that your home’s protective measures stay up-to-date against evolving security threats. By taking control of this task, you’re actively safeguarding your family and belongings.
How to Change Code on Merlin Garage Door Opener: A Step-by-Step Guide
Step 1: Identify Your Merlin Model and Remote Type
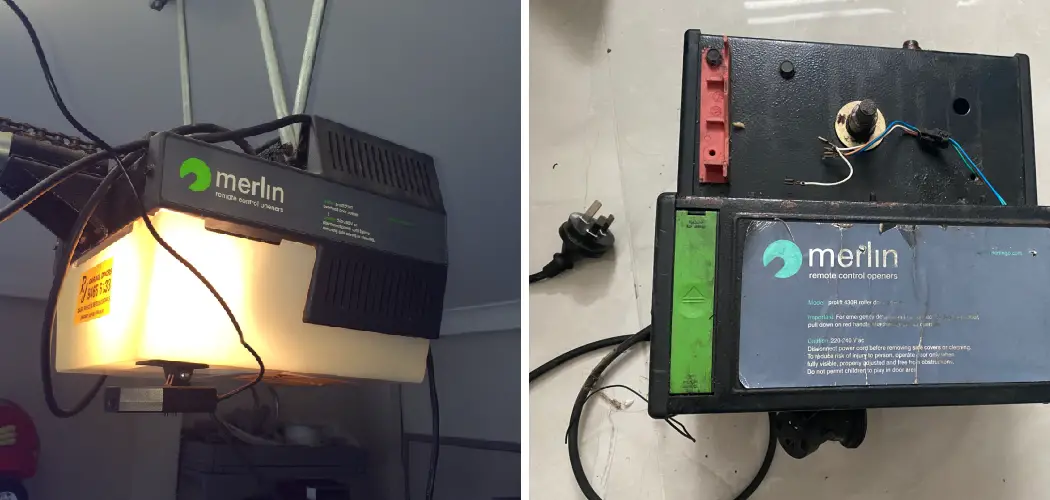
Before you begin the programming process, it is crucial to understand exactly which piece of equipment you are working with. Merlin has produced various models over the years, including the popular SilentDrive, Commander, and Tiltmaster series. While the general logic remains similar across the board, the specific buttons and indicators can vary.
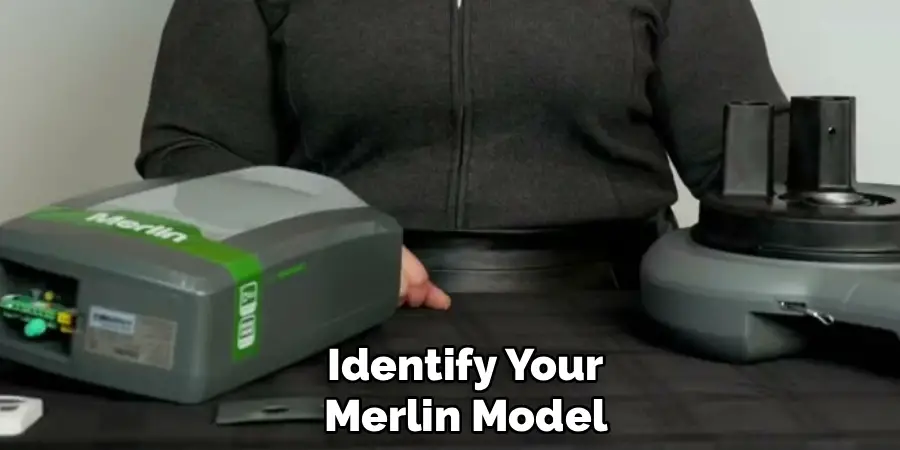
Take a moment to look at the motor unit attached to your garage ceiling. Locate the model number sticker, usually found on the side or under the light cover. Similarly, examine your remote control. Knowing whether you have a “Security+” or “Security+ 2.0” system will help you troubleshoot if standard steps do not work immediately. This initial identification phase ensures you are applying the correct method for your specific hardware, preventing frustration later in the process.
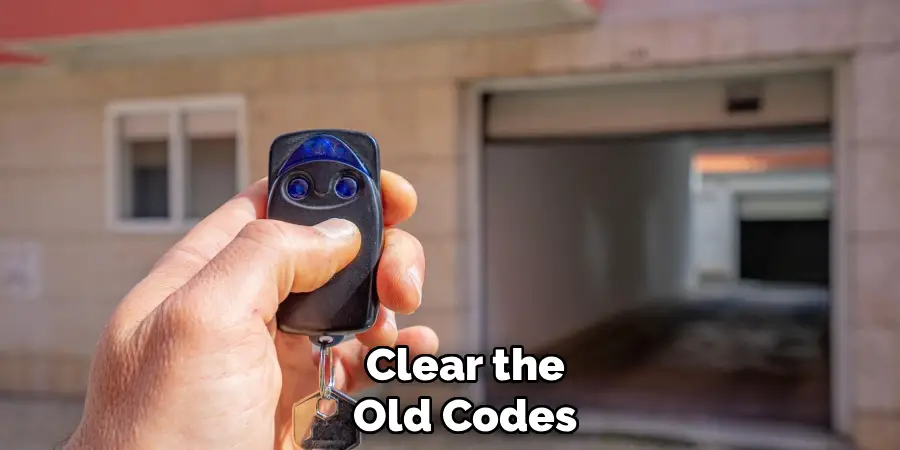
Step 2: Clear the Old Codes from Memory
The most effective way to secure your garage is to wipe the slate clean. Instead of just adding a new remote, you should delete all previous codes stored in the motor’s memory. This is the critical “reset” phase. To do this, you need to access the control panel on the motor unit.
Look for a button labeled “Learn” or “S,” often colored yellow, orange, purple, or green depending on the model year. Press and hold this button down firmly. You must keep holding it until the small LED indicator light alongside it goes out, which typically takes about six to ten seconds. This action erases every single remote and keyless entry code currently linked to the opener, ensuring that lost or stolen remotes will no longer function.
Step 3: Prepare the Motor for New Code Acceptance
Once the old memory bank has been completely cleared, the machine is in a neutral state, effectively locked to everyone including you. Now you must prepare the unit to accept your new credentials. This involves putting the motor back into “Learn” mode, but this time for pairing rather than erasing.
Press and release the “Learn” button quickly—do not hold it down this time. You should see the LED indicator light turn on and glow steadily. This light is a visual signal that the receiver is active and listening for a new frequency signal. You now have a limited window of time, usually about 30 seconds, to complete the next step before the unit times out and exits programming mode.
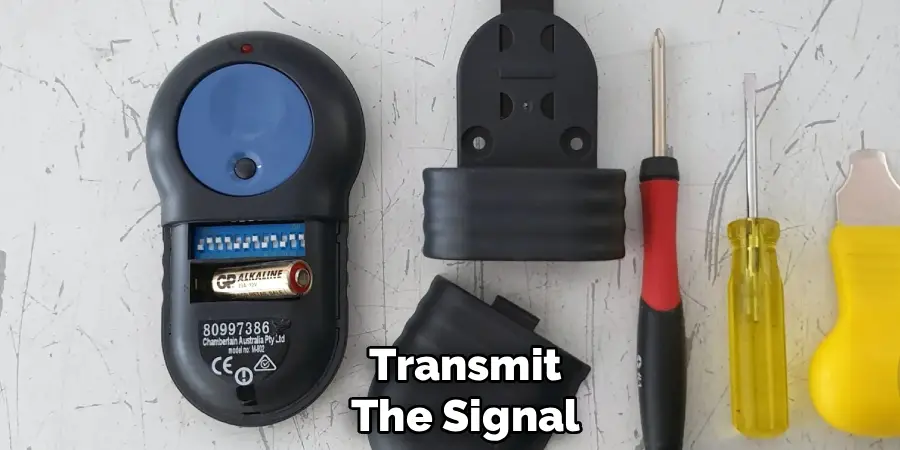
Step 4: Transmit the Signal
With the motor unit’s LED light glowing steadily, you must act promptly to link your handheld remote. Stand within a few feet of the motor unit to ensure a strong signal, but be careful not to stand directly under the moving parts of the door. Select the specific button on your remote control that you wish to use to operate the door.
Press and hold that button down firmly. You are now transmitting the new unique code from the handheld transmitter to the receiver in the motor. Keep holding the button until you see a reaction from the main unit. This transmission is the moment where the new digital “handshake” is established between your device and your home security system.
Step 5: Confirm the Signal Pairing
You need to verify that the motor has successfully received and stored the new code you just transmitted. As you continue to hold the remote button, watch the main opener unit closely. Depending on your specific Merlin model, the confirmation will appear as either the main light bulbs on the opener flashing on and off, or the small LED indicator light giving a series of rapid clicks or flashes.
Once you see this visual confirmation, you can release the button on your remote control. This signal indicates that the “Learn” cycle is complete for that specific device. If you did not see a flash or a click, the code was not saved, and you will need to repeat the transmission step again.
Step 6: Program Additional Remotes and Keypads
If you have multiple cars or family members with their own remotes, you cannot simply assume they will work because you programmed one. Each remote generates its own unique rolling code signal. Therefore, you must repeat the pairing process for every single device you wish to use. Go back to the motor unit, press and release the “Learn” button to reactivate the listening mode, and then press the button on the second remote.
Do this for every handheld transmitter, wireless wall button, and external keypad you own. Since you wiped the memory in step two, any device you do not re-program during this session will remain non-functional. This ensures that only the devices physically in your possession have access to your home.
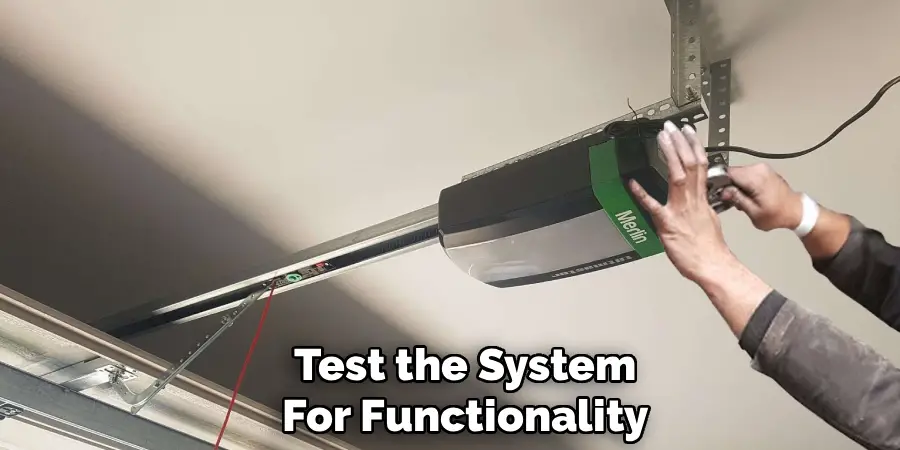
Step 7: Test the System for Functionality
The final step is to prove that your work was successful and that the system is operating safely. Step away from the ladder and the motor unit. Ensure the path of the garage door is clear of any obstacles, people, or pets. Press the newly programmed button on your remote control.
The door should immediately respond and begin to move. Test the open and close cycles fully. If the door opens but does not close, or vice versa, check your safety sensors near the floor, as they might have been bumped during the process. If the remote works perfectly, you have successfully completed the procedure on how to change code on merlin garage door opener units. You can now rest easy knowing your garage is secure and only accessible via your authorized devices.
Frequently Asked Questions (FAQ)
Why Did My Remote Stop Working After I Reset the Memory?
When you perform a full factory reset by holding down the “Learn” button, you are instructing the opener to delete all known devices from its internal memory. This is a security feature designed to deactivate lost or stolen remotes. Consequently, your existing remotes are also wiped from the system. They stopped working because they are no longer recognized. You simply need to follow the programming steps to re-introduce each remote to the opener, one by one.
Where Is the “Learn” Button Located on My Merlin Unit?
The location of the “Learn” button depends on the specific model of your Merlin opener.
- Rear Panel: On many standard overhead units, it is located on the back panel where the wire terminals are.
- Light Cover: Sometimes it is hidden beneath the plastic light cover lens. You may need to pop the lens off to find it.
- Control Panel: On older models, it might be a small button on the side. Look for a small square button usually colored green, orange, purple, or yellow.
Can I Change the Code Without Erasing Everything?
Technically, Merlin openers use “rolling code” technology. This means the code changes automatically every time you use the remote to prevent code-grabbing thieves. You cannot manually set a specific PIN number on a standard handheld remote. The only way to “change” the access credential is to erase the memory (which invalidates the old digital handshake) and re-sync the remote, which establishes a fresh connection. This achieves the same security goal as changing a password.
What If My Opener Has a Wireless Keypad?
If you have a keypad mounted outside the garage, the process is very similar but involves an extra step.
- Press the “Learn” button on the motor unit.
- Within 30 seconds, enter your desired 4-digit PIN on the keypad.
- Press and hold the “Enter” button on the keypad until the opener lights flash.
This sets the new PIN for entry. Remember, if you wiped the memory earlier, you must reprogram the keypad just like the remotes.
How Many Remotes Can I Program to One Opener?
Most residential Merlin garage door openers have a memory capacity that allows for a significant number of devices. typically, you can program up to 64 remotes or keyless entry accessories. However, older models might have a lower limit, sometimes around 8 to 12 devices. If you try to program a new remote and the memory is full, the opener will usually overwrite the very first code that was programmed, effectively kicking that oldest remote off the system.
Conclusion
Taking charge of your home maintenance empowers you as a homeowner and enhances your security. Updating the codes on your garage door opener is a straightforward task that offers immediate peace of mind, ensuring that access to your home is strictly limited to those you trust.
By identifying your specific model, clearing the old memory, and methodically reprogramming your devices, you eliminate the risk of unauthorized entry from lost or legacy remotes. This simple DIY project saves you the cost of a service call and familiarizes you with the workings of your home’s entry systems. Now that you have mastered the essential skill of how to change code on merlin garage door opener setups, you can confidently manage your property’s security, knowing your garage is safe, secure, and fully under your control.
I am Rick. I grew up helping my dad with his handyman service. I learned a lot from him about how to fix things, and also about how to work hard and take care of business. These days, I’m still into fixing things- only now, I’m doing it for a living.
I’m always looking for new ways to help people grow and develop. That’s why I have created this blog to share all my experience and knowledge so
that I can help people who are interested in DIY repair.