Are you having trouble with your Liftmaster wall control because the battery needs to be changed? Don’t worry; it’s a simple process that anyone can follow. In this guide, we will walk you through the steps on how to change battery in liftmaster wall control.
Changing the battery in your LiftMaster wall control is an essential maintenance that ensures your garage door operates smoothly and efficiently. Over time, the battery may lose its charge, leading to decreased functionality or complete failure of the wall control unit.
This guide will provide you with step-by-step instructions on how to safely and effectively replace the battery, allowing you to restore full functionality to your LiftMaster system. With a few simple tools and a little time, you can keep your garage door opener running reliably.
What Will You Need?
Before you begin, gathering all the necessary tools and materials is essential. Here’s a list of items you will need to change the battery in your Liftmaster wall control:
- New battery (check your specific model for compatibility)
- Screwdriver (Phillips or flathead, depending on the screws used on your wall control unit)
- Soft cloth
Once you have everything ready, let’s get started!
10 Easy Steps on How to Change Battery in Liftmaster Wall Control
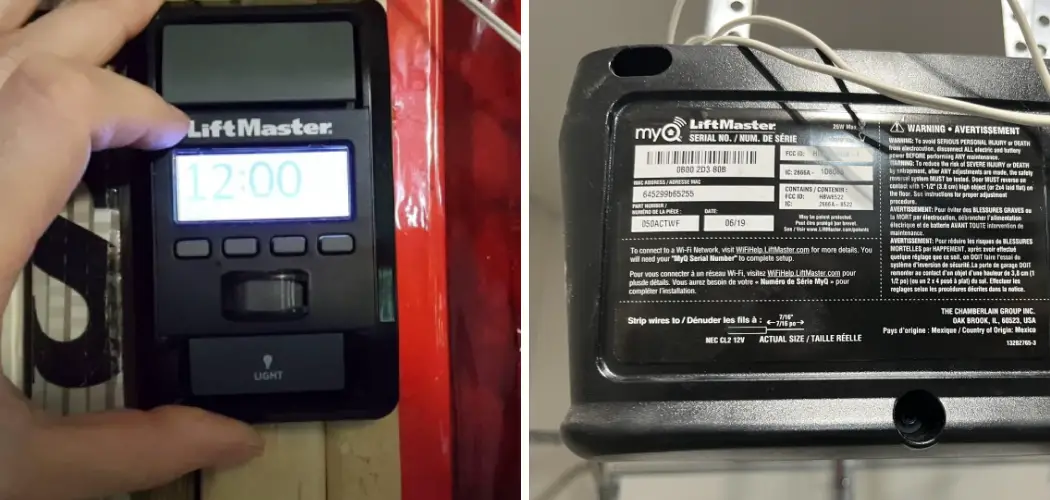
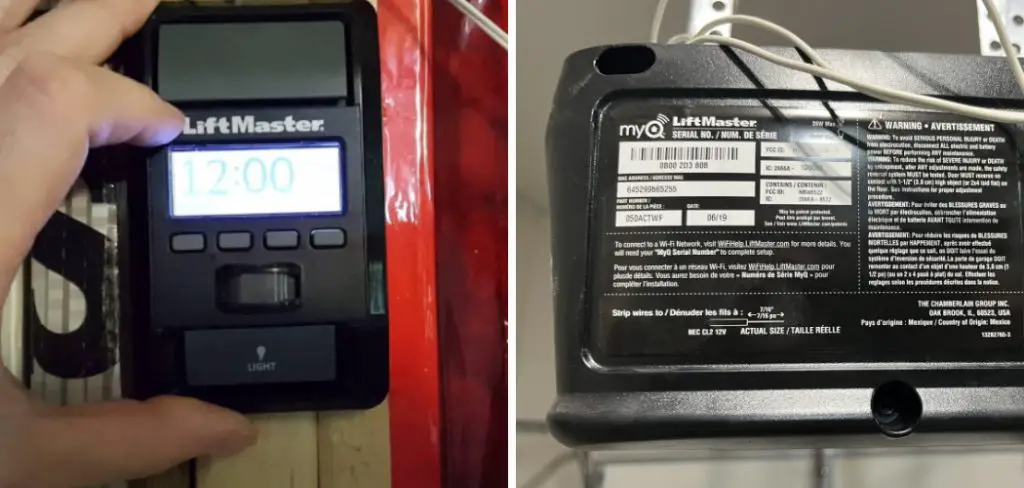
Step 1: Locate the Battery Compartment
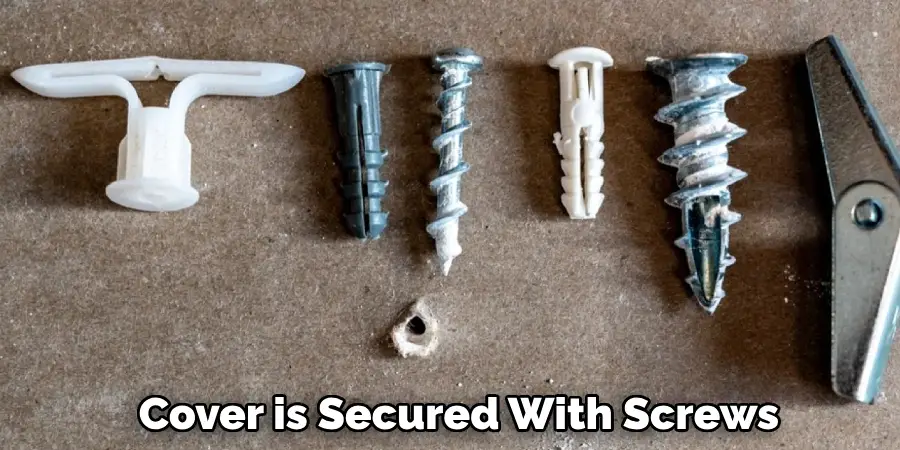
To begin the process, you first need to locate the battery compartment on your LiftMaster wall control unit. Typically, this compartment is situated on the back or bottom of the wall control. Carefully turn the unit around and look for a small cover that may be secured with screws or clips. In some models, a sliding cover can be easily removed without tools.
Use your soft cloth to clean any dust or debris from the surface, as a clean working area will help you manage the battery replacement more effectively. Once you have located the battery compartment, you can move on to the next steps.
Step 2: Remove the Battery Cover
Once you have located the battery compartment, it’s time to remove the cover. If the cover is secured with screws, use your screwdriver to gently unscrew them and set them aside in a safe place to avoid losing them. If your model features a sliding cover, gently slide it open to reveal the battery compartment underneath. Take care not to apply excessive force, as this could cause damage to the cover or the wall control unit.
Step 3: Take Out the Old Battery
Carefully remove the old battery from its casing with the battery compartment open. Pay attention to how the battery is positioned, noting the orientation of the positive (+) and negative (-) terminals. If the battery is stuck, give it a slight wiggle to help dislodge it, but avoid using tools that could damage the compartment. Proper disposal of the old battery is essential—check local regulations for guidance on disposing of batteries safely.
Step 4: Insert the New Battery
Now it’s time to install the new battery. Ensure the replacement battery is of the correct type and voltage as specified in your wall control unit’s manual. Position the new battery in the compartment, aligning it with the terminals just as the old battery was positioned—positive (+) to positive and negative (-) to negative. Press down gently until the battery is securely seated, ensuring good contact with the terminals.
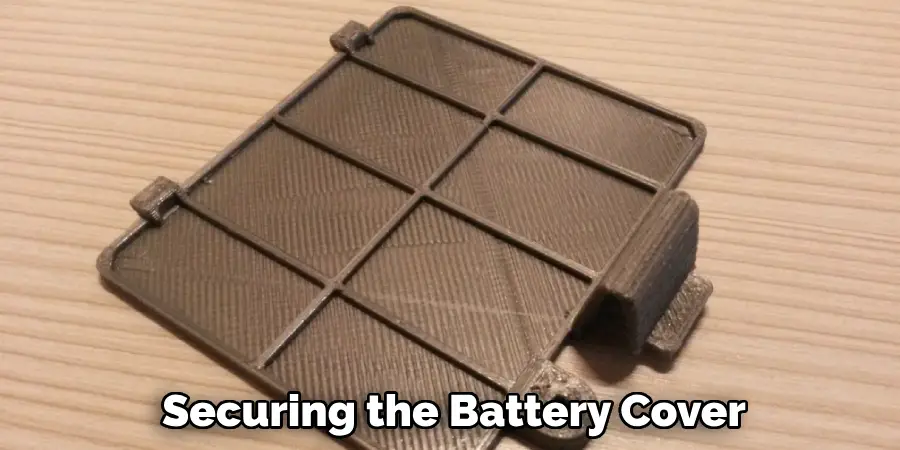
Step 5: Replace the Battery Cover
With the new battery installed, it’s time to put the battery cover back on. If you removed the screws in step 2, hold the cover in place and start re-inserting the screws, tightening them gently to avoid overtightening, which can strip the screws or damage the cover. If your model has a sliding cover, simply slide it back into position until it clicks into place.
Step 6: Test the Wall Control Unit
Before considering the battery replacement complete, it’s crucial to test the functionality of the wall control unit. Press the buttons to ensure the wall control responds correctly and that the garage door operates as expected. If the wall control does not respond, double-check that the battery is installed correctly and securely and that there are no other issues with the wall control unit itself.
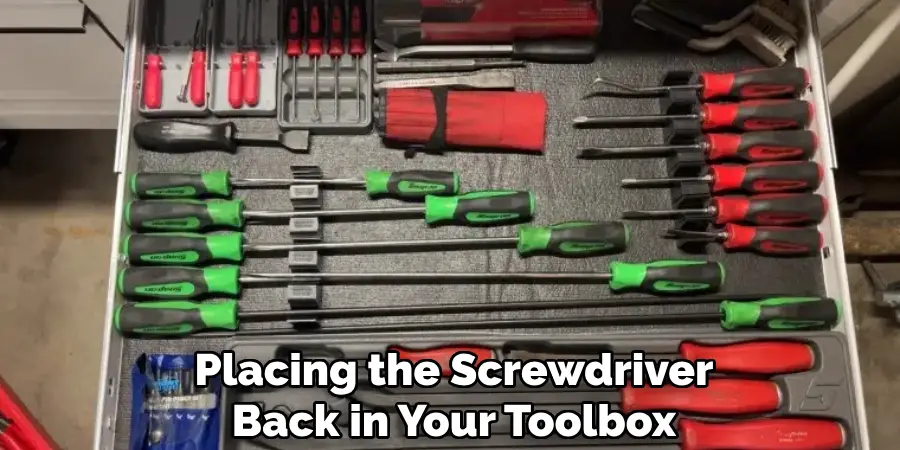
Step 7: Clean Up Your Workspace
Once you have tested your wall control unit and confirmed it is functioning correctly, it’s time to clean up your workspace. Gathering all the tools and materials you used during the battery replacement is essential to prevent any items from lingering in your garage or shed. Start by appropriately placing the screwdriver back in your toolbox and disposing of the old battery, following local recycling guidelines.
Wipe down the area where you worked with a soft cloth to remove any dust or debris. It’s advisable to keep your garage organized; this enhances the aesthetics and improves safety by preventing tripping hazards. Taking a few moments to reset the area will make future maintenance tasks more accessible, ensuring you’re ready for any other upkeep your LiftMaster system may need. Remember, a tidy workspace fosters efficiency and reflects a responsible approach to home maintenance.
Step 8: Reprogram the Wall Control Unit
In some instances, after changing the battery, you may need to reprogram your LiftMaster wall control unit to ensure it syncs properly with your garage door opener. Refer to your owner’s manual for specific instructions on reprogramming your model. Typically, this will involve pressing a series of buttons on the wall control and the garage door opener to establish a connection.
This step is crucial if the wall control is not functioning as expected after replacing the battery. Be patient, as reprogramming everything successfully may take a few attempts. Once completed, your wall control should operate seamlessly with your garage door system.
Step 9: Troubleshooting Common Issues
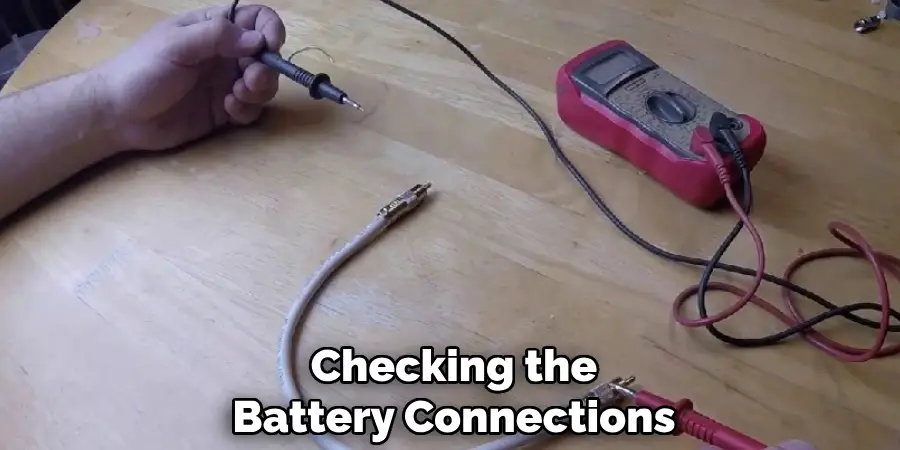
In the event that your LiftMaster wall control unit still doesn’t operate correctly after replacing the battery and reprogramming, it’s essential to troubleshoot potential issues. Start by checking the battery connections; ensure that the terminals are corrosion-free and that the battery is seated correctly. If the control unit is still unresponsive, test a different battery to rule out the possibility of a defective new battery.
Additionally, inspect the wiring connections leading to the wall control for any signs of wear or damage. If the unit continues to malfunction after these checks, consulting the manufacturer’s troubleshooting guide or contacting customer service may provide further assistance.
Step 10: Regular Maintenance and Future Preparation
To maintain the optimal function of your LiftMaster wall control and prolong its lifespan, instituting a regular maintenance routine is advisable. Consider creating a schedule for routine checks—such as inspecting the battery condition every six months, even if the wall control usually functions. This proactive approach helps prevent unexpected issues and ensures your garage door remains operable.
Keep an eye out for any unusual sounds from the wall control unit or the garage door mechanism; these could indicate underlying problems needing attention. Lastly, familiarize yourself with your wall control’s specific features and settings; understanding all functionalities can enhance your overall user experience and make future battery changes even more straightforward.
By following these steps, you can confidently and without hassle replace the battery in your LiftMaster wall control unit.
5 Things You Should Avoid
- Avoid Using Incorrect Batteries: Always ensure that you use the correct type and voltage of the battery as specified in your wall control unit’s manual. Using the wrong battery can damage the unit or lead to malfunction.
- Don’t Rush the Installation Process: Take your time inserting the new battery and reattaching the cover. Rushing can lead to improper battery seating or mistakes during reassembly, which may cause issues down the line.
- Avoid Neglecting to Dispose of Old Batteries Properly: Do not throw away old batteries in the household trash. Always follow local regulations for battery disposal to prevent environmental harm.
- Don’t Ignore Signs of Malfunction: If your wall control unit shows signs of malfunction after a battery replacement, don’t dismiss it. Ignoring issues can lead to more significant problems. Always troubleshoot promptly.
- Avoid Over-Tightening Screws: While securing the battery cover, be cautious not to overtighten screws. This can strip the screw holes or crack the cover, potentially leading to further repairs.
By avoiding these common mistakes, you can ensure a smooth and successful battery replacement process for your LiftMaster wall control unit.
Conclusion
Changing the battery in your LiftMaster wall control unit is a straightforward process that, when followed step by step, can ensure the continued functionality and reliability of your garage door system.
By carefully following the outlined steps on how to change battery in liftmaster wall control—from preparing your workspace and replacing the battery to reprogramming the unit and conducting regular maintenance—you can avoid common pitfalls and enhance the lifespan of your wall control. Remember, proactive care and timely troubleshooting are key to ensuring optimal performance.
With a bit of diligence, you can maintain a fully operational and safe garage door system, allowing you to have peace of mind while managing your home’s entry points.
I am Rick. I grew up helping my dad with his handyman service. I learned a lot from him about how to fix things, and also about how to work hard and take care of business. These days, I’m still into fixing things- only now, I’m doing it for a living.
I’m always looking for new ways to help people grow and develop. That’s why I have created this blog to share all my experience and knowledge so
that I can help people who are interested in DIY repair.