Building a garage shed is a great way to add extra storage space and protect your vehicles and equipment from the elements. Whether you are looking for a place to park your car or store your lawn mower and gardening tools, a garage shed can be a versatile and practical solution.

However, constructing a garage shed can be a challenging task, especially if you have limited experience in building. Fortunately, with some planning, preparation, and basic DIY skills, you can build a functional and attractive garage shed that meets your needs and fits your budget.
In this article, we will provide you with some tips and guidelines on how to build a garage shed, including selecting the right materials, designing the layout, preparing the site, and assembling the shed. With some effort and dedication, you can create a durable and efficient garage shed that will serve you well for years to come.
Is It Cheaper to Build Your Own Garage?
The answer to this question depends on several factors, including the size and complexity of your shed design as well as the quality of materials you choose. Building a garage shed yourself can save a significant amount of money compared to buying pre-made or hiring someone else to build it for you.
Planning ahead is essential if you are going to build the shed yourself. Start by determining the size and design of your garage shed. Make sure you know exactly how much space you have available and what measurements must be taken into consideration for the door, windows, roof height, etc.
You will also need to purchase all the necessary tools and materials for your project. This includes the lumber, siding, roofing, nails, and screws, as well as any other items you might need, such as extra insulation or a weatherproof sealant. The cost of these materials can vary significantly depending on their quality and quantity.
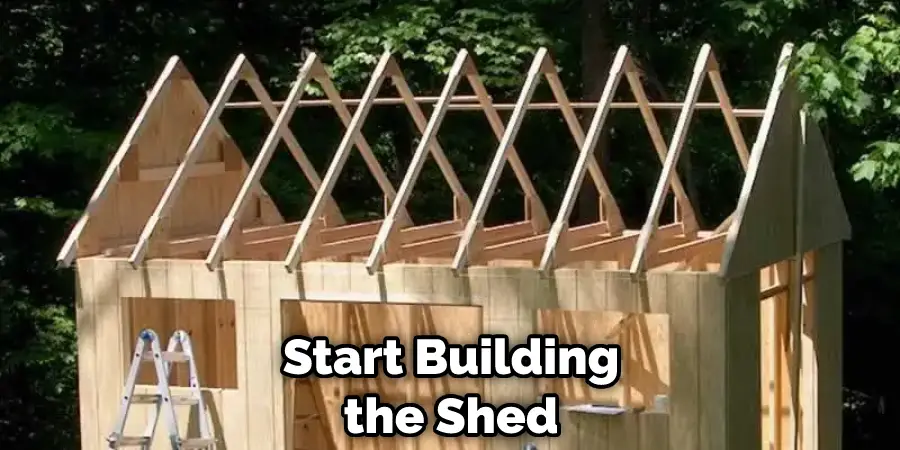
Once you have all the materials you need, it is time to start building the shed. This process can take anywhere from a few days to several weeks, depending on the complexity of your design and how many people are working on it.
Building the shed yourself will also require you to have basic carpentry and construction skills in order to properly assemble the frame, roofing, siding, and other components.
What Is the Cheapest Type of Garage to Build?
The cheapest type of garage to build is a metal garage shed. Metal garages are typically made from steel, aluminum, or other lightweight metals and are easy to assemble without the need for specialist tools or skills. These sheds come in a variety of sizes and styles and can be relatively inexpensive, depending on your budget.
They also tend to be low-maintenance and durable, making them a cost-effective option for many homeowners. Another great advantage of metal sheds is that they can be erected in just a few hours. So if you are looking for an affordable solution for your garage needs, a metal shed could be the right choice for you.
If you’re after more permanent storage solutions, then building a wooden garage could be the way to go. Wooden garages tend to cost slightly more than metal ones but are much sturdier and longer lasting.
With some basic carpentry skills and the right tools, these structures can be put up in no time and offer an attractive option when it comes to storing cars, garden equipment, or other bulky items. Plus, with the right maintenance, these sheds can last for years.
Finally, if you need a large garage to store multiple vehicles or other items, then building a brick structure may be the best option for you. Bricks are more expensive than metal or wood but offer superior strength and durability – meaning your garage will be able to withstand the harshest weather conditions.

They also provide a more finished look and can even be customized with colors, designs, and more to give your property the perfect touch of elegance.
10 Methods How to Build a Garage Shed
1. Choose the Right Location
The first step in building a garage shed is to choose the right location. The location should be level and well-drained, and it should be far enough away from your house so that any fumes from the shed won’t be a nuisance.
Make sure to check with local authorities regarding any zoning regulations or building codes that may apply to the location. When choosing the location, it’s also important to consider whether or not you will need to run electricity and other utilities for your shed.
2. Draw up a Plan
Once you’ve chosen the location for your shed, the next step is to draw up a plan. Decide how big you want the shed to be and what features you want it to have. If you’re not sure where to start, there are plenty of online resources and books that can help you with the planning process.
Make sure to consider the type of materials you’ll need and how much they will cost. Once you have a plan in place, it’s time to start building.
3. Obtain the Necessary Permits
Before you start construction on your shed, it’s important to obtain any necessary permits from your local government. Depending on where you live, you may need a building permit or zoning permit before you can begin construction.
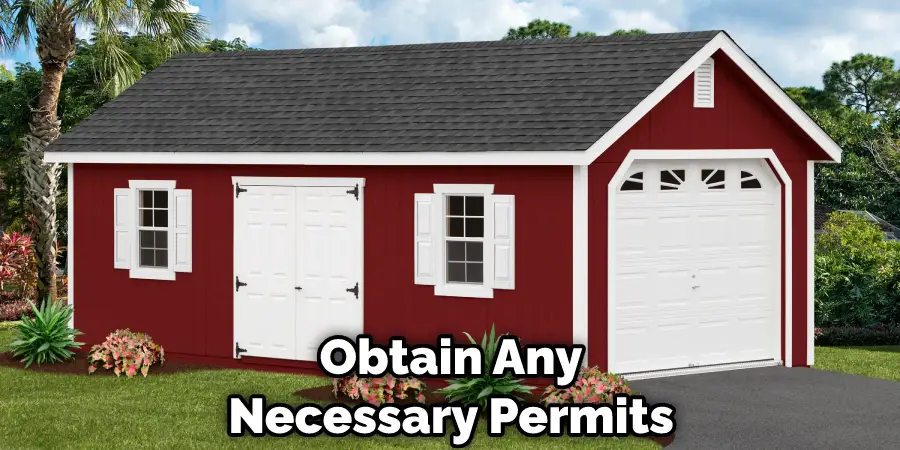
Check with your local building department for specific requirements. While the process of obtaining a permit can vary depending on your location, you’ll typically need to submit an application form that outlines the parameters of your project.
4. Clear the Site
Once you have your permits in hand, the next step is to clear the site where your shed will go. Remove any vegetation or debris, and make sure the area is level. If you’re planning on pouring a concrete foundation, now is also the time to do that. Though this process may seem time-consuming, it’s essential for creating a proper foundation and ensuring that your shed is secure.
5. Build the Floor Frame
The next step in building your shed is to construct the floor frame. This frame will support the floor of your shed, so it’s important to make sure it’s sturdy. Once the frame is complete, you can then add plywood or OSB (oriented strand board) to create the floor of your shed. If you’re constructing the shed on an existing concrete slab, you can skip this step.
6. Build the Walls
After the floor is finished, it’s time to start working on the walls of your shed. You can use either wood studs or metal studs to construct the walls, depending on your preference. If you use wood studs, make sure they are pressure-treated so they will be able to withstand moisture and pests.
Attach the studs with screws (or nails) and seal them with caulk to make sure they are watertight. However, if you use metal studs, make sure that they are rated for outdoor use so they won’t be affected by moisture.
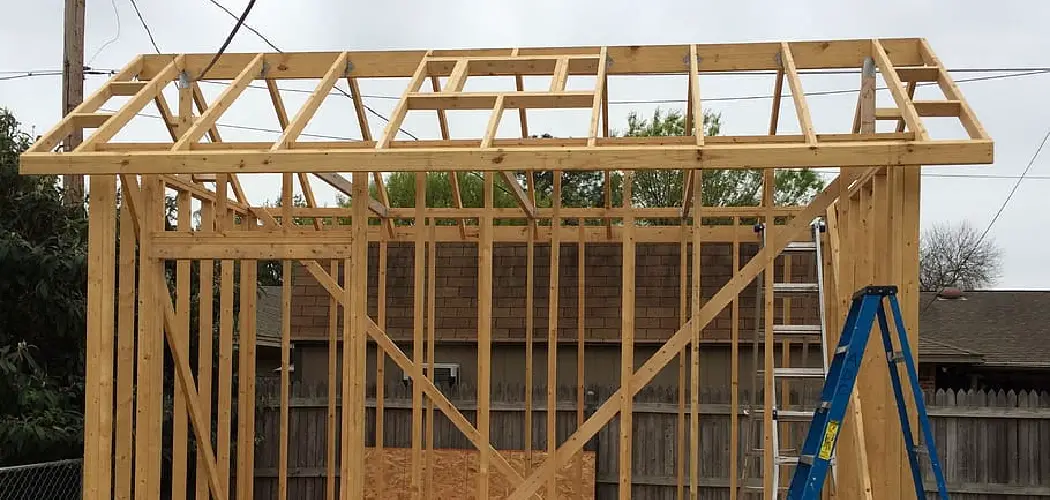
7. Add Roof Trusses
Once the walls are up, it’s time to add roof trusses so your shed will have a roof. There are many different designs for roof trusses, so make sure you choose one that will work well with the type of roofing material you want to use.
Also, make sure the trusses are correctly spaced so that you won’t have any problems with sagging down the line. Make sure to attach the trusses securely.
8. Add Roofing Material
After the roof trusses are in place, it’s time to add roofing material. You can use asphalt shingles, metal roofing, or even solar panels if you want your shed to be energy-efficient. Make sure whatever material you choose is rated for outdoor use and compatible with the rest of your shed’s materials.
9. Add Siding and Windows
The next step in finishing your shed is to add siding and windows. Siding helps protect your shed from weather damage, while windows let natural light into the space and can also be used for ventilation purposes. When choosing siding and windows for your shed, make sure they are made from durable materials that will last for years without needing replacement.
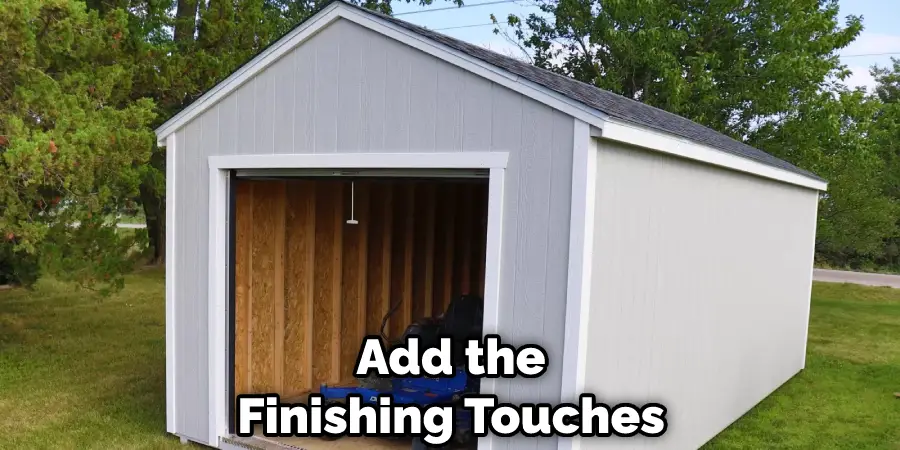
10. Add Finishing Touches
Once the structure of your shed is complete, it’s time to add the finishing touches. You can paint or stain the shed to match your property and give it a more polished look. Don’t forget about the hardware, as well. Installing hinges and door handles can help make sure that your shed is safe and secure when you’re not using it.
Conclusion
If you take the time to plan and prepare, building a garage shed can be a rewarding and ultimately successful project. From selecting the right supplies to following safety protocol, taking the time to do it all correctly will ensure that everything runs smoothly.
Once you have completed your construction project, you can enjoy years of additional storage space for items that simply wouldn’t fit inside your home. Tackling this on your own will save money in the long run and provide a sense of accomplishment that far outweighs those hours spent constructing.
By following these simple instructions on how to build a garage shed, you can expect quality results in no time at all. With determination and dedication, you’ll soon have an attractive and useful structure to be proud of!
I am Rick. I grew up helping my dad with his handyman service. I learned a lot from him about how to fix things, and also about how to work hard and take care of business. These days, I’m still into fixing things- only now, I’m doing it for a living.
I’m always looking for new ways to help people grow and develop. That’s why I have created this blog to share all my experience and knowledge so
that I can help people who are interested in DIY repair.