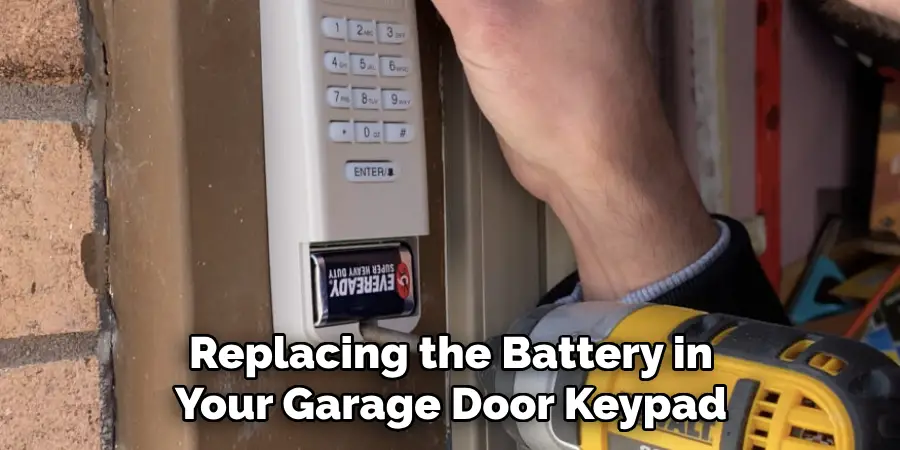
A garage door keypad is a great device to ensure your home’s security and convenience. But like many everyday objects, it will need maintenance at some point—specifically, the battery life will run out eventually.
This task must be done correctly so your device can last as long as possible and nothing gets damaged. That’s why today we’re looking at how to change battery in garage door keypad with minimal effort! A few simple steps can help you quickly and easily reset the battery in no time.
Keep reading to learn how to alter your garage door keypad’s battery without extra assistance. With this guide, even absolute beginners can complete this task with ease.
Necessary Items
Before we begin, you must ensure you have all the necessary tools and materials to complete this task. Here’s a list of everything you will need:
- A new battery (usually a 9-volt alkaline battery)
- Screwdriver (either Phillips or flathead, depending on your keypad model)
- A cloth or paper towel for cleaning
10 Steps on How to Change Battery in Garage Door Keypad
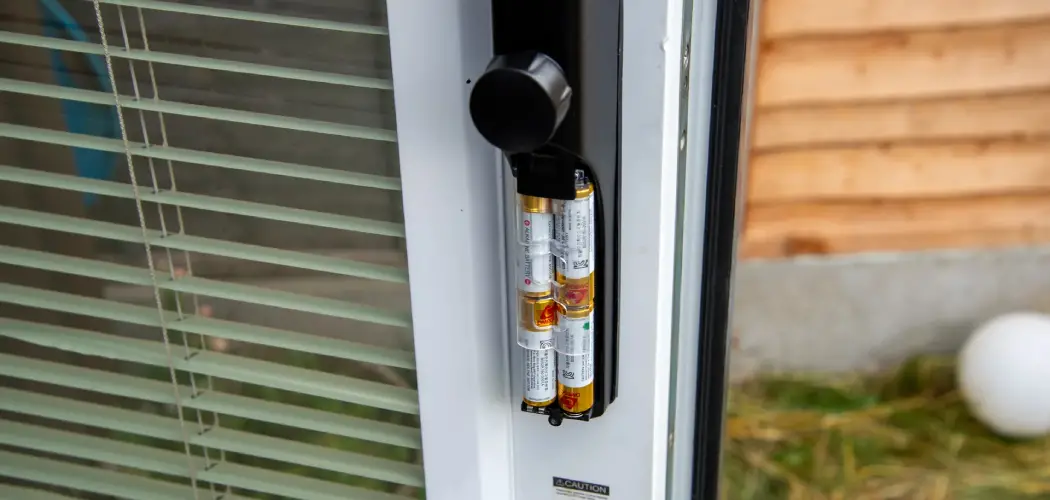
1. Locate the Battery Compartment
The first thing you need to do is find the battery on your garage door keypad. Most keypads have it on the back, but some may require unscrewing a panel to access it.
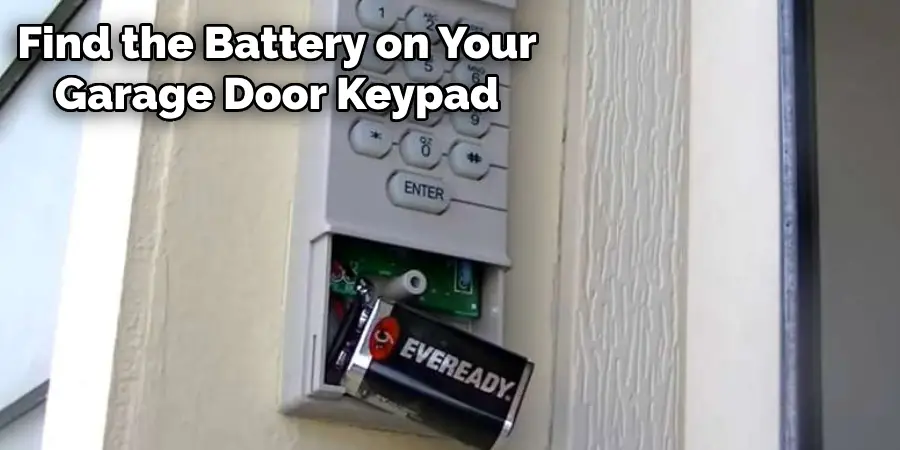
Refer to your keypad’s manual for more specific instructions.
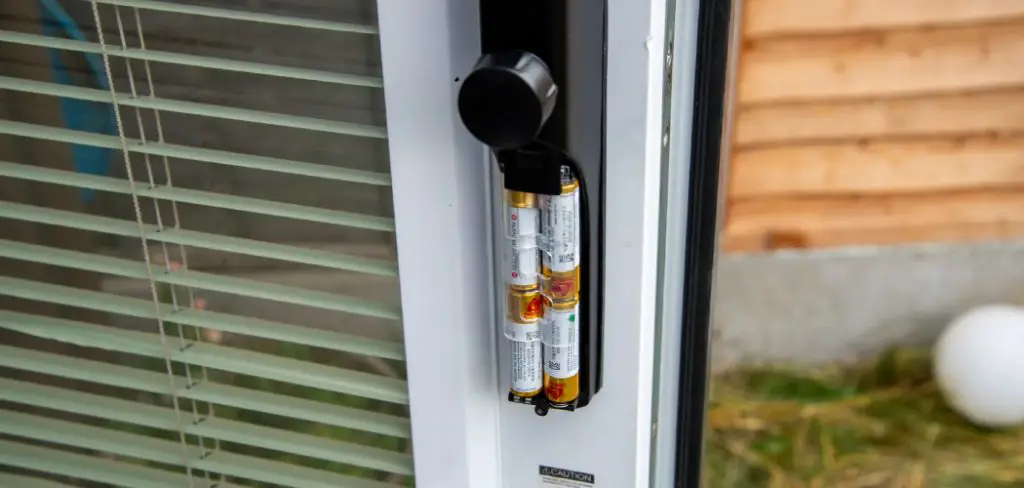
2. Remove the Old Battery
Once you’ve located the battery compartment, use your screwdriver to remove any screws holding it in place. If there are no screws, lift or slide off the cover to reveal the battery inside.
3. Clean the Battery Compartment
Before inserting the new battery, cleaning the battery compartment with a cloth or paper towel is crucial. Dirt and debris may have built up inside, which can affect the proper functioning of your device.
4. Insert the New Battery
Take your new battery and insert it into the compartment, matching positive (+) and negative (-) ends with their corresponding markings in the compartment.
5. Replace the Cover
If you had to remove a cover, put it back in place and secure it with screws if necessary.
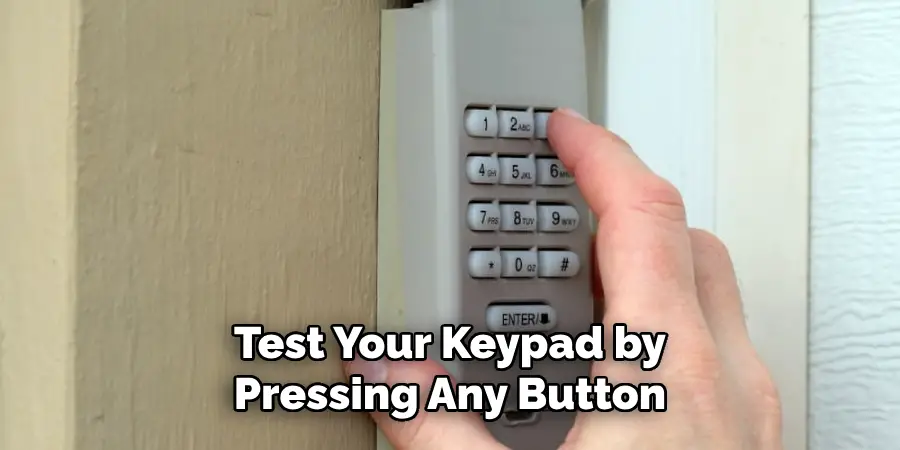
6. Test the Keypad
Once the new battery is installed, test your keypad by pressing any button to ensure it works correctly.
7. Dispose of Old Battery Properly
Make sure to dispose of your old battery properly. You can check the correct disposal method with your local waste management provider.
8. Keep Batteries on Hand
To avoid any inconvenience in the future, keep extra batteries on hand so you can quickly replace them when necessary.
9. Check Battery Life Regularly
It’s essential to check your battery life regularly and replace them as needed. This will ensure your garage door keypad always works when needed.
10. Follow the Manufacturer’s Instructions
Always follow the manufacturer’s instructions for replacing batteries in your specific model of garage door keypad. Different models may have different procedures, so consult the manual for accurate guidance.
Replacing the battery in your garage door keypad may seem daunting, but anyone can easily do it with these simple steps and safety measures. Check your battery life regularly and keep extra batteries on hand for convenience. Proper maintenance will ensure that your device lasts as long as possible and continues to function correctly.
8 Safety Measures
1. Protective Gear
Always wear gloves and goggles when handling batteries to protect yourself from any potential chemical leaks or spills. You should always maintain proper safety measures to avoid any accidents.
2. Keep Away From Children and Pets
Batteries can be hazardous if ingested, so always keep them out of reach of children and pets. When working with power tools or sharp objects, keep children and pets away from the work area. This will prevent any accidents or injuries.
3. Take Breaks
Building a desk can be a physically demanding task, so make sure to take breaks and stay hydrated throughout the process.
4. Never Mix Old and New Batteries
When replacing batteries, always use a new one of the same type and brand. Mixing old and new batteries can affect performance and may even cause damage to your device.
5. Avoid Contact With Skin
Handle batteries carefully and avoid touching them directly with bare hands or skin. This will prevent any potential chemical reactions and burns.
6. Keep Batteries Away From Heat Sources
Storing batteries near heat sources such as direct sunlight or heaters can cause them to leak or explode. Make sure to keep them in a cool, dry place.
7. Use Proper Tools
When replacing batteries, use the appropriate tools for the job. Using the wrong size screwdriver or trying to force open a compartment can damage your device or cause injury.
8. Seek Professional Help if Needed
If you need help changing the battery in your garage door keypad or encounter any issues, it’s best to seek professional help. A trained technician can assist with any problems and ensure the battery is replaced correctly. Attempting to fix an issue without proper knowledge can lead to further damage or injury.
Frequently Asked Questions
Can I Use Any Type of Battery for My Garage Door Keypad?
It is recommended to use the type of battery specified by the manufacturer for your specific model. Using a different type or brand may affect performance and damage your device.
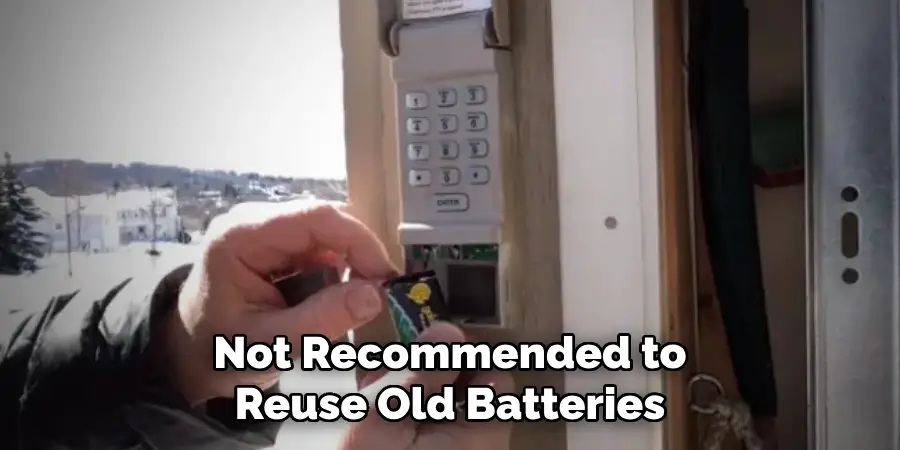
Can I Reuse Old Batteries for Other Purposes?
It is not recommended to reuse old batteries, especially if they are damaged or leaking. Properly dispose of them and use new batteries for other purposes.
What Should I Do if My Keypad is Not Working After Replacing the Battery?
If your keypad is not working after replacing the battery, check that the battery was inserted correctly. If it still does not work, consult the manufacturer’s manual or seek professional help.
How Do I Know When It’s Time to Replace the Battery?
If your garage door keypad is not responding as quickly or has a weak signal, it may be time to replace the battery. It’s also a good idea to check and replace batteries regularly as part of your regular maintenance routine.
How Often Should I Replace My Garage Door Keypad Battery?
This depends on how often you use your garage door keypad. It’s best to check the battery life regularly and replace them as needed. Batteries may need to be replaced every 1-2 years.
What Should I Do With Old Batteries?
Make sure to dispose of old batteries properly according to your local waste management guidelines. Most batteries can be recycled, so check with your provider for the right disposal method.
Can I Replace the Battery in My Keypad While It’s Still Attached to the Wall?
Yes, you can replace the battery while it’s still attached to the wall. However, follow proper safety measures and use the appropriate tools. Removing the keypad from the wall may be easier for better access to the battery compartment.
What Happens if I Mix Old and New Batteries?
Mixing old and new batteries can affect performance and may even cause damage to your device. It’s best to always replace with a new battery of the same type and brand. If you mix old and new batteries, monitor the device closely for malfunctions or issues.
Can I Recharge My Garage Door Keypad Battery?
No, most garage door keypad batteries cannot be recharged. It’s best to replace them with a fresh battery when needed.
Remember always to prioritize safety when handling batteries and follow the manufacturer’s instructions for replacing them in your specific model of garage door keypad. Your device will continue functioning correctly for years with proper maintenance and care.
So keep these tips in mind, and don’t let a dead battery stop you from using your garage door keypad! Keep it functioning smoothly by regularly checking the battery life and replacing it when necessary. And for any doubts or difficulties, don’t hesitate to seek professional help.
Conclusion
Now that you know how to change the battery in your garage door keypad, you can do it confidently whenever needed. Remember to follow these ten steps on how to change battery in garage door keypad carefully and keep extra batteries on hand for convenience.
With proper maintenance, your garage door keypad will continue providing security and convenience for years. So don’t wait until the battery runs out completely; check it regularly and replace it when needed.
With these easy steps, you can keep your home safe and secure with a functional garage door keypad. Remember that if you encounter any issues or difficulties while changing the battery, it’s always best to consult a professional for assistance. Remember to read the manual for specific instructions on your particular model.
Now, change those batteries with confidence! Happy home security maintenance! So, don’t wait any longer; grab your tools and start changing the battery in your garage door keypad today. You’ll be glad you did when that new battery is installed, and your garage door keypad works perfectly again.