Building a garage wall shelf offers numerous benefits that can transform an untidy space into an organized haven.

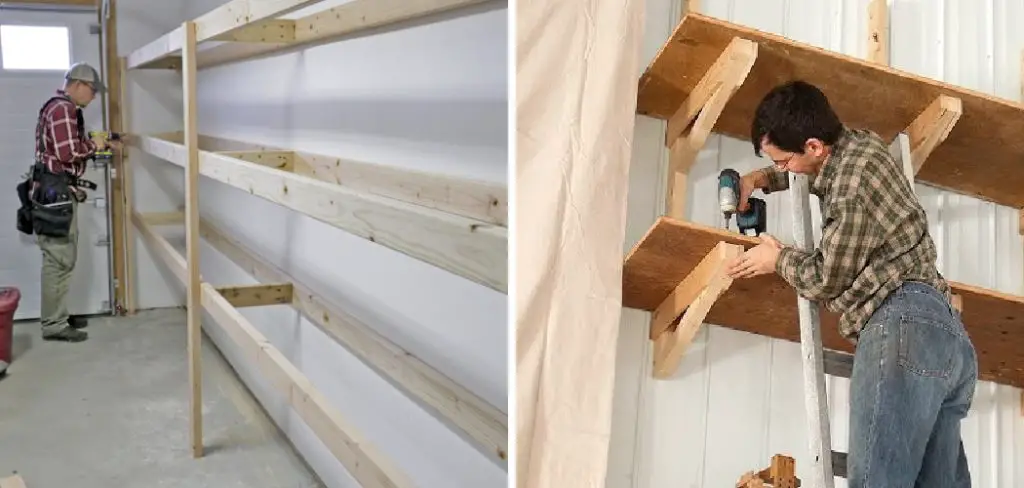
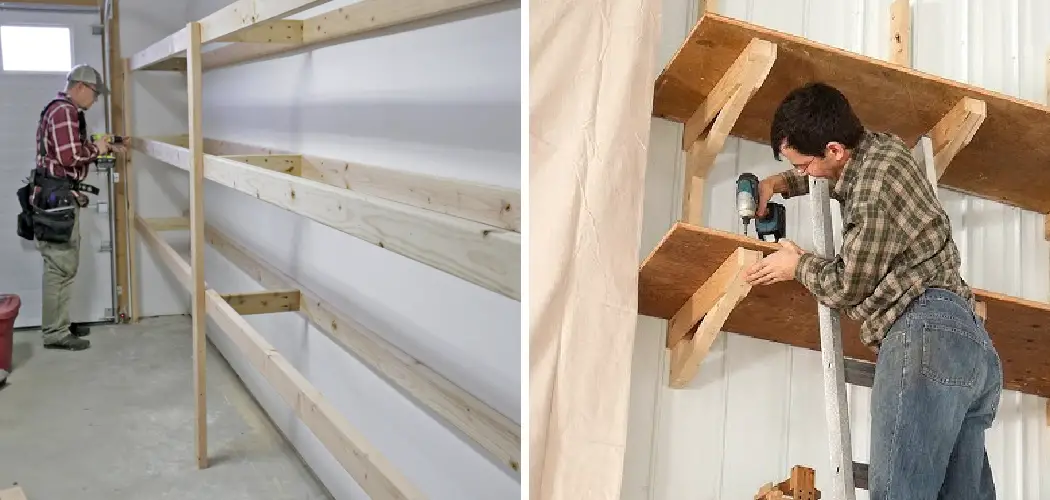
By maximizing storage space, individuals can reduce clutter and easily access tools and supplies when needed. A well-constructed wall shelf optimizes the vertical space in a garage and creates designated areas for different items, ensuring everything has its place. In this article, we will guide you through the essential steps on how to build a garage wall shelf.
We’ll cover the planning process, including the measurements and layout, help you select the appropriate materials, and walk you through the construction and installation phases. Whether you’re a seasoned DIY enthusiast or a beginner, this project is manageable and will enhance your garage’s functionality and aesthetics.
Planning Your Garage Wall Shelf
Determining the Shelf Size and Location
Before embarking on your garage wall shelf project, it’s essential to assess the available space and determine the ideal location for your shelf.
Start by clearing the garage area to provide a clear view of the walls and existing structures. Measure the height and width of the wall space where you plan to install the shelf, taking note of any obstructions such as windows, doors, or electrical outlets. After measuring the area, consider the dimensions of the shelf.

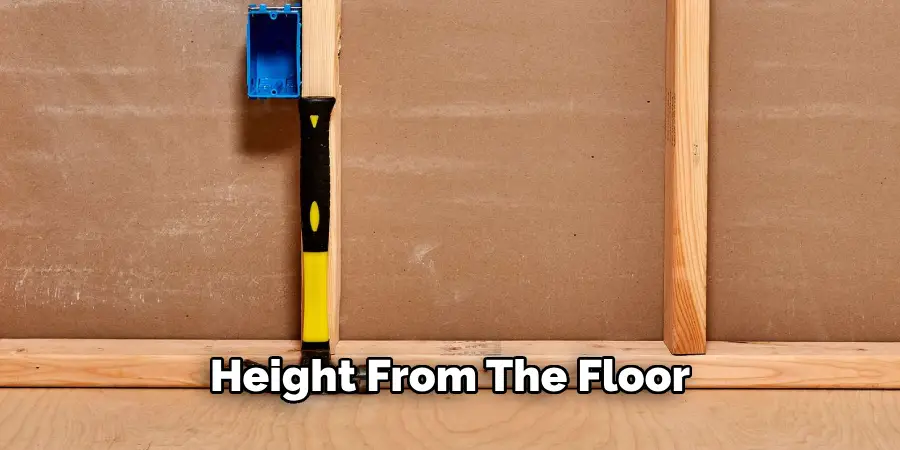
Aim for a length that complements the wall without overwhelming it while maintaining a depth of at least 12 inches to accommodate most storage items. The height from the floor should allow easy access yet be high enough to avoid interference with vehicle clearance or foot traffic. Thorough planning in this stage will ensure a practical and efficient storage solution that fits seamlessly into your garage space.
Choosing the Right Shelf Design
Once you’ve defined the dimensions and location, it’s time to select the right shelf design that meets your storage needs. Common types of garage wall shelves include fixed, floating, and adjustable options.
Fixed shelves are secured to the wall and offer a stable solution, making them great for heavy items but limiting flexibility. Floating shelves provide a sleek look and can be positioned at various heights, but their weight capacity may be lower, requiring careful load management.
On the other hand, adjustable shelves allow for height and spacing customization, making them highly versatile for different-sized items. When choosing the design, consider the weight of the items you plan to store, as heavier loads necessitate sturdier construction. Ensuring the chosen design aligns with your storage requirements will enhance the functionality and longevity of your garage wall shelf.
Gathering Materials and Tools
Materials List

To successfully construct your garage wall shelf, you’ll need a selection of durable materials that can support the weight of stored items.
The primary materials include plywood or hardwood for the shelves, 2×4 lumber for the supports, screws for fastening the components together, brackets for added stability, and wood glue for reinforcement. It’s vital to select materials that are sturdy and suitable for the garage environment, ensuring longevity against wear and tear.
Tools List
In addition to materials, you’ll require a few essential tools to complete the project. A tape measure is crucial for accurate measurements, while a level ensures that your shelves are installed straight.

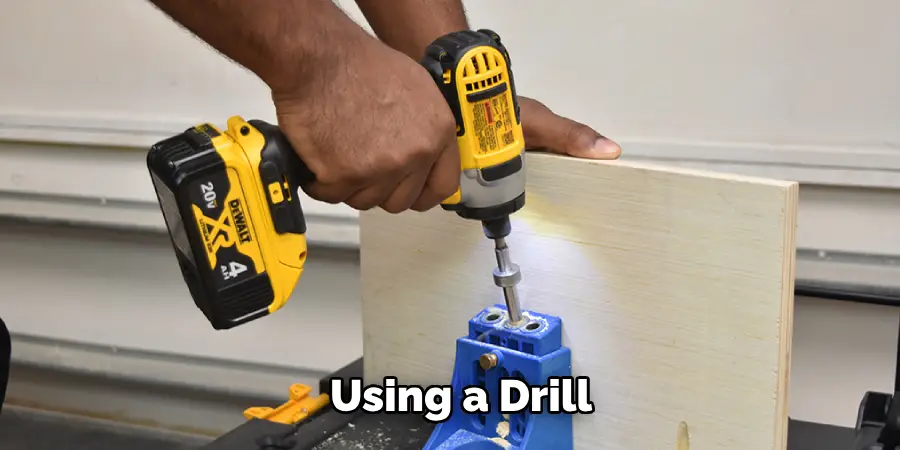
A stud finder will help locate wall studs to secure the shelves. You will also need a drill for making holes and driving screws, a saw (circular or miter) for cutting the wood to size, and a screwdriver for assembly. Lastly, don’t forget to wear safety gear, including gloves and goggles, to protect yourself during construction.
Cutting and Preparing the Wood
Measuring and Cutting the Shelf Boards
To ensure your garage wall shelf is perfectly fitted, start by measuring the wood for the shelves and supports accurately. Using a tape measure, determine the required lengths based on your predetermined shelf dimensions.
Make clear marks on the wood where cuts will be made, using a pencil for visibility. For the shelf boards, measure the same width across all pieces, ensuring they are uniform in size to maintain a clean look. When cutting, use a circular or miter saw for straight cuts, which will provide precision.

Position your wood securely on a stable surface and align the saw blade with your marked line. Carefully guide the saw along your marked line without forcing it to avoid splintering the wood. After cutting, double-check that all pieces fit together snugly before proceeding to the next step.
Sanding and Prepping the Wood
Once all pieces are cut, it’s crucial to sand the edges and surfaces of the wood to eliminate any splinters and rough spots. Use medium-grit sandpaper to start, smoothing out the edges first before progressing to finer grit for the surfaces.
This step not only enhances the appearance of your shelves but also prevents injuries from sharp edges. After sanding, it’s beneficial to apply a wood primer or sealant to protect the wood against moisture and wear, which is particularly important in a garage environment where humidity and temperature changes can affect wood stability.
Choose a product suitable for your wood type and apply it evenly, following the manufacturer’s instructions. Allow the primer or sealant to dry completely before moving on to assembly, ensuring your shelves have optimal durability and a polished finish.
How to Build a Garage Wall Shelf: Assembling the Shelf Frame
Building the Frame with Supports
Once you’ve cut and prepared your wood, it’s time to assemble the shelf frame using the 2×4 lumber or other supports. Start by laying out the shelf boards on a flat, stable surface. Position the side supports vertically, cutting them to the appropriate height you’ve previously determined.
Align the horizontal shelf boards with the vertical supports at your desired intervals. Using a drill, secure the shelf boards to the vertical supports with screws, ensuring each screw is driven straight for maximum stability. Apply a bead of wood glue to the joints before securing them, which will reinforce the connection and help avoid any movement over time.

As you assemble, regularly check that the frame is square by measuring the diagonals opposite each other; adjustments can be made as needed to correct misalignments. Once all joints are secured, your frame should feel solid and capable of bearing the weight it needs to support.
Reinforcing the Frame for Added Stability
Consider installing additional supports or brackets for added peace of mind and reinforcement of your shelf frame.
This is particularly important if you plan to place heavier items on your shelf. Use extra pieces of 2×4 lumber to create diagonal supports that run from the bottom of the vertical supports to the middle of the horizontal shelf boards, forming an ‘X’ shape. This design will significantly enhance the frame’s rigidity.
Additionally, you can install metal brackets at each joint, which will further bolster the structural integrity. Once all supports are in place, make it a habit to double-check all joints and connections before proceeding. Pull on the frame gently to ensure there is no wobble. If you notice any instability, re-tighten the screws or adjust the supports as needed, ensuring your shelf can safely carry its load without risk of sagging or failure.
How to Build a Garage Wall Shelf: Installing the Shelf on the Wall
Locating Studs in the Wall
It is essential to locate the wall studs to ensure your garage wall shelf will be securely installed, as attaching the shelf frame to these will provide maximum support and stability. Begin using a stud finder, a handy tool for detecting wooden beams behind the drywall.
First, turn on the stud finder and hold it flat against the wall, typically around the area where you plan to install the shelf. Slowly move the device horizontally across the wall; it will beep or indicate when it detects a stud.
Mark the location with a pencil. Scanning a few times in different directions to confirm the stud’s location is advisable, as some walls may have additional materials. Once you have identified the studs, measure and mark their locations at the height where you intend to install your shelf, ensuring you know where to secure it for optimal strength.
Securing the Shelf to the Wall
Now that the studs are located, it’s time to secure the shelf frame. Position the shelf against the wall, aligning it with the identified stud marks.
Using a drill, insert screws or lag bolts through the frame’s vertical supports into the marked studs. Be sure to drill at least two screws per stud to adequately distribute the weight and enhance stability. As you install, use a level to ensure that the shelf remains straight; adjust accordingly by loosening screws if necessary before fully tightening them.
Starting from one end, check both ends of the shelf to make sure it maintains a proper level across its length. Once everything is aligned to your satisfaction, tighten the screws securely, confirming that the shelf is firmly attached to the wall and ready to hold your items safely. Properly securing your garage shelf in this manner will give you peace of mind, knowing it can safely support your belongings.
Finishing Touches and Testing
Final Adjustments and Securing
After securing your shelf, it’s important to make final adjustments. Use a level to check that the shelf is even; any discrepancies can be addressed by slightly loosening screws and adjusting the position as needed. Ensure that all screws are tight and secure, reinforcing connections to prevent any movement. For extra security, consider adding additional brackets or wall anchors, particularly if your shelf will hold heavier items.
Testing the Shelf’s Stability
Once adjustments are complete, testing the shelf’s stability is critical. Gradually add weight in increments, starting with lighter items and moving to heavier ones, while monitoring for any signs of weakness or wobbling. Pay close attention to the joints and supports as additional weight is applied. Ensuring that the shelf can safely hold its intended load will give you confidence in your work and prevent future issues.
Conclusion
Building and installing a garage wall shelf requires careful planning and execution to ensure a sturdy and functional unit. Start by determining the dimensions and materials, then cut your wood to size according to your design. Assemble the frame securely, reinforcing it with diagonal supports and brackets for added stability.
Once the frame is ready, locate the wall studs and attach the shelf frame firmly to these for optimal strength.
Taking your time with measurements and assembly is crucial—accuracy in these stages will lead to a more durable shelf. Remember, a well-built garage wall shelf can significantly enhance your storage situation, helping you keep your garage organized and functional. With these steps outlined in this guide on how to build a garage wall shelf, you’re now equipped to tackle this project with confidence!
I am Rick. I grew up helping my dad with his handyman service. I learned a lot from him about how to fix things, and also about how to work hard and take care of business. These days, I’m still into fixing things- only now, I’m doing it for a living.
I’m always looking for new ways to help people grow and develop. That’s why I have created this blog to share all my experience and knowledge so
that I can help people who are interested in DIY repair.

