
Adjusting the height of your garage door is an essential process that can significantly enhance the functionality and usability of your garage space. Many homeowners may need to make these adjustments to accommodate taller vehicles, such as SUVs or trucks, improve clearance for items stored above, or correct any alignment issues that might arise over time. Understanding how to
adjust height of garage door can prevent unnecessary wear and tear on your door mechanism and ensure safe operation. The adjustment process typically involves evaluating the existing garage door system, making precise adjustments to the height settings, and testing the door’s operation to confirm that it opens and closes smoothly without any hindrance. Following the proper
steps, homeowners can effectively manage their garage door’s height and enhance their overall experience.
Understanding Your Garage Door System
Types of Garage Doors
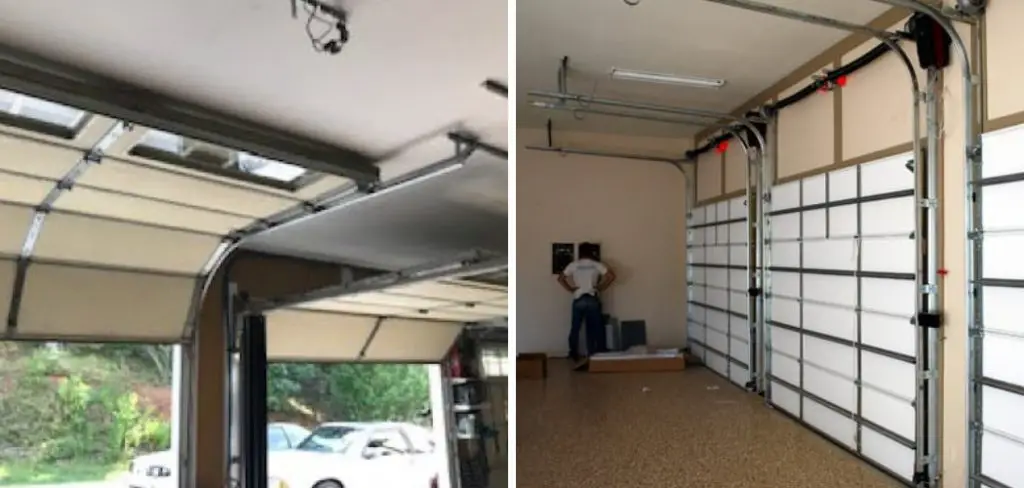
Garage doors come in various types, each with distinct mechanisms and functionalities. The most common divisions include manual versus automatic doors and sectional versus one-piece doors. Manual garage doors require physical effort to open and close, often using a simple pull-up mechanism or a lever, while automatic garage doors operate via remote control or wall-mounted switches, providing convenience and ease of use. Sectional garage
doors consist of multiple horizontal panels that fold upwards as they open, making them space-efficient and suitable for most residential settings. In contrast, one-piece doors swing outwards or upwards in a single motion and may require more clearance space. Understanding your garage door type and its operating system is crucial before any height adjustments, as each design may have unique features that affect how you can modify the door’s height.
Components Involved in Height Adjustment
Several key components influence a garage door’s height, each playing a pivotal role in its operation. Torsion springs are critical, providing the necessary lift and support, which allows the door to open and close smoothly. The tracks guide the door’s movement, ensuring it aligns properly during operation. Cables are connected to the springs and play an essential role in balancing the door’s weight, aiding in its secure and effective functionality. Additionally, the
garage door opener’s settings, which control the door’s limits and responsiveness, significantly influence its resting height. Any adjustments to the door’s height must consider these components, as improper manipulation could lead to mechanical failures or safety hazards. Understanding how each part contributes to the door system ensures homeowners can make informed adjustments that improve their garage door’s performance and longevity.
Safety Precautions Before Adjusting the Door
Before making any adjustments to your garage door, it is crucial to take safety precautions to avoid potential hazards. Start by disconnecting the garage door opener. To do this, locate the emergency release cord, usually a red strap hanging from the opener mechanism, and pull it down. This will disable the automatic opener, ensuring that the door remains stationary during
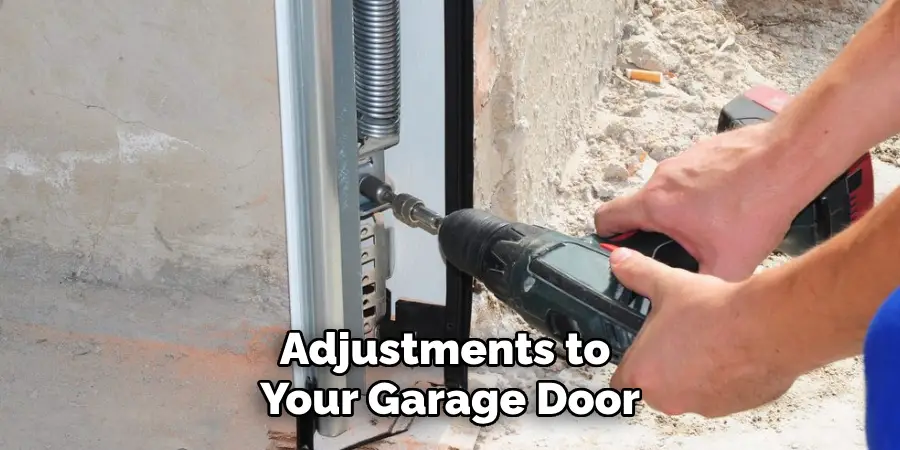
adjustments. Always verify that the door is in a fully closed position before you begin working, as this minimizes the risk of accidental operation.
In addition to disconnecting the opener, wearing appropriate safety gear is vital. Equip yourself with gloves to protect your hands and safety glasses to shield your eyes from debris. Clear the area around the garage door of any obstacles to reduce the risk of tripping or accidents. Being cautious, especially when dealing with garage door components like springs, will ensure a safer environment while performing height adjustments.
How to Adjust Height of Garage Door: Adjusting the Garage Door Opener Settings
Locating the Limit Switches
To adjust the height of your garage door effectively, you’ll first need to locate the limit switches or adjustment screws on your garage door opener. These controls are typically situated on the side or back of the motor unit. The limit switches are essential as they determine the positions where your garage door will fully open or close. Look for a small set of screws or dials, often labelled
‘Up’ and ‘Down’, which are commonly found near the power source of the opener. Depending on the model, there may be one or two adjustment screws that control these limits. Familiarizing yourself with these components is crucial before adjusting, as improper manipulation can lead to malfunctioning doors or safety issues.
Adjusting the Up Limit
Adjusting the up limit is crucial in raising your garage door to the desired height. Start by identifying the ‘Up’ limit screw or dial on your garage door opener. To begin the adjustment, use a flathead screwdriver or a suitable tool to turn the adjustment screw clockwise to increase the height incrementally. It is advisable to make small adjustments—typically no more than a quarter turn
—before testing the door’s functionality. After each adjustment, manually operate the door to ensure it opens to the new height without any issues. Pay attention as the door opens; it should move smoothly and reach the desired height. If necessary, repeat the adjustment process until you achieve the ideal opening height that suits your needs.

Adjusting the Down Limit
After adjusting the up limit, it may be necessary to check the down limit to ensure the door seals tightly at the bottom without any gaps. Locate the ‘Down’ limit screw on the motor unit, similar to the up limit. To adjust this, turn the screw clockwise if you need to lower the door’s closing position. Again, small increments are vital—consider adjusting by a quarter turn only. Once
you’ve adjusted, test the door by letting it close completely; it should meet the ground without leaving any space while also being able to open back smoothly. Repeat the adjustment process if the door does not seal properly. It’s important to balance the up and down limits carefully for optimal performance and to avoid unnecessary wear on the garage door mechanism.
Ensure that both adjustments work harmoniously to provide a safe and efficient operation.
How to Adjust Height of Garage Door: Adjusting the Torsion Springs
Understanding Torsion Springs
Torsion springs are essential to garage door systems, providing the necessary tension and balance to support the door’s weight. Located above the door, these springs store potential energy when wound tightly, enabling the door to lift smoothly. Their proper tension is crucial in determining both the height at which the door operates and the effectiveness of its opening and closing
mechanisms. If the torsion springs are too tight, the door may rise too high or open abruptly, potentially causing damage. Conversely, if they are too loose, the door could fail to open entirely or may close too quickly, posing safety hazards. Due to the high tension levels they maintain, handling torsion springs requires extreme caution. It should only be approached by those with
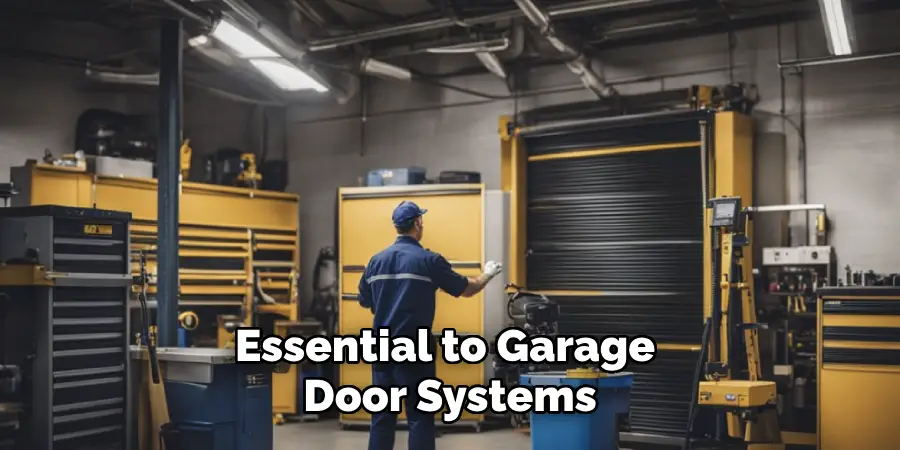
experience or knowledge of garage door systems, as improper adjustments can lead to injury or mechanical failure.
Making Spring Adjustments
Adjusting the torsion springs to modify the garage door’s height should be approached with care and precision. Begin by placing a winding bar into the winding cone of the spring. If you need to raise the garage door, you will want to add tension to the springs by winding them clockwise. To do this, insert the bar into the winding cone, and while applying pressure to the bar, turn it to
wind the spring. Make small adjustments—generally, a quarter turn is advisable—to avoid over-tightening. After each adjustment, it is crucial to test the door’s functionality by manually opening and closing it several times, ensuring it operates smoothly and remains balanced. If lowering the door is necessary, you’ll need to unwind the springs by turning them counterclockwise, again, in
small increments. Repeat the testing process to confirm that the adjustments achieved the desired effect without compromising safety or performance. Always prioritize caution and precision during these adjustments to maintain a safe and functional garage door system.
Checking and Adjusting the Tracks
Inspecting the Tracks for Alignment
A crucial step in ensuring the optimal operation of your garage door is to inspect the tracks for alignment. Misaligned tracks can hinder the door’s movement, causing it to stick or become off-balance when opening or closing. Look for gaps between the door rollers and the tracks and any visible bends or dents in the tracks themselves. If the tracks appear crooked or the door does not slide smoothly, these alignment issues should be addressed to maintain proper function and avoid further complications.
Adjusting the Track Position
To adjust the track position, begin by loosening the bolts or screws on the track brackets using a suitable tool. Carefully shift the tracks slightly to align them with the new height of the garage door. It’s important to ensure that the tracks are parallel and level before fully tightening the brackets. Once secured, manually operate the door to confirm that it opens and closes smoothly,
verifying that the adjustments accommodate the door’s new height effectively.
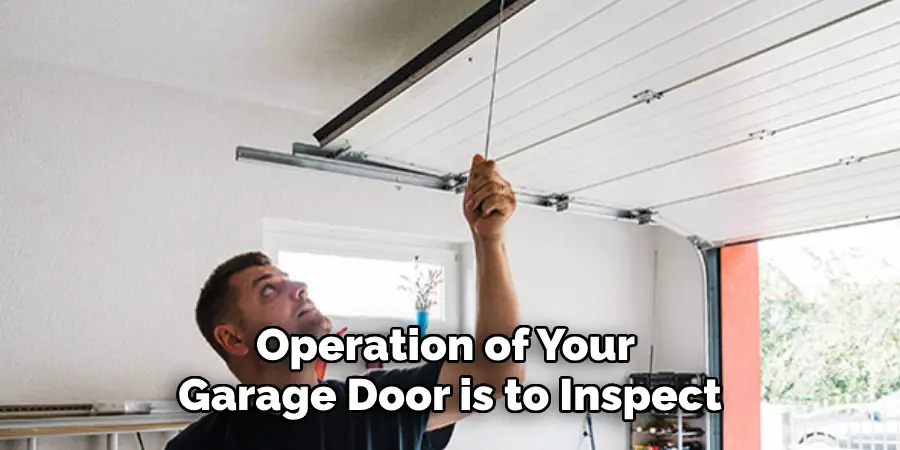
Testing the Garage Door
Reconnecting the Garage Door Opener and Testing
Once you’ve completed the adjustments, it’s time to reconnect the garage door opener. Plug the opener back into its power source and ensure that the safety sensors are aligned and functioning. Test the garage door’s operation by opening and closing it several times. Pay close attention to its movement; the door should glide smoothly along the tracks and reach the desired height without stalling or jerking. Any unusual sounds or movements might indicate the need for further adjustments.
Making Final Adjustments
After testing, you may need to make final tweaks to the opener settings, torsion springs, or tracks for optimal performance. Check that all bolts and screws are fully tightened and that the tracks are straight and unobstructed. Reevaluating the door’s operation can help identify any lingering issues, ensuring that everything is secure and functioning properly. You can achieve a reliable and efficient garage door system by taking these steps.
Conclusion
In summary, adjusting the height of a garage door involves several key steps: first, begin by adjusting the garage door opener settings to ensure a proper closing position, followed by carefully modifying the torsion springs to achieve the desired height. Inspecting and adjusting the tracks to guarantee smooth operation before testing the door multiple times to confirm its functionality is
essential. As you navigate this process, take time with each adjustment and prioritize safety to avoid potential injuries. Remember, learning how to adjust height of garage door is achievable when you have the right tools and approach it with caution. Completing these adjustments can significantly enhance your garage space’s ease of use and overall functionality, ensuring a safe and efficient experience for years to come.
I am Rick. I grew up helping my dad with his handyman service. I learned a lot from him about how to fix things, and also about how to work hard and take care of business. These days, I’m still into fixing things- only now, I’m doing it for a living.
I’m always looking for new ways to help people grow and develop. That’s why I have created this blog to share all my experience and knowledge so
that I can help people who are interested in DIY repair.