Wiring a Chamberlain garage door opener may seem like a challenging task, but with the right tools and guidance, it can be done efficiently and safely. This process involves connecting the necessary components to ensure the opener functions correctly, providing convenience and enhanced security for your home. By following the proper steps of how to wire a chamberlain garage door opener, you’ll be able to complete the installation with ease, saving both time and effort.
Importance of Proper Wiring
Proper wiring is essential for the safe and reliable operation of your Chamberlain garage door opener. Incorrect connections can lead to malfunctions, pose safety hazards, and potentially damage the system. Ensuring that the wiring is done correctly not only helps the opener function seamlessly but also minimizes the risk of electrical issues such as short circuits.
Additionally, well-executed wiring enhances the longevity of the opener, reducing the need for frequent repairs or replacements. Proper attention to wiring also ensures that safety features, like the sensors and emergency stop functions, work as intended to protect both your property and loved ones.
Tools and Materials Needed
To ensure proper wiring and installation of your opener, having the right tools and materials on hand is essential. Here’s a list of what you will need:
- Screwdrivers (flathead and Phillips) for securing connections and mounting components.
- Wire strippers for preparing wires for connections.
- Pliers to bend, grip, or hold wires during the wiring process.
- Voltage tester to ensure electrical safety before starting the work.
- Drill and bits for creating mounting holes when necessary.
- Electrical tape for insulating wire connections securely.
- Circuit tester to confirm proper electrical flow after installation.
- Wiring diagram specific to your opener model to guide your connections.
- Replacement wires or additional wiring in case the originals are damaged or too short.
- Mounting brackets and screws for stable installation.
Having these tools and materials readily available will ensure a smooth and efficient wiring process while minimizing delays during installation.
10 Methods How to Wire a Chamberlain Garage Door Opener
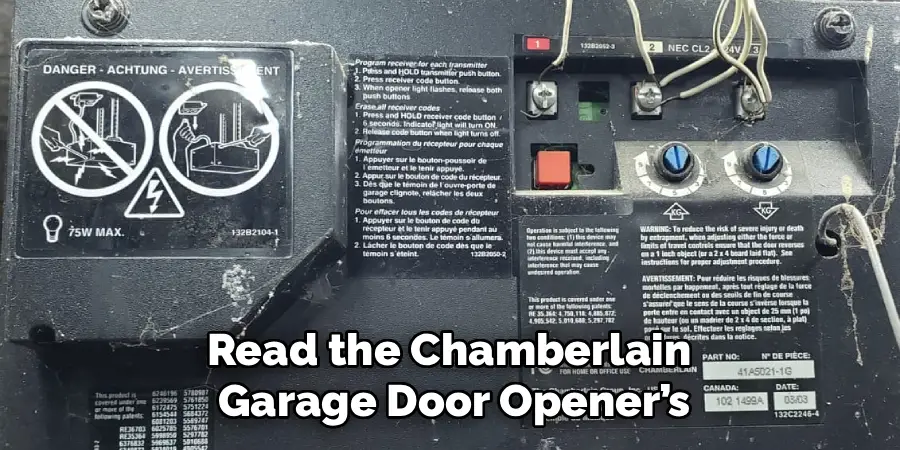
1. Read the Manufacturer’s Wiring Diagram and Manual Thoroughly
Before beginning any wiring work, it is crucial to read the Chamberlain garage door opener’s manual and wiring diagram carefully. These documents provide detailed guidance specific to your model, including terminal identification, wire colors, and safety precautions.
Manuals also outline the wiring sequence for wall controls, safety sensors, power supply, and optional accessories. Familiarizing yourself with the schematic will help avoid mistakes that could damage the opener or create unsafe conditions.
2. Ensure the Power Is Disconnected
Safety first: Before handling any electrical connections, make sure the power supply to the garage door opener is turned off. This usually involves unplugging the unit from the electrical outlet or turning off the corresponding circuit breaker. This precaution prevents the risk of electric shock or accidental activation of the opener during wiring. Use a non-contact voltage tester to confirm that no power is flowing to the opener unit.
3. Prepare the Low-Voltage Wiring for the Wall Control Button
Chamberlain openers typically use low-voltage wiring to connect the wall control button to the motor unit. The wall control wiring consists of two wires, often 18- or 22-gauge thermostat wire. Measure the distance from the opener motor to the intended wall control location and cut an appropriate length of wire. Strip approximately ¼ inch of insulation from both wire ends before connecting. This wiring allows the wall-mounted button to send the “open” or “close” signal safely without exposure to high voltage.
4. Connect the Wall Control Wires to the Opener’s Terminals
On the Chamberlain opener’s motor housing, locate the wall control terminal block, which is typically labeled “Wall” or “Control.” Insert the stripped ends of the low-voltage wire into the corresponding terminals and secure them by tightening the screws. Polarity does not usually matter for the wall control wires, but it’s good practice to keep track of the wire colors for troubleshooting. The other ends of the wire will connect to the wall-mounted push button later in the process.
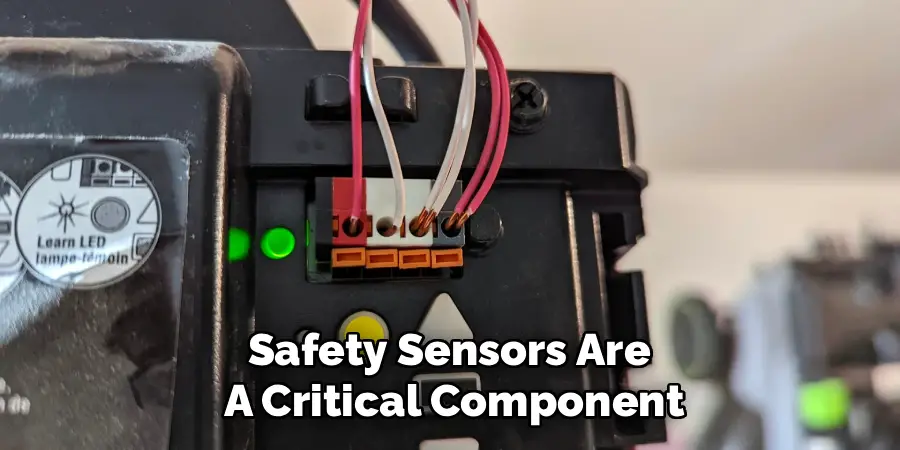
5. Wire the Safety Sensors to the Motor Unit
Safety sensors are a critical component of modern garage door openers, preventing the door from closing if an obstruction is detected. Chamberlain openers use a pair of photo-eye sensors that communicate via low-voltage wiring.
Typically, a four-wire cable runs from the motor unit to both sensors—two wires power the sensors and two transmit the signal. Identify the sensor terminals on the motor housing, often labeled “Sensor” or “Photo Eye,” and connect the wires accordingly. Make sure to match the wires correctly to avoid malfunction.
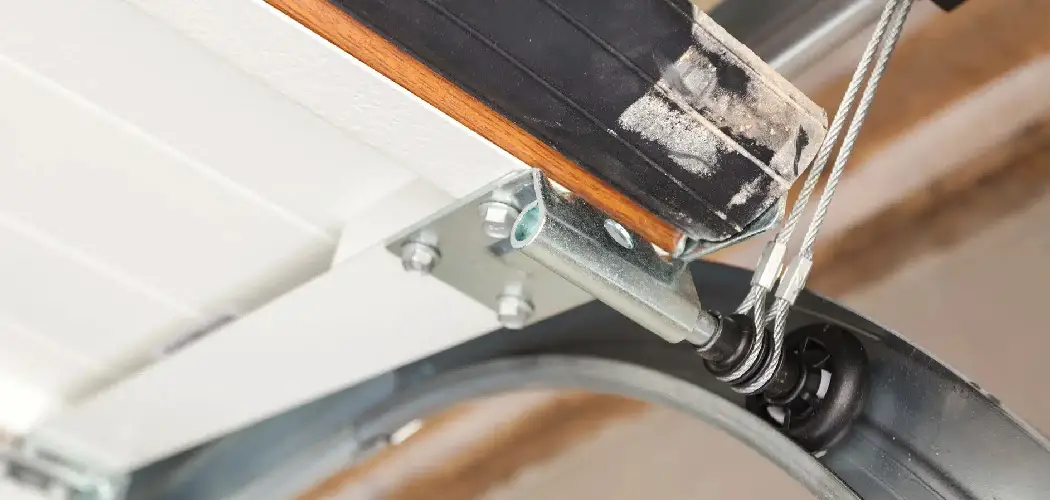
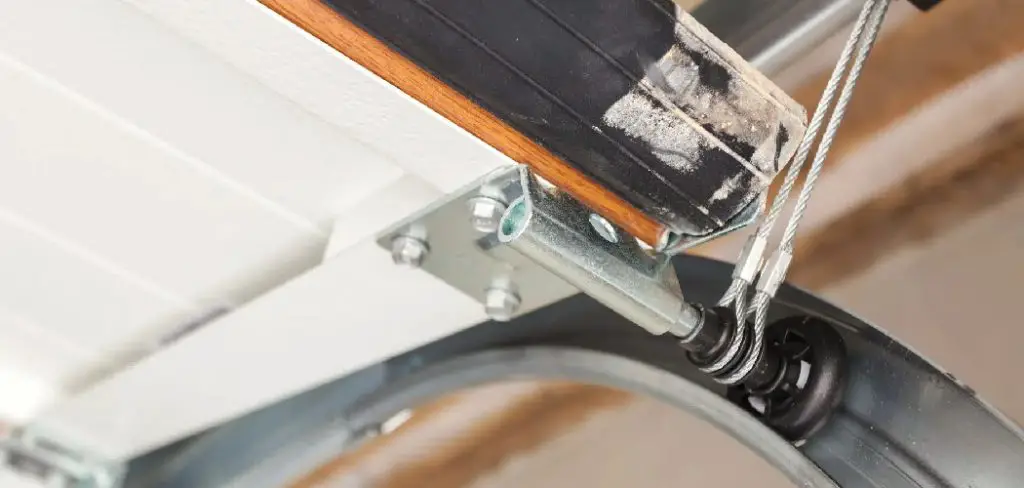
6. Install the Safety Sensors at the Proper Height and Align Them
Before finalizing wiring, mount the safety sensors on each side of the garage door, approximately 6 to 12 inches above the floor. Proper alignment is essential, as the sensors must face each other directly for the infrared beam to be uninterrupted.
Misalignment can cause the door to refuse to close. Use the indicator lights on the sensors—typically a steady green light on the receiver and a blinking red on the transmitter—to confirm alignment. Once aligned, fasten the sensors securely and tidy the wiring with clips or conduit.
7. Connect the Power Cord to a Nearby Electrical Outlet
Most Chamberlain garage door openers come with a standard three-prong power cord designed to plug into a grounded 120-volt outlet. Ensure that the outlet is within reach and properly grounded according to local electrical codes.
Avoid using extension cords or power strips to reduce the risk of electrical hazards. If the outlet is not nearby, consider hiring a licensed electrician to install one. Once plugged in, the opener will receive the necessary power to operate the motor and electronic control board.
8. Connect Optional Accessories Like Keypads or Additional Remotes
If you plan to use additional accessories such as wireless keypads or extra remote controls, wire these devices according to the manual’s instructions. Wireless keypads usually require mounting near the garage door exterior and programming via the opener’s learn button.
If hardwired accessories are included, connect their low-voltage wires to the designated terminals on the motor unit. Proper wiring and programming will enable these devices to operate in harmony with your main opener controls.
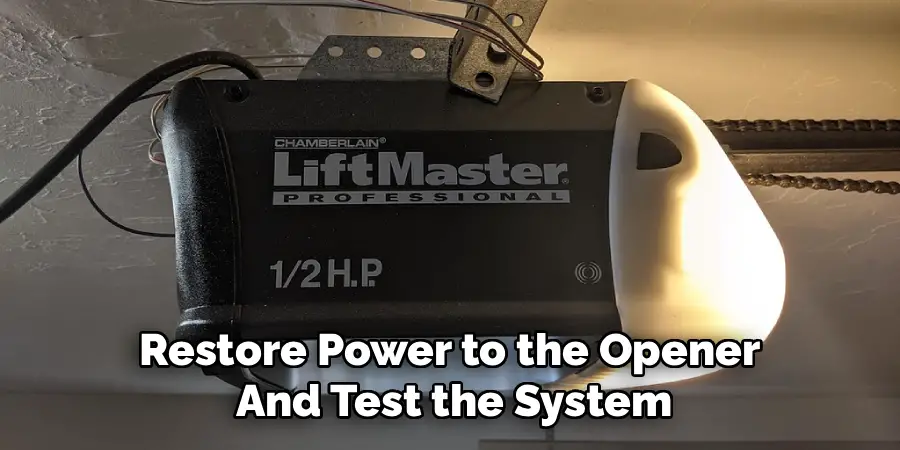
9. Test the Wall Control Button and Safety Sensors for Proper Operation
After completing all wiring, restore power to the opener and test the system. Press the wall control button to verify the door opens and closes smoothly. Then, test the safety sensors by interrupting the beam with an object while the door is closing—the door should immediately stop and reverse.
If the door fails to reverse or the opener emits an error signal, double-check sensor alignment and wiring connections. Correct any loose wires or misaligned sensors before proceeding.
10. Secure All Wiring and Perform Final Inspection
Finally, ensure that all wiring is neatly routed, secured with wire clips, and protected from damage. Avoid loose wires dangling near moving parts or exposed to moisture. Inspect all terminal screws to confirm they are tightened properly, and ensure that any covers or housings are reinstalled according to the manufacturer’s guidelines. A clean, professional wiring job not only enhances safety but also eases future troubleshooting or upgrades.
Troubleshooting Common Issues
Even with careful installation, issues may occasionally arise. Here are some common problems and tips for troubleshooting them:
- Loose Connections
Symptoms include intermittent functionality or flickering components. Inspect all connections for proper seating and tighten any loose terminal screws or connectors.
- Short Circuits
If the system is tripping breakers or fuses, look for frayed or pinched wires that may be grounding out. Use a multimeter to identify and isolate the fault.
- Power Loss
Ensure all power supplies are functioning as expected. Check the voltage at key connection points and confirm no wires have become disconnected or damaged.
- Overheating Wiring
Overheating may indicate an overloaded circuit or improper wire gauge. Verify that all components match the required specifications and reduce the load if necessary.
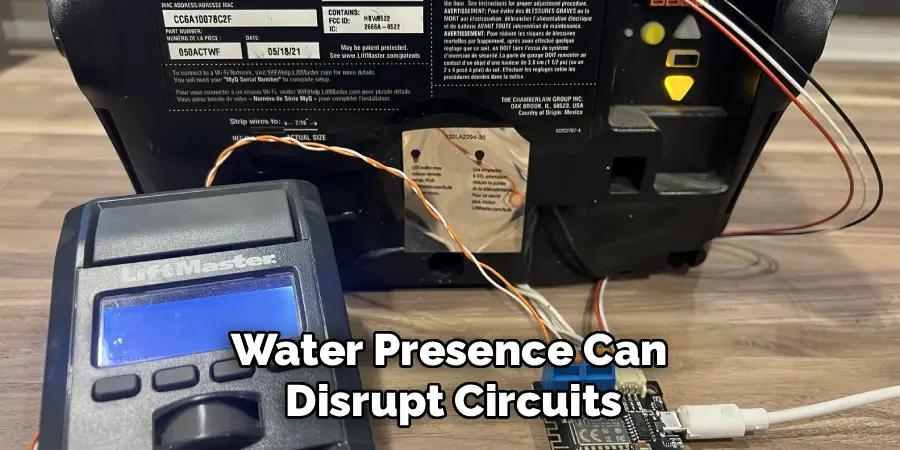
- Moisture Intrusion
Water presence can disrupt circuits and cause malfunctions. Inspect all weatherproof enclosures, seals, and waterproofing measures to identify and address vulnerabilities.
By addressing these issues methodically, you can quickly identify and resolve problems to maintain a safe and efficient system.
Conclusion
Completing any wiring project requires attention to detail, adherence to safety protocols, and a methodical approach. By following the outlined steps, you can ensure a safe, reliable, and professional installation that meets both functional and safety standards. Always double-check your work, consult the manufacturer’s instructions, and, if in doubt, seek professional help. A well-executed wiring job not only ensures long-term reliability but also provides peace of mind knowing the system is secure and efficient.
Now that you know how to wire a chamberlain garage door opener. While it does take a few steps each time, hopefully, now you understand the process and why it’s worth taking the extra step to make sure your floor is properly cared for. So don’t wait any longer, take action today!
I am Rick. I grew up helping my dad with his handyman service. I learned a lot from him about how to fix things, and also about how to work hard and take care of business. These days, I’m still into fixing things- only now, I’m doing it for a living.
I’m always looking for new ways to help people grow and develop. That’s why I have created this blog to share all my experience and knowledge so
that I can help people who are interested in DIY repair.