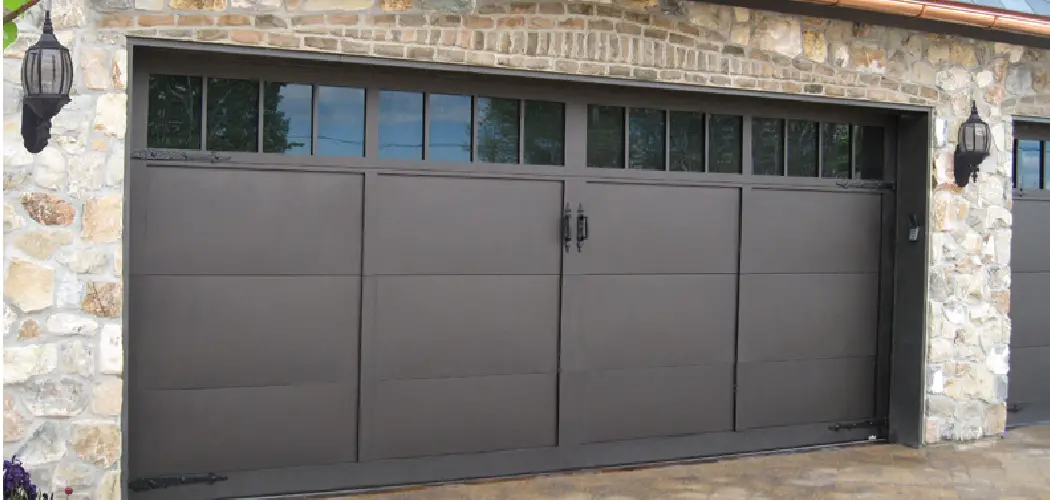
Are you tired of your garage door getting stuck when it rains or snows? Are you worried about water damage and high energy bills because of a poorly weatherproof garage door? If so, then this guide is for you. In this tutorial, we will discuss how to weatherproof garage door to protect it from the elements.
Weatherproofing your garage door is an essential step in protecting your home from the elements, improving energy efficiency, and prolonging the life of your garage door. A well-sealed garage can prevent water intrusion, minimize drafts, and keep out pests, ensuring that your belongings remain safe and secure.

In this guide, we will explore various techniques and materials for effectively weatherproofing your garage door, providing practical solutions to enhance the comfort and functionality of your space throughout the changing seasons.
What Will You Need?
Before we start, let’s ensure you have all the necessary tools and materials. Here’s a quick checklist of what you’ll need:
- Weatherstripping
- Caulk gun and caulk
- Sealant
- Insulation materials (foam board or spray foam)
- Garage door threshold seal
- Screwdriver or drill
- Measuring tape
Once you have all the materials ready, let’s move on to the steps for weatherproofing your garage door.
10 Easy Steps on How to Weatherproof Garage Door
Step 1: Inspect and Repair Any Damage
The first step in weatherproofing your garage door is to inspect it for any damage or cracks thoroughly. Look for gaps between the panels, worn-out weatherstripping, and damaged seals. If you notice any issues, repair them before proceeding with weatherproofing. This will ensure that your efforts are well-spent and that you have a solid foundation for installing new weatherproofing materials.
Step 2: Clean the Garage Door Surface
Before applying any weatherproofing materials, it’s crucial to clean the surface of your garage door. Use a mild detergent mixed with water to remove any dirt, grime, and old weatherstripping residue. A clean surface will ensure that the new materials adhere properly and function effectively. After cleaning, rinse the door thoroughly with water and allow it to dry completely before moving on to the next step.
Step 3: Apply Weatherstripping
Once the surface is clean and dry, it’s time to apply new weatherstripping. Weatherstripping plays a crucial role in sealing gaps around the edges of your garage door to prevent drafts, moisture, and pests from entering. Begin by measuring and cutting the weatherstripping to the appropriate lengths for each edge of the door. Various types are available, including adhesive-backed foam, V-strip, or rubber weatherstripping, so choose one that best suits your needs.
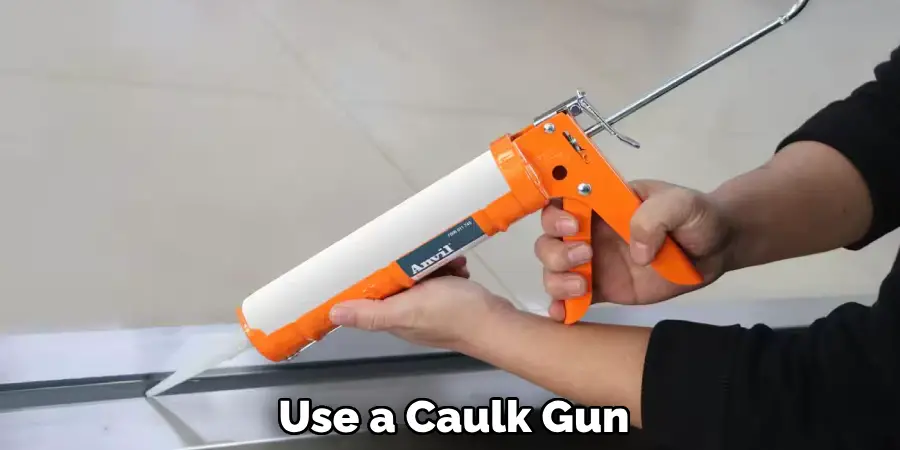
Start at the top of the door and work your way down, pressing the weatherstripping firmly into place. Ensure that it sits flush against the door frame to create a complete seal. For added adhesion, you may wish to use a caulk gun to apply a thin bead of caulk along the edges of the weatherstripping as you install it. Pay special attention to the corners, as these areas are often the most vulnerable to air and water leaks.
After installing, check to ensure that the door opens and closes smoothly without any obstruction. This step is critical, as properly fitted weatherstripping will enhance the overall effectiveness of your garage door’s weatherproofing and help maintain a comfortable environment inside.
Step 4: Seal Gaps with Caulk
After you’ve applied the weatherstripping, it’s essential to seal any additional gaps with caulk. Inspect the areas around the garage door frame and any joints or seams where water might seep through. Use a caulk gun to apply a uniform bead of exterior-grade caulk in these areas. Ensure that you smooth the caulk with a caulking tool or your finger for an even finish and to enhance its adhesion.
Allow the caulk to dry according to the manufacturer’s instructions, typically 24 hours before exposing it to moisture. A well-sealed frame will significantly reduce air and moisture infiltration, further protecting against the elements.
Step 5: Insulate the Garage Door
If your garage door is not insulated, consider adding insulation to enhance energy efficiency and maintain a stable temperature. You can use rigid foam board or spray foam insulation, cutting it to fit snugly within any voids in the door panels.
If your garage door has a metal frame, additional insulation may help prevent condensation and maintain a comfortable environment inside. For best results, follow the insulation manufacturer’s installation guidelines, ensuring minimal gaps and tight fits to improve your garage’s thermal performance.
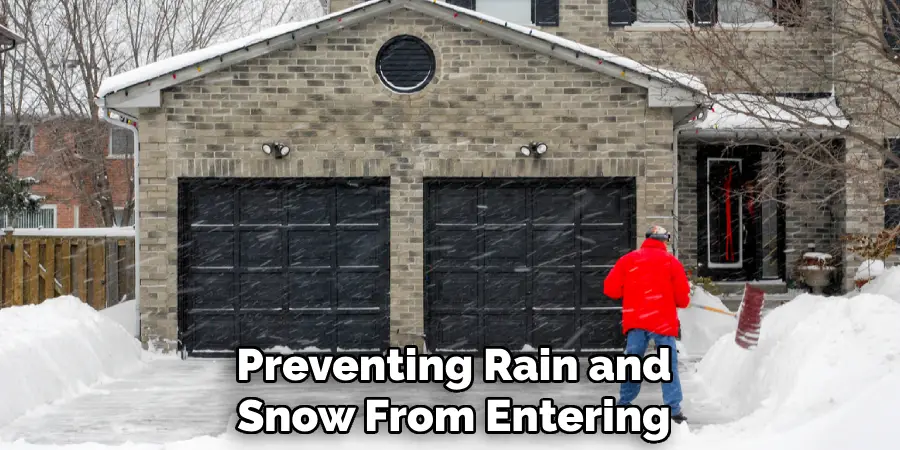
Step 6: Install a Garage Door Threshold Seal
To further defend against water intrusion, installing a garage door threshold seal is highly effective. This seal creates a barrier at the bottom of the garage door, preventing rain and snow from entering. Begin by measuring the width of your garage door and cutting the threshold seal accordingly. Clean the surface where the seal will be installed to ensure proper adhesion.
Follow the manufacturer’s instructions for applying the adhesive strip accompanying the threshold seal, then position it firmly in place. Ensure the garage door closes flat against the seal to provide a tight fit.
Step 7: Check and Maintain the Garage Door Hardware
Weatherproofing your garage door also involves assessing the hardware. Examine the hinges, rollers, and tracks for any signs of wear or corrosion. Apply a silicone-based lubricant to these moving parts to ensure they operate smoothly and are less prone to rusting. This maintenance step will not only extend the life of your garage door but also enhance its operation, reducing the chances of gaps forming that could lead to drafts and water ingress.
Step 8: Monitor Energy Efficiency
Post-weatherproofing, it’s essential to monitor your garage’s energy efficiency. If you still notice drafts, consider installing a door sweep at the bottom of the door. Additionally, monitor your energy bills over the following months to identify any fluctuations. Keeping an eye on these factors will help you assess the effectiveness of your weatherproofing efforts, allowing for adjustments if necessary. If you notice further issues, such as air leaks or water intrusion, repeat the weatherproofing steps and make any necessary repairs.
Step 9: Plan for Seasonal Maintenance
After completing the weatherproofing process, it’s vital to establish a seasonal maintenance routine. Inspect the weatherstripping, caulk, and seals at least twice a year, ideally during the spring and fall. This proactive approach will help identify and address any wear and tear before it leads to significant issues. Regular maintenance will ensure your weatherproofing remains effective through harsh weather conditions.
Don’t forget to clean and inspect the garage door itself, removing any debris or build-up that could hinder its operation or create gaps for air and water intrusion. With proper monitoring and upkeep, your weatherproof garage door will continue to provide protection and maintain a comfortable environment inside.
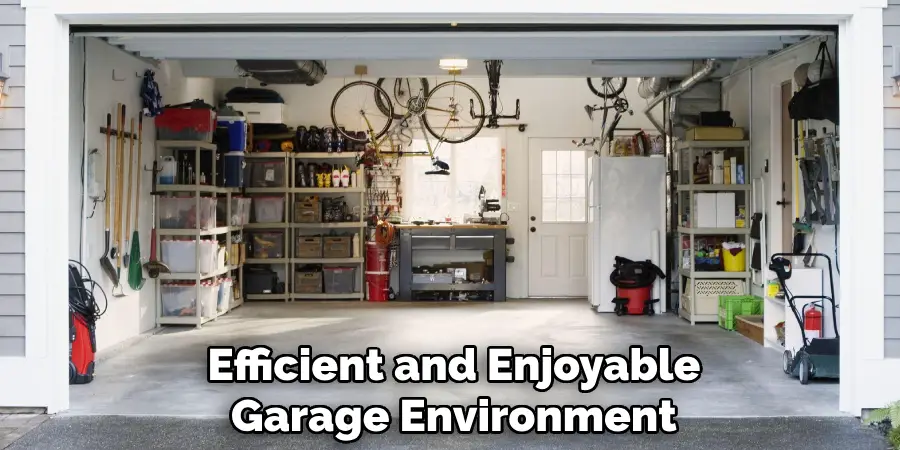
Step 10: Enjoy Your Weatherproofed Garage
With all steps completed, take a moment to appreciate the benefits of a weatherproofed garage. You can now enjoy a more comfortable space, free from excessive moisture, drafts, and pests. Your weatherproofing efforts will help protect your belongings and contribute to energy savings, making for a more efficient and enjoyable garage environment.
By following these steps and regularly maintaining your weatherproofing, you can ensure that your garage remains a functional and comfortable space for years to come.
5 Things You Should Avoid
- Neglecting to Prepare the Surface: Failing to clean and prepare the surface before applying weatherstripping or caulk can lead to poor adhesion and reduced effectiveness. Always ensure the area is free from dirt, dust, and old paint to create a solid foundation for your weatherproofing materials.
- Using Incorrect Materials: Choosing the wrong type of weatherstripping or caulk can compromise insulation and protection. Always select materials specifically designed for outdoor use and suitable for your area’s garage door and climate conditions.
- Rushing the Installation Process: Instantly applying weatherproofing materials without allowing them to acclimate or cure properly can result in subpar performance. Take the time to follow the manufacturer’s instructions for installation and curing times to ensure optimal results.
- Overlooking Small Gaps: Small gaps may appear insignificant, but they can significantly impact your garage’s weatherproofing. Inspect all joints and seams diligently, as even tiny openings can allow moisture and drafts to infiltrate.
- Ignoring Regular Maintenance: A common mistake is overlooking the need for ongoing maintenance. Weatherproofing is not a one-time task; regular checks and timely repairs of weatherstripping, caulking, and seals are essential to maintaining their effectiveness over time.
By avoiding these common mistakes, you can ensure that your weatherproofing efforts successfully protect your garage and belongings from the elements.
Conclusion
In summary, weatherproofing your garage door is an essential task that can greatly improve energy efficiency, comfort, and protection against the elements.
By following the steps outlined in this guide on how to weatherproof garage door—sealing gaps, insulating the door, installing threshold seals, maintaining hardware, and monitoring for drafts—you can create a more secure and energy-efficient space. Regular inspection and seasonal maintenance play a vital role in sustaining the effectiveness of your efforts. Embracing these practices ensures that your garage remains functional, safeguarding your belongings from moisture and drafts while reducing energy costs.
With diligence and care, you’ll enjoy the numerous benefits of a well-weatherproofed garage for years.
I am Rick. I grew up helping my dad with his handyman service. I learned a lot from him about how to fix things, and also about how to work hard and take care of business. These days, I’m still into fixing things- only now, I’m doing it for a living.
I’m always looking for new ways to help people grow and develop. That’s why I have created this blog to share all my experience and knowledge so
that I can help people who are interested in DIY repair.