Garage heaters are essential for maintaining a comfortable workspace or storage area during colder months, especially in regions with harsh winters. These heaters come in various types, including electric, propane, and natural gas models, each designed to suit different needs and preferences.
However, one critical aspect that should never be overlooked is proper ventilation. Poorly vented garage heaters can pose serious risks, such as carbon monoxide buildup, fire hazards, and reduced efficiency, all of which can endanger your safety and compromise the heater’s performance.
This article aims to provide a comprehensive guide on how to vent a garage heater safely and effectively. From understanding the different ventilation options available to detailed steps for installation, it will equip you with the knowledge needed to create a safer and more efficient heating solution for your garage.
Understanding Garage Heater Types and Venting Needs
Common Types of Garage Heaters
Several garage heaters are available, each with unique venting needs. Natural gas and propane heaters are among the most popular options and come in two main categories: vented and unvented models. Vented heaters are designed to expel harmful gases outside through a venting system, ensuring safer indoor air quality. Unvented models, on the other hand, operate without an exhaust system and require proper room ventilation to prevent carbon monoxide buildup. Electric heaters are another common choice, and they typically do not require venting. These heaters are easy to install and are a good option for smaller or enclosed spaces where venting might be challenging to implement.
Why Ventilation is Needed
Proper ventilation is essential for maintaining a safe and efficient garage heater setup. Venting removes harmful gases such as carbon monoxide, which can pose serious health risks if allowed to accumulate. Also, effective ventilation helps improve air quality and ensures the heater operates optimally, prolonging its lifespan and reducing energy consumption.
Local Building Codes and Regulations
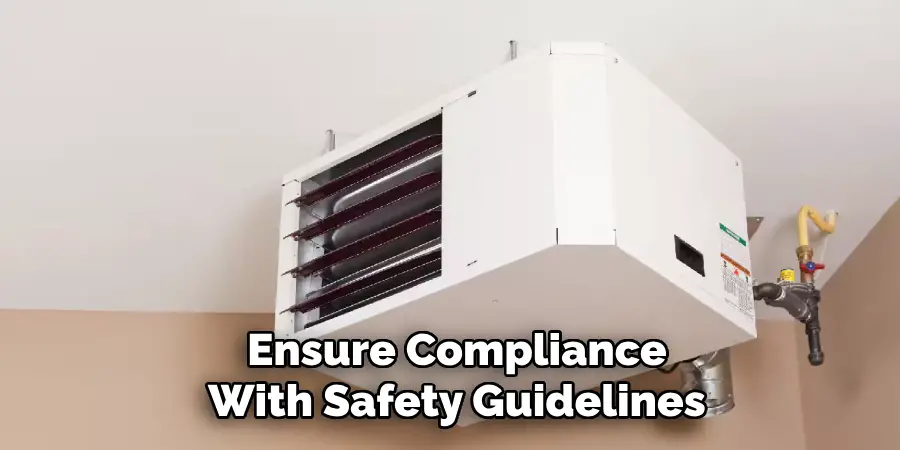
Before installing a garage heater, checking with local authorities regarding venting requirements and permits is crucial. Building codes vary by region, and compliance ensures safety and avoids potential legal and insurance issues. Be sure to follow all guidelines to achieve a secure and compliant installation.
How to Vent a Garage Heater: Choosing the Right Venting System
Selecting the appropriate venting system for your garage heater is essential for safe and efficient operation. The decision depends on your heater type, installation location, and garage layout. Below, we break down key venting options to help you make an informed choice.
Direct Vent vs. Power Vent
Direct Vent:
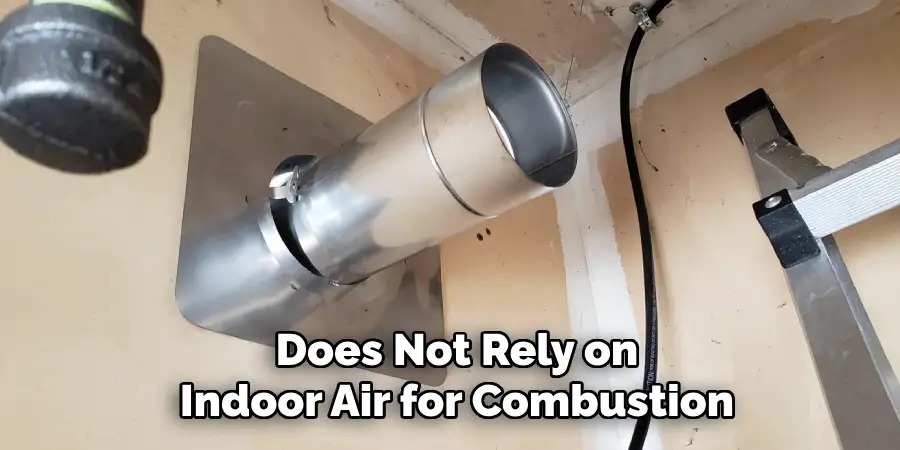
A direct vent system is a sealed unit that draws fresh air for combustion from the outside and expels exhaust gases through a second pipe. Both the intake and exhaust pipes pass directly through an exterior wall. This system is ideal for garages where maintaining indoor air quality is a priority, as it does not rely on indoor air for combustion.
Power Vent:
Power vent systems use a fan to push exhaust gases out through a vent pipe. These systems are often more flexible in terms of installation, as they can vent through longer pipe runs. However, they typically require access to electricity to power the fan, adding to the complexity of the setup.
Vertical vs. Horizontal Venting
Vertical Venting:
This system expels gases through the roof, offering a clean and efficient pathway for exhaust. Vertical venting is commonly used for ceiling-mounted heaters as it aligns with their installation style. Proper sealing around the roof exit is crucial to prevent leaks.
Horizontal Venting:
Horizontal venting routes exhaust gases through an exterior wall, providing a straightforward and often cost-effective option. It is frequently chosen for wall-mounted units and is easier to maintain compared to vertical venting.
Materials Needed for Each Type
Regardless of the venting system you choose, the following materials are typically required for installation:
- Stainless steel or galvanized vent pipes
- Wall thimbles to protect combustible materials
- Flashing for secure roof or wall penetration
- Exhaust and air intake caps to prevent debris and moisture intrusion
Choosing the correct materials and configuration ensures your garage heater system’s long-term performance and safety.
Planning the Vent Route
Proper planning of the vent route is critical to ensure the efficiency and safety of your garage heater system. By mapping out the path, you can avoid unnecessary adjustments during installation and ensure compliance with safety guidelines.
Identify the Best Location for Venting
Selecting an optimal location for venting is the first step. The shortest and most direct route to the garage’s exterior is preferable, as it minimizes resistance and improves airflow efficiency. It is essential to avoid venting near doors, windows, or air intakes where exhaust gases could re-enter the space or pose safety hazards. Always refer to local building codes for additional placement requirements.
Measure and Mark the Vent Path
Carefully plan and mark a straight, unobstructed path for the vent using a level and measuring tape. The straighter the vent path, the better, as bends can reduce airflow and create points of inefficiency. Make clear markings to guide your installation.
Consider Clearance and Safety Requirements
Ensure that the vent path adheres to the manufacturer’s minimum clearance distances from combustible materials. This step is critical to preventing potential fire hazards. Double-check the venting components for compatibility with your planned installation and confirm all safety clearances before proceeding. Proper planning sets the stage for a successful installation.
Installing Wall or Roof Penetration
Drilling the Hole
Cut the hole through the wall or ceiling/roof using a hole saw or reciprocating saw. Ensure the size of the hole matches the vent pipe’s diameter precisely. This guarantees a secure fit and prevents unnecessary gaps that could lead to inefficiencies or safety issues. Carefully measure and mark the area before cutting to avoid mistakes, and wear appropriate safety gear during this process.
Installing a Wall Thimble or Roof Flashing
For horizontal vent installations, insert a wall thimble into the opening. The wall thimble insulates and protects the area around the vent pipe, ensuring both safety and durability. For vertical vents passing through a roof, use roof flashing. The flashing prevents water leaks by forming a weatherproof seal around the vent pipe. Secure the thimble or flashing properly, following manufacturer guidelines for installation.
Sealing and Insulating
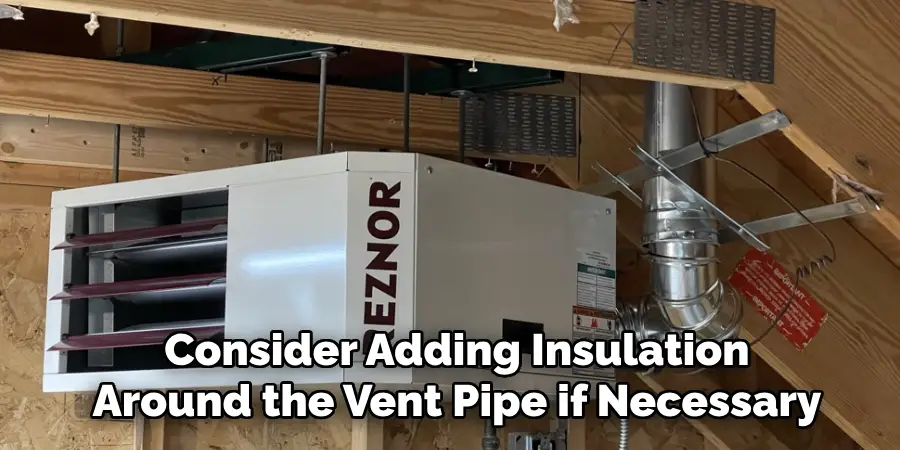
Seal the space around the vent pipe with high-temperature silicone caulk to create an airtight and safe connection. This step helps maintain the ventilation system’s efficiency and prevents air or gas leaks. Additionally, consider adding insulation around the vent pipe if necessary. Proper insulation can enhance energy efficiency and reduce the potential for condensation forming on the pipe, especially in colder climates.
Conclusion
Properly understanding how to vent a garage heater is essential for safe and efficient operation. Choosing the right vent system, planning the venting route, securely installing the components, and sealing and insulating the system are all crucial steps. These measures ensure the effective removal of exhaust gases, maintain energy efficiency, and protect against potential hazards. DIY enthusiasts should always adhere to manufacturer instructions and prioritize safety, consulting professionals if unsure about any step. Following these guidelines, you can successfully vent your garage heater and enjoy a warm, safe space during colder months.
I am Rick. I grew up helping my dad with his handyman service. I learned a lot from him about how to fix things, and also about how to work hard and take care of business. These days, I’m still into fixing things- only now, I’m doing it for a living.
I’m always looking for new ways to help people grow and develop. That’s why I have created this blog to share all my experience and knowledge so
that I can help people who are interested in DIY repair.