
There are many reasons why you should learn how to use the learn button on your LiftMaster garage door opener. Firstly, knowing how to use the learn button will allow you to easily program your remote controls and keypads for accessing your garage. This can save you time and frustration, especially if you have multiple devices that need to be programmed.
Moreover, understanding how to use the learn button will also enable you to reprogram your devices in case they stop working or need to be changed. This can come in handy if you lose a remote control or keypad and need to add a new one.
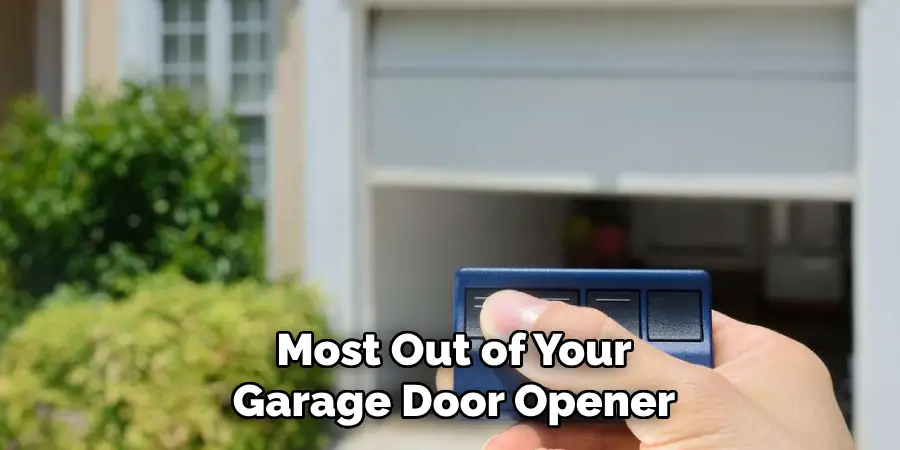
The main advantage of using the learn button on LiftMaster is that it allows for easy and secure programming of your garage door opener remote. This feature eliminates the need for manual programming, which can be time-consuming and sometimes confusing. In this blog post, You will learn in detail how to use learn button on liftmaster.
Step-by-step Instructions for How to Use Learn Button on Liftmaster
Step 1: Inspect the Learn Button
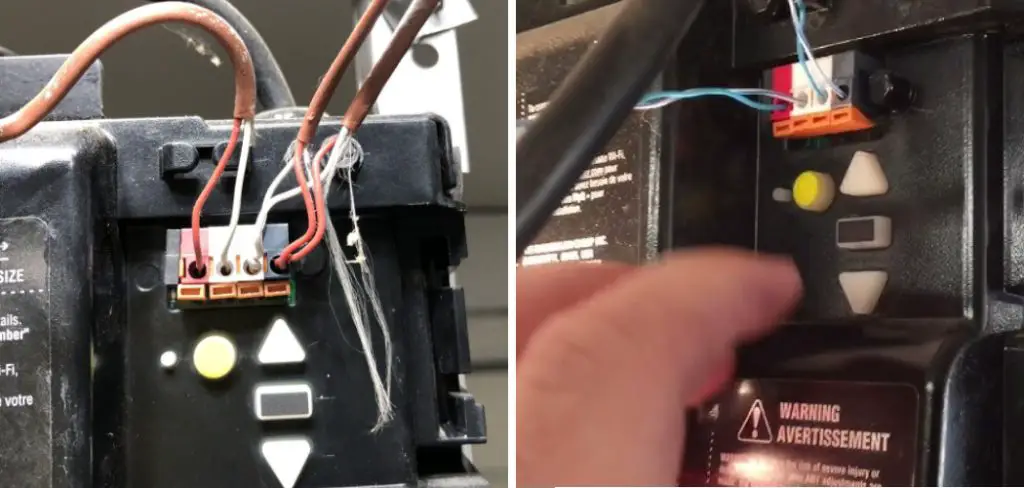
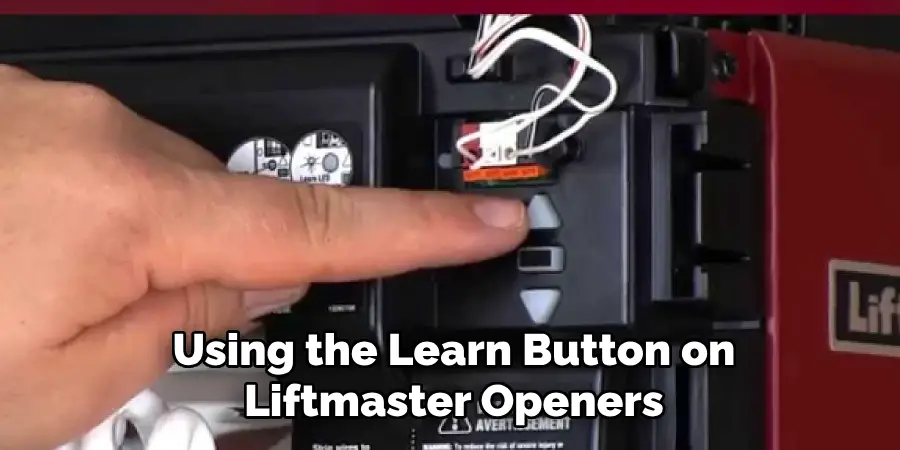
The Learn Button on Liftmaster garage door opener is located near the antenna wire and typically has an amber, red or purple color. It serves as a programming button for connecting your garage door opener to various accessories such as remote controls, keypads or MyQ devices.
Step 2: Gather Materials
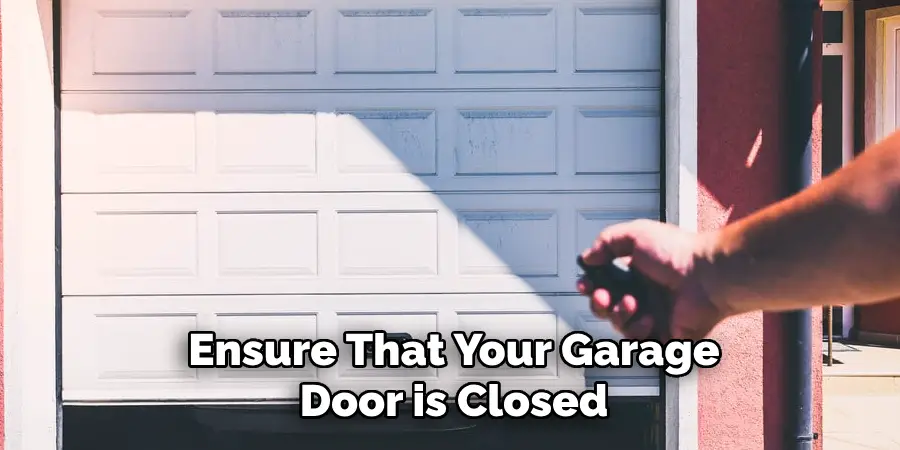
Before you begin, make sure you have all the necessary materials including a ladder, a new remote control or keypad if needed, and the instruction manual for your specific Liftmaster garage door opener model. Ensure that your garage door is closed and there are no obstructions in the way. Also, make sure that the power source of your garage door opener is turned on.
Step 3: Locate the Learn Button
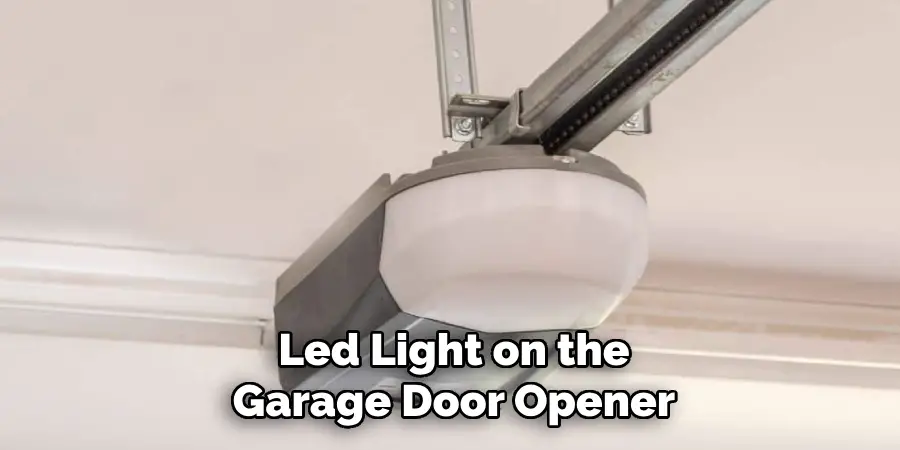
Using your ladder, locate the Learn Button on your Liftmaster garage door opener. If you have a newer model, the button will be located under the light cover or near the antenna wire. Press and hold the Learn Button for about 6 seconds until you see an LED light blinking next to it. This light indicates that the garage door opener is in programming mode and ready to connect with your accessory.
Step 4: Choose a Button on Your Accessory
While the LED light is blinking, press and release the button on your remote control or keypad that you want to program. This will send a signal to the garage door opener, connecting it with your accessory.
After pressing the button on your accessory, you should see the LED light on the garage door opener blink twice or hear two clicks. This confirms that the programming was successful and your accessory is now connected to your Liftmaster garage door opener.
Step 5: Test Your Accessory
Test your newly programmed accessory by using it to open and close your garage door. If it works correctly, then the programming was successful. If you have more than one accessory to program, simply repeat steps 6-8 for each new accessory.
Step 6: Finish and Secure
Once you have successfully programmed all your accessories, make sure to secure the Learn Button cover or close the light cover, and put away your ladder. Your Liftmaster garage door opener is now ready for use with your newly programmed accessories.
Safety Tips for How to Use Learn Button on Liftmaster
- Read the instruction manual carefully before attempting to use the learn button. It may seem like a simple process, but understanding all the steps and potential risks is important for safe operation.
- Wear protective gear such as gloves and safety glasses when using the learn button. This will protect your hands and eyes in case of any accidents or malfunctions.
- Keep children and pets away from the learn button and the garage door at all times. It is important to educate them about the potential dangers and make sure they understand not to play with or around the learn button.
- Regularly check for any damage or wear and tear on the learn button and its surroundings. If you notice any issues, do not use it until it has been inspected and repaired by a professional.
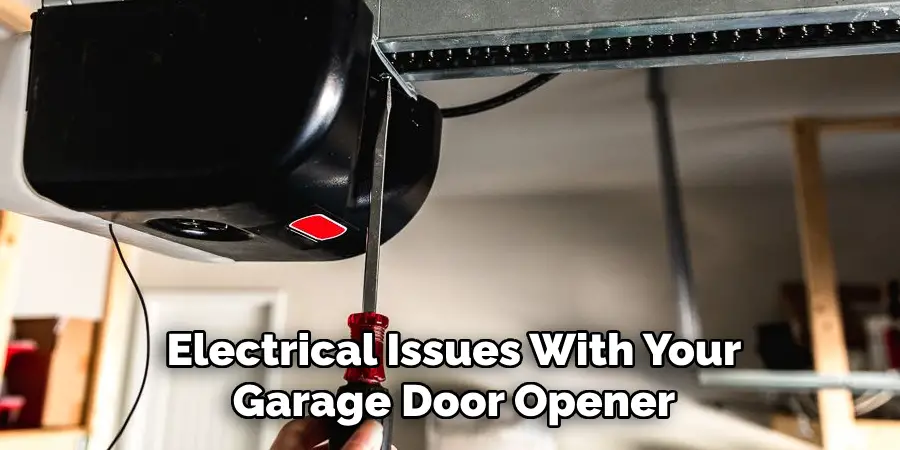
- Do not attempt to use the learn button if there is a power outage or if you suspect any electrical issues with your garage door opener. Always make sure the electricity is off before attempting any maintenance or repairs.
- If you are unsure about how to operate the learn button or have any concerns, seek help from a professional technician. It is always better to be safe than sorry when it comes to the proper use of equipment.
- Lastly, do not try to force or tamper with the learn button if it is not working properly. This could cause further damage and put you at risk for injury.
Remember to always prioritize safety when using the learn button on your Liftmaster garage door opener. By following these tips and precautions, you can ensure safe and effective use of this important feature.
Importance of Using Learn Button on Liftmaster
- Increased Security: The Learn button on Liftmaster garage door openers serves as an added layer of security for your home. By programming a unique code, you can prevent unauthorized access to your garage and ensure the safety of your family and belongings.
- Easy Remote Control Setup: With the Learn button, setting up remote controls for your garage door opener becomes a quick and simple process. You can easily program multiple remotes to operate your Liftmaster opener, making it convenient for multiple family members or occupants.
- Compatibility with Keyless Entry Systems: Many modern keyless entry systems rely on the Learn button to connect with the garage door opener. Without this button, you may not be able to use these advanced features that provide added convenience and security.
- Troubleshooting: The Learn button can also be used for troubleshooting purposes. If your garage door opener is not functioning properly, you can press the Learn button to reset it and resolve any potential issues.
- Easy Replacement: In case you need to replace your Liftmaster garage door opener, having a Learn button makes the process easier. You can easily program the new opener to work with your existing remotes and keyless entry systems by using this button.
- Enhanced Home Automation: With advancements in technology, home automation has become increasingly popular. The Learn button on Liftmaster openers allows for seamless integration with smart home systems, allowing you to control your garage door remotely through your smartphone or other devices.
- Improved Convenience: Overall, using the Learn button on your Liftmaster opener makes operating your garage door more convenient. You can easily program and control various features with this one button, saving you time and effort.
By understanding the importance of the Learn button, you can fully utilize all the features and benefits that come with your Liftmaster garage door opener. It not only provides added security but also enhances convenience and allows for compatibility with modern technology. Make sure to familiarize yourself with this important feature in order to get the most out of your garage door opener.
Alternative Methods for Using Learn Button on Liftmaster
- Smartphone App: Some newer models of Liftmaster openers come with a smartphone app that allows you to control your garage door remotely. This app often includes a Learn Button feature, making it easy to program new remotes or keypads.
- Homelink Compatibility: If you have a car with Homelink technology, you can use the Learn Button on your Liftmaster opener to program it as well. Simply follow the instructions for programming Homelink devices and use the Learn Button as you would with a remote or keypad.
- Wireless Keypad: Instead of using a traditional keypad, Liftmaster also offers a wireless version that can be mounted anywhere on your garage door. This is great for those who don’t want to deal with wiring or drilling holes in their wall.
- Universal Remote Control: If you have remotes from other brands, you can try using a universal remote control to program your Liftmaster opener. These remotes often come with instructions on how to use them with different garage door openers.
- Wall Control Panel: Some Liftmaster models also have a wall control panel that allows you to program new remotes or keypads without using the Learn Button. This can be helpful if you have trouble locating or using the button.
- Smart Home Integration: If you have a smart home system such as Amazon Alexa or Google Home, you may be able to use voice commands to program your Liftmaster opener. Check with your specific system for instructions on how to do this.
- Professional Installation: If all else fails, you can always call a professional to help you program your Liftmaster opener. They have the knowledge and experience to quickly and efficiently set up new remotes or keypads for your convenience.
As technology continues to advance, there may be even more alternative methods for using the Learn Button on Liftmaster openers in the future. Keep an eye out for updates and improvements to make operating your garage door even easier.
Additional Features or Settings for Using Learn Button on Liftmaster
- Security+ 2.0™ – This feature allows you to change the code on your remote control each time you use it. This provides an added layer of security to protect your home from potential burglars who may try to copy your code and gain access.
- Timer-to-Close – With this feature, you can set a specific amount of time for your garage door to automatically close. This is helpful for those who often forget to close their garage door or want to ensure it is closed after leaving.
- Motion Detection – Some Liftmaster models have motion sensors that will detect any movement in the garage and automatically turn on the lights. This can be useful when entering a dark garage or if you need to quickly grab something from your garage.
- Battery Backup – In the event of a power outage, the Liftmaster battery backup feature will allow you to continue using your garage door opener without interruption. This is especially useful in emergency situations or if you rely heavily on your garage for storage.
- Smartphone Control – By connecting your Liftmaster with the myQ app, you can control your garage door from anywhere using your smartphone. This is convenient for those who often forget to close their garage or want to let someone in while they are away.
- Wireless Keypad – You can install a wireless keypad outside of your garage for easy access without the need for a remote control. This is great for family members or guests who may not have a remote.
- Automatic Lock – Some Liftmaster models come with an automatic lock feature that secures your garage door when it is closed. This adds an extra layer of protection and peace of mind.
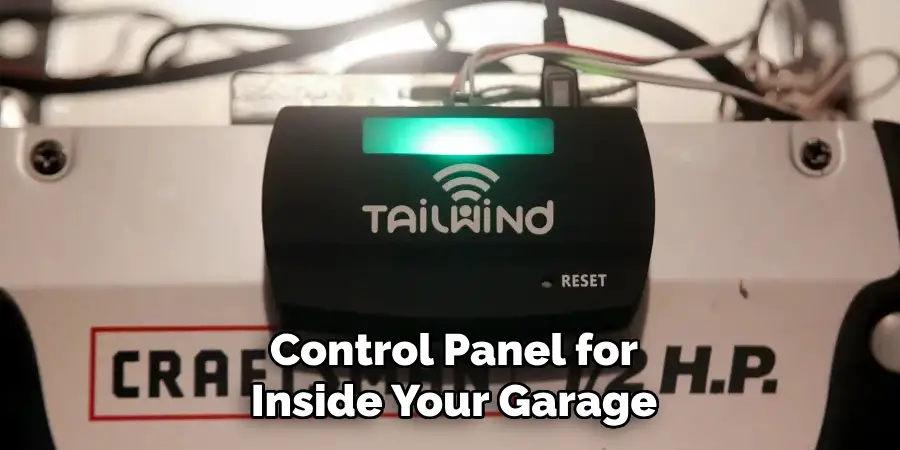
In addition to these features, Liftmaster also offers optional accessories such as a laser parking assist to help you park in the right spot, a control panel for inside your garage, and a mini remote for easy access on your keychain.
Troubleshooting Tips for Using Learn Button on Liftmaster
- If the learn button on your Liftmaster is not working, check if it has been accidentally disabled. This can happen if the button has been held down for too long. To re-enable it, press and hold the button for 6 seconds until the LED light blinks.
- If the issue persists, try resetting your Liftmaster garage door opener by unplugging it from power for a few minutes and then plugging it back in. This can often resolve any technical issues with the learn button.
- Make sure that your remote control is programmed correctly to work with your Liftmaster garage door opener. If not, consult the user manual for instructions on how to program the remote.
- Check if the learn button is functioning properly by pressing and releasing it. If the LED light does not blink, then there may be an issue with the button or its connection.
- Inspect the wires connected to the learn button and make sure they are securely attached. Loose or damaged wires can cause issues with the button’s functionality.
- If your Liftmaster is equipped with a Wi-Fi feature, make sure that it is connected to your home network. If the learn button is not working, try disconnecting and reconnecting the Wi-Fi connection.
- If all else fails, contact Liftmaster customer support for further assistance. Their team of experts can help troubleshoot any technical issues with your garage door opener and its learn button.
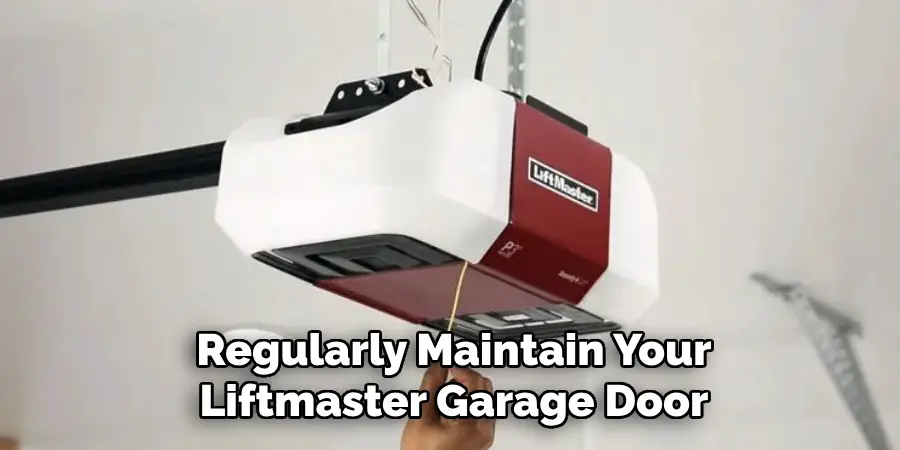
In addition to these troubleshooting tips, it is important to regularly maintain your Liftmaster garage door opener to prevent any potential issues with the learn button. This includes keeping it clean and free of debris, checking for any loose or damaged wires, and replacing batteries in remote controls as needed.
Conclusion
In conclusion, learning how to use the learn button on Liftmaster can be a great advantage for homeowners, as it allows for easy programming and access to various features.
However, there are also some drawbacks that should be considered. One disadvantage is that the process may seem intimidating or complicated at first, especially for those who are not familiar with technology or garage door openers. It may take some time and patience to fully understand the learn button and its functions.
Another downside is that not all Liftmaster models have a learn button, so some homeowners may not be able to utilize this feature. In addition, older models may have different methods for programming or troubleshooting, which can be confusing for those who are used to the learn button method.
I hope reading this post has helped you learn how to use learn button on liftmaster. Make sure the safety precautions are carried out in the order listed.
I am Rick. I grew up helping my dad with his handyman service. I learned a lot from him about how to fix things, and also about how to work hard and take care of business. These days, I’m still into fixing things- only now, I’m doing it for a living.
I’m always looking for new ways to help people grow and develop. That’s why I have created this blog to share all my experience and knowledge so
that I can help people who are interested in DIY repair.