
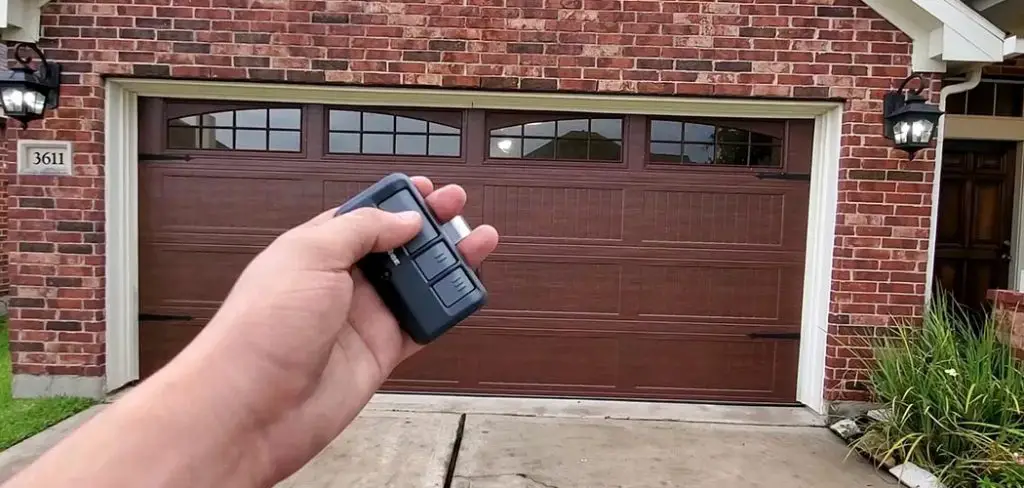
Learning how to use Clicker garage door opener is a game changer for anyone seeking a practical, user-friendly solution to operating their garage door. With its universal compatibility and easy programming process, the Clicker remote simplifies the task of controlling single or multiple garage doors. Best of all, its design allows even beginners to handle setup with confidence.
This guide walks you through each step, ensuring that you fully understand how to program, operate, and troubleshoot a Clicker garage door opener. Whether you’re reprogramming an old remote or using one for the first time, these tips will make the process simple and rewarding.
Step-by-Step Guide: How to Use Clicker Garage Door Opener
Here’s a detailed guide to help you master the Clicker garage door opener. Each step ensures that your remote syncs effortlessly with the garage door motor, giving you reliable and seamless operation.
Step 1: Familiarize Yourself with the Clicker Garage Door Opener
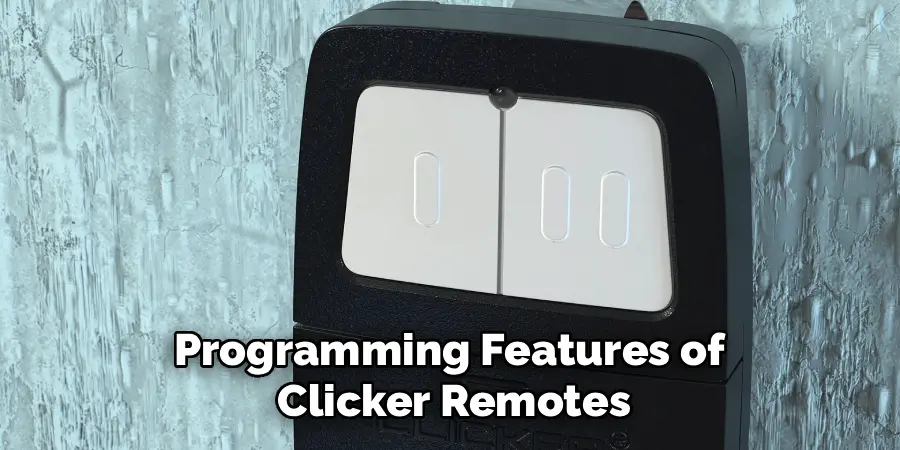
Understanding the basic components of your Clicker garage door opener is essential to using it effectively. The Clicker remote functions as a universal garage door opener, meaning it can work with most major brands and models currently available, like LiftMaster, Genie, and Craftsman.
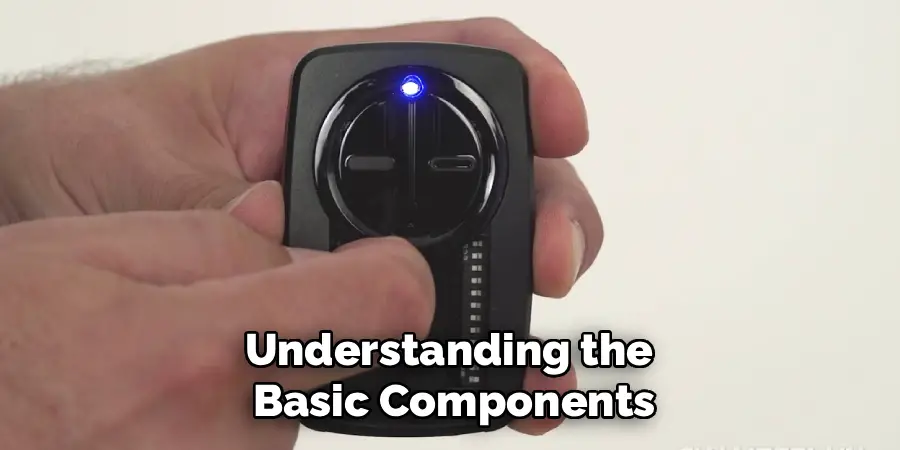
When you unbox your Clicker, you’ll notice a programming button, indicator lights, and the main buttons. These features work together to connect the remote to your garage door system. Take a moment to check the user manual included with the remote. It provides key details about compatible frequencies and motor types. This ensures that your garage door opener is set up correctly and avoids any potential issues.
Step 2: Locate the Garage Door Opener’s Learn Button
Before using your Clicker garage door opener, you’ll need to sync it with your garage door motor. Begin by finding the “Learn” button on your garage door’s opener unit. This button is typically located on the motor housing near the antenna wire.
Garage door opener manufacturers color-code the Learn button for easier identification—common colors include yellow, purple, and red. Pressing this button activates the pairing mode, allowing the opener to detect and sync with your Clicker remote. It’s important to act quickly since most models only keep the Learn mode active for 30 seconds. Preparing your Clicker remote in advance will ensure an uninterrupted pairing process.
Step 3: Enter Programming Mode on the Clicker Remote
To program your Clicker garage door opener, you’ll need to activate its programming mode. Locate the small programming button on your Clicker remote; it’s often recessed and requires a paperclip or pen to press.
Hold the programming button down until the indicator light on the remote starts flashing. Flashing lights indicate that the remote is ready to receive commands from the garage door opener’s Learn system. During this time, be sure you’re in close proximity to the garage door unit, as a strong signal is critical for successful syncing. This step ensures the remote and opener can communicate seamlessly.
Step 4: Choose the Appropriate Garage Door Type
The Clicker garage door opener is designed to work with different motor types, including chain drive, belt drive, and screw drive systems. During programming, you’ll need to specify your garage door type using the remote’s setup configurations.
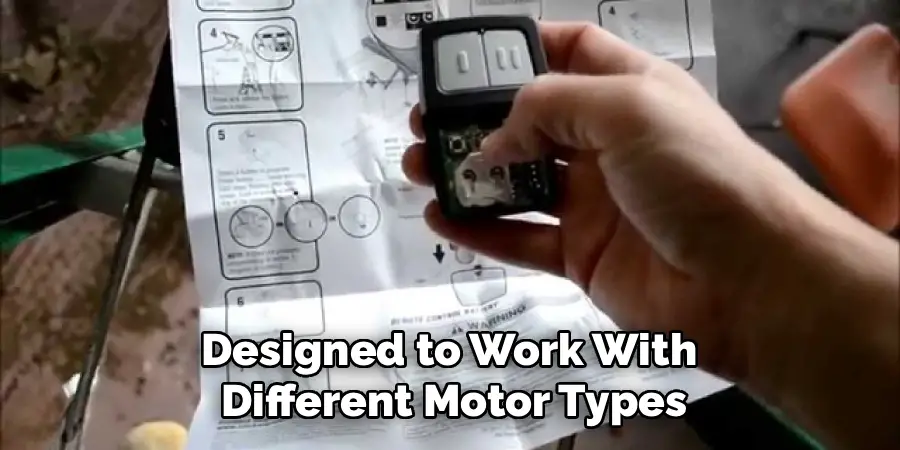
After activating the programming mode, consult the remote’s instruction guide to determine the correct button sequence for your motor type. This ensures compatibility and avoids miscommunication between the opener and the remote. Using the wrong sequence may prevent signals from being received properly, so following the correct steps is essential.
Step 5: Sync the Remote with the Garage Door Opener
Once the programming mode is active on both the Clicker remote and the garage door unit, it’s time to sync the devices. Press and hold the main button on your Clicker remote while also briefly pressing the Learn button on your garage door motor.
Keep holding the remote button until the garage door lights blink or the motor makes a beeping sound. This signals that the Clicker remote and the opener have established a secure connection. If the garage door opens or closes during this process, it confirms the remote is programmed successfully.
Step 6: Test the Garage Door Opener for Proper Function
Before concluding the setup, test your Clicker garage door opener to ensure it’s functioning correctly. Stand a few feet away from the garage door and press the main button on the remote. Observe whether the garage door opens and closes smoothly without lag or interruption.
If the response is slow or inconsistent, repeat the pairing process to ensure the devices are properly synced. For homes with multiple garage doors, each door can be programmed to a different button on the same Clicker remote. This multi-door functionality is especially useful for households with more than one vehicle requiring garage access.
Step 7: Troubleshoot Common Issues
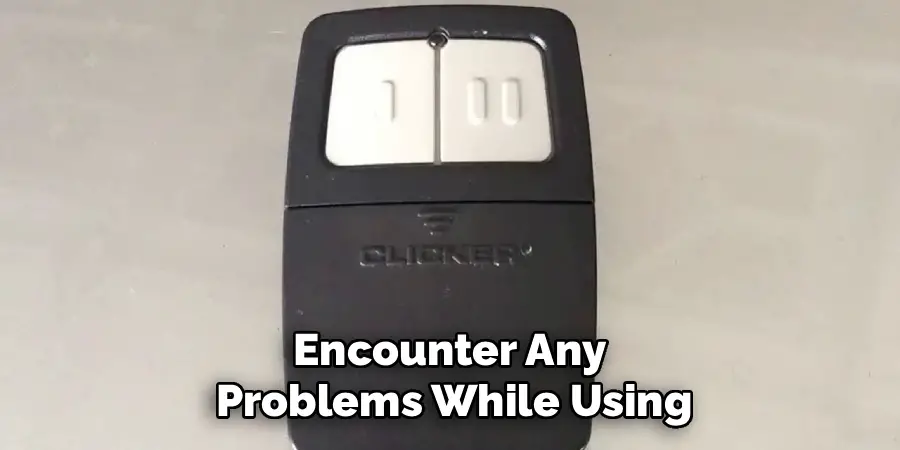
If you encounter any problems while using your Clicker garage door opener, don’t worry—most issues can be easily resolved. For instance, if the remote isn’t working, check the batteries first. Clicker remotes require fresh batteries to deliver a strong signal.
Compatibility problems can arise if you’re using an outdated garage door motor. Verify that your motor supports the frequency range of the Clicker remote. Additionally, ensure you’re following the manufacturer’s programming steps exactly. If all else fails, resetting the remote by holding the programming button for 10 seconds can clear memory and allow a fresh setup.
Advanced Programming Features
Advanced programming features of Clicker remotes provide additional convenience and customization options. Many models support multi-door control, allowing users to program the remote for multiple garage doors or gates, which is particularly useful for larger properties. Some remotes also offer the ability to set temporary access codes for guests or service personnel. For enhanced security, newer Clicker remotes may include rolling code technology, which generates a new code each time the remote is used, preventing unauthorized access. Refer to the product manual for step-by-step instructions on accessing and programming these advanced features, ensuring you make the most of your Clicker remote.
Additional Tips and Tricks
- If your Clicker remote is not working, ensure that the battery is functioning properly. Replace it if necessary.
- Keep your remote in a safe and easily accessible place to avoid loss or damage.
- Consider labeling your remotes for easy identification if you have multiple Clicker remotes for different doors or gates.
- It’s always a good idea to periodically check and test your Clicker remote to make sure it is still functioning properly.
- Familiarize yourself with any additional features or options on your specific model of Clicker remote by referring to the product manual or contacting customer support.
- Be mindful of the range of your Clicker remote, as some models may only work within a certain distance from the door or gate. This could be affected by obstructions such as walls, trees, or interference from other devices.
- Keep your Clicker remote clean and free of debris to prevent any potential malfunctions. If necessary, you can use a mild detergent and a soft cloth to gently clean the surface of the remote.
- If you have trouble with your Clicker remote not functioning properly, try changing the batteries. It’s also recommended to replace the batteries at least once a year to ensure optimal performance.
Frequently Asked Questions
How do I reset my Clicker garage door opener?
Resetting the Clicker garage door opener is straightforward. First, press and hold the programming button on the remote for approximately 10 seconds until the lights stop flashing. This action clears all paired devices, allowing you to start the syncing process from scratch.
For more effective resetting, ensure you check the user manual for your specific model. This ensures you won’t miss any unique steps required for a full reset.
Can I use one Clicker remote for multiple garage doors?
Yes, the Clicker garage door opener supports multi-door functionality. Its buttons can be programmed to different garage door motors, making it versatile enough for users with multiple doors.
Simply repeat the programming steps for each motor and assign a unique button on the remote for each door.
How long does it take to program a Clicker garage door opener?
The programming process is quick and typically takes less than five minutes per door. Most of this time involves locating the Learn button, entering programming mode, and syncing the remote to the garage door opener.
Once you’re familiar with the steps, setting up additional remotes becomes even faster.
What should I do if my Clicker remote stops working?
If your Clicker garage door opener suddenly stops working, start by replacing the batteries. Ensure the remote is still programmed to the garage door motor and hasn’t been reset accidentally.
For unresolved issues, check for signal interference or environmental factors like extreme cold that may affect the device’s operation.
Is the Clicker garage door opener compatible with older systems?
The Clicker remote is designed for universal compatibility, working with most garage door systems manufactured after 1993. However, older motors that don’t support rolling code technology may face compatibility issues.
Consult the compatibility chart included in your Clicker’s packaging to confirm if your motor is supported.
Conclusion
Learning how to use Clicker garage door opener is an easy way to simplify controlling your garage door while enjoying flexibility and reliability. By following straightforward programming steps—like finding the Learn button, syncing the remote, and testing functionality—you can ensure seamless operation.
With its universal compatibility and multi-door capability, the Clicker garage door opener adapts to different household needs. Whether you’re programming it for one garage door or several, your setup will result in a convenient, efficient solution.
Take time to understand your Clicker remote, troubleshoot minor issues when needed, and enjoy the peace of mind that comes with a well-prepared, reliable system.
I am Rick. I grew up helping my dad with his handyman service. I learned a lot from him about how to fix things, and also about how to work hard and take care of business. These days, I’m still into fixing things- only now, I’m doing it for a living.
I’m always looking for new ways to help people grow and develop. That’s why I have created this blog to share all my experience and knowledge so
that I can help people who are interested in DIY repair.