
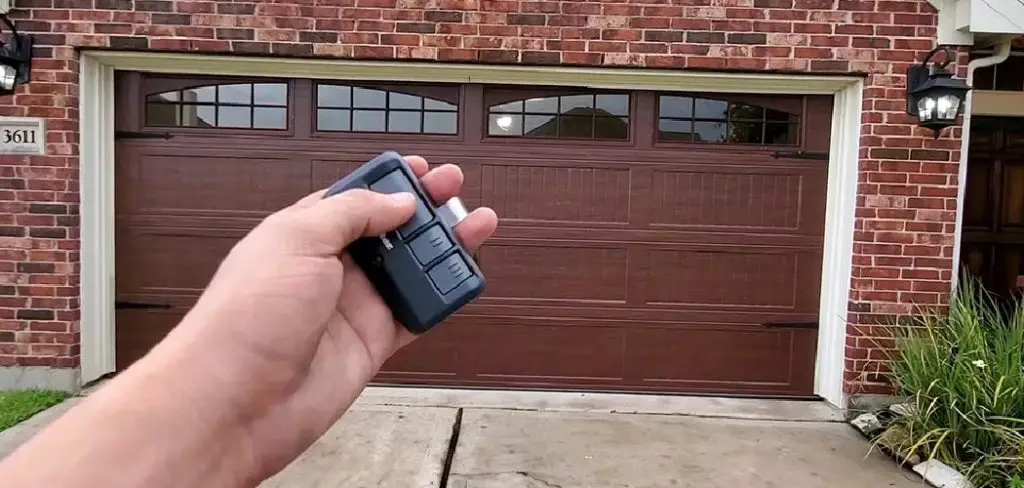
Unlocking a Liftmaster garage door opener may seem like a daunting task at first, but with the right guidance, it is a straightforward process. Whether you need to program a new remote or reset the opener, understanding the basic steps will save you time and effort. This guide provides simple instructions for how to unlock a liftmaster garage door opener.
Why You Might Need to Unlock It
There are several reasons why you might need to unlock your Liftmaster garage door opener. If you’ve lost your remote or it stops working, unlocking the system allows you to reprogram a new remote and regain access. Additionally, power outages or mechanical issues can sometimes cause the opener to malfunction, requiring a manual unlock to operate the door. Another common scenario is moving into a new home where the previous owner’s codes and remotes are still set; resetting and unlocking the system ensures your security and convenience. Understanding when and why you need to unlock your garage door opener is essential for maintaining accessibility and safety.
Identify Your Lock Type
Before attempting to unlock your garage door opener, it’s important to determine the type of locking mechanism in use. Most modern garage door openers integrate electronic locks that utilize keypads, remotes, or smartphone connectivity for operation. Older systems may feature a manual lock, such as a keyed cylinder or a sliding bolt, which requires physical manipulation with a key or lever. Carefully inspect the garage door and its opener system to identify the specific lock type. This will help you choose the correct method and tools to unlock it effectively and avoid any potential damage to the mechanism.
Tools and Safety Precautions
When attempting to unlock a garage door, it is essential to have the right tools and follow proper safety precautions to prevent injury or damage. Common tools that may be required include a sturdy screwdriver, a pair of pliers, a flashlight, and, in some cases, a tension wrench or bypass tool for more advanced systems. If working with manual locks, ensure you have the appropriate key or a compatible unlocking device. Additionally, wearing safety gloves and protective eyewear is recommended, especially if you need to disassemble any components.
Before starting the process, make sure the garage door is in a stable position and disconnected from any power source if it operates automatically. This will reduce the risk of electric shock or accidental door movement. Carefully assess your surroundings to ensure there are no obstructions or hazards near the door. If you are unfamiliar with the mechanism or encounter any complications, consider consulting a professional to avoid causing damage or voiding a warranty. Always prioritize safety and precision during the unlocking process.
10 Methods How to Unlock a Liftmaster Garage Door Opener
1. Use the Manual Release Handle to Disengage the Opener Mechanism
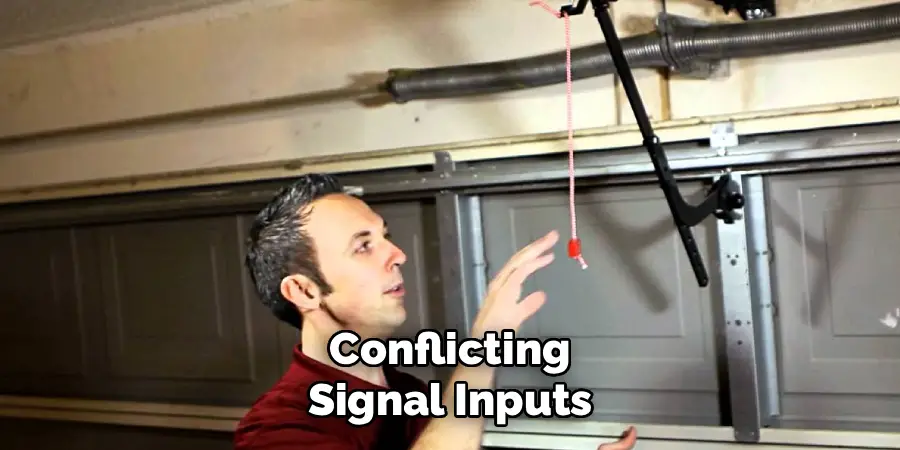
One of the most straightforward ways to unlock a LiftMaster garage door opener is by using the manual release handle. Typically, this handle is a red cord hanging from the trolley of the opener system. If there’s a power outage or a system malfunction, pulling this cord firmly will disengage the opener’s trolley from the door carriage, allowing you to lift the garage door manually. Ensure the door is fully closed before pulling the cord to prevent damage or injury, as the door may suddenly drop if it’s stuck mid-track. This method is essential for emergency access and should be familiar to all household members.
2. Reset the Opener by Power Cycling the Unit
Sometimes a LiftMaster garage door opener may seem “locked” due to a minor electrical glitch. In such cases, simply resetting the unit can resolve the issue. Begin by unplugging the opener from the power source, waiting for about 30 seconds, and then plugging it back in. This power cycle allows the internal processor to reset. Once power is restored, try operating the remote or wall-mounted control panel again. If the system responds normally after the reset, it’s likely the locking issue was due to a temporary electronic fault.
3. Deactivate the Lock Feature from the Wall Console
Most LiftMaster openers come with a wall-mounted control panel that includes a lock button. If accidentally engaged, this feature disables all remote signals, causing the opener to appear nonfunctional. To deactivate it, locate the lock button—typically indicated by a padlock symbol—and press and hold it for a few seconds until the LED light turns off or changes color. Once disabled, remote controls and keypad entries should function normally again. It’s a simple solution, often overlooked, but critical to restoring proper access to the garage.
4. Use the Exterior Key Release (For Detached Garages)
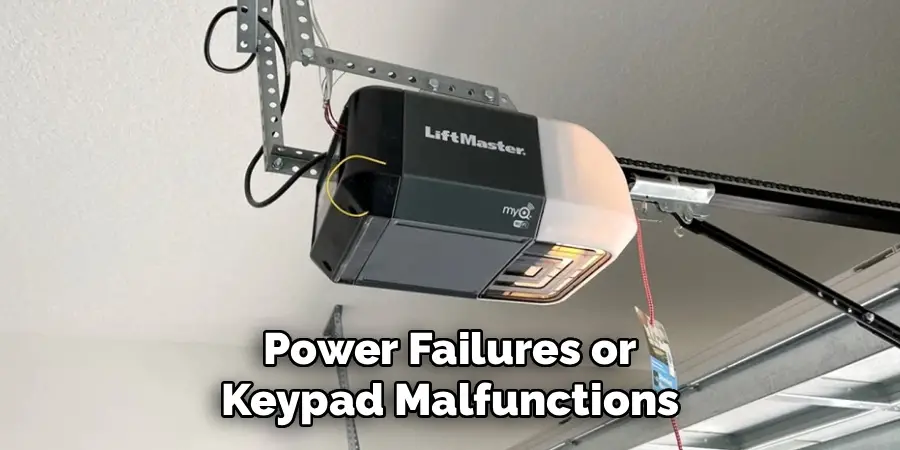
In situations where there is no side door or alternate access into a detached garage, an exterior key release is often installed. This mechanism allows you to unlock the garage manually from the outside. To use it, insert your key into the lock cylinder mounted on the exterior of the garage door. Turn the key, pull out the lock mechanism, and the manual release cable inside will become accessible. Tug on this cable to disengage the trolley and manually lift the door. This setup is especially useful during power failures or keypad malfunctions.
5. Check the Battery in the Remote Control or Wall Button
If your LiftMaster garage door won’t respond to remote inputs, the issue may lie in depleted batteries. Remote controls, wireless keypads, and some wall consoles rely on batteries that, over time, will lose charge. Open the back panel of the remote and replace the batteries with the correct size, usually CR2032 coin-cell or AAA depending on the model. If you’re using a wireless keypad, remove the battery cover and insert a fresh battery as instructed in the manual. Once replaced, test the controls again to see if the unit unlocks and operates normally.
6. Reprogram the Remote or Keypad to Reconnect with the Opener
In certain cases, remotes or keypads may lose synchronization with the opener due to signal interference, battery replacement, or accidental clearing of settings. To reprogram, press and release the “Learn” button on the opener’s motor unit, usually located near the antenna. The LED next to the button will light up. Within 30 seconds, press the button on your remote or enter your keypad code. The opener light will blink or click to indicate successful programming. Reestablishing this connection is essential to unlocking and restoring full function to the garage system.
7. Inspect the Safety Sensors for Obstruction or Misalignment
If your LiftMaster opener attempts to operate but the door doesn’t move, it might be due to the safety reversing sensors being blocked or misaligned. These sensors, located at the bottom of the garage door tracks, must maintain a clear line of sight to each other. Dirt, dust, cobwebs, or even sunlight interference can cause a “lockout” state. Clean the sensors with a soft cloth and ensure both lenses are aligned by checking that the LED indicators are solid and not blinking. Once sensors are operational, try opening the garage door again.

8. Lubricate the Tracks and Rollers to Ease Manual Unlocking
If the door feels jammed even after pulling the manual release, it may be due to friction or debris in the tracks or rollers. Use a silicone-based lubricant to coat the metal tracks, hinges, and rollers—avoiding over-application. Remove any visible debris and test the door for smoother motion. Well-maintained hardware is crucial to ensuring you can lift the door easily once it’s disengaged from the opener. If the door is too heavy or stuck, forcing it may lead to injury or damage, so lubrication and basic maintenance are critical to successful unlocking.
9. Inspect the Logic Board or Fuses in the Opener Unit
Advanced LiftMaster models feature an internal logic board that controls communication and operation. If this board is damaged—due to electrical surges or age—the garage door opener may remain nonresponsive. Carefully open the cover of the main motor housing and inspect the board for burnt marks or disconnected wiring. Similarly, check any in-line fuses or circuit breakers that might be tripped. If you’re not familiar with electrical components, it’s best to consult a professional technician. Replacing a faulty logic board may be necessary to unlock and restore operation.
10. Contact LiftMaster Support or a Professional Garage Technician
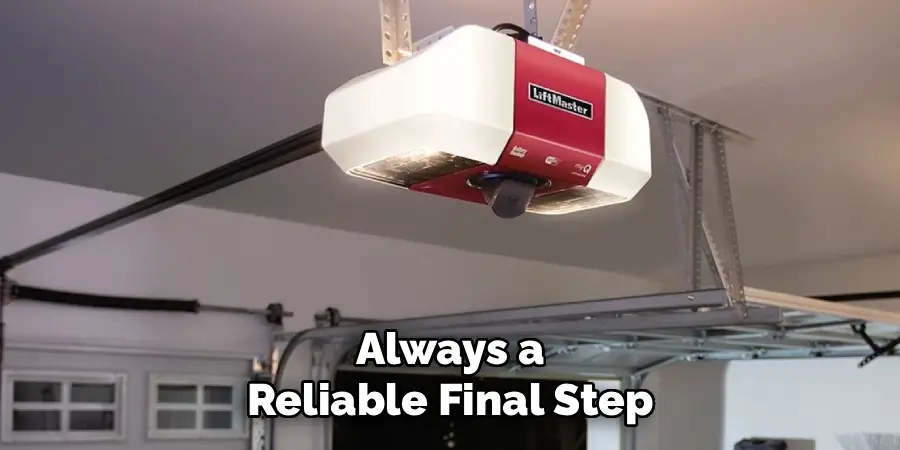
If none of the above methods yield results and the garage door remains locked or inoperable, it’s time to consult professional help. LiftMaster has customer service and technical support available to walk you through specific troubleshooting steps tailored to your model. Additionally, certified garage door technicians can inspect the entire system, diagnose mechanical or electrical failures, and make repairs on-site. Attempting to force the door open or bypass the system may cause long-term damage or void warranties, so expert assistance is always a reliable final step.
Conclusion
Ensuring your garage door operates smoothly is essential for safety, security, and convenience. Regular maintenance, proper troubleshooting, and timely professional assistance can prevent small issues from turning into costly repairs. Now that you know how to unlock a liftmaster garage door opener, try it yourself today and feel good about completing such a big DIY job!
I am Rick. I grew up helping my dad with his handyman service. I learned a lot from him about how to fix things, and also about how to work hard and take care of business. These days, I’m still into fixing things- only now, I’m doing it for a living.
I’m always looking for new ways to help people grow and develop. That’s why I have created this blog to share all my experience and knowledge so
that I can help people who are interested in DIY repair.