Having your garage lights turn on automatically when you open the door is a practical and modern convenience that enhances both safety and functionality in your daily life. This straightforward upgrade eliminates the need to fumble for a light switch in the darkness, helps prevent trips or falls, and provides immediate illumination upon entry, making late-night arrivals more secure and inviting. In this guide on “How to Turn on Garage Lights When Door Opens,” we’ll explore the most effective methods to achieve this, from traditional built-in options included in many garage door openers to innovative smart home solutions, allowing you to select the approach that best suits your needs, budget, and technical expertise.

Why You Should Automate Your Garage Lighting
Unmatched Convenience
Automation transforms the experience of coming home in the evening or moving between your house and garage with arms full. With the lights activating as soon as the garage door opens, there’s no need to juggle everything just to find a switch. This hands-free illumination is particularly handy when you’re carrying groceries, sports gear, or kids, and the garage is already lit up before you take a step inside.
Enhanced Safety and Security
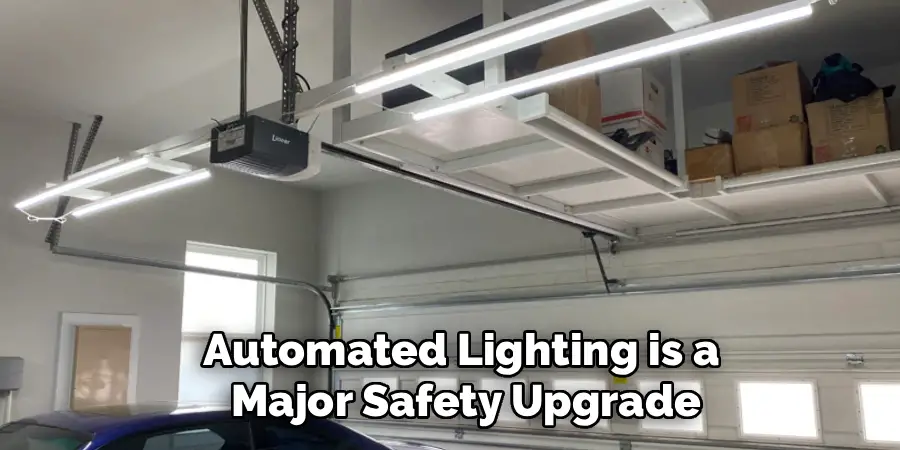
Beyond comfort, automated lighting is a major safety upgrade. A well-lit garage means no more stumbling over tools, boxes, or other obstacles. It’s also a meaningful deterrent for anyone who shouldn’t be there—bright lights triggered by the door’s movement let would-be intruders know that someone is present or approaching.
Energy Efficiency
Many automated lighting solutions also pay attention to efficiency. Built-in timers and motion detectors ensure that the lights won’t stay on longer than needed, cutting wasted energy and unnecessary costs. With features like auto-off timers and motion-based triggers, you benefit from additional peace of mind that your garage isn’t running up the electricity bill all night long.
Using Your Garage Door Opener’s Built-in Feature
Understanding the Feature
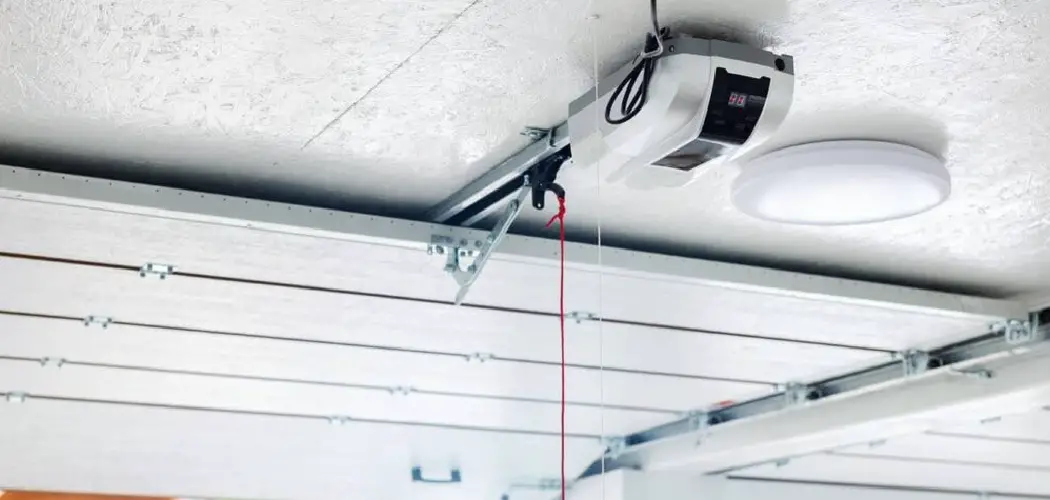
Most garage door openers made in the last decade now include a built-in light that turns on automatically with each use. The opener senses when the motor starts and instantly powers the lamp, then maintains illumination for a preset time—usually between one and five minutes. It’s a seamless, hands-off solution that many homeowners overlook.
How to Program the Light Timer
Adjusting this feature is generally straightforward. On most modern openers, you’ll find a control panel or dedicated button (sometimes located on the wall switch) that lets you set how long the light stays on after activation. Refer to your opener’s manual for specifics, but often the process involves holding down a setting button, then pressing up or down arrows to select your preferred time interval.
Upgrading the Bulb for Better Light
If your garage feels dim even with the built-in light, consider changing the bulb. LED bulbs not only provide better illumination but are also more energy efficient and longer lasting than traditional incandescent bulbs. Always make sure the bulb you choose is compatible with garage door openers, since some LEDs can interfere with remote signals. Check for bulbs labeled “garage door opener safe” to avoid this issue.
Installing a Dedicated Motion Sensor
How Motion Sensors Work
A motion sensor, when added to your main garage light fixture, will activate the lights anytime movement is detected. This usually includes the big movement of the garage door itself, so as soon as you come or go—or the door rolls up twice—your lights turn on. The sensor keeps the lights on while there is movement and powers them down shortly after activity ceases.
Choosing the Right Motion Sensor
You’ll find several types of sensors available. Ceiling-mounted models provide full-garage coverage and are ideal for large spaces. Switch-plate sensors, which replace a standard wall switch, are excellent for quick, unobtrusive upgrades in smaller single-car garages. Select a sensor designed for indoor use, and check the coverage range to make sure it fits your space.
Placement for Optimal Performance
Correct placement is key for reliable activation. Mount motion sensors so that their detection zone covers the path of the garage door’s movement, as well as the spots where you usually walk. Avoid aiming them directly at garage windows, since movement outside or passing vehicles might trigger unwanted lighting. Some models also have sensitivity adjustments to minimize false triggers.
Gathering Tools and Materials for Sensor Installation
Essential Tools
Before starting, gather a sturdy ladder, a non-contact voltage tester to check for live wires, and the right screwdrivers for the fixture or switch covers. Wire strippers and connectors will usually be required as well.
Required Materials
You’ll need a compatible motion sensor unit and, if replacing bulbs, bulbs suited to your fixture. For best performance, use clear, high-quality bulbs that offer enough lumens for the size of your garage.
Critical Safety Gear
Above all, practice electrical safety. Always turn off power at the circuit breaker before you begin any installation, use insulated gloves or tools if necessary, and wear safety glasses as a precaution against debris or accidental contact with electrical components.
How to Turn on Garage Lights When Door Opens: Using a Smart System
Step 1: Choose Your Smart Home Components
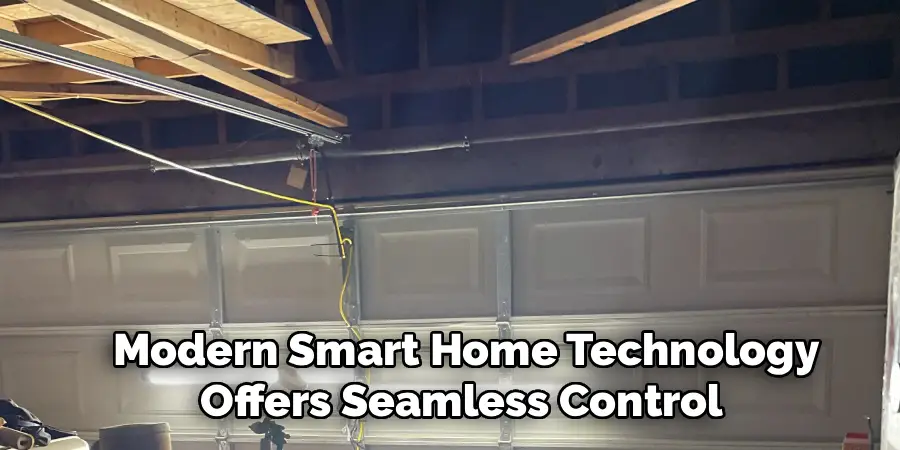
Modern smart home technology offers seamless control and integration. To set up a fully automated system, you’ll need a smart garage door opener or an add-on controller that’s compatible with your current opener, plus smart bulbs or a smart switch for your garage lights. Choose devices within the same ecosystem, such as Google Home, Amazon Alexa, or Apple HomeKit, for straightforward setup and smooth operation.
Step 2: Install the Smart Garage Controller
Installing the controller typically means mounting a sensor on your garage door (to detect when it opens or closes) and connecting a smart device to your existing opener motor. Most units are designed for easy DIY installation, often involving only basic hand tools and adhering the sensors with included hardware.
Step 3: Install the Smart Lighting
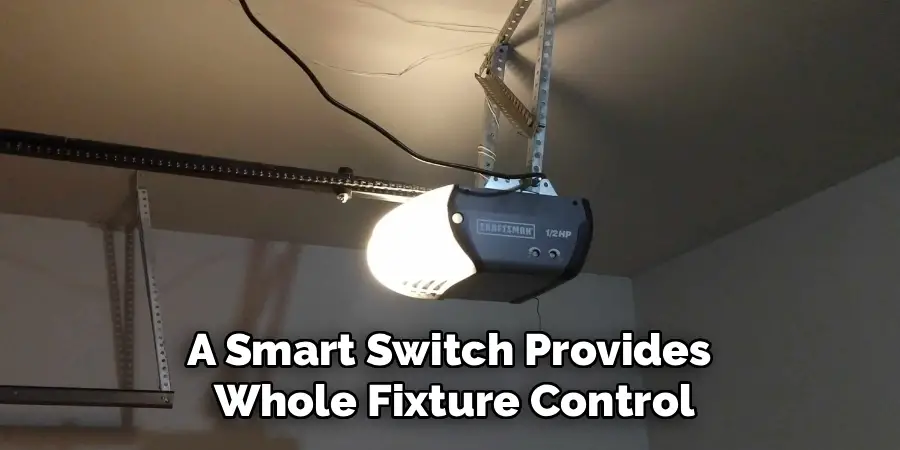
For your lights, decide whether to swap out traditional bulbs for smart bulbs or replace your wall switch with a smart version. A smart switch provides whole-fixture control, making it a great choice if your garage has multiple or high-powered fixtures, while smart bulbs are perfect for single-light setups or when you want color-changing effects.
Step 4: Connect Devices to Your Wi-Fi Network
Using your preferred smart home app, walk through the process to add both your smart garage controller and your lighting to the Wi-Fi network. This process usually involves scanning a QR code on the device, following in-app prompts, and confirming a successful connection.
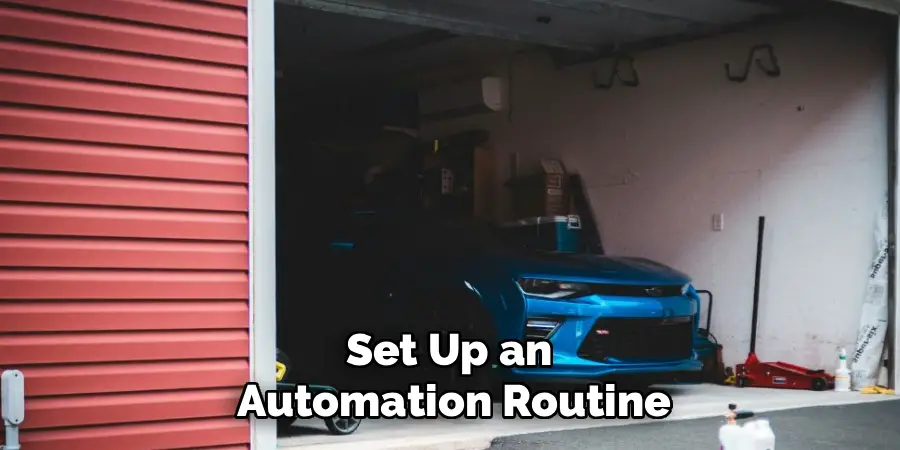
Step 5: Create the Automation Routine
With your devices online, set up an automation routine or “scene” within your app. The trigger, or “When,” will be the garage door opening. The action, or “Then,” will be turning on the garage lights. Most systems allow you to select which lights are involved and determine what happens after a certain time passes.
Step 6: Define the Action and Finalize the Routine
Finalize your automation by adding an “off” action if desired. For instance, you can set the system to automatically turn off the lights after 10-15 minutes, or to power them down as soon as the garage door closes. This ensures that your lights aren’t staying on longer than you need them while preserving safety and convenience.
Troubleshooting Common Smart Home Automation Issues
Routine Not Triggering
If your routine isn’t working, check Wi-Fi signal strength in your garage—thick walls can sometimes create dead spots. Make sure your devices have the latest firmware installed, as software bugs and compatibility issues often resolve with updates.
Lights Don’t Respond
If the garage lights stay off, ensure each device is listed and controllable manually within your app. If they still don’t work, check the wiring, settings, and power supply, and verify compatibility between your smart devices and bulbs or switch. Restarting the app or resetting the devices sometimes resolves lingering communication problems.
Comparing the Costs and Complexity of Each Method
Every approach comes with its own price and level of effort. Using the built-in light on your garage door opener is typically free if your opener supports it and only requires a minor timer or bulb adjustment. Motion sensors cost a bit more for the hardware and require intermediate DIY skills to wire into place, but deliver full hands-free lighting. Smart systems cost the most due to the need for multiple devices but offer the greatest flexibility, remote control, scheduling, and integration into the rest of your smart home.
Conclusion
As we’ve seen, there are several effective methods for learning how to turn on garage lights when door opens—from pre-installed built-in features to custom setups with motion sensors or smart home integration. No matter which route you choose, you’ll end up with a brighter, safer, and far more convenient garage. With the right choice for your home and a little bit of setup, you’ll never again have to step into a dark, unwelcoming space.
Now that you know how to automate your garage lighting to respond when the door opens, you’re ready to make daily routines simpler and your home even more comfortable.
I am Rick. I grew up helping my dad with his handyman service. I learned a lot from him about how to fix things, and also about how to work hard and take care of business. These days, I’m still into fixing things- only now, I’m doing it for a living.
I’m always looking for new ways to help people grow and develop. That’s why I have created this blog to share all my experience and knowledge so
that I can help people who are interested in DIY repair.