Genie garage door openers are built with features that prioritize safety and user convenience. Among these, Sure-Lock mode stands out for its ability to enhance security by temporarily shutting off remote and wireless access to your garage—ensuring only those with direct access to the wall panel can operate the door. Whether you’re heading out on a trip or simply want extra peace of mind overnight, Sure-Lock can be a game-changer.

However, knowing how to turn off Sure-Lock on Genie garage door opener models is equally important, allowing you to restore remote functionality for everyday ease, fix disrupted access, and maintain the flexibility that modern life demands. This in-depth guide explains when and why you should use or disable Sure-Lock mode, walks you step by step through the process, and offers tips for troubleshooting and ongoing garage door opener care.
Understanding Sure-Lock Mode on Genie Garage Door Openers
What Sure-Lock Mode Does
Sure-Lock mode is a built-in safety feature found on many Genie garage door openers, designed to bolster your home’s security when needed. When enabled, Sure-Lock disables all remote controls, wireless keypads, and most wireless accessories, restricting garage entry to direct control from the wall-mounted panel. This is especially useful when you want to lock down your garage, preventing any remote command—intentional or accidental—from opening the door.
Why Genie Developed Sure-Lock
The development of Sure-Lock addresses scenarios when remote access isn’t desirable. You might enable it during vacations, business trips, or overnight to add a layer of security against unauthorized access. By centralizing control at the wall panel, Genie gives users a simple yet effective tool for flexible, situation-based garage access.
When and Why to Turn Off Sure-Lock Mode
Restoring Remote Convenience
Turning off Sure-Lock is essential when it’s time to resume regular remote access to your garage. Households relying on wireless remotes, keypads, or app-based controls for family members, guests, or deliveries benefit from a quick return to normal operation by deactivating Sure-Lock mode.
Resolving Access or Control Problems
It’s common for Sure-Lock to be engaged by accident—a quick click of the button on the wall panel can suddenly render remotes and keypads inoperable. If your opener seems unresponsive to remote signals, checking and disabling Sure-Lock may quickly resolve the problem, restoring full system access.
Transitioning Back to Normal Operation
Once the need for heightened security passes—after a trip or period of limited entry, for example—be sure to turn off Sure-Lock to let all authorized users enjoy easy, remote access without confusion or unnecessary delay.
Tools and Preparations Before Turning Off Sure-Lock
No Special Tools Required
Turning off Sure-Lock on a Genie opener doesn’t require any tools. The process is handled entirely at the wall-mounted control panel.
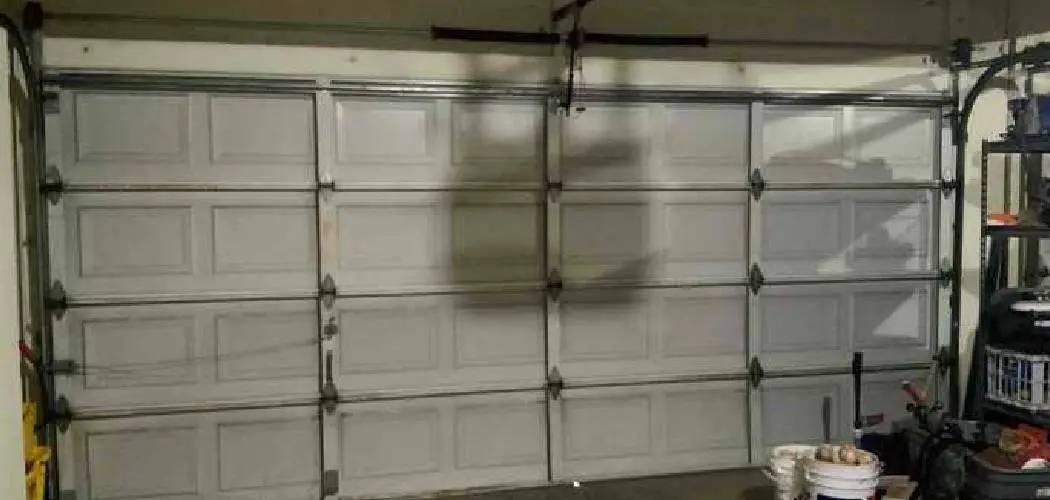
Knowing Your Wall-Mounted Control Panel
Locate the wall control panel inside your garage. Look for a button labeled “Sure-Lock” or “Lock,” and note any nearby indicator lights. Familiarity with these controls will make activating and deactivating Sure-Lock straightforward.
5 Step-by-Step: How to Turn Off Sure-Lock on Genie Garage Door Opener
Step 1 – Find the Sure-Lock Button
Go to your Genie opener’s wall control panel and locate the “Sure-Lock” or “Lock” button, often near the main open/close button. Some panels highlight an LED light that signals whether Sure-Lock is active.

Step 2 – Observe the Indicator Light
If Sure-Lock is engaged, the control panel’s indicator light will be illuminated. In this state, remote and keypad access to the garage is locked out.
Step 3 – Press and Hold to Deactivate
Press and hold the Sure-Lock button for a few seconds. The indicator light will turn off, confirming Sure-Lock mode is now disabled. On select panels, a beep or flash may provide additional confirmation.
Step 4 – Test All Remotes and Keypads
Try opening the garage door using your remote, keypad, or smart home app. If you’ve successfully turned off Sure-Lock, all approved remote access points should resume normal function immediately.
Step 5 – Confirm System Operation
Finish by running a full open/close cycle with both wall and remote controls—ensuring smooth, responsive performance from every access method.

Troubleshooting Issues with Sure-Lock Mode
Unresponsive Sure-Lock Button
If your Sure-Lock button doesn’t appear to work, first make sure the opener is powered. Cycle power to the unit if necessary, and check for visibly loose wires or panel damage. Review your Genie user manual or contact support if the control panel remains unresponsive.
Stubborn Indicator Light
A lit indicator that won’t go dark after pressing the Sure-Lock button may indicate a stuck button, faulty wiring, or an electronics problem. Try cycling power and clearing away any dust or debris before seeking technical support or professional repair services.
Advantages of Disabling Sure-Lock When Needed
Returning to Daily Convenience
Deactivating Sure-Lock restores the ease of remote, keypad, and app access for all users—critical for busy families, carpoolers, or users with evolving access needs.
Avoiding User Frustration
Removing unnecessary limits on access after a high-security period helps all household members and authorized guests avoid confusion and enjoy smooth, routine operation.
Convenience in Emergencies
Having access to the garage during power outages or emergencies, when batteries are exhausted, is crucial for safety and convenience. Disabling Sure-Lock enables users to continue using their remote or keypad entry method during these times.
Simplified Programming
After a period of heightened security, some users may struggle with remembering how to activate and deactivate Sure-Lock again. By disabling the feature when not needed, programming can remain consistent and simple for all users.
Smart Precautions When Using Sure-Lock Mode
Prevent Accidental Enablement
Educate everyone in your home about the Sure-Lock feature and clearly label the wall control if needed. This helps prevent accidental activation and minimizes disruption.
Use Sure-Lock Strategically
Keep Sure-Lock enabled only when true security requirements demand it, such as extended absences or in neighborhoods where remote hacking is a concern. Otherwise, enjoy your system’s full capabilities by leaving it turned off.
Don’t Rely Solely on Sure-Lock
Sure-Lock does not provide complete security for your home. It is just one small part of a larger home security system, so make sure to have other measures in place such as strong locks, alarm systems, and surveillance cameras.
Stay Informed about Updates
Technology is constantly evolving and so are the methods used by hackers. Make sure to stay informed about updates and advancements in hacking techniques so you can adjust your security measures accordingly.
Frequently Asked Questions
What Is Sure-Lock Mode?
Sure-Lock Mode is a security feature designed to temporarily disable remote access to your smart home system, providing enhanced protection against unauthorized usage.
When Should I Use Sure-Lock Mode?
It is recommended to use Sure-Lock Mode during extended periods of absence, such as vacations, or in situations where you suspect a risk of remote hacking.
How Do I Activate Sure-Lock Mode?
You can activate Sure-Lock Mode by accessing the settings on your wall control or mobile app, depending on your system. Refer to your device manual for step-by-step instructions.
Can Sure-Lock Mode Be Accidentally Enabled?
Yes, it is possible to enable Sure-Lock Mode accidentally. To prevent this, educate everyone in your household about the feature and label the wall control if necessary.
Does Sure-Lock Mode Affect My System’s Performance?
When Sure-Lock Mode is activated, remote access is disabled, which may limit certain functionality, such as controlling devices through the app while away from home.
Maintenance Tips for Sure-Lock and the Wall Control Panel
Test Sure-Lock Mode Regularly
Monthly checks ensure both activation and deactivation work as intended for Sure-Lock, and that all remotes and keypads respond when they should.
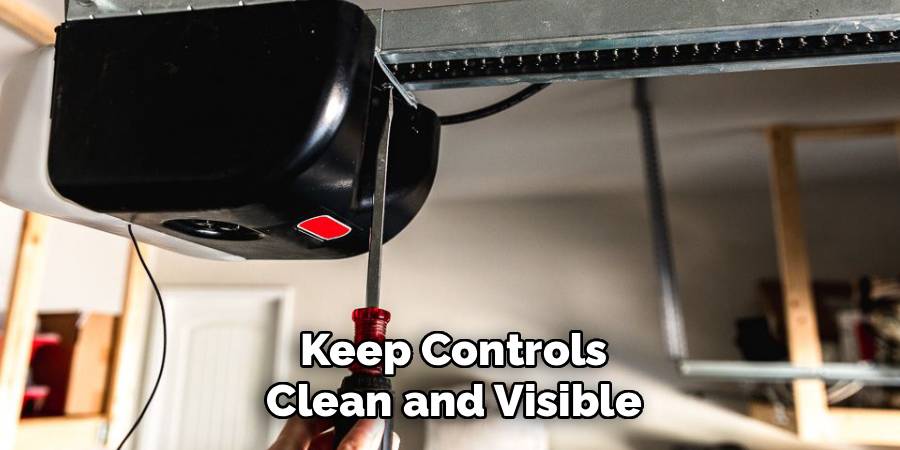
Keep Controls Clean and Visible
Wipe down your wall panel as part of your garage cleaning routine, keeping buttons responsive and indicator lights clearly visible. If your wall control panel is mounted in a dark area, consider adding additional lighting to make it easier to see.
Replace Batteries
Make sure to change batteries in remotes and keypads periodically, as low battery power can cause malfunctions or delays in response time.
Check Sensor Alignment
If you have photo-eye sensors on your garage door, regularly check that they are properly aligned. Misaligned sensors can prevent the door from closing when using the wall control panel.
Final Thoughts
Understanding how to turn off Sure-Lock on Genie garage door opener models empowers you to easily adapt your garage access for different situations—balancing security with everyday convenience. In just a few seconds, you can switch between lockdown mode and full remote operation, ensuring your home stays as accessible or secure as you wish. With the guidance above, you’ll resolve lockouts, troubleshoot user issues, and keep your Genie opener running smoothly. Remember to consult your owner’s manual or seek professional help for more complex issues, but rest assured that basic Sure-Lock management is simple, quick, and entirely user-friendly.
I am Rick. I grew up helping my dad with his handyman service. I learned a lot from him about how to fix things, and also about how to work hard and take care of business. These days, I’m still into fixing things- only now, I’m doing it for a living.
I’m always looking for new ways to help people grow and develop. That’s why I have created this blog to share all my experience and knowledge so
that I can help people who are interested in DIY repair.