If you’re like me, you might not think twice about how you open and close your garage door. But if you have a manual garage door, opening and closing it each time can be a bit of a hassle.
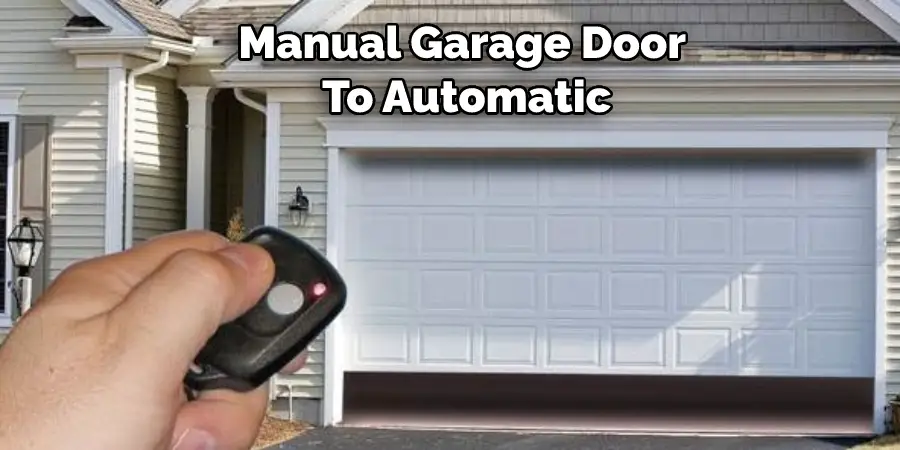
Luckily, there’s an easy way to upgrade your manual garage door to automatic. All you need is a few basic tools and supplies! In this post, I’ll show you how to turn a manual garage door into automatic one in just a few simple steps. So don’t wait any longer. Read on to learn more.

Summary: If you want to turn a manual garage door into an automatic one, you will need a garage door opener and the necessary accessories. Install the opener and connect it to the door, then program the remote control to operate it. Additional safety features like sensors and lights may also be installed.
Why You Should Upgrade to Automatic
There are plenty of reasons why you might want to upgrade your manual garage door to automatic. For starters, it’s more convenient. You won’t have to get out of your car to open and close the door, which is especially helpful on rainy or snowy days.
It’s also more secure. Automatic garage doors can be equipped with security features like automatic locks and timers, which can deter burglars and keep your home safe. And finally, it’s just plain easier. An automatic garage door can save you time and hassle if you have a busy lifestyle.
15 Steps How to Turn a Manual Garage Door Into Automatic
Step 1: Evaluate Your Existing Garage Door
Before converting your manual garage door into an automatic one, inspect the current condition of your door, its hardware, and its operation. Ensure that the door is in good working order, properly balanced, and free of any damage or excessive wear. Address any necessary repairs or maintenance before proceeding with the conversion.
Step 2: Choose the Right Automatic Garage Door Opener
Select an automatic garage door opener that is compatible with your garage door type and size. Garage door openers come in various drive systems, including chain drive, belt drive, and screw drive, each with its own set of advantages and disadvantages. Consider factors such as noise level, durability, and maintenance requirements when choosing the appropriate opener for your garage.
Step 3: Gather Required Tools and Materials
Assemble the necessary tools and materials for the installation process. Common tools required include a drill, socket wrench, level, tape measure, pliers, wire strippers, and a ladder. Refer to the garage door opener’s instruction manual for a complete list of tools and materials needed for your specific model.
Step 4: Assemble the Garage Door Opener
Follow the instructions provided in the garage door opener’s manual to assemble the opener unit. This typically involves attaching the rail to the motor unit, installing the trolley and carriage, and attaching any necessary brackets and hardware.
Step 5: Install the Header Bracket
Measure and mark the center point of your garage door on the header above the door opening. Following the opener’s manual, install the header bracket at the specified height above the floor, ensuring that it is securely attached to the wall or a structural support.
Step 6: Attach the Opener Assembly to the Header Bracket
With the help of an assistant or using a temporary support, lift the garage door opener assembly and align it with the header bracket. Secure the opener assembly to the header bracket using the provided hardware, ensuring that the opener is level and properly aligned with the door.
Step 7: Install the Door Arm
Attach the door arm to the garage door’s existing bracket or install a new bracket if required. Connect the other end of the door arm to the carriage on the opener assembly. Ensure that the door arm is straight and level when the garage door is closed.
Step 8: Install the Safety Sensors
Position the safety sensors on each side of the garage door opening at the specified height, typically no more than six inches above the floor. The sensors should be aligned with each other and free of any obstructions. Run the sensor wires along the wall and ceiling, securing them with clips or cable ties, and connect them to the opener unit.
Step 9: Install the Wall Control Panel
Choose a convenient location for the wall control panel, ensuring that it is easily accessible and within sight of the garage door. Follow the manufacturer’s instructions to mount the panel and connect the control wires to the opener unit.
Step 10: Connect the Opener to a Power Source
Install an electrical outlet near the opener unit if one is not already present. Plug the garage door opener into the outlet, ensuring that the power cord is safely secured and not in contact with any moving parts.
Step 11: Program the Garage Door Opener
Follow the manufacturer’s instructions to program your garage door opener, including setting the travel limits, force settings, and remote controls. Test the operation of the opener using the wall control panel and remote controls, making any necessary adjustments to the settings as needed.
Step 12: Test the Safety Features
Ensure that your automatic garage door opener’s safety features are functioning properly. Test the safety sensors by placing an object in the path of the door while it is closing. The door should reverse automatically when the sensors detect the obstruction. Test the door’s auto
-reverse feature by applying resistance to the bottom of the door as it closes. The door should reverse direction when it encounters resistance. Make any necessary adjustments to the safety features according to the manufacturer’s instructions.
Step 13: Install a Manual Release
Install a manual release mechanism that allows you to disengage the garage door opener in case of a power outage or emergency. This mechanism typically consists of a pull cord that, when activated, disconnects the door arm from the carriage, allowing you to manually operate the garage door.
Step 14: Insulate and Seal the Garage Door
To improve the energy efficiency and comfort of your garage, consider insulating and sealing your garage door. Install weatherstripping along the bottom and sides of the door to seal gaps and prevent drafts. Attach insulation panels to the interior side of the door to reduce heat transfer and noise transmission.
Step 15: Maintain Your Automatic Garage Door System
Regularly inspect and maintain your automatic garage door system to ensure its continued safe and efficient operation. This includes lubricating moving parts, tightening hardware, inspecting the door’s balance and alignment, and testing safety features. Refer to the garage door opener’s manual for a recommended maintenance schedule and procedures specific to your model.
By following these steps, you can successfully convert your manual garage door into an automatic system, providing added convenience, safety, and security. Always consult the manufacturer’s instructions for your specific garage door opener model and enlist the help of a professional if necessary to ensure a safe and proper installation. Regular maintenance and safety checks will help prolong the life of your automatic garage door system and keep it running smoothly for years to come.
You Can Check It Out To Turn a Garage Into an Apartment
How Much Does It Cost to Convert a Manual Garage Door to Automatic?
The cost of converting a manual garage door to an automatic one will vary depending on a few factors. The first is the type of garage door opener that you choose. The second is the type of garage door that you have. And the third is the cost of labor. The most common type of garage door opener is the chain-driven opener. These openers are relatively inexpensive, costing between $100 and $200.
The second most common type of opener is the belt-driven opener. These openers are more expensive, costing between $200 and $300. The third type of opener is the screw-driven opener. These openers are the most expensive, costing between $300 and $400. The type of garage door you have will also affect the conversion cost.
For example, a standard steel door will be less expensive to convert than a wood door. And a double door will be more expensive to convert than a single door. The labor cost will also vary depending on the company you choose to do the work.
A reputable company will charge between $200 and $300 for labor. But a less reputable company may charge more. The cost of converting a manual garage door to an automatic one will be between $500 and $1000. But it could be more or less depending on the factors mentioned above.
Conclusion
This article provides a detailed guide on how to turn a manual garage door into automatic. By following the simple steps, you can easily make this switch and enjoy the many benefits of an automatic garage door. These include added convenience, safety, and security. So if you’re ready to take your garage door game to the next level, if you have any questions or concerns, write them in the comments section below, and we’ll be happy to help. Thanks for reading.
I am Rick. I grew up helping my dad with his handyman service. I learned a lot from him about how to fix things, and also about how to work hard and take care of business. These days, I’m still into fixing things- only now, I’m doing it for a living.
I’m always looking for new ways to help people grow and develop. That’s why I have created this blog to share all my experience and knowledge so
that I can help people who are interested in DIY repair.