
Are you tired of tangled extension cords in your garage? Do you constantly struggle to find a specific cord when you need it? If so, it’s time to organize and properly store your extension cords in your garage.
How to store extension cords in garage is essential for maintaining an organized and functional space. When cords are left tangled or improperly stored, they can become damaged, create safety hazards, and take up unnecessary space. By utilizing simple and efficient storage methods, you can extend the lifespan of your extension cords and keep your garage neat and clutter-free.
Whether you have a few cords or several, finding the proper storage solution will help you stay organized and ready for any project. Let’s explore some practical ways to store extension cords in your garage.
What Are the Benefits of Proper Extension Cord Storage?
Proper extension cord storage offers several benefits, including:
- Increased Safety: Tangled or improperly stored cords can create tripping hazards and increase the risk of electrical fires. By storing your extension cords properly, you reduce the chances of accidents.
- Longer Lifespan: Extension cords that are tightly coiled and tangled can become damaged over time. Proper storage prevents kinks and tangles, which helps extend the life of your cords.
- Saves Space: Storing your cords efficiently frees up valuable space in your garage. This allows for better organization and easier access to tools and other items.
- Time-saving: With a designated storage system in place, you won’t waste time untangling cords when you need them. This allows for more efficient project completion and less frustration.
- Prevents Damage: Storing extension cords properly also protects them from damage, such as moisture or exposure to extreme temperatures. This ensures that your cords will be in good condition when you need to use them.
What Will You Need?
Before you start organizing your extension cords, make sure you have the following items on hand:
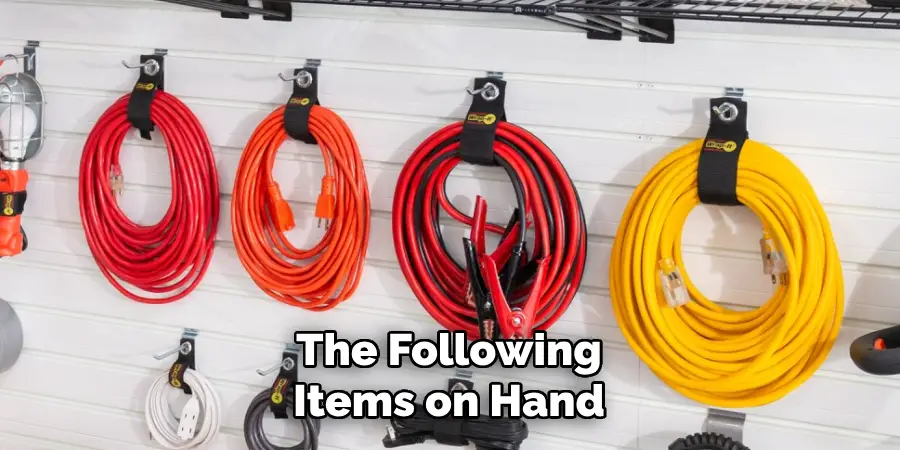
- Extension Cord Reels: These are specially designed reels that can hold and wind up your extension cords.
- Storage Hooks or Racks: These can be attached to walls or hung from ceilings to provide storage space for your extension cords.
- Cable Ties or Zip Ties: These ties can securely bundle smaller sections of cord together.
- Label Maker or Labels: These will help you label each cord for easy identification.
- Storage Container(s): You’ll need a container to store all of these items in one place.
Once you have gathered all of your supplies, it’s time to organize your extension cords.
9 Easy Steps on How to Store Extension Cords in Garage
Step 1. Choose a Designated Storage Area:
Start by selecting a specific area in your garage where you will store the extension cords. This could be a section of a wall, a shelf, or a cabinet, depending on the available space. Ensure that the area is easily accessible and located away from any potential hazards, such as water sources or heating equipment.
Having a designated storage spot not only keeps your garage organized but also helps protect the cords from unnecessary wear and tear. Choose a space that allows for proper ventilation to prevent moisture buildup, which can damage the cords over time.

Step 2. Clean and Inspect the Cords:
Before storing the cords, take the time to thoroughly clean and inspect them. Use a dry cloth or an appropriate cleaning solution to remove any dirt, grease, or debris that may have accumulated on the surface. This step is crucial, as contaminants can degrade the cord material and compromise its longevity.
During the cleaning process, carefully examine the cords for any visible signs of damage, such as cracks, frayed wires, or exposed insulation. If you notice any defects, repair or replace the cords immediately to prevent potential safety hazards.
Step 3. Coil the Cords Properly:
When coiling the cords, follow the natural curve or bend of the cord to avoid unnecessary stress or damage. Begin by holding one end of the cord firmly and gently looping it in consistent, uniform circles. Avoid twisting or forcing the cord into unnatural shapes, as this can weaken the internal wiring over time. If the cord is lengthy, you can divide it into smaller sections before coiling. Additionally, use Velcro straps or cord ties to secure the coil in place, keeping it tidy and preventing tangles during storage.
Proper coiling not only extends the life of your cords but also makes them easier to manage and deploy when needed, ensuring they remain in optimal condition for future use.
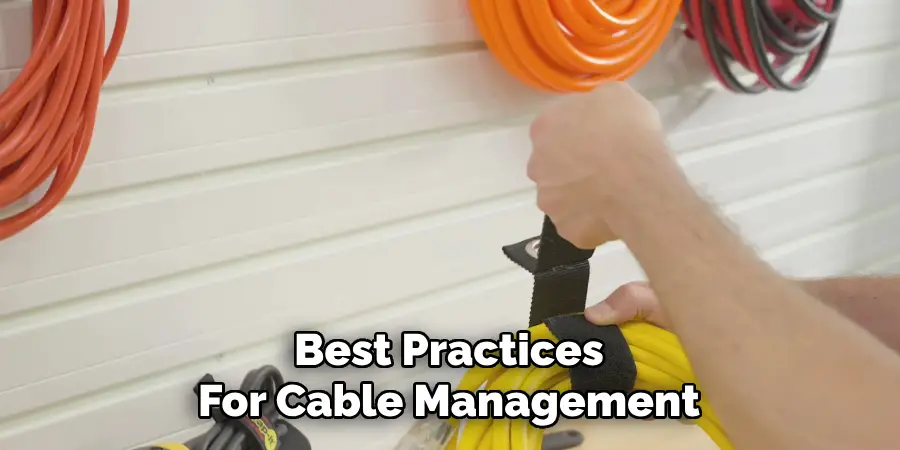
Step 4. Secure with Cable Ties or Velcro Straps:
To secure your coiled cords effectively, use cable ties or Velcro straps for a reliable and reusable solution. Cable ties provide a firm hold but are typically single-use, so they are best suited for cords that will remain stored for extended periods without frequent adjustments.
On the other hand, Velcro straps are versatile and reusable, making them an ideal choice for cords that are frequently accessed or moved. Wrap the tie or strap snugly around the center of the coil, ensuring it is tight enough to hold its shape but not so tight that it damages the cord. For added convenience, consider labeling each coil with a tag or marker that indicates its length, type, or purpose.
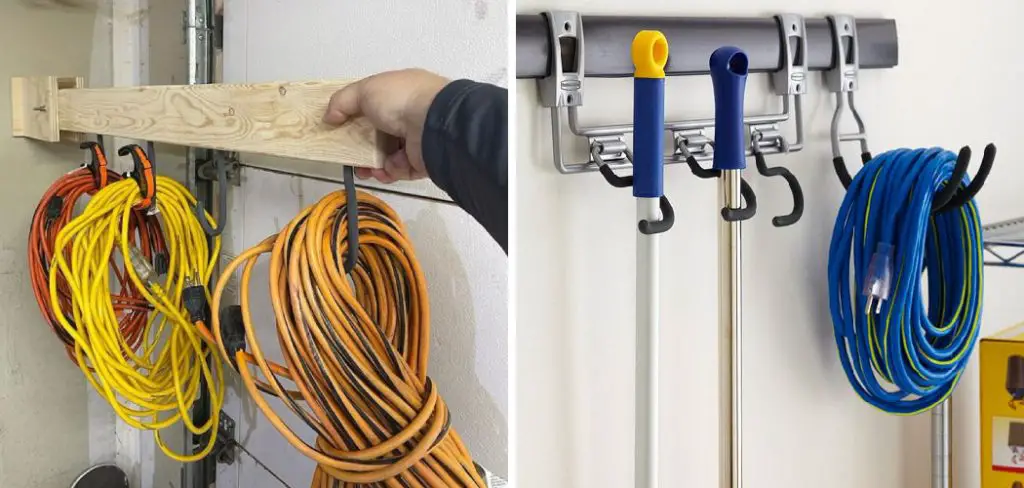
Step 5. Use Storage Hooks or Racks:
Using storage hooks or racks is an effective way to keep your coiled cords organized and easily accessible. These tools can be mounted on walls, inside cabinets, or even on the back of doors to optimize your storage space. When selecting a hook or rack, consider its size and weight capacity to ensure it can support the cords you plan to store adequately.
Arrange your cords systematically on the hooks or racks, grouping similar types, such as audio cables, power cords, or extension cables. This not only makes it simple to locate the cord you need but also prevents tangling and potential damage.
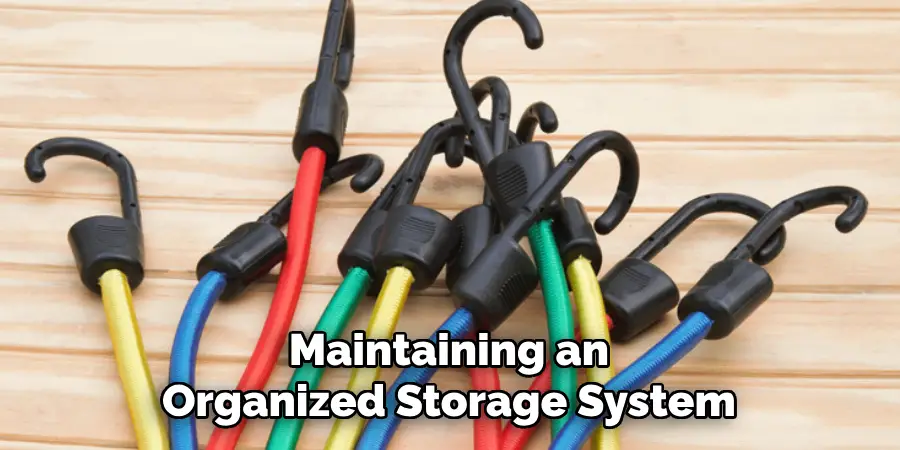
Step 6. Label Each Cord:
Clearly labeling each cord is a critical step in maintaining an organized storage system. Use durable labels or tags that can securely attach to each cord without falling off over time. Make sure the labels are large enough to write on and use a marker or pen with legible, smudge-proof ink. Include key information on the label, such as the cord’s purpose (e.g., “Phone Charger,” “HDMI Cable,” or “Router Power Supply”) and, if applicable, the specific device it belongs to.
For larger setups, like a home office or entertainment center, consider color-coded labels to make identification even faster. This practice saves time and reduces frustration when you need to quickly identify the correct cord for a specific task, especially in situations where you’re in a hurry.
Step 7. Utilize Storage Containers:
Storage containers are an excellent solution for keeping your cables and cords organized and protected. Depending on your needs, consider using containers of various sizes, shapes, and materials to suit different types of cords and devices.
Small containers or zippered pouches can be ideal for holding USB cables, charging cords, and adapters. Larger containers or bins can accommodate bulkier items, such as extension cords or power strips.
Step 8. Group Similar Cords Together:
Grouping similar cords together is a vital step in maintaining a tidy and efficient organizational system. Start by categorizing your cords based on their purpose, such as charging cables, audio cables, or HDMI cords. You could also group them by device type, like separating cables for laptops, phones, or gaming consoles. Once grouped, secure each set with cable ties, velcro straps, or reusable twist ties to prevent tangling and ensure easy access. Clear labeling of these groups with tags or labels further enhances organization, allowing you to quickly find the cable you need without unnecessary searching.
Step 9. Regular Maintenance:
To keep your cable organization system practical and functional, regular maintenance is essential. Over time, new cables may be added to your collection, or your current setup may no longer meet your needs. Periodically, take a few moments to assess your collection and determine if adjustments are necessary. Start by inspecting your cables for wear and tear—discard any damaged or obsolete wires that are no longer functional or compatible with your devices.
Ensure that all cable ties, straps, or labels remain secure and legible. Additionally, take this opportunity to confirm that your grouping method still makes sense for your current needs. For instance, if you’ve acquired more devices, you may need to create additional groups or reorganize existing ones. By integrating maintenance into your routine, you’ll save time, reduce frustration, and extend the lifespan of your cables.
With these tips in mind, let’s explore some other best practices for cable management.
Conclusion
Properly storing extension cords in your garage is essential to maintaining their functionality and ensuring safety.
Start by coiling the cords neatly to prevent tangling and damage, using twist ties or Velcro straps to secure them. Consider using wall-mounted hooks, cord reels, or storage bins to keep the cords off the ground and keep them organized. Additionally, labeling cords based on their length or purpose can save time when retrieving them. By following these practices, you’ll not only keep your garage tidy but also prolong the lifespan of your extension cords.
Hopefully, this guide on how to store extension cords in garage has given you some useful tips on how to effectively organize your garage.
I am Rick. I grew up helping my dad with his handyman service. I learned a lot from him about how to fix things, and also about how to work hard and take care of business. These days, I’m still into fixing things- only now, I’m doing it for a living.
I’m always looking for new ways to help people grow and develop. That’s why I have created this blog to share all my experience and knowledge so
that I can help people who are interested in DIY repair.