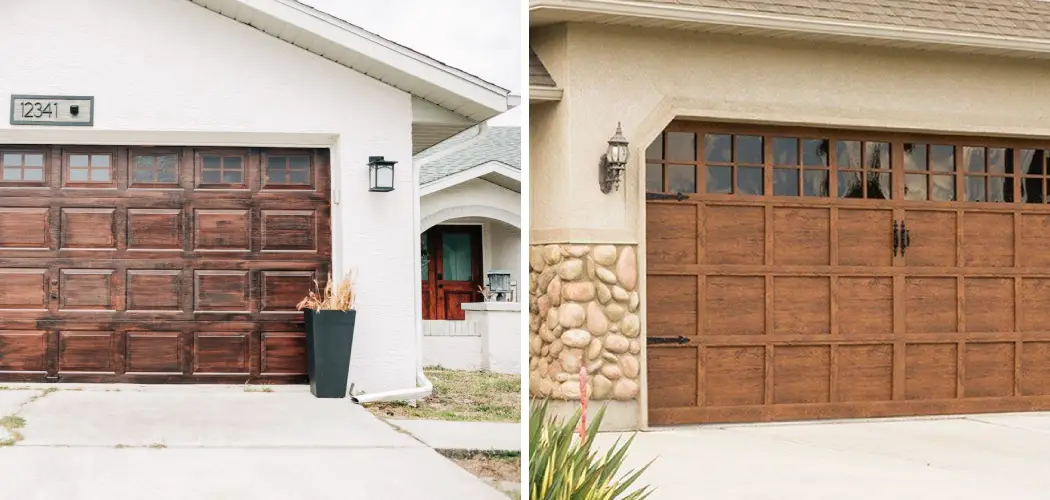
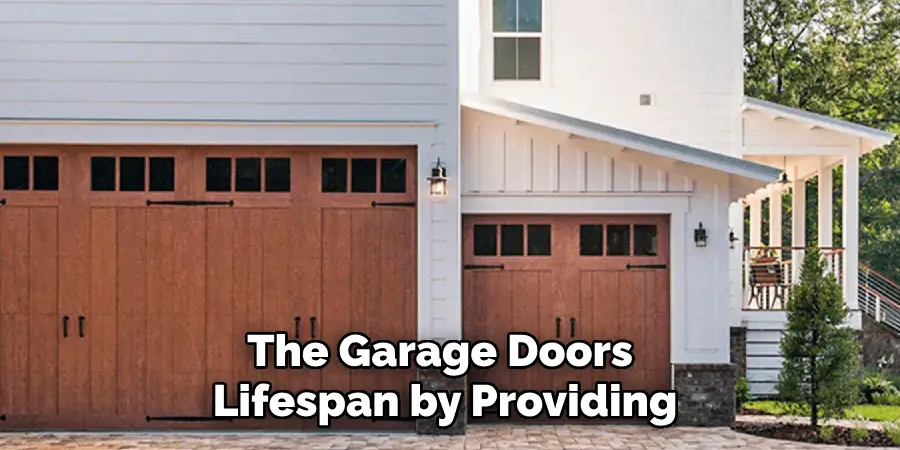
Staining a wooden garage door is a vital process that enhances its aesthetic appeal while offering essential protection against the elements. By applying a quality stain, homeowners can enrich the natural grain of the wood, resulting in a more vibrant and attractive finish that enhances the overall charm of their property. Furthermore, staining significantly extends the garage door’s lifespan by providing a barrier against moisture, UV rays, and other environmental factors that can lead to decay and deterioration.

When considering the options for finishing your garage door, staining presents numerous advantages over painting. Unlike paint, which can obscure the wood’s natural beauty, stain allows the grain to shine through while also delivering superior durability. The process of how to stain a garage door involves meticulous preparation, careful application of the stain, and sealing
the door effectively to ensure long-lasting results. This introduction sets the stage for a detailed guide on achieving a stunning and resilient finish for your garage door.
Choosing the Right Stain and Materials
Types of Stains for Garage Doors
When selecting a stain for your garage door, you will encounter two primary types: oil-based and water-based stains. Oil-based stains penetrate deeper into the wood, offering enhanced durability and resistance to chipping or peeling; however, they can take longer to dry and may emit strong fumes during application. On the other hand, water-based stains dry more quickly,
have lower odor levels, and are easier to clean up with soap and water. When deciding on the right stain, consider the wood type of your garage door and the desired aesthetic. For instance, darker stains can highlight hardwoods’ natural grain and texture, while lighter stains might be better suited for softer woods. Always choose a stain color and finish that complements the exterior of your home, ensuring a cohesive and inviting appearance.
Gathering the Necessary Tools and Materials
Gather the essential tools and materials beforehand to stain your garage door. You will need a high-quality stain suitable for exterior use, a wood cleaner to prepare the surface, and sandpaper to smooth it out. A selection of brushes or stain applicators will help you achieve an even application, while drop cloths will protect the surrounding area from drips and spills. Additionally, painter’s
tape is crucial for masking off any areas you don’t want to stain, such as windows and hardware. Finally, a protective sealer is necessary to safeguard the stained surface from UV rays and moisture, thus extending the life and beauty of your garage door. Having these items ready will ensure a smooth and efficient staining process.

Preparing the Garage Door for Staining
Step 1: Clean the Door Thoroughly
Before applying any stain, cleaning the garage door thoroughly is crucial to ensure the surface is free from dirt, dust, and grime. Start by using a wood cleaner designed for exterior surfaces or a mild detergent mixed with water. Apply the cleaner with a soft cloth or a sponge, making sure to scrub all areas of the door, including corners and crevices where dirt may accumulate. Rinse
the surface with clean water, ensuring all soap residues are removed. After cleaning, allow the door to dry completely, as any moisture left on the surface can impede the staining process and lead to uneven results. A thorough cleaning sets a solid foundation for the next steps in staining.
Step 2: Sand the Surface
Once the door is clean and dry, the next step is sanding the surface to prepare it for staining. Sanding helps remove any old finishes and smooths out imperfections, creating an ideal surface for the stain to adhere to. For this task, start with medium-grit sandpaper (around 120 grit) to tackle rough spots and old finishes, then follow with a finer grit (220 grit) to achieve a smooth finish.
Always sand in the direction of the wood grain to avoid scratching the surface. Pay special attention to any areas where the wood may be raised or rough, ensuring that they are smoothed down. Once sanding is complete, wipe away any dust with a damp cloth and allow the surface to dry before proceeding with the staining process.
Step 3: Protect Surrounding Areas
To ensure a clean and professional-looking finish, you must protect areas surrounding the garage door that you do not want to stain. Start by applying painter’s tape around windows, door handles, and any hardware to prevent accidental drips or overspray. This will help you achieve sharp lines and avoid the hassle of removing stains from these areas later. Additionally, drop cloths

or plastic sheeting should be placed on the ground beneath the door to catch any drips or spills during the staining process. Being diligent in this protective step will save you time and effort in cleanup while maintaining the integrity of your garage door’s finish.
How to Stain a Garage Door: Applying the Stain to the Garage Door
Step 1: Test the Stain
Before committing to the entire surface, it’s crucial to test the stain on a small, inconspicuous garage door area. This will allow you to gauge the stain’s color and finish, ensuring it aligns with your vision for the door’s aesthetic. Apply a small amount of stain using your chosen applicator and allow it to dry as per the manufacturer’s instructions. Once dry, evaluate how it looks in different
lighting conditions; this will help you confirm if the stain suits your expectations before proceeding with the full application.
Step 2: Apply the First Coat of Stain
When you’re ready to apply the first coat of stain, ensure your working area is well-ventilated. Using a brush, roller, or stain pad, apply the stain in one section of the door at a time. Working in manageable sections—usually about 2-3 feet wide—is essential to avoid overlap and ensure an even application. Apply the stain with long, even strokes, going with the wood grain to enhance
its natural beauty. Be careful not to overload your applicator, as this can lead to drips and an uneven finish. After applying the stain, step back and inspect your work to ensure consistency in color and coverage.
Step 3: Wipe Off Excess Stain
Once you’ve applied the stain to a section, wiping off any excess product before moving on is important. Take a clean, dry cloth and gently wipe the surface toward the grain. This step is crucial for preventing blotches or uneven shading, which can detract from the overall appearance of the garage door. Ensure that you remove any puddles or drips that may have formed, allowing
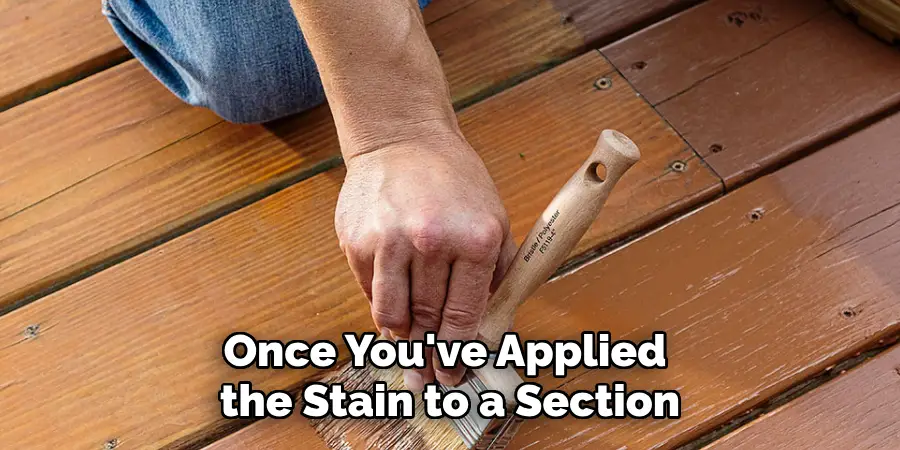
the stain to penetrate the wood evenly without creating dark spots.
Step 4: Apply Additional Coats if Necessary
If you desire a deeper and richer color, consider applying additional coats of stain after the first has dried completely. Follow the manufacturer’s recommended drying time between coats—typically around 4 to 6 hours. Once the first coat is dry, repeat the application process, ensuring that you follow the same techniques for applying and wiping off excess stains. This layering
technique will significantly enhance the depth of color while providing added protection to the wood surface. Always step back to evaluate your progress, adjusting the number of coats based on your desired final outcome.
Sealing and Protecting the Stained Garage Door
Applying a Protective Sealer
Once you’ve achieved your desired stain color and allowed it to dry thoroughly, the next critical step is to apply a protective sealer. A high-quality sealer guards the stained surface against harmful UV rays, moisture, and wear while enhancing the overall look of your garage door. Common options for sealers include polyurethane, which offers a durable and water-resistant finish, and
spar varnish, known for its exceptional ability to withstand outdoor conditions. To apply the sealer evenly, use a clean brush or roller to cover all areas consistently. Similar to staining, work in manageable sections, applying the sealer in the direction of the wood grain. Be cautious not to over-apply, as this can create an uneven finish. Allow the first coat to dry according to the

manufacturer’s instructions before assessing the coverage and applying additional coats as needed for optimal protection.
Allowing Time for the Stain and Sealer to Cure
After applying the sealer, it’s vital to let both the stain and sealer cure completely before using the garage door. This typically requires 24 to 48 hours of drying, depending on the specific products used and environmental conditions. Curing allows the finish to harden properly and ensures maximum durability, protecting the door from wear and tear.
Final Touch-Ups
Finally, once the curing process is complete, inspect the surface for missed spots or uneven areas. If you notice imperfections, perform touch-ups as needed to ensure a flawless finish, enhancing the appearance and longevity of your beautifully stained garage door.
Maintaining the Stained Garage Door
Regular Cleaning
It’s essential to clean your stained garage door periodically to keep it looking fresh. Use a mixture of mild detergent and water, applying it with a soft cloth or sponge. This simple maintenance step helps prevent dirt and grime buildup, ensuring the beauty of your stained finish remains intact.
Reapplying Sealer
To prolong the longevity of your garage door’s finish, consider reapplying a protective sealer every few years. This will help maintain the rich colour of the stain and provide added protection against the elements, such as UV rays and moisture, which can lead to deterioration over time.
Inspecting for Damage
Regular inspections are crucial for preserving the appearance of your stained garage door. Look for signs of wear, fading, or any potential damage, and address these issues promptly. Timely intervention can prevent further deterioration and ensure your garage door continues to enhance your home’s aesthetic appeal.
When to Call a Professional
Recognizing Complex Staining Projects
Certain staining projects may require the expertise of a professional, particularly when dealing with complex designs or intricate wood grain patterns. If your garage door features detailed molding or decorative elements, a professional’s precision will highlight these features beautifully. Additionally, an expert can effectively restore the door to its original condition if the wood
has severe damage, such as deep cracks or extensive wear. Difficult wood types, which may be challenging to stain evenly, are also best handled by skilled professionals.
Benefits of Professional Staining
Hiring a professional for your staining project offers several advantages. They possess the knowledge and experience needed to achieve a flawless finish that may be difficult to replicate with DIY methods. By entrusting the job to an expert, you can save valuable time and effort while ensuring that the results are long-lasting and durable. Ultimately, a professional’s workmanship contributes to maintaining the beauty and value of your home.

Conclusion
Staining your garage door is a rewarding process that enhances the aesthetic appeal and value of your home. To recap the key steps on how to stain a garage door, begin with proper preparation by cleaning the surface and selecting the right materials. Apply the stain in even coats, wiping off any excess, and follow up with a protective sealer to safeguard against
environmental damage. Continuous maintenance, including regular cleaning and reapplication of the sealer, will keep your door looking fresh for years. Always remember to work in a well-ventilated area and adhere to safety guidelines during the staining process to protect yourself. By taking the time to follow these steps, you can take pride in your beautifully stained garage door, knowing it adds both functionality and charm to your home.
I am Rick. I grew up helping my dad with his handyman service. I learned a lot from him about how to fix things, and also about how to work hard and take care of business. These days, I’m still into fixing things- only now, I’m doing it for a living.
I’m always looking for new ways to help people grow and develop. That’s why I have created this blog to share all my experience and knowledge so
that I can help people who are interested in DIY repair.