If you have a garage that you frequently use for work or as a living space, it’s important to ensure that the temperature is comfortable year-round. This is where a mini split comes in handy.
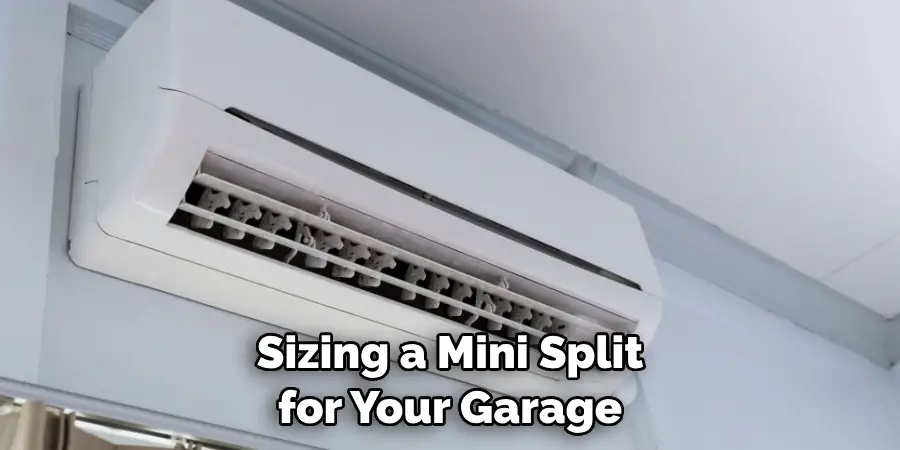
A mini split is a type of heating and cooling system that can be installed in individual rooms, making it perfect for garages. However, one of the most important factors to consider when choosing a mini split for your garage is the size.

The main advantage of using a mini split system for a garage is its customizable sizing options. Unlike traditional HVAC systems, which are designed to heat or cool an entire house or building, mini splits can be sized to fit specific areas such as a garage. You can find step-by-step instructions on how to size a mini split for a garage in this blog article.
Step by Step Processes for How to Size a Mini Split for a Garage
Step 1: Inspect Your Garage
Start by taking a closer look at your garage. Measure the dimensions of the space using a tape measure, including the length, width, and ceiling height.
Once you have measured your garage’s dimensions, multiply the length by the width to determine its square footage. This number will be used to calculate the BTU (British Thermal Units) needed to heat or cool your garage.
Step 2: Consider the Climate
The climate of your area can impact the size of mini split you need. If you live in a colder area, you may need a larger unit to effectively heat your garage during winter months. Similarly, if you live in a hotter area, a larger unit may be needed for efficient cooling.
To determine how many BTUs your mini split needs, multiply the square footage of your garage by 25. This will give you an approximate number for heating and cooling.
Step 3: Factor in Insulation
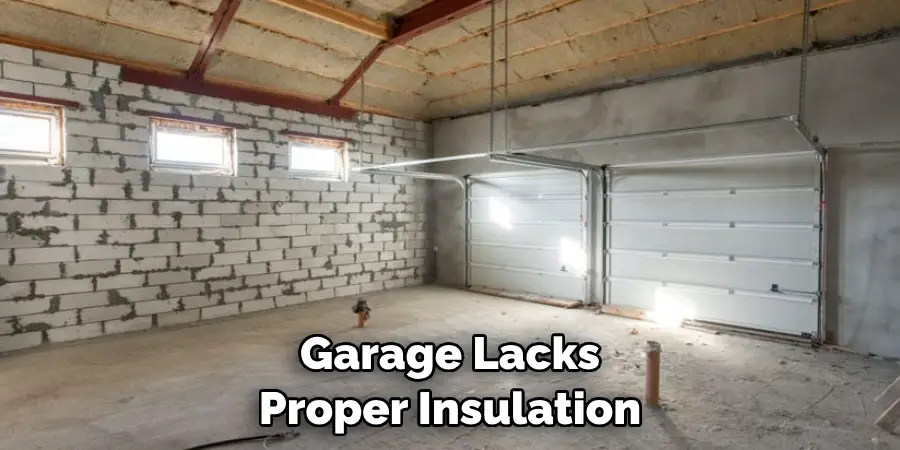
If your garage is well-insulated, you may need less BTUs to heat or cool it. On the other hand, if your garage lacks proper insulation, you may need to add 10-20% more BTUs.
There are different types of mini splits available, such as single-zone and multi-zone units. A single-zone unit is designed to heat or cool one room, while a multi-zone unit can cover multiple rooms. Consider which type of unit would be best for your garage’s layout.
Step 4: Check the Mini Split’s Capacity
Mini splits are available in various capacities, ranging from 9,000 BTUs to over 42,000 BTUs. Make sure to choose a capacity that matches the number you calculated earlier.
Where you install your mini split can also impact its effectiveness. If possible, place it in a central location that allows for even distribution of air throughout the garage.
Step 5: Consider Energy Efficiency
Some mini splits are more energy-efficient than others. Look for units with high SEER (Seasonal Energy Efficiency Ratio) ratings to save money on your energy bills.
If you’re unsure about the sizing process or need help choosing the right mini split for your garage, don’t hesitate to consult a professional. They can provide valuable insight and ensure that you choose the best option for your specific needs.
Now that you know to size a mini split for a garage, you can confidently choose the right unit for your space. With the proper sizing and installation, you can enjoy a comfortable temperature in your garage year-round.

Precautions for How to Size a Mini Split for a Garage
As mini splits are becoming increasingly popular for garage use, it is important to understand how to properly size one for your specific space. Here are some safety tips and precautions to keep in mind during the process:
- Do not attempt to install a mini split if you do not have experience with electrical work or HVAC systems. This can lead to potential hazards such as electric shock or damage to the unit. It is best to hire a professional for proper installation.
- Make sure the electrical circuit and outlets in your garage are suitable for the voltage and amperage requirements of the mini split. If not, have an electrician make the necessary adjustments before proceeding with installation.
- Prioritize safety over cost when choosing a mini split for your garage. It may be tempting to opt for a cheaper unit, but it is important to choose one that is properly sized and suitable for your space to ensure efficient and safe operation.
- Consider the size of your garage when selecting the BTU (British Thermal Unit) rating for your mini split. A larger garage will require a higher BTU rating, while a smaller one will need a lower rating. Choosing the wrong BTU can lead to inefficiency and unnecessary energy costs.
- It is important to properly insulate your garage before installing a mini split. This will help maintain the desired temperature and reduce strain on the unit, leading to longer lifespan and better performance.
- Regular maintenance is crucial for safe and efficient operation of your mini split in a garage. Make sure to clean or replace air filters as recommended by the manufacturer and schedule regular tune-ups with a professional to avoid any potential safety hazards.
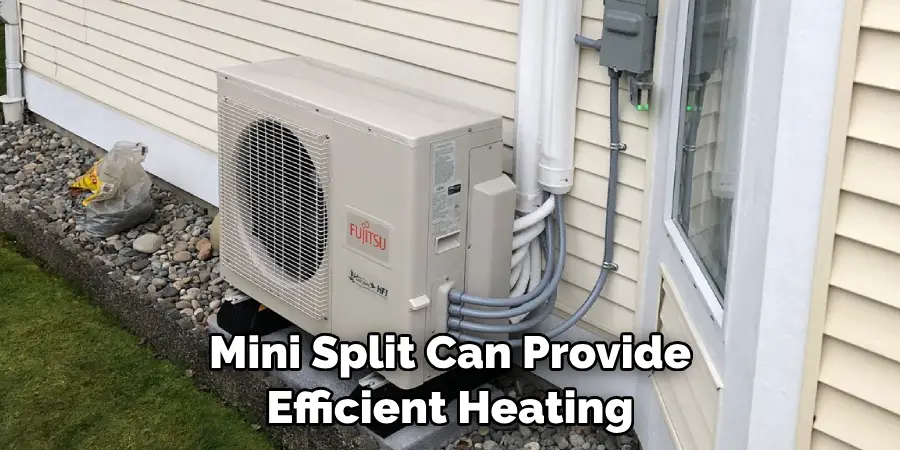
By following these precautions, you can ensure a safe and successful installation of a mini split in your garage. Remember to always prioritize safety and consult with professionals if needed when it comes to installing HVAC systems. With proper sizing and maintenance, a mini split can provide efficient heating and cooling for your garage space.
Is It Necessary to Hire a Professional for Sizing and Installation of a Mini Split in a Garage?
While it is possible to size and install a mini split yourself, it is always recommended to hire a professional for this task. An HVAC technician or electrician will have the necessary knowledge and experience to properly size and install a mini split in your garage.

They can also advise on any additional safety precautions that may need to be taken based on your specific space and electrical setup. It is important to prioritize safety and efficiency when it comes to sizing and installing a mini split, so investing in a professional installation will likely save you time, money, and potential headaches in the long run.
Are There Any Specific Features or Options to Look for When Choosing a Mini Split for a Garage?
When choosing a mini split for your garage, there are a few features and options to keep in mind:
- Consider getting a unit with a variable speed compressor. This will allow the mini split to adjust its output based on the temperature needs of your garage, resulting in more efficient operation.
- Look for units with built-in dehumidifiers if you live in a humid climate. This can help prevent mold and mildew growth in your garage.
- Some mini splits offer additional features such as Wi-Fi connectivity, remote control options, and programmable timers. These can provide convenience and added control over the unit’s operation.
- If you plan on using your mini split year-round, consider getting a heat pump model that can also provide warmth during colder months.
By considering these features and options, you can choose a mini split that best suits your needs and provides optimal comfort in your garage. Remember to also consult with professionals for their expertise and advice before making a final decision.
What Are Some Common Mistakes to Avoid When Sizing a Mini Split for a Garage?
When it comes to sizing a mini split for your garage, there are a few key factors that you need to consider in order to ensure maximum energy efficiency and optimal performance.
While it may seem like a simple task, there are common mistakes that many people make when sizing their mini splits for garages. In this section, we’ll discuss these mistakes and provide tips on how to avoid them. First and foremost, it’s important to understand that the size of your garage does not necessarily determine the size of mini split you need.
In fact, many people make the mistake of thinking that a larger garage requires a larger mini split, which is not always the case. Instead, you should focus on factors such as insulation level and climate when determining the appropriate size for your mini split.

Another common mistake is not taking into account the cooling and heating load of your garage. This includes factors such as the number of people occupying the space, electronics or appliances in use, and even sunlight exposure.
If you don’t accurately calculate these loads, you may end up with a mini split that is either too large or too small for your garage, resulting in inefficient cooling or heating.
How Can You Determine the Right Sized Mini Split for Your Garage?
Sizing a mini split for your garage can be a daunting task, especially if you are new to the world of HVAC systems. With many factors to consider, it’s important to take the time to properly size your mini split in order to ensure efficient operation and maximum comfort in your garage.
In this guide, we will go over the steps to sizing a mini split for your garage to help you make an informed decision.
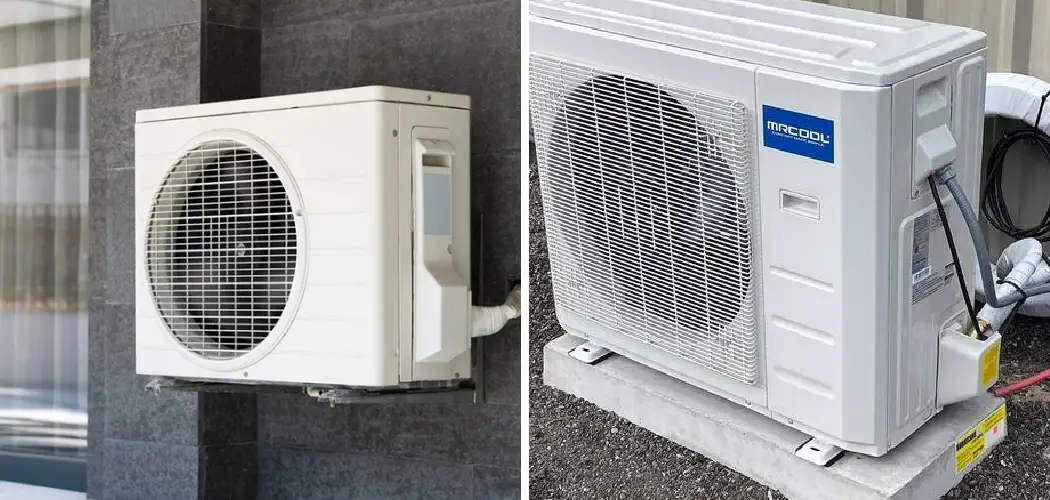
Firstly, it’s important to understand the basics of how mini split systems work. A mini split is a type of heating and cooling system that consists of two main components – an outdoor unit and one or more indoor units. The outdoor unit houses the compressor and condenser, while the indoor unit(s) contain the evaporator and fan.
These units are connected by a refrigerant line, allowing for efficient transfer of heat or cool air. When it comes to sizing a mini split for your garage, there are three main factors to consider: the size of your garage, heating and cooling needs, and insulation. The size of your garage will determine the capacity (BTU or British Thermal Units) needed for your mini split.
Are There Any Energy Efficiency Ratings You Should Look for When Choosing a Mini Split for Your Garage?
When purchasing a mini split for your garage, it’s important to consider its energy efficiency rating. This will not only impact your monthly energy costs, but also the overall performance and lifespan of the unit.
The two main ratings to look for are the EER (Energy Efficiency Ratio) and SEER (Seasonal Energy Efficiency Ratio). Both of these ratings measure the cooling efficiency of the unit, with higher numbers indicating better efficiency.
The EER specifically measures efficiency at a specific outdoor temperature (usually 95°F), while the SEER takes into account average temperatures over an entire cooling season. It’s important to note that these ratings may not be directly comparable across different brands, so it’s best to consult with a professional when choosing an energy-efficient mini split for your garage.
With the right size and energy efficiency, a mini split can provide efficient heating and cooling for your garage space, leading to cost savings and comfort all year round. So, it is important to keep these factors in mind when choosing a mini split for your garage.
Conclusion
In conclusion, understanding how to properly size a mini split for a garage is essential for optimal performance and energy efficiency. However, there are some disadvantages that should also be taken into consideration when making this decision.
One of the main disadvantages is the cost associated with purchasing and installing a mini split system. While they may offer long-term savings on energy bills, they can still be quite expensive upfront. Additionally, if the system is not properly sized for the garage space, it may lead to inefficient cooling or heating and ultimately result in higher energy bills.
I hope this article has been beneficial for learning how to size a mini split for a garage. Make Sure the precautionary measures are followed chronologically.