In today’s fast-paced world, convenience and efficiency are more important than ever, especially when it comes to managing our home systems. Myq Smart Garage Control provides homeowners with the ability to monitor and control their garage doors from anywhere using their smartphones. This innovative solution not only enhances security but also offers peace of mind

by allowing users to check the status of their garage doors remotely. In this guide, we will walk you through the step-by-step process of how to set up myq smart garage control, ensuring that you can take full advantage of this smart technology in no time.
Why Choose MyQ for Your Garage?
Choosing MyQ for your garage is a decision rooted in both practicality and advanced technology. One of the standout features of MyQ is its seamless integration with various smart home systems, allowing users to create a cohesive and automated home environment. Additionally, MyQ offers real-time notifications, meaning you can receive alerts about the status of your garage
door directly on your smartphone, keeping you informed and in control at all times. The system’s user-friendly interface ensures that setup and operation are straightforward, making it accessible even for those who may not be technologically inclined.
Tools and Materials Needed
Before you begin the setup process for your MyQ Smart Garage Control, it’s essential to gather the necessary tools and materials. Here’s what you will need:
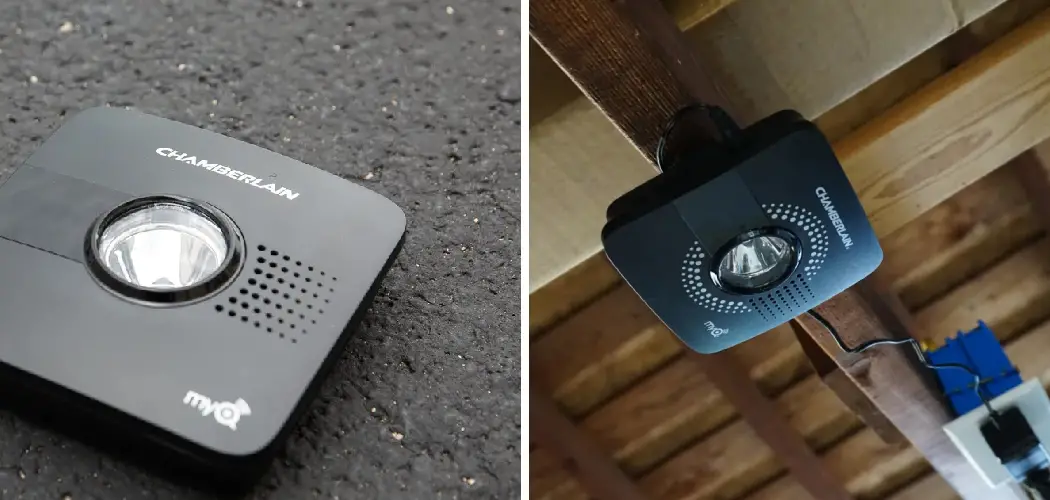
- MyQ Smart Garage Control Hub: This is the main device that connects to your garage door opener and allows remote control via your smartphone.
- Smartphone: A compatible smartphone with the MyQ app downloaded from the App Store or Google Play.
- Garage Door Opener: Ensure that you have a compatible garage door opener, as MyQ works with various brands and models.
- Screwdriver: A Phillips or flathead screwdriver for mounting the hub, if required.
- Wi-Fi Connection: A stable internet connection in your garage to connect the MyQ hub.
- Power Outlet: Access to an electrical outlet to power the MyQ hub if needed.
- Tape Measure: For measuring distances during installation.
- Level: To ensure the hub is mounted securely and level.
Having these tools and materials ready will facilitate a smooth setup process and help you efficiently get your MyQ Smart Garage Control up and running.
10 Methods How to Set up Myq Smart Garage Control
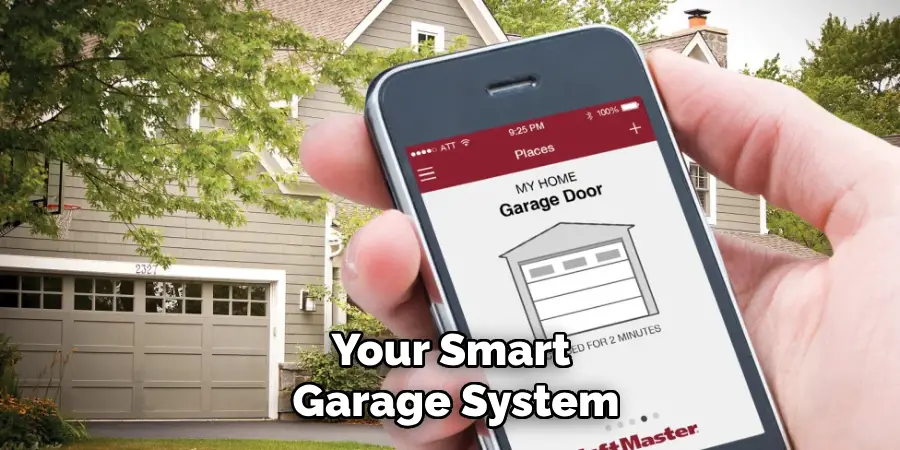
1. Understand the Purpose and Benefits of MyQ Smart Garage Control
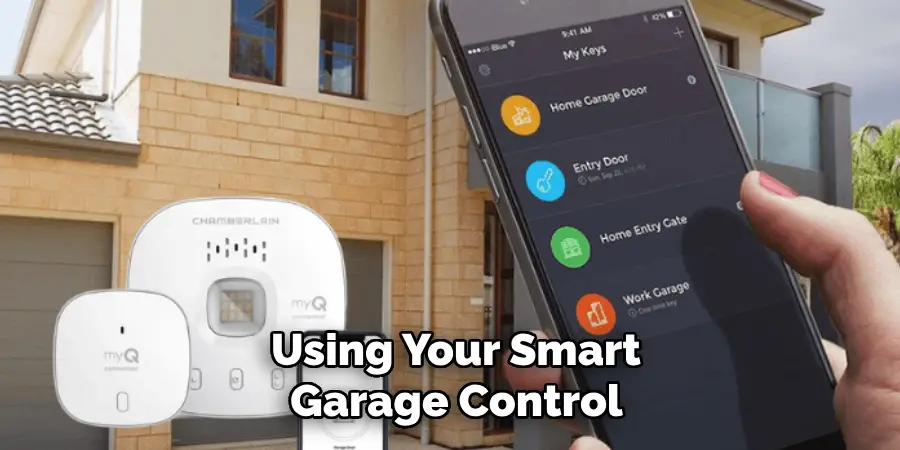
Before diving into the setup process, it’s important to understand the purpose and benefits of the MyQ Smart Garage Control. MyQ allows you to monitor and control your garage door from anywhere using your smartphone. It enhances the security and convenience of your home by enabling remote access, real-time notifications, and integration with other smart home devices. By
familiarizing yourself with its features, you can fully appreciate the advantages of having a smart garage system and feel more confident during the setup process.
2. Gather the Necessary Tools and Components
To ensure a smooth setup, gather all the necessary tools and components before you begin. The MyQ Smart Garage Control kit typically includes a Wi-Fi hub, a door sensor, mounting brackets, and a power adapter. You’ll also need a stable Wi-Fi connection, a smartphone, the MyQ app, and basic tools like a screwdriver, tape measure, and a step ladder. Having all your tools and
components ready will make the installation process efficient and prevent any interruptions. Being well-prepared ensures that you can follow each step methodically, resulting in a successful setup.
3. Download and Install the MyQ App
The MyQ app is essential for setting up and using your smart garage control system. Begin by downloading the MyQ app from the App Store or Google Play Store on your smartphone. Once downloaded, install the app and create an account if you don’t already have one. The app will guide you through the setup process and provide a user-friendly interface to control your garage door
remotely. Installing the app is a critical step because it serves as the central hub for all your MyQ-related activities, making it possible to manage your garage door from anywhere.
4. Connect the Wi-Fi Hub to Power
The next step involves setting up the MyQ Wi-Fi hub. Plug the hub into a power outlet near your garage door opener, and ensure that it’s within range of your home’s Wi-Fi network. The hub acts as the communication bridge between your garage door opener and the MyQ app. Once the hub is powered on, you’ll see an LED indicator light, which will guide you through the connection
process. Properly connecting the hub to power and ensuring it’s within Wi-Fi range are crucial for establishing a reliable connection between your garage door opener and the app.
5. Pair the Hub with Your Wi-Fi Network
With the Wi-Fi hub powered on, open the MyQ app and follow the prompts to connect the hub to your Wi-Fi network. The app will scan for available networks, and you’ll need to select your home Wi-Fi and enter the password. Ensure that your Wi-Fi network is stable and that the hub is receiving a strong signal. A successful pairing will be indicated by a solid green or blue light on
the hub. Pairing the hub with your Wi-Fi network is a vital step that enables the remote control features of the MyQ system, allowing you to monitor and manage your garage door from anywhere.
6. Mount the Hub on the Ceiling or Wall
After the hub is connected to Wi-Fi, it’s time to mount it in an optimal location. Use the provided mounting brackets to secure the hub to the ceiling or wall near your garage door opener. Ensure that the hub is positioned where it has a clear line of sight to the garage door opener and is within range of your Wi-Fi
network. The mounting location should also be easily accessible for any future maintenance. Properly mounting the hub ensures that it can effectively communicate with your garage door opener and provide reliable control through the MyQ app.

7. Install the Door Sensor on the Garage Door
The door sensor is a critical component of the MyQ system, as it detects whether your garage door is open or closed. Begin by cleaning the area on the garage door where you plan to install the sensor, usually at the top or side of the door. Use the adhesive strips or screws provided in the kit to securely attach the sensor. Ensure that the sensor is aligned properly and that it’s
within communication range of the Wi-Fi hub. Installing the door sensor correctly is essential for accurate monitoring and alerts, allowing the MyQ system to provide real-time status updates on your garage door.
8. Pair the Door Sensor with the Wi-Fi Hub
Once the door sensor is installed, you’ll need to pair it with the Wi-Fi hub. Open the MyQ app and follow the instructions to add the sensor to your system. This typically involves pressing a button on the sensor or the hub to establish the connection. The app will confirm when the sensor is successfully paired, and you should test it by opening and closing the garage door to ensure
the app accurately reflects the door’s status. Pairing the door sensor with the hub is a crucial step that allows the MyQ system to monitor and report the door’s position, ensuring your garage’s security and functionality.
9. Test the System and Configure Notifications
After pairing the sensor, it’s important to test the entire system to ensure everything is working correctly. Use the MyQ app to open and close your garage door remotely, and verify that the app accurately shows the door’s status. Additionally, configure notifications in the app to receive alerts when the door is opened, closed, or left open for an extended period. Testing the
system and setting up notifications are essential steps that confirm the successful installation of your MyQ Smart Garage Control, providing you with peace of mind and the convenience of remote access.
10. Integrate MyQ with Other Smart Home Devices (Optional)
To further enhance the functionality of your MyQ Smart Garage Control, consider integrating it with other smart home devices or platforms, such as Amazon Alexa, Google Assistant, or Apple HomeKit. This allows you to control your garage door using voice commands and automations, further streamlining your smart home experience. To set up integrations, follow the instructions
provided in the MyQ app or the respective smart home platform’s app. Integrating MyQ with other devices maximizes the utility of your smart garage system, offering seamless control and enhanced security through a unified smart home network.
Conclusion
In conclusion, setting up your MyQ Smart Garage Control system provides enhanced convenience and security for managing your garage door remotely. By following the outlined steps—from downloading the app to integrating with other smart home devices—you can achieve seamless control and real-time monitoring. With features like notifications and voice commands, this system
not only simplifies access but also offers peace of mind by keeping you informed about your garage door status at all times. Thanks for reading, and we hope this has given you some inspiration on how to set up myq smart garage control!
I am Rick. I grew up helping my dad with his handyman service. I learned a lot from him about how to fix things, and also about how to work hard and take care of business. These days, I’m still into fixing things- only now, I’m doing it for a living.
I’m always looking for new ways to help people grow and develop. That’s why I have created this blog to share all my experience and knowledge so
that I can help people who are interested in DIY repair.