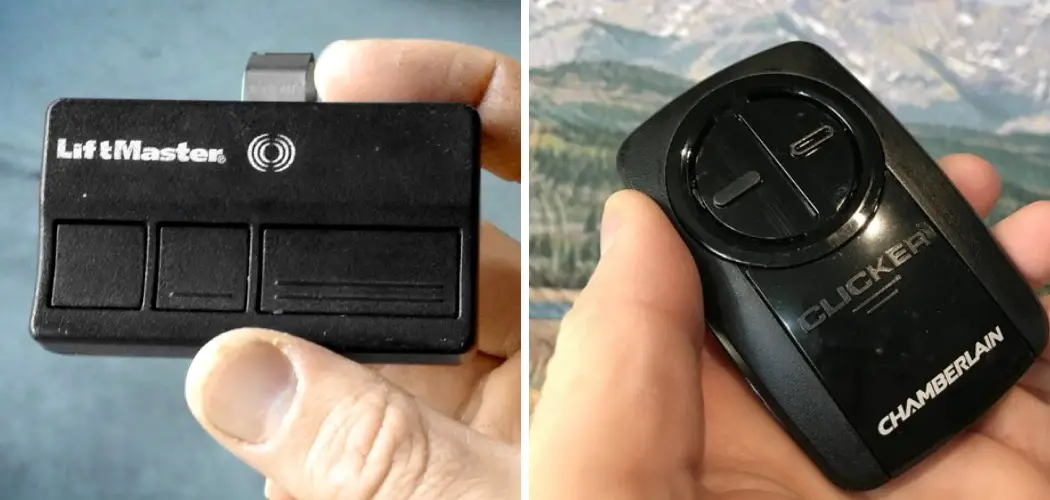
In today’s fast-paced world, convenience is key, and a universal garage door opener exemplifies this principle by providing a flexible solution for managing multiple garage door systems.
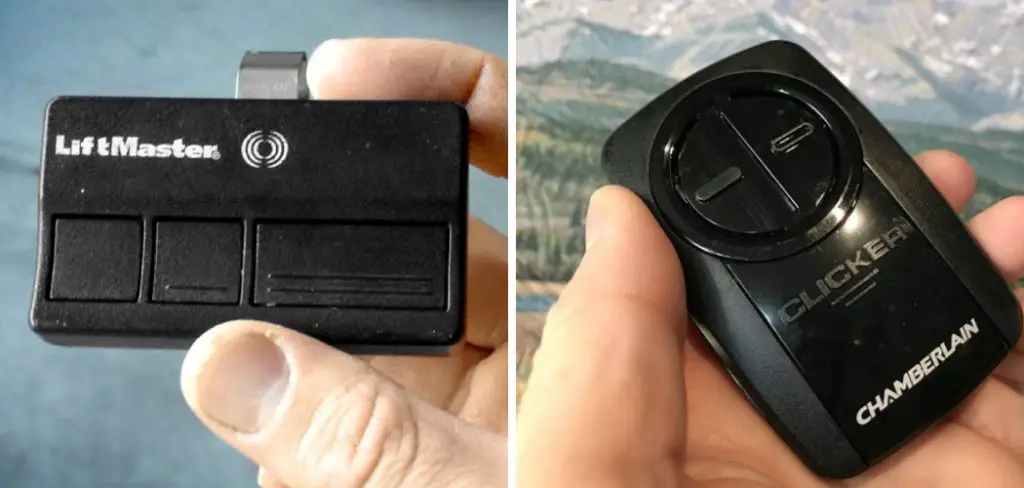
Using a universal opener allows homeowners to enjoy seamless compatibility with various garage door models, eliminating the need for multiple remotes. This single device simplifies everyday tasks, allowing users to control different garage doors effortlessly, enhancing their overall convenience.
Setting up a universal garage door opener involves a few straightforward steps to ensure optimal functionality.
Initially, users must prepare the system by gathering the necessary tools and information about their garage doors. Following this, programming the opener to recognize specific doors is essential, and finally, testing its functionality will confirm that it operates as intended. This article will guide you through how to set universal garage door opener effectively, making the process smooth and accessible.
Understanding Universal Garage Door Openers
What is a Universal Garage Door Opener?
A universal garage door opener is a device designed to operate multiple brands and models of garage door systems, offering a versatile solution for homeowners.
Unlike traditional brand-specific garage door openers, universal garage door openers provide compatibility across various manufacturers, simplifying garage door management. Key features often include programmable buttons, secure encryption technology, and LCDs for easy programming and control.
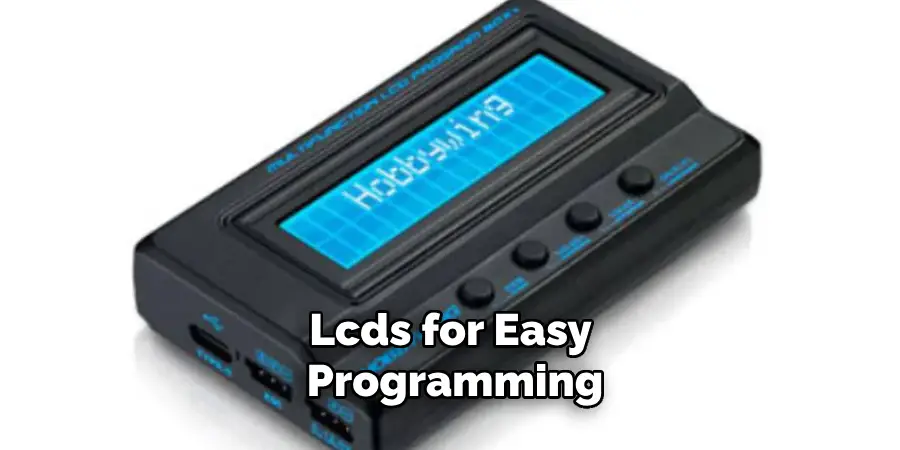
These devices typically come with comprehensive user guides, allowing homeowners to set them up relatively easily. Their ability to consolidate functions into a single remote or keypad reduces clutter and enhances convenience, making them an ideal choice for those with different garage door systems.
Types of Universal Openers
There are several types of universal garage door openers, including remote controls and keypads, each suited to different user preferences and needs. Remote control openers are compact handheld devices that allow users to operate their garage doors from a distance, often featuring multiple buttons to manage various doors effortlessly.
On the other hand, keypads offer a convenient solution mounted outside the garage, enabling users to enter a code for access and eliminating the need to carry a remote.
Additionally, some universal openers may include advanced features such as smartphone connectivity, allowing homeowners to control their garage doors remotely through an app. Whether opting for a remote or a keypad, universal garage door openers provide flexibility and enhanced control, catering to the diverse needs of users with multiple garage doors.
Preparing for Setup
Gathering Necessary Tools and Materials
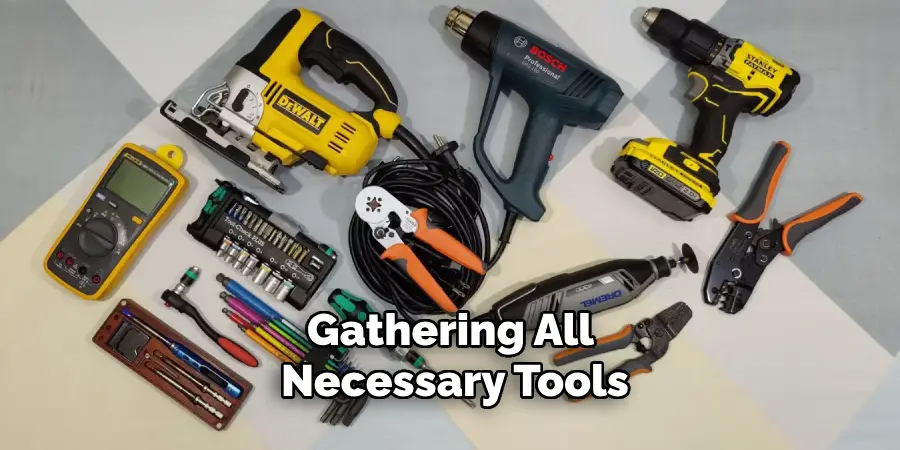
Gathering all necessary tools and materials before beginning the setup process is crucial to ensure a smooth installation. Key items required include the universal remote or keypad, the garage door opener system, a power source, and potentially a ladder for easy access to higher installation points. Having these readily available simplifies the process and helps prevent interruptions, allowing for a more efficient setup experience.
Safety Considerations
Safety should always be a priority during setup. To prevent accidental openings, ensure that the garage door is fully closed before starting any installation work. Additionally, keep children and pets away from the area to eliminate distractions or hazards during the process. Following these basic precautions will help ensure a safe environment while setting up your universal garage door opener correctly.
How to Set Universal Garage Door Opener: Setting Up the Universal Remote Control
Locating the Learn Button on the Garage Door Opener
To begin the setup process for your universal remote control, you’ll first need to locate the “Learn” or “Program” button on your garage door opener’s motor unit. This button is typically found on the back or side of the motor, often near the antenna wire.
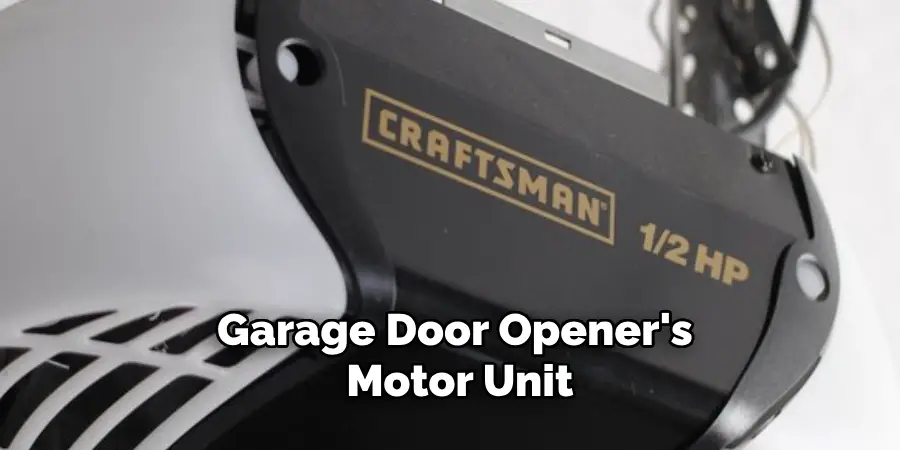
It will often be a small, brightly colored button—usually yellow, red, or orange. You may need to remove a cover panel to gain access. Once you find it, you can proceed to the next step in programming your universal remote control.
Programming the Universal Remote Control
After locating the Learn button, you can start programming your universal remote control. Press and release the “Learn” button on the motor unit. The LED indicator light should illuminate, indicating that the system is ready to accept a new remote.
Next, take your universal remote and press and hold the desired button you wish to assign to open the garage door. Keep holding the button until the LED light on the motor unit starts to blink and eventually turns off. This process usually takes about 10 seconds. Once the light goes out, you have successfully programmed the universal remote.
Testing the Remote Control
Upon completing the programming, testing your newly set-up remote control is essential. Stand within the recommended range of the garage door and press the button you configured. The garage door should respond by opening or closing. If it does not operate as expected, check the remote’s battery and ensure that no obstructions are blocking the signal. A successful test confirms that your universal remote is functioning properly and ready for use.
Setting Up the Universal Keypad
Installing the Keypad
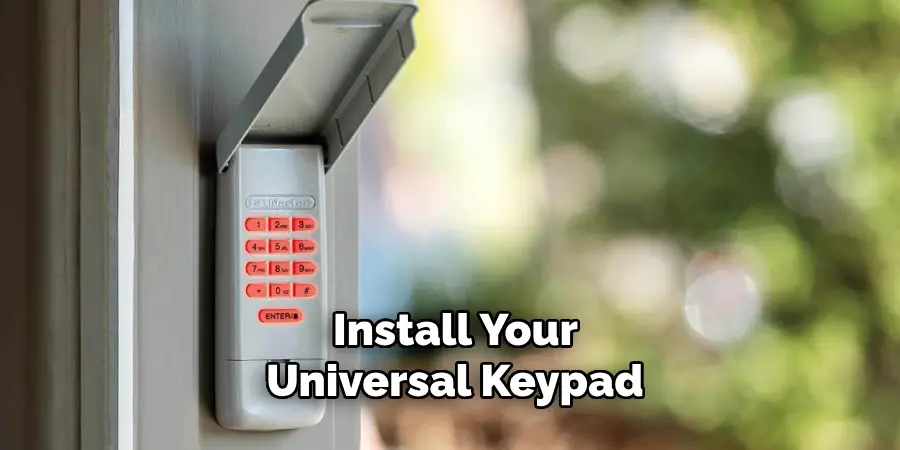
To install your universal keypad, choose a location outside your garage door that provides easy access while remaining sheltered from potential weather elements. Ideally, the keypad should be mounted comfortably for all users, usually around four to five feet above ground level.
Secure it using the provided screws and anchors, ensuring that the unit is tightly fitted to prevent it from being easily dislodged. It’s also advisable to check that the keypad is aligned and level before fully securing it to provide a professional look and prevent any issues during use.
Entering Programming Mode on the Keypad
Once the keypad is mounted, you must enter the programming mode. This usually involves pressing the “Program” or “Learn” button located on the keypad. Hold the button for a few seconds until the indicator light flashes, signaling that the keypad is ready for programming.
Next, enter your chosen code or PIN using the number keys, enabling you to customize access and ensure that only authorized individuals can operate the garage door.
Syncing the Keypad with the Garage Door Opener
After entering programming mode, the next step is to sync the keypad with your garage door opener. Start by locating the “Learn” button on your garage door opener’s motor unit, as described earlier. Press this button and wait for the LED light to activate, indicating that it is in pairing mode.
Then, return to the keypad and re-enter your code or PIN, followed by the “#” or “Enter” key to confirm the setup. The keypad’s indicator light should blink if done correctly, confirming a successful sync. Finally, test the keypad by entering your code to ensure that it operates the garage door as intended.
Troubleshooting Common Setup Issues
Remote or Keypad Not Syncing
If your remote or keypad is not syncing with the garage door opener, check the battery to ensure it is charged and properly installed. Next, verify that both devices are within the opener’s recommended range. If issues persist, repeat the programming steps outlined earlier, as sometimes the initial attempt may not have registered correctly.
Opener Not Responding
When the garage door opener fails to respond, check the power supply; ensure the unit is plugged in and functioning. Additionally, confirm that the “Learn” button was pressed correctly and observe for any LED light indications.
Lastly, inspect the area for any obstructions or interference that might be disrupting the signal, such as nearby electronics or physical barriers, which could prevent proper communication.
Maintenance Tips for Universal Garage Door Openers
Maintaining your universal garage door opener is crucial for ensuring its longevity and reliable operation. Regular checks and simple upkeep can help prevent issues before they arise and keep your system running smoothly.
Regular Battery Checks
It’s essential to regularly check and replace the batteries in both your universal remote and keypad. Most batteries have a lifespan of about 1 to 2 years, depending on usage.
Opt for high-quality alkaline or lithium batteries for maximum reliability. To avoid unexpected failures, consider marking a calendar for battery replacements or monitoring the remote’s performance; if the range decreases or the button response lags, it’s likely time for a change.
Keeping the Opener in Good Condition
To maintain your universal garage door opener, wipe both the remote and keypad clean with a soft cloth. Inspect the opener for signs of wear and tear regularly, paying attention to the cables, springs, and tracks.
If you notice any damage, address it promptly to avoid further complications. Additionally, regular professional maintenance checks can help identify and rectify potential issues, ensuring safe and efficient operation.
Conclusion
Setting up a universal garage door opener can greatly simplify your daily routine and enhance convenience.
To recap, the key steps involved in how to set universal garage door opener include programming your remote control and keypad by following the designated learn and program modes. After programming, testing both devices to ensure they operate the garage door correctly is crucial. If issues arise, don’t hesitate to consult your user manual or contact customer support for assistance.
Remember to follow the setup instructions carefully for the best results. With a successful installation, managing multiple garage doors becomes a seamless task, allowing you to enjoy the benefits of a more convenient home entry system.
I am Rick. I grew up helping my dad with his handyman service. I learned a lot from him about how to fix things, and also about how to work hard and take care of business. These days, I’m still into fixing things- only now, I’m doing it for a living.
I’m always looking for new ways to help people grow and develop. That’s why I have created this blog to share all my experience and knowledge so
that I can help people who are interested in DIY repair.

