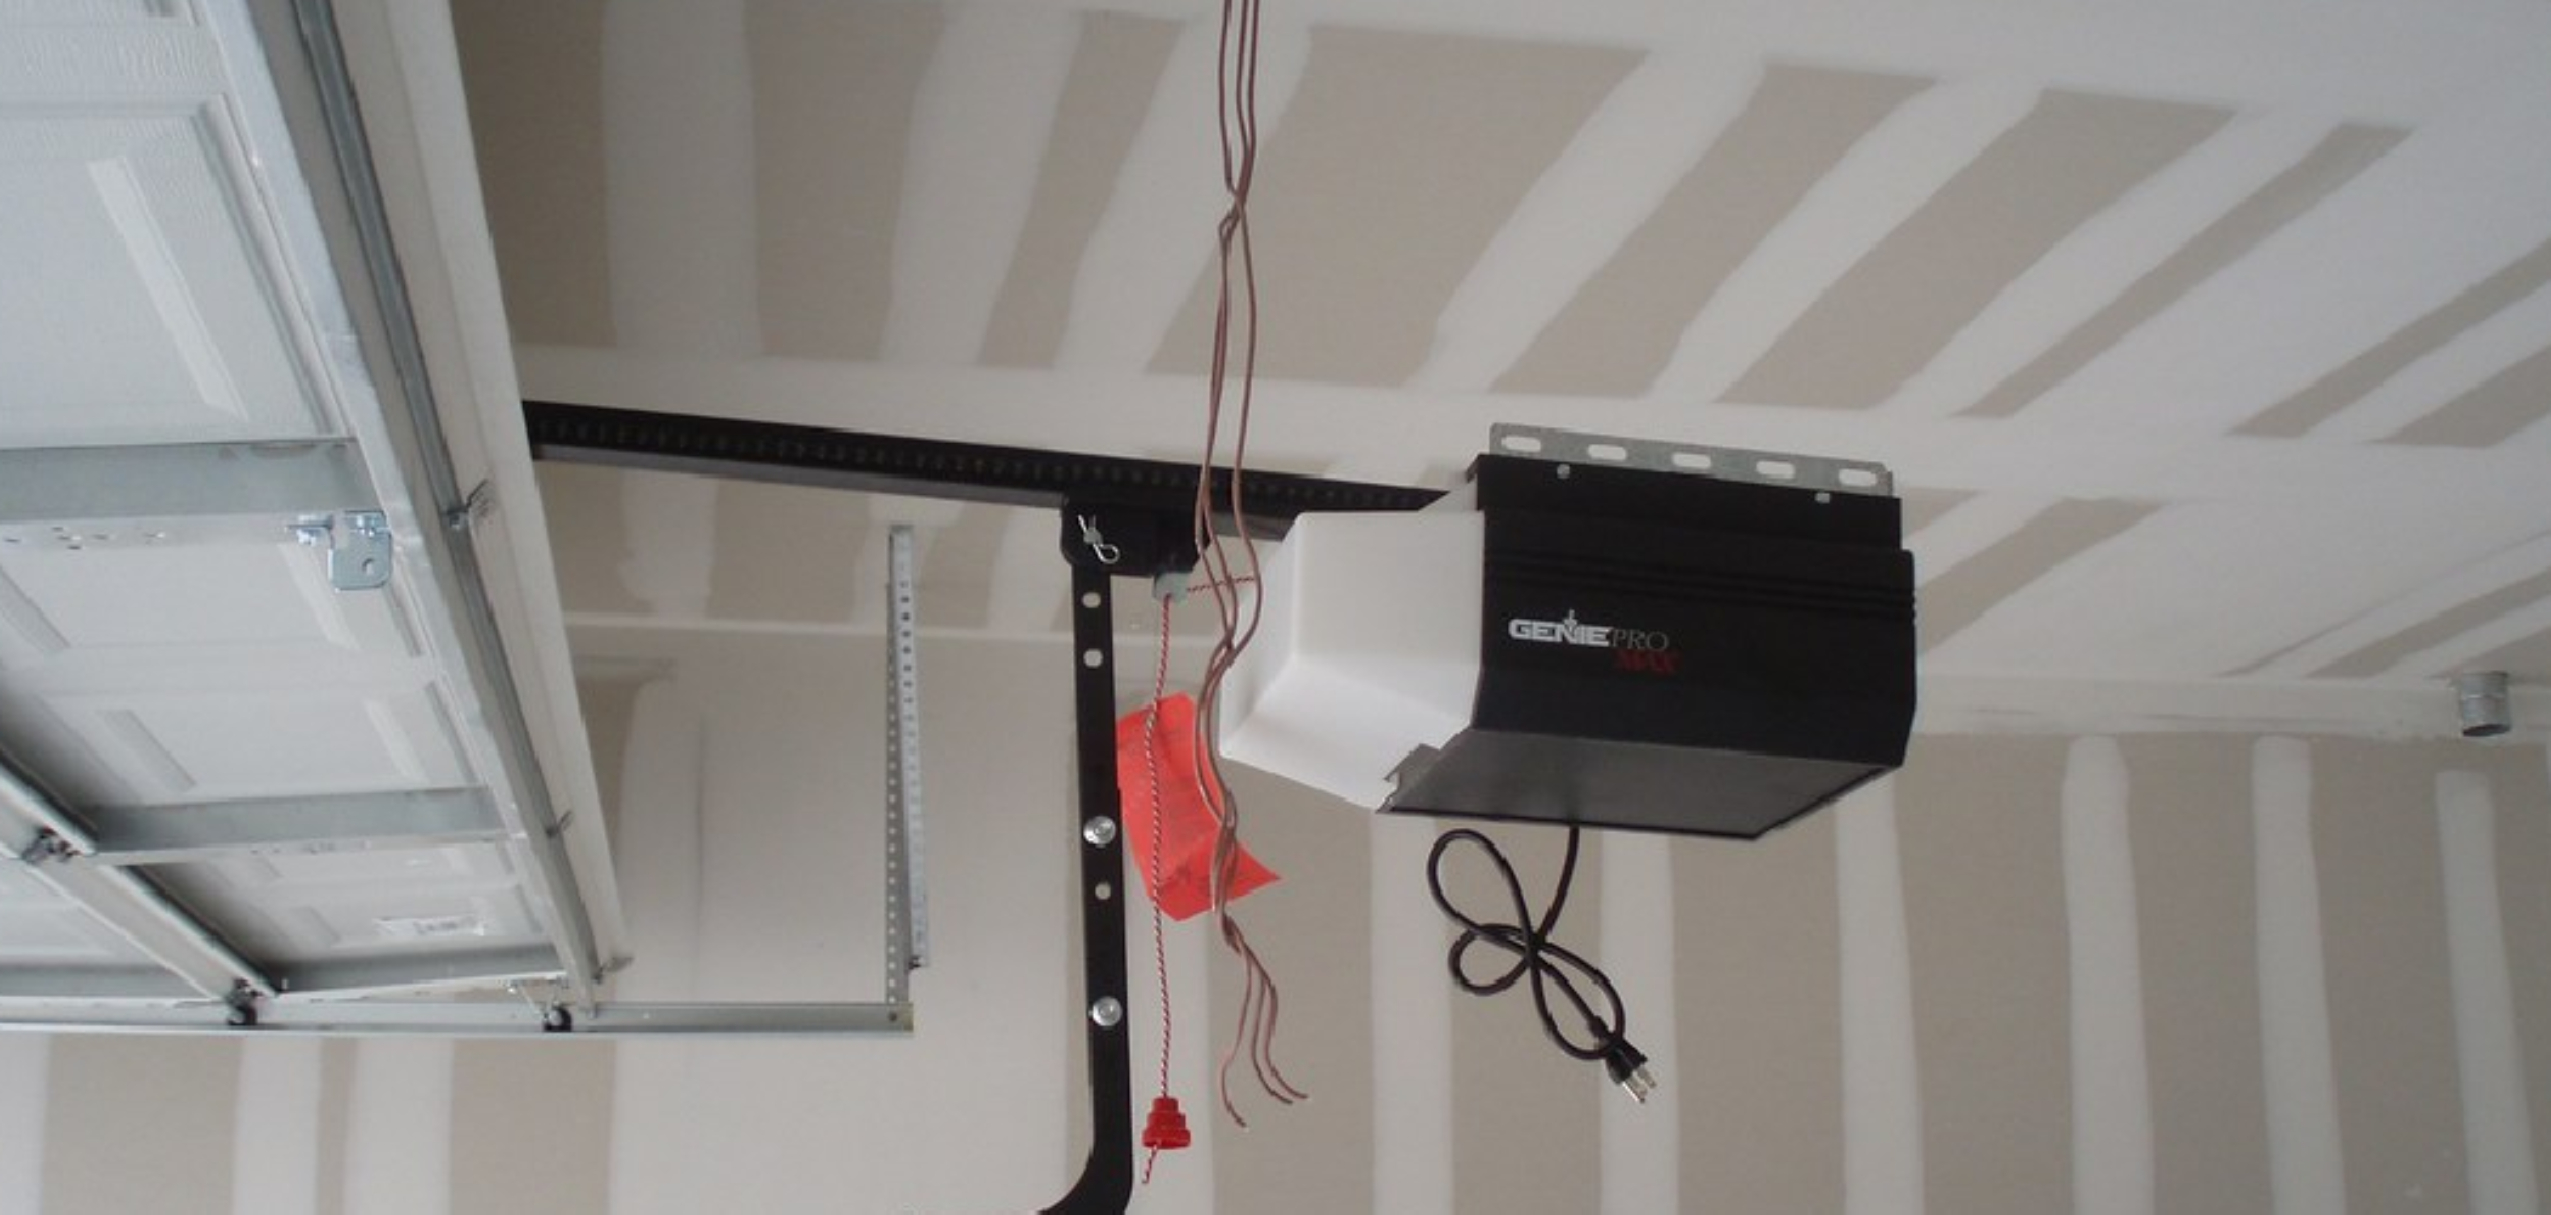
Setting travel limits on a garage door opener is essential to ensure optimal functionality and safety. Travel limits determine how far the garage door opens and closes, preventing it from going too high or too low, which can cause damage to the door or surrounding structures.
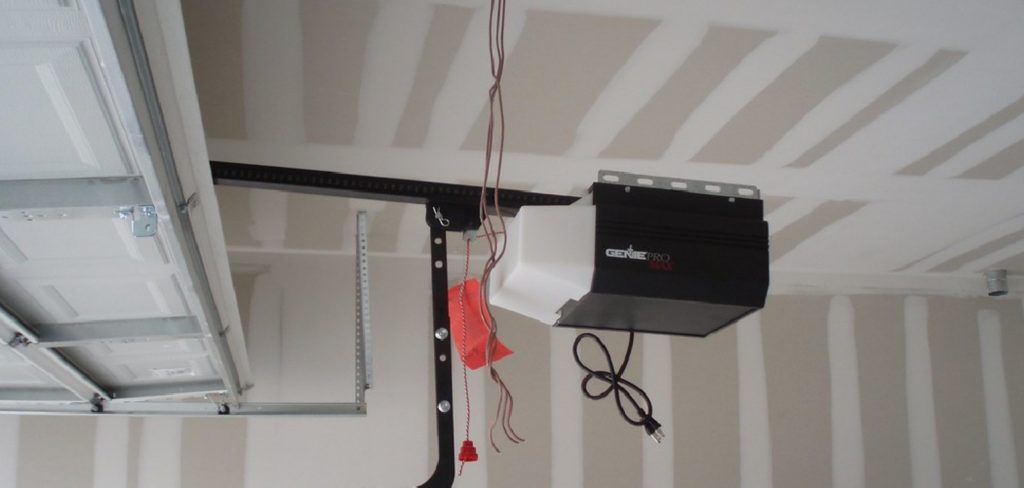
Properly configured limits contribute to smooth operation, prolong the opener’s lifespan, and enhance security by ensuring that doors stop at the designated points.
Whether you’re installing a new garage door opener or adjusting an existing one, understanding how to set these limits will help you maintain a reliable and efficient garage door system.
This guide will walk you through the process step-by-step on how to set travel limits on a garage door opener, making it easy to achieve the perfect settings.
What Will You Need?
Before you begin, gather the following materials:
- A ladder
- A tape measure
- A screwdriver (usually included with the opener)
- The user manual for your specific garage door opener model
Once these materials are ready, follow the steps below to set your travel limits.
10 Easy Steps on How to Set Travel Limits on a Garage Door Opener
Step 1: Prepare Your Garage Door Opener
Start by disconnecting the garage door opener from its power source. This is a crucial safety step to avoid any accidents during the process. Next, locate the limit adjustment screws on your opener. They are usually located at the back of the motor unit or on the sides near where the chain or belt attaches.
Step 2: Measure the Door’s Travel Distance
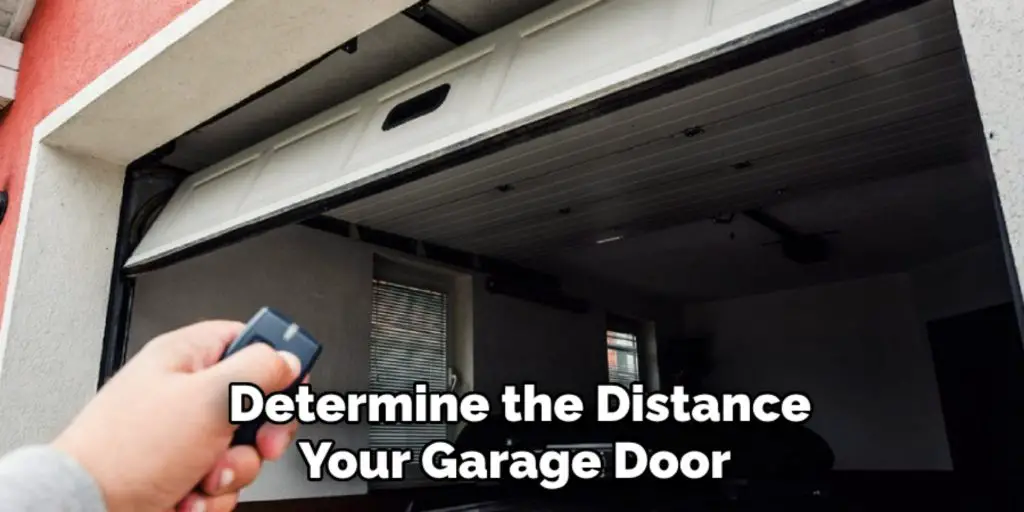
Using a tape measure, determine the distance your garage door needs to travel to fully open and close. Measure from the ground to the highest point where you want the door to stop when fully open, and then measure from the ground to the lowest point where you want the door to rest when fully closed. This information will be essential for accurately setting the travel limits.
Step 3: Set the Up Limit
Once you have measured the travel distance, it’s time to set the up limit on your garage door opener. Locate the up limit adjustment screw, which is typically labeled “UP” or an upward arrow on the motor unit.
Using your screwdriver, turn this screw clockwise to increase the distance the door travels when opening or counterclockwise to reduce it. Adjust the screw gradually, checking the door’s position frequently to ensure it reaches the desired height.
Once you’ve reached the correct stopping point, ensure the door is fully open and smoothly operating at that height. Secure the adjustment by tightening the screw firmly, but avoid overtightening, which could damage the mechanism. This step is crucial as it ensures adequate clearance for the door, preventing it from hitting any obstructions or damaging itself when fully raised.
Step 4: Set the Down Limit
Now that you have successfully set the up limit, it’s time to set the down limit for your garage door opener. Locate the down limit adjustment screw, which is usually marked with “DOWN” or a downward arrow.
Using your screwdriver, turn this screw clockwise to increase the travel distance when closing or counterclockwise to decrease it. Again, adjust gradually while frequently checking the door’s position to ensure it appropriately reaches the desired closing point without getting stuck or going too low.
Confirm that the door rests securely on the ground without excessive force or pressure that could cause damage. Once you are satisfied with the down limit, tighten the screw firmly to secure the adjustment in place.
Step 5: Test the Garage Door Operation
With both the up and down limits set, testing the garage door’s operation is essential to ensure everything functions correctly. Reconnect the garage door opener to its power source and use the remote or wall switch to open and close the door.

Observe the door’s movement, paying close attention to how smoothly it operates at both the fully open and fully closed positions. Ensure the door stops precisely at the designated limits without any jerky movement or hesitation.
If the door does not stop where expected, revisit the limit adjustments to fine-tune the settings accordingly. Testing the door after making adjustments helps confirm that you’ve achieved the correct positions, ensuring safe and reliable performance moving forward.
Step 6: Adjust the Force Settings
After ensuring that the travel limits are correctly set, the next step is to adjust the force settings on your garage door opener. These settings control how much force is applied when opening and closing the door. Locate the force adjustment screws, which are typically labelled as “Open Force” and “Close Force,” on the motor unit.
Using your screwdriver, adjust these screws according to your door’s weight and resistance. Making minor adjustments is essential, as well as checking the door’s operation after each change. The door should move smoothly without excessive force and reverse if it encounters an obstruction while closing, enhancing safety measures.
Step 7: Check and Adjust Safety Sensors
Next, checking the safety sensors installed on your garage door opener is crucial. These sensors are designed to detect obstacles in the door’s path and prevent it from closing if something is in the way. Start by ensuring that the sensors are correctly aligned; they should face each other and be mounted at a height of around six inches off the ground.
Clean the sensor lenses with a soft cloth to remove any dirt or debris that might obstruct their functionality. Test the sensors by placing an object in the door’s path; the door should reverse immediately upon detection. If the door fails to reverse, adjust the angle of the sensors or check the wiring for any issues. Ensuring that these safety features work effectively is vital for people, pets, and property safety.

Step 8: Final Safety Check
After you’ve set the travel limits, adjusted the force settings, and verified the safety sensors, it’s time to conduct a comprehensive final safety check on your garage door opener. Start by inspecting the entire door assembly for any signs of wear or damage, such as frayed cables or rusty springs. Ensure that the track is free of obstructions and that the rollers move smoothly along the length of the track.
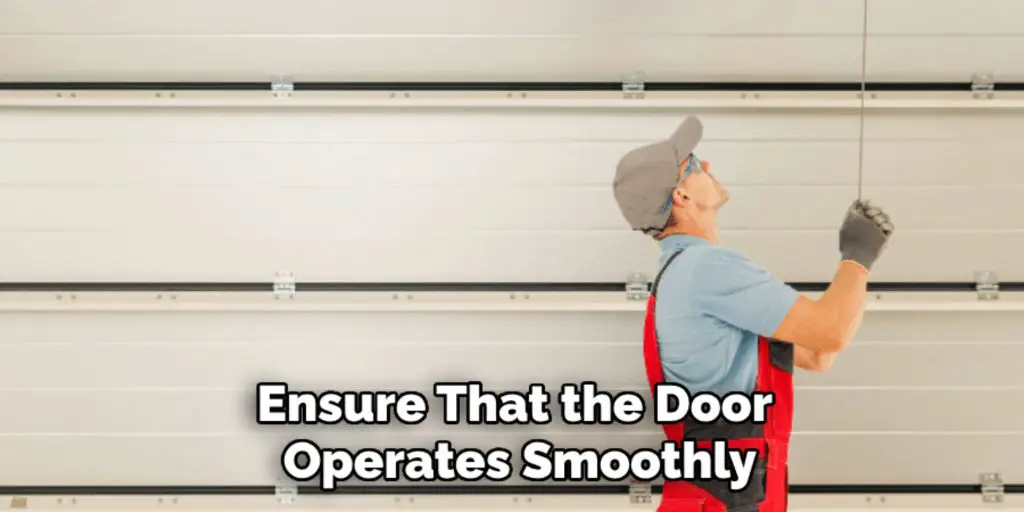
Perform a manual test by disconnecting the opener and operating the door manually to ensure it opens and closes without resistance. Reconnect the opener and conduct a few more tests to confirm that the door operates smoothly and safely. This final check is crucial to ensuring the reliability and safety of your garage door system for daily use.
Step 9: Lubricate Moving Parts
To maintain the optimal performance of your garage door opener, it’s essential to lubricate the moving parts regularly. Begin by selecting a silicone-based or garage door-specific lubricant, as they are designed to withstand the outdoor elements.
Apply the lubricant to areas such as the rollers, hinges, and tracks, ensuring you wipe away any excess to prevent dust and debris accumulation. Be careful not to over-lubricate, which can lead to slippage and operational issues. Regular lubrication helps reduce friction, prevents rust, and ensures that your garage door operates smoothly and quietly for years.
Step 10: Regular Maintenance Checks
Performing regular maintenance checks on your garage door opener is essential to prolong its lifespan and ensure reliable operation. Schedule inspections at least twice a year, where you should look for signs of wear on components such as cables, springs, and rollers.
Test the door balance by disconnecting the opener and manually lifting the door halfway; it should stay in place without rising or falling. Additionally, check the functionality of the remote and wall switch, replacing batteries if needed. Creating a consistent maintenance routine can identify potential issues early and keep your garage door system in peak condition, providing peace of mind and safety.
With proper installation and regular maintenance, your garage door opener can serve you for many years to come.
5 Things You Should Avoid
- Skipping the Manual Review: Always refer to the manufacturer’s manual before adjusting. Each model may have specific instructions and requirements that are crucial for proper setup.
- Making Large Adjustments at Once: Avoid making significant changes to the limit settings in a single step. Instead, make minor adjustments gradually, allowing you to pinpoint the correct settings without overshooting.
- Neglecting Safety Precautions: Never override safety features or ignore safety precautions during adjustment. Ensure the area is clear of people and obstacles, and always conduct tests safely.
- Setting Limits Without Testing: Do not assume that the initial settings are correct. Always test the garage door after adjustments, as this helps ensure that the door operates smoothly and safely at the new limit positions.
- Failing to Regularly Check Settings: Once set, limit settings can shift over time due to wear and tear. Avoid the misconception that adjustments are a one-time task; regularly check the settings to maintain safe and reliable operation.
Conclusion
In conclusion, how to set travel limits on a garage door opener is a crucial step for ensuring both its functionality and safety.
By carefully adjusting the limit settings, fine-tuning the force applied, and verifying safety sensors, you are taking significant measures to prevent accidents and enhance the longevity of your garage door system.
Regular maintenance, including lubrication and periodic checks, will keep your garage door operating smoothly and help you identify any potential issues before they escalate.
Following these guidelines will help you maintain a safe and efficient garage door opener, providing ease of use and peace of mind for years to come.
I am Rick. I grew up helping my dad with his handyman service. I learned a lot from him about how to fix things, and also about how to work hard and take care of business. These days, I’m still into fixing things- only now, I’m doing it for a living.
I’m always looking for new ways to help people grow and develop. That’s why I have created this blog to share all my experience and knowledge so
that I can help people who are interested in DIY repair.

