
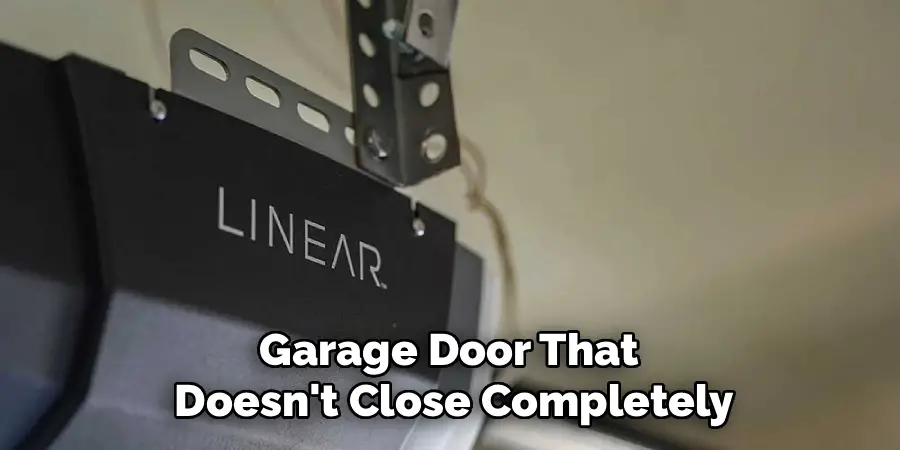
Setting limits on your linear garage door opener might sound technical, but it’s an essential part of ensuring your garage door operates safely and efficiently. Properly configured limits tell the opener when to stop moving the door as it opens and closes. Without these adjustments, your door may not close completely, leaving your garage unsecured, or it could overextend, imposing unnecessary strain on the motor and other components.

Before you begin, make sure your garage door opener is unplugged to ensure safety during the adjustment process. Locate the limit adjustment screws on the motor unit—these are typically labeled “Up” and “Down” or “Open” and “Close.” Using a screwdriver, turn the adjustment screws in small increments to fine-tune the door’s stopping points. Test the door after each adjustment to confirm that it opens and closes fully without overextending or stopping short. Repeat this process as needed until the door operates smoothly and reliably.
This guide will walk you through everything you need to know, including why setting limits is important and how to configure them yourself. Whether you’re a beginner or a seasoned DIYer, these steps will make the process straightforward and manageable. By the end, you’ll be equipped to optimize your garage door’s performance and address common issues that arise from poorly adjusted limits.
Why Setting Limits is Important
Understanding why setting limits is necessary can help you appreciate the value of taking a little time to fine-tune your linear garage door opener. Here are three critical reasons:
Safety Considerations
Improper limit settings can lead to safety hazards, such as the garage door closing with excessive force. This poses a risk to people, pets, and objects under the door. Correct limits ensure your door stops at the appropriate point both when opening and closing, reducing any chance of accidents.
Enhanced Efficiency
When limits are correctly set, your garage door opener doesn’t need to work harder than necessary. Overextended or under-closed doors make the motor run inefficiently, shortening its lifespan. Properly configured limits allow the opener to operate seamlessly.
Convenience and Peace of Mind
A garage door that doesn’t close completely or opens beyond its intended range can be a constant source of frustration. Adjusted limits ensure your garage is secured properly, offering peace of mind whether you’re at home or away.
By understanding these key benefits, you’re ready to move forward and set the limits for your linear garage door opener.
8 Step-by-Step Guide to Setting Limits on a Linear Garage Door Opener
Adjusting the limits on your linear garage door opener might seem technical, but with the right guidance, it’s a task anyone can accomplish. Follow these detailed steps to ensure your garage door operates smoothly and safely.
Step 1: Locate the Limit Adjustment Screws
Begin by identifying the limit adjustment screws on your linear garage door opener. These are typically found on the side of the motor unit. They’re often labeled “Up” and “Down” to reflect the door’s opening and closing limits. Familiarize yourself with these screws, as they’ll be crucial for adjusting your door’s range of motion.
Step 2: Test Your Current Settings
Before making any changes, test the garage door’s current performance. Use your remote or wall console to open and close the door completely. Pay attention to where the door stops in both directions. Check if it fully seals when closed and clears the opening entirely when open. This baseline will help you identify what adjustments are needed.
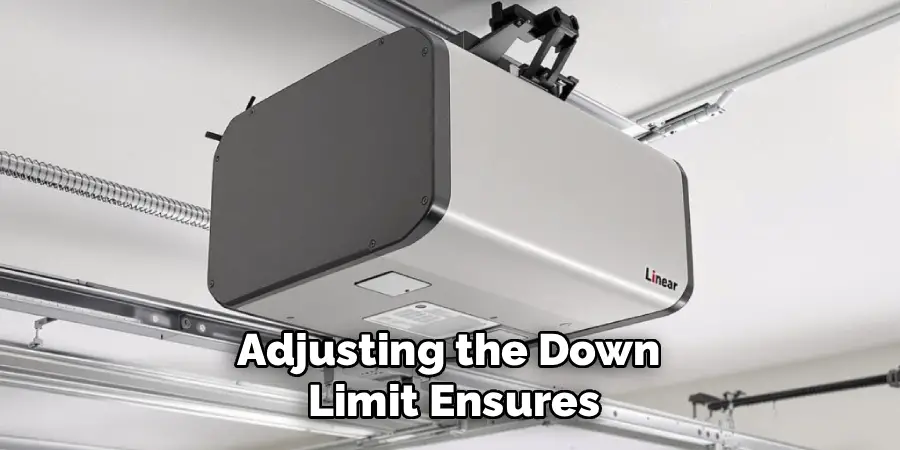
Step 3: Begin with the Down Limit Adjustment
Adjusting the down limit ensures the door closes properly without exerting too much downward force. Turn the “Down” screw slowly in the direction indicated by the manufacturer—a typical adjustment involves turning the screw clockwise for less movement or counterclockwise to increase the door’s range. Test the door after each minor adjustment until it closes snugly without pressing hard against the floor.
Step 4: Adjust the Up Limit
Once the down limit is properly set, move on to the “Up” screw to adjust the door’s opening range. Turn the screw gently to extend or reduce the door’s upward travel. Again, test the operation after each adjustment. The ideal setting allows the door to open fully without straining the opener or hitting stops at the farthest edge of the track.
Step 5: Fine-Tune Your Adjustments
Even after your initial adjustments, it may take fine-tuning to achieve the perfect balance. Repeatedly test the door’s motion, looking for smooth starts and stops at both ends of the track. Make tiny adjustments as needed to avoid overtravel or incomplete movement.
Step 6: Calibrate the Force Settings
While setting limits, it’s also important to verify the force settings on your linear opener. These settings ensure the door reverses if it encounters an obstacle. Refer to your manual for instructions on adjusting this feature, as it works in conjunction with limit adjustments to enhance safety.
Step 7: Observe the Safety Sensors
After setting the limits, check the safety sensors located at the base of the garage door tracks. These sensors should communicate with the opener to stop and reverse the door if something is detected in its path. Properly set limits work hand-in-hand with functioning sensors to create a safe operating environment.
Step 8: Secure Adjustments and Test Again
Once you’re satisfied with the adjustments, secure the screws in their final positions, ensuring they won’t move over time. Perform a final series of tests with your remote to confirm the door operates perfectly in all conditions—whether you’re shutting it in rain, cold, or to accommodate changes in humidity that might affect the materials.

By following these steps, including the precise setting of limits and related features, your garage door opener will be optimized for both performance and longevity while ensuring safety and convenience.
Maintenance Best Practices
To keep your garage door opener functioning smoothly and extend its lifespan, regular maintenance is essential. Start by lubricating all moving parts, such as hinges, rollers, and tracks, at least twice a year with a high-quality silicone or lithium-based lubricant. Periodically inspect the door’s balance by disconnecting the opener and manually lifting it halfway—if it stays in place, the balance is correct; otherwise, you may need professional adjustment.
Check the sensors and clean them to ensure they remain unobstructed and properly aligned, as this is crucial for safety. Tighten any loose hardware, such as bolts and screws, to prevent wear caused by vibrations over time. Lastly, test the auto-reverse feature monthly to confirm the door reverses automatically upon contact with an object, safeguarding against accidents. By following these practices, your garage door opener will remain reliable and safe for years to come.
Frequently Asked Questions
How Do I Know if My Linear Garage Door Opener Limits Need Adjustment?
Signs that your opener limits need adjustment include the door not closing completely, stopping short when opening, or reversing without reason. If the door appears misaligned with the floor or over-opens, adjusting the limits can address these issues.
Can Improper Limit Settings Damage My Garage Door?
Yes, incorrect limits can lead to mechanical strain and potential damage. For example, if the door over-travels while opening, it can cause stress on the springs and tracks. Similarly, excessive closing force could crack the door or damage flooring beneath it. Proper settings prevent unnecessary wear and tear.
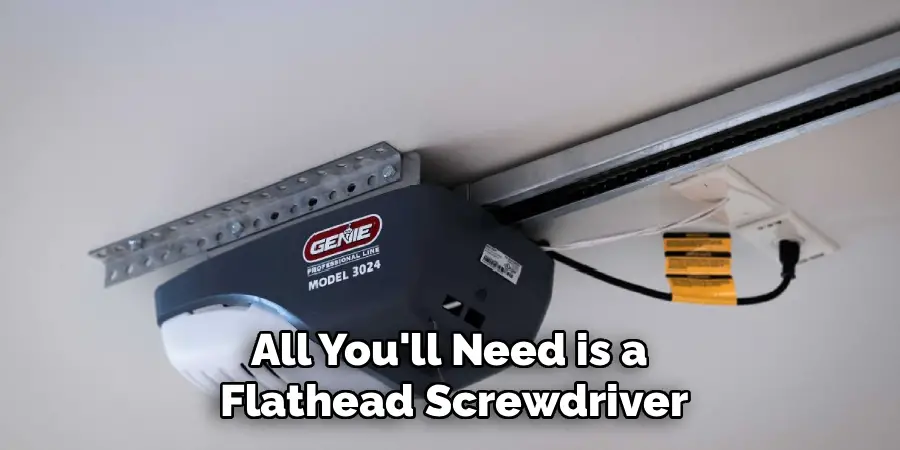
What Tools Do I Need to Set My Garage Door Opener Limits?
Typically, all you’ll need is a flathead screwdriver to adjust the limit screws on the motor unit. Some models may require additional tools, which will be specified in your garage door opener’s user manual.
How Often Should I Check My Garage Door Opener Limits?
It’s a good idea to inspect your limit settings at least once a year or whenever you notice a change in the door’s operation. Seasonal changes in temperature and humidity can sometimes affect the door’s materials, requiring minor adjustments.
Are Limit Adjustments Necessary for All Types of Garage Doors?
Yes. Whether you have a sectional, single-panel, or roller door, setting appropriate limits ensures efficient and safe operation. This is especially important for modern automatic openers, where precise adjustments enhance performance and prolong the system’s lifespan.
Conclusion
Setting limits on your linear garage door opener is a straightforward yet essential process for ensuring safety, efficiency, and convenience. By pinpointing the limit adjustment screws, testing current performance, and making careful adjustments, you can optimize your garage door’s operation.
Regular maintenance of your garage door opener can prevent issues and extend its lifespan. Lubricating moving parts, inspecting for wear and tear, and testing the balance of the door are essential steps to keep the system running smoothly. Taking these preventive measures not only enhances performance but also reduces the likelihood of unexpected breakdowns, saving time and money in the long run.
Properly adjusted limits prevent unnecessary wear and tear, reduce safety risks, and ensure smooth performance every time you open or close the door. Don’t wait for a problem to arise—take the steps outlined in this guide today and experience the benefits of a perfectly tuned garage door opener. Follow the outlined steps and take control of how to set limits on your linear garage door opener with confidence and ease.
I am Rick. I grew up helping my dad with his handyman service. I learned a lot from him about how to fix things, and also about how to work hard and take care of business. These days, I’m still into fixing things- only now, I’m doing it for a living.
I’m always looking for new ways to help people grow and develop. That’s why I have created this blog to share all my experience and knowledge so
that I can help people who are interested in DIY repair.