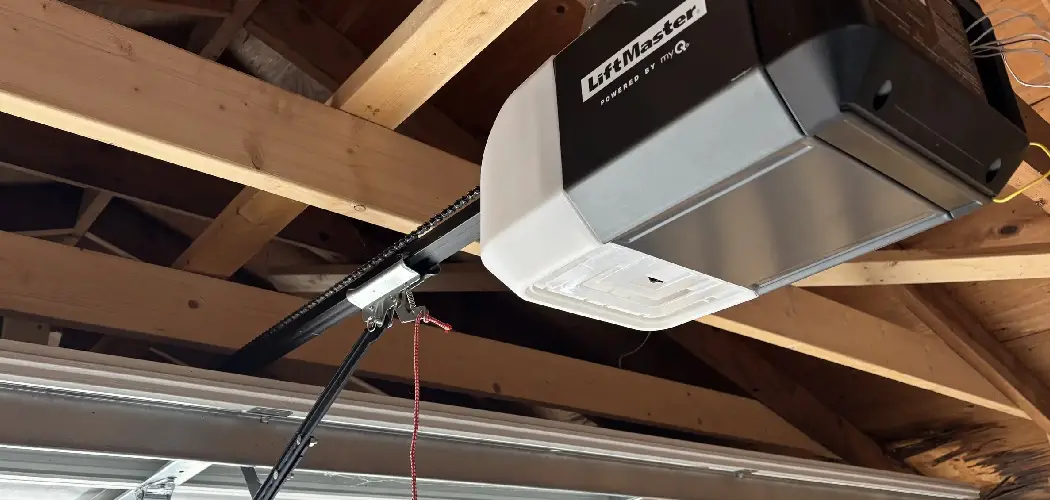
A garage door opener is a modern convenience we often take for granted until it stops working correctly. Is your door reversing before it hits the floor, leaving a gap? Or is it slamming down too hard and then going back up? These common issues are often not a sign of a major mechanical failure but rather a simple problem with the travel limit settings.

These limits tell the opener’s motor exactly when to stop moving the door in both the up and down directions. Over time, due to weather changes or simple mechanical settling, these settings can drift and need readjustment. Learning how to set limits on Chamberlain garage door opener models is a fundamental DIY skill that can save you a service call fee and restore your door’s smooth, safe operation. This guide will provide clear,
beginner-friendly instructions to walk you through the adjustment process, ensuring your garage door opens and closes perfectly every time.
Step-by-Step Guide on How to Set Limits on Chamberlain Garage Door Opener
Step 1: Locate the Adjustment Buttons on the Motor Unit
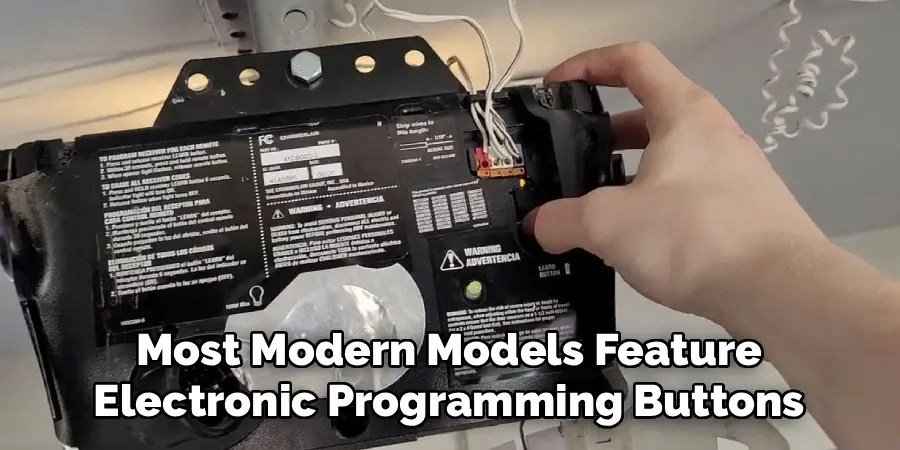
The first step is to identify the type of adjustment system your Chamberlain opener uses. Most modern models feature electronic programming buttons rather than the older-style mechanical screws. You will need a stepladder to safely access the motor unit mounted on your garage ceiling. Look on the side or back of the unit for a set of three programming buttons. These are typically a square yellow, purple, or black button in the center, flanked by two directional arrow buttons (up and down). The square button is the main programming button, while the arrows are used to manually move the door during the setup process. Having a clear understanding of these controls is the starting point for the entire adjustment procedure.
Step 2: Enter Programming Mode
To begin setting the new travel limits, you must first put the opener into programming mode. This tells the machine you are about to make adjustments. Press and hold the square adjustment button for approximately six to ten seconds. You will know you have successfully entered programming mode when the up arrow button begins to flash, or you hear a beep from the unit. This flashing light is your signal that the opener is ready to learn its new “up” position. If you release the button and nothing happens, try holding it down for a few more seconds. Do not proceed until you see this visual confirmation that the programming mode is active.
Step 3: Set the Desired “Up” Position
With the up arrow flashing, the opener is now waiting for you to define the fully open position for your garage door. Use the up and down arrow buttons to manually jog the door to the exact height you want it to stop when opened. For most garages, you will want the door to open fully so that it is clear of the garage opening, allowing even tall vehicles to pass underneath without issue. Take your time to get this position just right. Once the door is exactly where you want it, press and release the square adjustment button one time. The opener will beep, and the down arrow button will now begin to flash, confirming that the up limit has been successfully saved.
Step 4: Set the “Down” Position
Now that the down arrow is flashing, the opener is ready to learn its new closed position. Use the up and down arrow buttons again, this time to lower the door until it rests securely on the garage floor. The goal is to have the door close firmly enough to create a seal against the weatherstripping at the bottom, but not so hard that it bows or reverses. It should be closed tight enough to prevent drafts, pests, or rain from getting in, but without putting excessive strain on the door or the opener’s motor. This step is crucial for both security and energy efficiency, and it is a key part of how to set limits on Chamberlain garage door opener systems.
Step 5: Save the Down Limit and Exit Programming Mode
Once you are satisfied with the closed position of the door, it is time to save this final setting. Press and release the square adjustment button one more time. The opener will beep, and the programming lights will turn off. This action saves the down limit and officially exits the programming mode. Your Chamberlain garage door opener has now learned its new full range of travel, from the open position you set in step three to the closed position you just defined. The unit will now operate within these newly established boundaries during its normal automatic cycles.

Step 6: Run a Full Test Cycle
Your new limits are programmed, but you must test them to ensure they are working correctly. Clear any tools or objects away from the garage door’s path. Use your wall-mounted control panel or a remote to run the door through a full cycle. Press the button to open the door and watch to see if it stops precisely at the “up” position you set earlier. Then, press the button again to close it. Observe as the door comes down and confirm that it stops exactly at the “down” position on the floor without reversing or straining. A successful test cycle is your confirmation that you have correctly completed the adjustment.
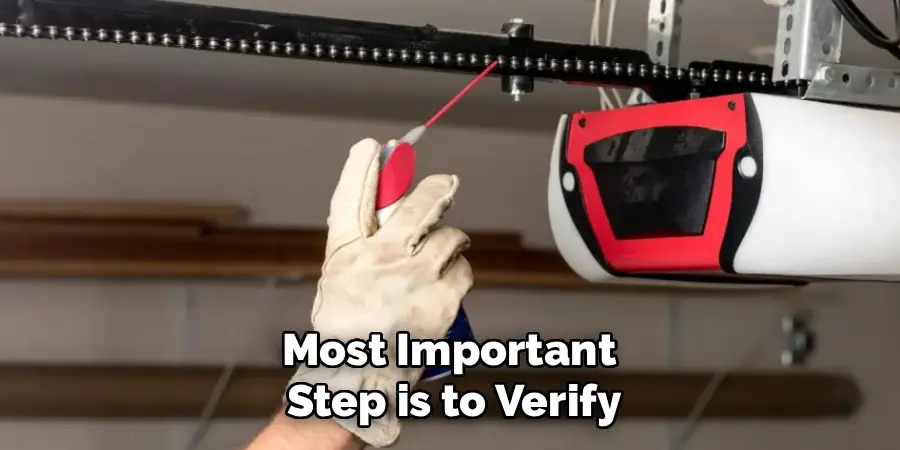
Step 7: Test the Safety Reversal System
The final and most important step is to verify that the garage door’s safety features are operational. With the door open, place a non-collapsible object, like a roll of paper towels or a 2×4 piece of wood, on the floor in the door’s path. Now, use your remote to close the door. When the bottom of the door makes contact with the object, it should immediately stop and reverse back to the fully open position. This confirms that the safety reversal mechanism is working. You should also test the photo-eye sensors by blocking the beam with your foot as the door closes; it should also reverse immediately. This final check ensures your door is not only convenient but safe for your family.
Frequently Asked Questions
Why Does My Garage Door Reverse Before It Hits the Floor?
This is the most common sign that your limits need adjustment. The opener’s internal sensors believe it has hit an obstruction or reached the end of its travel before it actually has. Lowering the “down” travel limit slightly will tell the motor it is allowed to travel further, which should resolve the issue. It can also be caused by an overly sensitive force setting, which may also need adjustment.
What If My Chamberlain Opener Has Screws Instead of Buttons?
Older Chamberlain models use mechanical limit adjustment screws instead of electronic buttons.
- Location: These are typically two plastic screws on the side of the motor unit, often labeled for “up” and “down” travel.
- Adjustment: You will use a flathead screwdriver to turn them. Turning a screw a small amount (about a quarter turn) will adjust the stopping point by a few inches. You must run a test cycle after each small adjustment.
How Often Should I Check My Garage Door Limits?
It is a good idea to check your garage door’s operation and safety features at least once every six months. Major temperature fluctuations between seasons can cause the door components to expand or contract, which can sometimes throw off the limit settings. Regular testing ensures your door remains both functional and safe throughout the year.
Can Incorrect Limits Damage My Garage Door or Opener?
Yes. If the “up” limit is set too high, the door can be pulled too far into the opening, putting stress on the chain, belt, and trolley. If the “down” limit is set too low, the motor will continue to push down on the door after it has already hit the floor. This can damage the top panel of the door, strip the opener’s gears, and burn out the motor over time.
What If Adjusting the Limits Doesn’t Fix the Problem?
If you have properly reset the travel limits and the door still does not close correctly, the issue may lie elsewhere.
- Safety Sensors: Check if the photo-eye safety sensors at the bottom of the door are misaligned or dirty, as this is a very common cause of reversal issues.
- Force Settings: The opener’s force settings may be too sensitive.
- Obstruction: There may be a physical obstruction in the door’s tracks.
Conclusion
A properly functioning garage door is a cornerstone of home convenience and security. While a malfunctioning door can be a major frustration, the solution is often within your grasp. By understanding the simple process of adjusting the travel limits, you can resolve the most common operational issues without needing to call for professional help.
The key is to work methodically, set the up and down positions with care, and always finish by testing the critical safety features. Now that you have learned how to set limits on Chamberlain garage door opener, you are empowered to perform this essential maintenance task, ensuring your door operates smoothly, safely, and reliably for years to come.
I am Rick. I grew up helping my dad with his handyman service. I learned a lot from him about how to fix things, and also about how to work hard and take care of business. These days, I’m still into fixing things- only now, I’m doing it for a living.
I’m always looking for new ways to help people grow and develop. That’s why I have created this blog to share all my experience and knowledge so
that I can help people who are interested in DIY repair.