
A garage door that refuses to close completely or opens too far is more than just a minor annoyance; it is a security risk and a potential hazard to your property. If you find your Marantec unit reversing immediately after touching the floor or stopping halfway up the track, the issue likely lies in the travel limits. These limits tell the motor exactly how far to move the door in either direction.
Fortunately, adjusting them is a straightforward process that does not require a service call to a professional technician. Marantec openers are designed with user-friendly digital interfaces that make programming surprisingly accessible for the average homeowner. By taking a few minutes to recalibrate the system, you ensure smooth operation and prolong the life of your hardware. This guide provides a comprehensive walkthrough on how to set limits on a Marantec garage door opener, empowering you to troubleshoot the problem yourself and restore the perfect functionality of your home’s largest moving appliance.
Why Setting Limits is Important
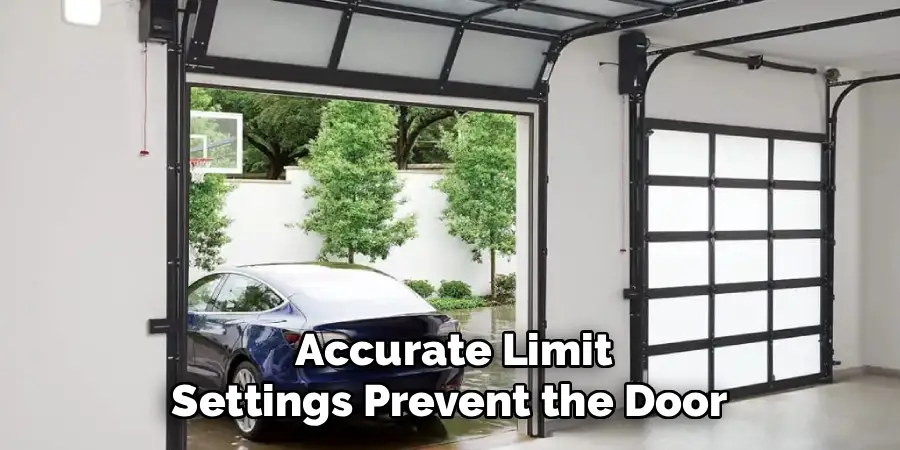
Properly setting the limits on your Marantec garage door opener is crucial for both safety and functionality. The limit settings determine how far the door travels when opening and closing, ensuring it stops at the correct positions without overextending or failing to close completely. Incorrect limits can lead to unnecessary strain on the motor and mechanical components, potentially causing damage or reducing the lifespan of the system.
Additionally, accurate limit settings prevent the door from stopping prematurely or creating gaps when closed, which can compromise security and insulation. Taking the time to set the limits correctly not only enhances performance but also provides peace of mind, knowing that your garage door is operating safely and efficiently.
How to Set Limits on a Marantec Garage Door Opener: A Step-by-Step Guide
Step 1: Prepare the Door and Locate the Controls
Before you begin pressing buttons, safety dictates that you must ensure the garage door area is completely clear of obstacles, people, and pets. You will be moving the door up and down multiple times, so a clear path is essential. Once the area is safe, look up at the motor head mounted on your garage ceiling. You will see a control panel, typically featuring a small digital display or a circle of LED lights, accompanied by three buttons: a “P” (Program) button, a “+” (Plus) button, and a “-” (Minus) button.
These three keys are your gateway to the system’s logic. Identifying these specific controls is the first critical action in the process. Having a sturdy stepladder positioned safely under the unit will give you comfortable access to these buttons without straining your neck or back during the programming sequence.
Step 2: Engage Program Mode to Start the Process
To begin the calibration, you need to wake up the system and tell it you are ready to make changes. Press and hold the “P” button for approximately two to five seconds. Watch the LED lights or the digital display closely. You will see the lights illuminate or change status, indicating that the opener has entered programming mode. Usually, the LED associated with the “Open” limit or the number 1 will start flashing.
This visual cue confirms that the device is listening to your commands. If you do not see this change, release the button and try again, ensuring you are holding it long enough. Successfully entering this mode is the prerequisite for any adjustments you plan to make.
Step 3: Adjust the Open Limit Position
Now that the system is in program mode, you will first define the open position. Press and hold the “+” button. The garage door will begin to move upwards. Keep your finger on the button until the door reaches the desired fully open height. If you overshoot the mark and the door goes too high, simply press the “-” button to bring it back down slightly.
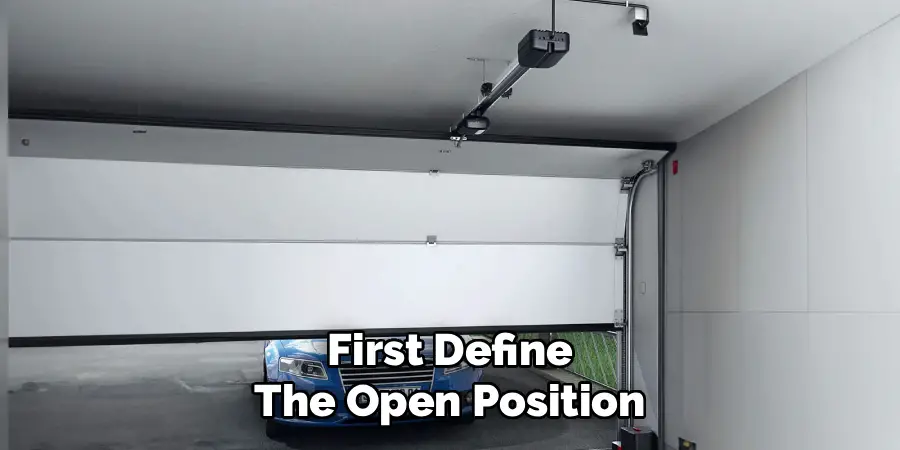
You want the bottom edge of the door to clear the header of the garage opening without banging into the stop bolt on the rail. Fine-tuning this position is crucial for maximizing clearance for your vehicle. Once you are satisfied with the height, press the “P” button once quickly to save this setting. The LED lights will shift, signaling that the open limit is stored.
Step 4: The Close Limit
With the open limit saved, the system automatically prompts you to set the close limit. The indicator light for the “Close” position (often LED #2 or the bottom light) should now be flashing. Press and hold the “-” button to move the door downwards. Watch carefully as the door approaches the ground. You want to release the button just as the weatherstripping on the bottom of the door makes gentle contact with the garage floor.
Avoid driving the door down too hard, as this can cause the rail to bow or the reversal safety mechanism to trigger unnecessarily. Use the “+” button to make minor upward adjustments if needed. This precise calibration is the most important part of learning how to set limits on a Marantec garage door opener correctly.
Step 5: Save the Close Limit and Verify
Once the door is resting perfectly on the floor, sealing the gap without excessive pressure, you need to lock this setting into the memory. Press the “P” button once again. This action saves the close limit position. The opener logic board now has the two crucial endpoints defined: where to stop at the top and where to stop at the bottom.
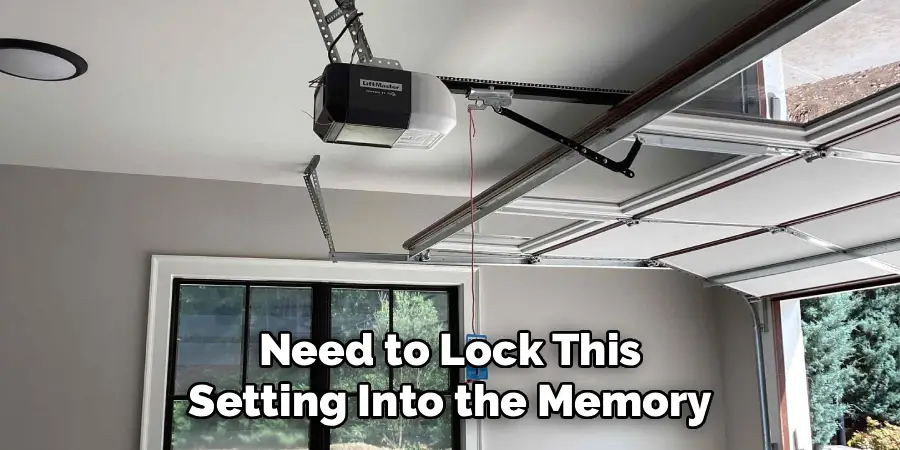
saving, the system typically moves to the next phase of programming, which often involves setting the force sensitivity. However, strictly for travel limits, pressing “P” here concludes the spatial definition phase. The lights on the display will change again, often illuminating the next LED in the sequence, indicating that the machine has accepted your parameters for the physical travel distance.
Step 6: Calibrate the Force Sensitivity Settings
After setting the spatial limits, most Marantec models will require you to set the force. This dictates how much power the motor uses to move the door. If the force is too low, the door might stop midway; if it is too high, the safety reversal system might not engage when it hits an obstacle. The display usually shows a force setting level. Use the “+” or “-” buttons to adjust the force level up or down based on the weight of your door.
A standard sectional door typically requires a medium setting. Once you have selected the appropriate force level for the opening cycle, press “P” to save. Repeat this process for the closing force if your specific model requires separate adjustments for each direction.
Step 7: Final Test Run to Ensure Success
The final step is to exit programming mode and test your work. Depending on the model, the LEDs might cycle off, or you may need to press “P” one last time to exit. Once the display returns to its standby state, press the main wall button or your remote control to operate the door. Watch the full cycle. The door should open to the exact height you set and stop.
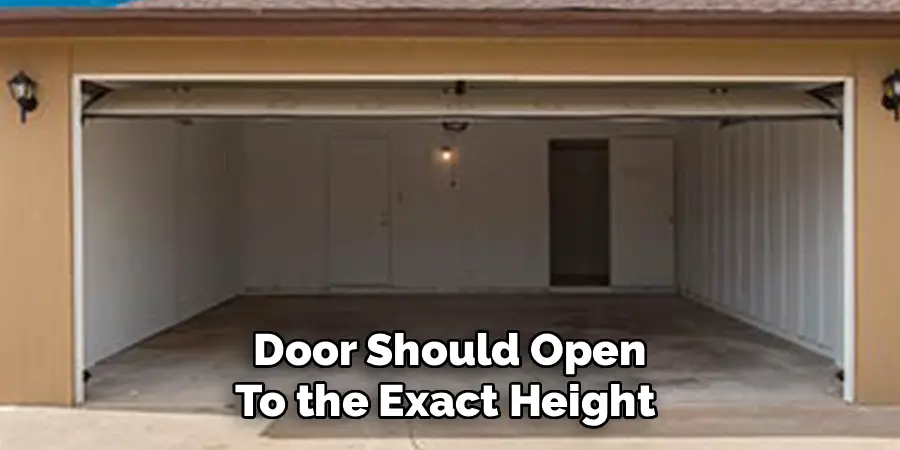
Then, activate it to close. It should descend smoothly and stop gently against the floor without reversing. If the door hits the floor and immediately goes back up, the close limit is set too low (driving into the floor too hard), and you will need to repeat the process to adjust it slightly higher.
Frequently Asked Questions
Why Does My Garage Door Reverse When It Hits the Floor?
This is the most common issue homeowners face after adjusting limits. If the door touches the ground and immediately goes back up, the “Close” limit is set too aggressively.
- The Cause: The motor thinks the floor is an obstacle because it is pushing too hard against it.
- The Fix: You need to reprogram the close limit. Run through the steps again, but this time, set the stopping point slightly higher, so the weatherstripping simply kisses the concrete rather than being crushed against it.
How Often Should I Check My Garage Door Limits?
It is good practice to check your garage door limits and force settings at least once a year.
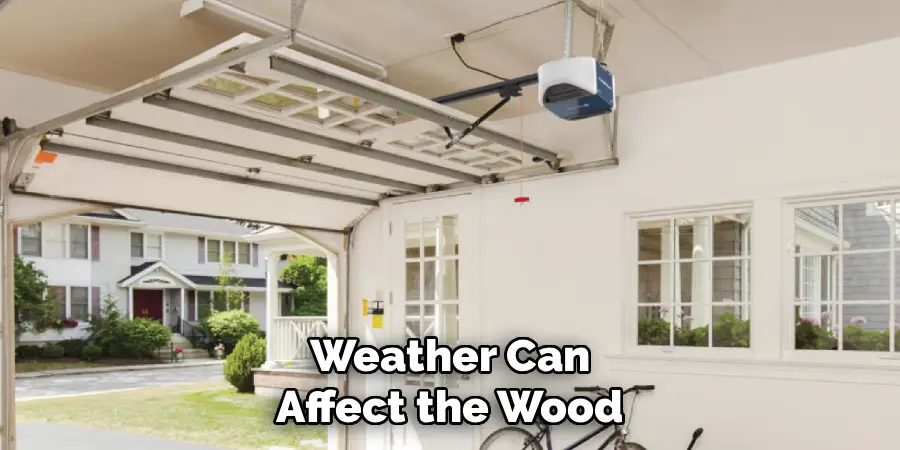
- Seasonal Changes: Weather can affect the wood jambs and the concrete floor (heaving or settling), which might alter the perfect seal.
- Wear and Tear: Over time, springs can stretch and rollers can wear down, slightly changing the geometry of the door’s travel.
- Routine Maintenance: A quick visual check during your annual lubrication of the rollers and hinges ensures everything remains safe and secure.
What If the Program Buttons Are Not Responding?
If you press the “P” button and nothing happens, check the power source first.
- Lock Mode: Ensure the wall console does not have a “Lock” or “Vacation” switch engaged, which disables programming.
- Power: Verify the unit is plugged in and the circuit breaker is on.
- Logic Board: If the unit has power but the buttons are dead, the logic board inside the motor housing might be faulty and may need replacement.
Can I Set the Limits by Myself?
Yes, setting the limits on a Marantec opener is designed to be a one-person job. The controls are located on the motor head, so you can stand on a ladder and watch the door move while you press the buttons. However, having a second person on the ground to spot obstacles or tell you exactly when the door touches the floor can make the process faster and more precise, preventing you from having to climb up and down the ladder repeatedly.
Do I Need to Reset the Remotes After Changing Limits?
Generally, no. Adjusting the travel limits (where the door starts and stops) affects the motor’s internal logic regarding movement. It does not erase the memory of the radio frequencies used for your handheld remotes or keypad. Your remotes should continue to work perfectly fine after you have finished the limit setting process. You would only need to reprogram remotes if you performed a full factory reset of the entire unit, which clears all memory.
Conclusion
Taking charge of your home maintenance is empowering, and fixing a misbehaving garage door is a perfect example of a task that looks harder than it actually is. By interacting directly with the Marantec programming interface, you eliminate the guesswork and ensure your door operates safely and efficiently. The ability to precisely control where your door stops protects your vehicle from scratches, keeps pests out by ensuring a tight seal, and prevents unnecessary wear on the opener’s motor.
Following this guide saves you the cost of a service technician and gives you the confidence to handle future adjustments as your home settles or seasons change. Now that you understand the mechanics of how to set limits on a Marantec garage door opener, you can rest easy knowing your garage is secure, functional, and calibrated exactly to your specifications.
I am Rick. I grew up helping my dad with his handyman service. I learned a lot from him about how to fix things, and also about how to work hard and take care of business. These days, I’m still into fixing things- only now, I’m doing it for a living.
I’m always looking for new ways to help people grow and develop. That’s why I have created this blog to share all my experience and knowledge so
that I can help people who are interested in DIY repair.