
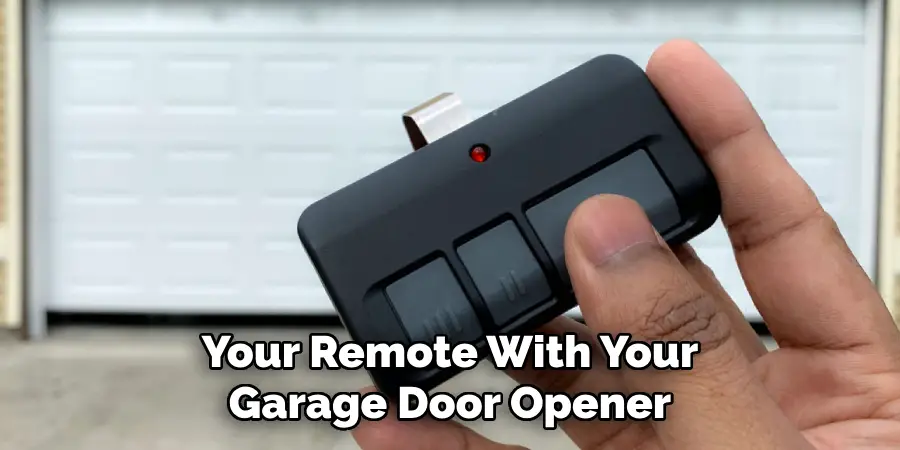
There are several reasons why learning how to set a LiftMaster remote can be beneficial for you. The most obvious reason is convenience. Having a functioning remote allows you to easily access your garage door without having to manually open and close it every time.
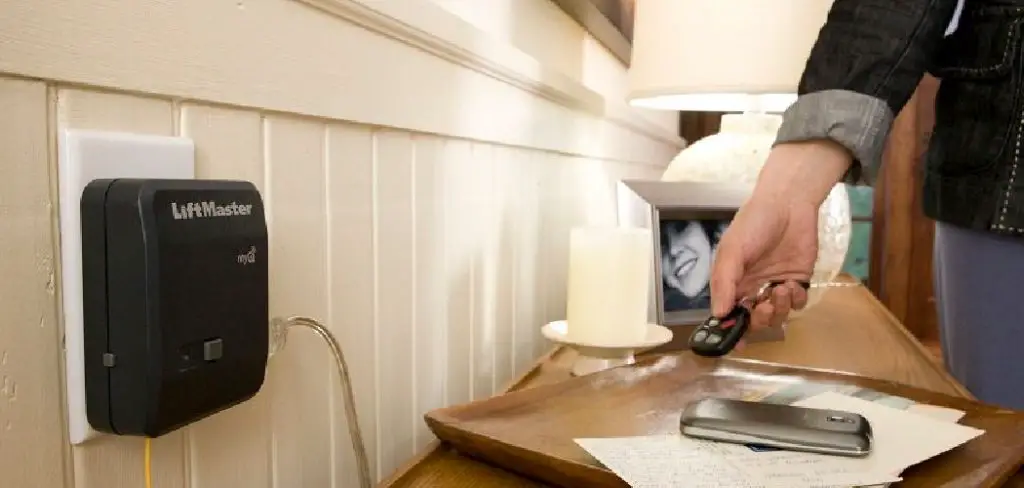
The main advantage of setting up a LiftMaster remote is the convenience it offers. With a LiftMaster remote, you can easily open and close your garage door without having to manually lift it or use a physical key.
This is especially useful during bad weather conditions or when you have your hands full with groceries or other items. In this blog post, You will learn in detail how to set liftmaster remote.
Step-by-step Instructions for How to Set Liftmaster Remote
Step 1: Inspect the Remote
Before setting a Liftmaster remote, it’s important to make sure that it is in good working condition. Check for any physical damage or signs of wear and tear. If the remote appears to be damaged, it may need to be replaced.
Step 2: Locate the Learn Button on your Garage Door Opener
The Learn button is usually located on the back of the garage door opener, near the antenna. It may also be located on the side or bottom of the opener. Refer to your user manual if you are having trouble locating it.
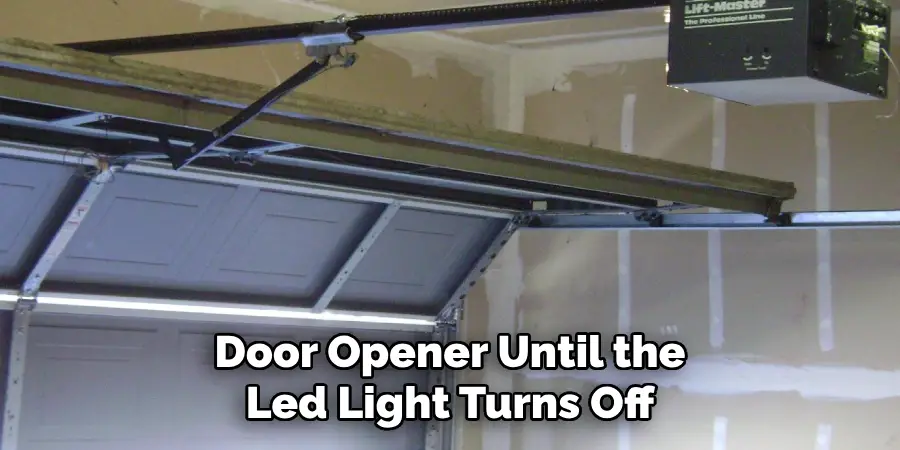
Press and release the Learn button on your garage door opener. The LED light will start blinking, indicating that it is ready to learn a new remote.
Step 3: Press and Hold the Button on the Remote
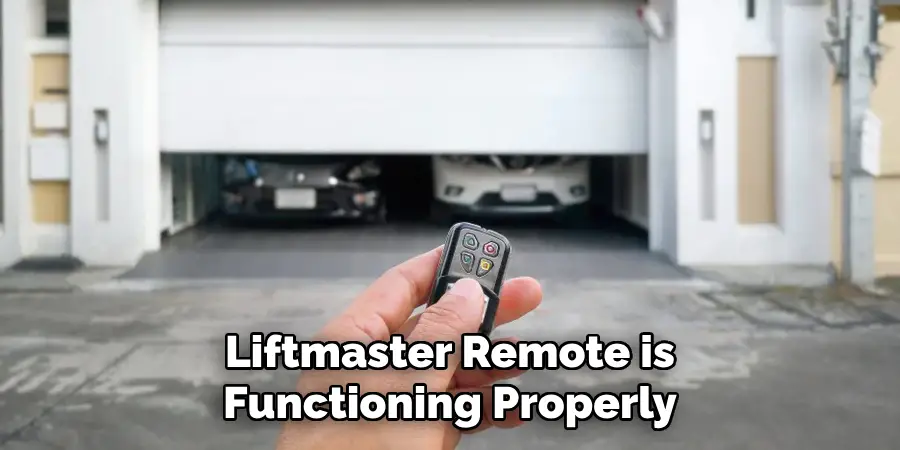
Next, press and hold the button on your Liftmaster remote that you want to program. Keep holding it until the LED light on the opener stops blinking. Once the LED light stops blinking, release the button on both the garage door opener and remote.
Then, press the button on the remote again to test if it works. If the garage door opens or closes, then the remote has been successfully programmed.
Step 4: Repeat for Additional Remotes
If you have multiple Liftmaster remotes that need to be programmed, simply repeat steps 4 and 5 for each additional remote. If you are replacing an old remote with a new one, it’s important to clear the memory of your garage door opener first. This will prevent any interference from the old remote and ensure that only the new remote works.
Step 5: Press and Hold the Learn Button
To clear the memory, press and hold down the Learn button on your garage door opener until the LED light turns off. Once the LED light turns off, release the Learn button. The memory of your garage door opener has now been cleared.
Step 6: Reprogram all Remotes
Now that the memory has been cleared, you will need to reprogram all of your Liftmaster remotes following steps 3-6. This will ensure that all remotes are synced with the opener and will function properly.
By following these step-by-step instructions, you can easily set your Liftmaster remote and have it working in no time. Remember to always check the condition of your remote before attempting to program it, and refer to your user manual if you encounter any difficulties. With a properly programmed remote, you can conveniently open and close your garage door with just the press of a button.
Safety Tips for How to Set Liftmaster Remote
- Always read the user manual before attempting to set your Liftmaster remote. It contains important safety information and detailed instructions that you should follow to avoid any accidents or damage.
- Make sure to keep children and pets away from the garage door opener while setting your remote. The moving parts can be dangerous if they get in the way.
- Ensure that the area around the garage door opener is well-lit and clear of any clutter or obstacles. This will prevent any accidents from occurring while setting your remote.
- If you are unsure about anything, do not hesitate to seek help from a professional. Trying to set the remote without proper knowledge can lead to malfunctions and potentially cause harm.
- Double check that your remote is compatible with your Liftmaster garage door opener before attempting to program it. Using an incompatible remote can damage the opener and void its warranty.
- Keep spare batteries on hand in case the battery in your remote needs to be replaced during the programming process.
- Regularly test your remote to ensure that it is working properly and replace any damaged or malfunctioning parts as soon as possible. This will help prevent any accidents or malfunctions in the future.
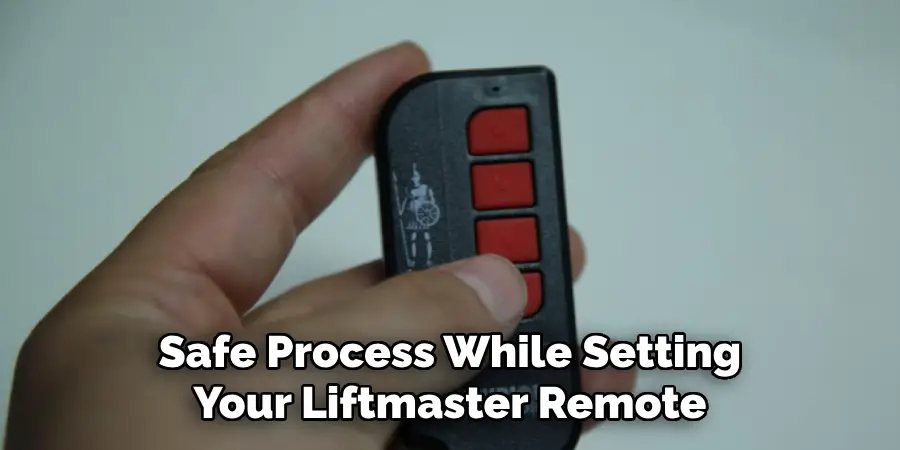
By following these safety tips, you can ensure a smooth and safe process while setting your Liftmaster remote. Safety should always be a top priority when dealing with any type of machinery, and taking precautions can save you from potential harm or damage.
Importance of Setting Liftmaster Remote
In addition to the convenience and ease of use, there are several important reasons why setting a Liftmaster remote is crucial. Let’s explore these further:
- Security: By setting a Liftmaster remote, you can ensure that only authorized individuals have access to your garage or gate. This adds an extra layer of security to your home or business, giving you peace of mind.
- Personalization: With Liftmaster remotes, you can program different codes for each remote to access your garage or gate. This allows you to personalize the access for different family members, employees, or guests.
- Convenience: Instead of manually opening and closing your garage or gate, setting a Liftmaster remote allows you to do so with just a push of a button. This makes it easier for you to enter and exit your property without having to get out of your car.
- Multiple Doors or Gates: If you have multiple garage doors or gates, setting a Liftmaster remote allows you to control all of them with one device. This eliminates the need for multiple remotes, making it more convenient and efficient.
- Battery Backup: Some Liftmaster remote models come with a battery backup feature, which allows you to operate your garage or gate even during power outages. This can be especially useful in emergency situations.
- Home Automation: Liftmaster remotes are compatible with home automation systems, allowing you to integrate your garage or gate access with other smart devices. This adds another level of convenience and control to your daily routine.
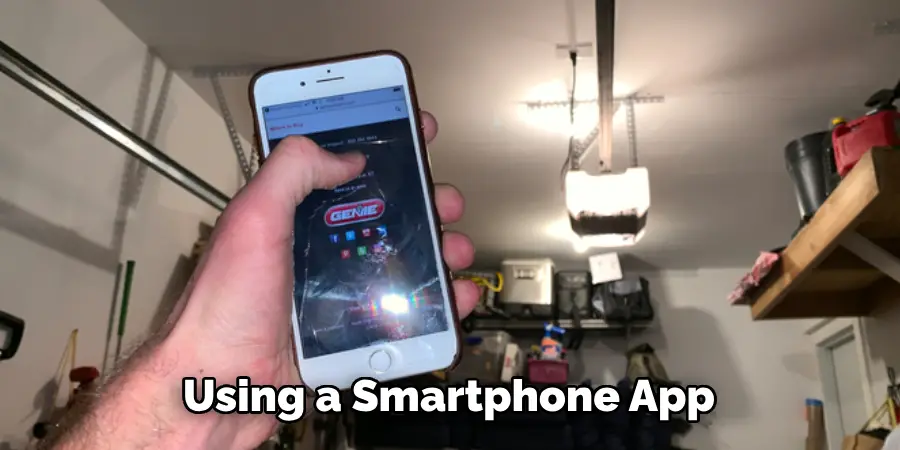
- Remote Monitoring: Certain Liftmaster remote models come with a feature that allows you to monitor the status of your garage door or gate from anywhere using a smartphone app. This provides added security and peace of mind, knowing that you can check on the state of your property even when you’re not physically there.
By setting a Liftmaster remote, you not only make your life easier but also increase the security and efficiency of your property.
Techniques for Setting Liftmaster Remote
Setting up a remote for your Liftmaster garage door is an essential step to ensure smooth operation and convenience. With a properly working remote, you can easily open and close your garage door without having to manually do it. In this guide, we will discuss seven techniques that will help you set up your Liftmaster remote with ease.
1. Choosing the Right Remote
The first step to setting up your Liftmaster remote is choosing the right one for your garage door opener. There are various types of remotes available, and it’s essential to choose the correct one that matches your specific model. To determine the right remote, check the manual or the back of your garage door opener for its compatibility code.
2. Programming the Remote
Once you have the correct remote, the next step is to program it to your garage door opener. The process may vary depending on your model, but generally, you need to press a specific sequence of buttons or use a learn button on your garage door opener and then press the corresponding button on your remote. Consult your manual for detailed instructions.
3. Resetting the Remote
If your remote was previously programmed to another garage door opener, you will need to reset it before programming it to your current one. To do this, press and hold the learn button on your garage door opener for about 10 seconds until the light turns off. Then proceed with programming as usual.

4. Syncing Multiple Remotes
If you have multiple remotes for one garage door opener, it’s important to sync them so that they all work together. To do this, programming instructions may vary depending on your model, but generally, you need to press the learn button on your garage door opener and then within 30 seconds, press the corresponding buttons on each remote.
5. Adding a Keyless Entry System
Many Liftmaster remotes come with a keyless entry system that allows you to open your garage door using a code instead of a remote. To add one, follow the same programming steps as you would for a remote but instead of pressing the button on the remote, enter your desired code followed by the enter button.
6. Replacing Batteries Regularly
To ensure your Liftmaster remote works properly, it’s essential to replace the batteries regularly. Typically, batteries should be replaced every 1-2 years, but this may vary depending on usage and battery type. Check your manual for specific instructions on how to replace the batteries.
7. Troubleshooting Remote Issues
If your remote stops working or is having trouble connecting to your garage door opener, there are a few troubleshooting techniques you can try. First, check the batteries and replace them if necessary.
Make sure the remote is programmed correctly and that it’s within range of the garage door opener. If the issue persists, consult your manual or contact Liftmaster customer support for further assistance.
Setting up a Liftmaster remote may seem complicated, but by following these seven techniques, you can easily program and sync your remote with your garage door opener. Remember to choose the correct remote, regularly replace batteries, and troubleshoot any issues that may arise.
Troubleshooting and Fine-tuning for Setting Liftmaster Remote
While setting up your Liftmaster remote, you may encounter some issues or may want to fine-tune the settings. In this section, we will discuss some common troubleshooting steps and how to fine-tune your remote for optimal performance.
Troubleshooting Steps:
- Check the Batteries: The first and most common issue with remotes is dead batteries. Make sure to replace the batteries if they are low or dead.
- Check the Antenna: Liftmaster remotes come with an internal antenna, which can sometimes get damaged or blocked by metal objects. Make sure the antenna is not damaged, and there are no obstructions blocking its signal.
- Reprogram the Remote: If the remote is not responding, you can try reprogramming it by following the steps outlined in the previous section.
- Check the Opener’s Settings: Sometimes, the issue may be with the garage door opener itself. Make sure to check its settings and consult the manual for troubleshooting tips.
- Contact Customer Support: If none of these steps work, it is best to contact Liftmaster’s customer support for further assistance.
Fine-tuning your remote:
Once you have successfully set up your Liftmaster remote, you may want to make some adjustments for optimal performance. Here are a few tips on how to fine-tune your remote:
- Adjust the Range: If you find that your remote is not working from a certain distance, you can adjust its range by following the steps outlined in the previous section.
- Change the Remote’s Frequency: Liftmaster remotes come with different frequencies, and sometimes changing to a less crowded frequency can improve its performance. Consult the manual for instructions on how to change the frequency.
- Add a Keypad Entry System: For added convenience and security, you can also add a keypad entry system to your Liftmaster remote. This will allow you to open the garage door by entering a code instead of using the physical remote.
- Consider Upgrading: If you are still experiencing issues or find that your current remote is not meeting your needs, it may be time to consider upgrading to a newer model with advanced features and technology.
With these troubleshooting and fine-tuning tips, you can ensure that your Liftmaster remote is functioning properly and tailored to your specific needs. Remember to always consult the manual or reach out to customer support for any further assistance or guidance.
Additional Features for Setting Liftmaster Remote
- Multi-door Control: If you have multiple garage doors, Liftmaster remote allows you to control up to three different doors with just one remote. This feature is especially useful if you have a large property or if the family members have their own separate garage doors.
- Timer-to-Close: With this feature, you can set your garage door to automatically close after a specified amount of time. This is perfect for those forgetful moments when you might have left the garage door open.
- Security+ 2.0®: Liftmaster remote uses this advanced technology to ensure that your remote control signals are secure and cannot be copied by potential intruders.
- Motion-activated Light: The Liftmaster remote also comes with a built-in motion sensor that turns on the garage lights when you enter the garage, providing added safety and convenience.
- Battery Backup: In case of a power outage, Liftmaster remote comes with a battery backup feature that allows you to still use your remote to open or close your garage door.
- Rolling Code Technology: This feature helps prevent unauthorized access by generating a new code every time you use the remote, making it nearly impossible for someone to replicate your remote signal.
- MyQ® Technology: With this feature, you can control your garage door opener from anywhere using your smartphone or tablet. You can also receive alerts if the garage door is opened or closed, providing additional security and peace of mind.
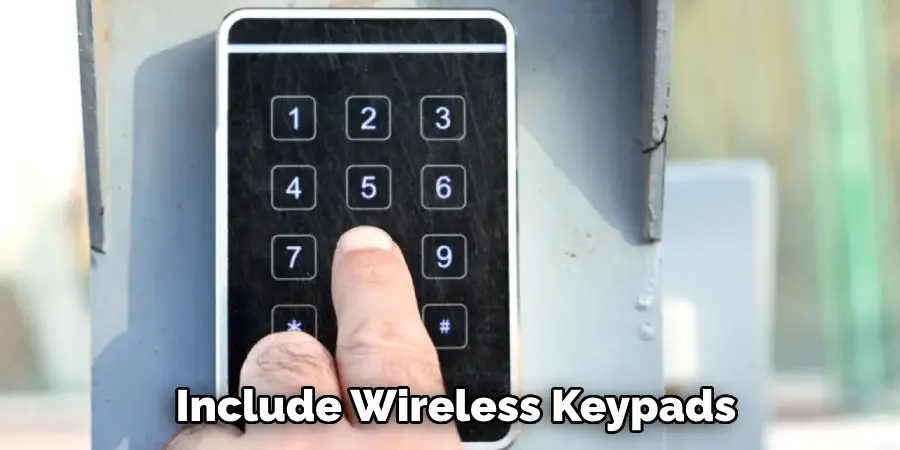
In addition to these advanced features, Liftmaster also offers a wide range of accessories that can enhance your overall garage door experience. These include wireless keypads, remote light controls, and laser parking assist systems.
Conclusion
In conclusion, learning how to set a Liftmaster remote can be a valuable skill for any homeowner or business owner. However, it is important to understand that there are also some disadvantages associated with this process.
One of the main disadvantages is the potential for user error. As mentioned earlier, if the programming steps are not followed correctly, the remote may not work and this can be frustrating for users.
Additionally, if the remote is not properly synced with the garage door opener, it can result in security vulnerabilities. Another disadvantage is the cost associated with purchasing a Liftmaster remote.
While they are widely available and relatively affordable, it may still be an additional expense for some individuals. I hope this article has been beneficial for learning how to set liftmaster remote. Make Sure the precautionary measures are followed chronologically.
I am Rick. I grew up helping my dad with his handyman service. I learned a lot from him about how to fix things, and also about how to work hard and take care of business. These days, I’m still into fixing things- only now, I’m doing it for a living.
I’m always looking for new ways to help people grow and develop. That’s why I have created this blog to share all my experience and knowledge so
that I can help people who are interested in DIY repair.